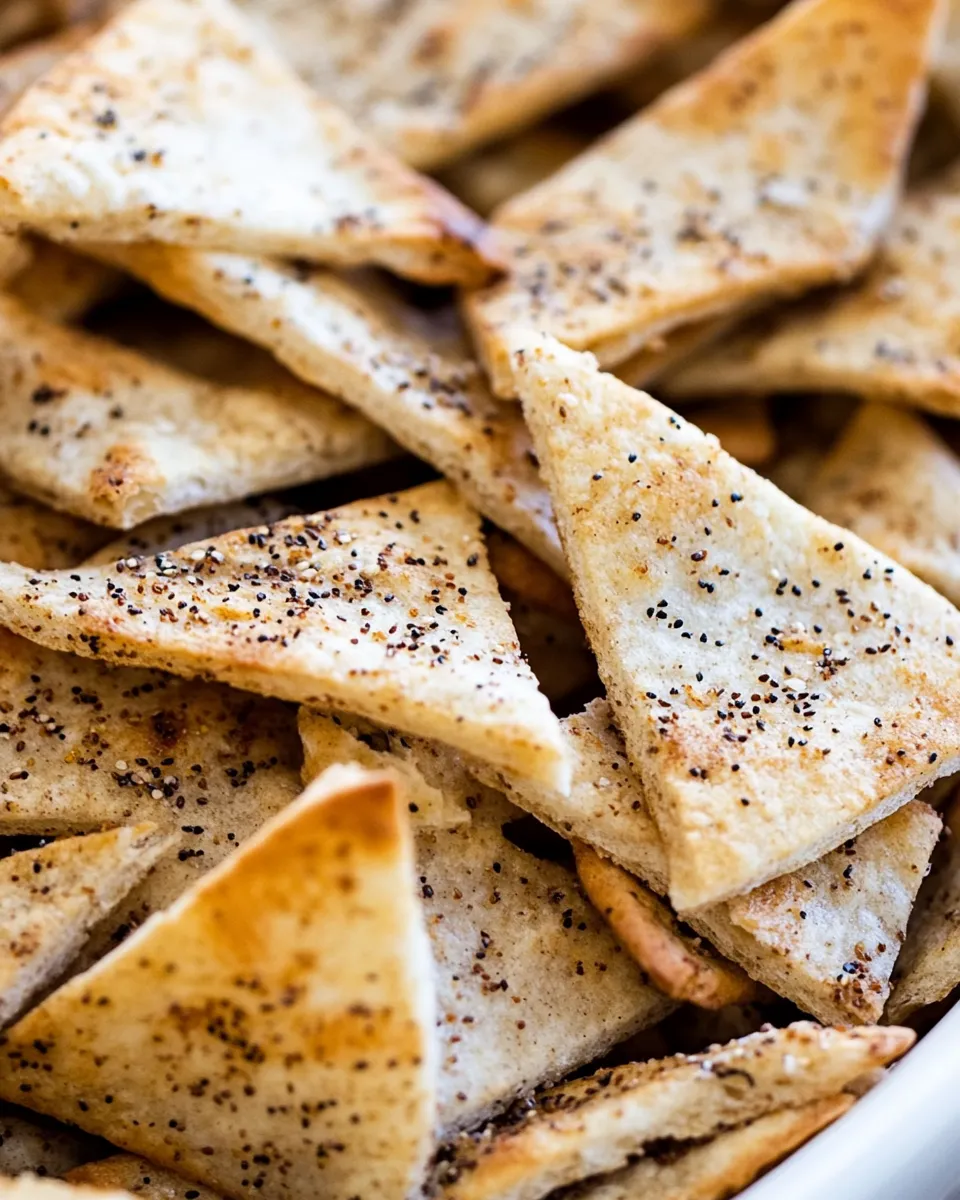
Easy Whole-Grain Pita Chips
I love recipes that feel effortless and actually are. These whole-grain pita chips are one of those staples: pantry-friendly, quick to make, and endlessly useful. They crisp up nicely in the oven and make a reliable partner for dips, salads, or as a crunchy snack on their own.
No special equipment, no complicated steps—just whole-wheat pita, olive oil, salt, and pepper. In about 20 minutes you’ll have golden, snappy chips that beat store-bought versions for texture and flavor every time.
Use the method below to tailor crispness and seasoning to your taste. Keep a batch on hand for weeknight grazing, party platters, or to add crunch to soups and grain bowls.
What’s in the Bowl
Ingredients
From Start to Finish: Whole-Grain Pita Chips
- Preheat the oven to 375°F (190°C). Line a baking sheet with parchment paper or use a non-stick baking sheet.
- Brush each pita round on one side with about 1 teaspoon of the olive oil. Work one at a time so the oil spreads evenly across the surface.
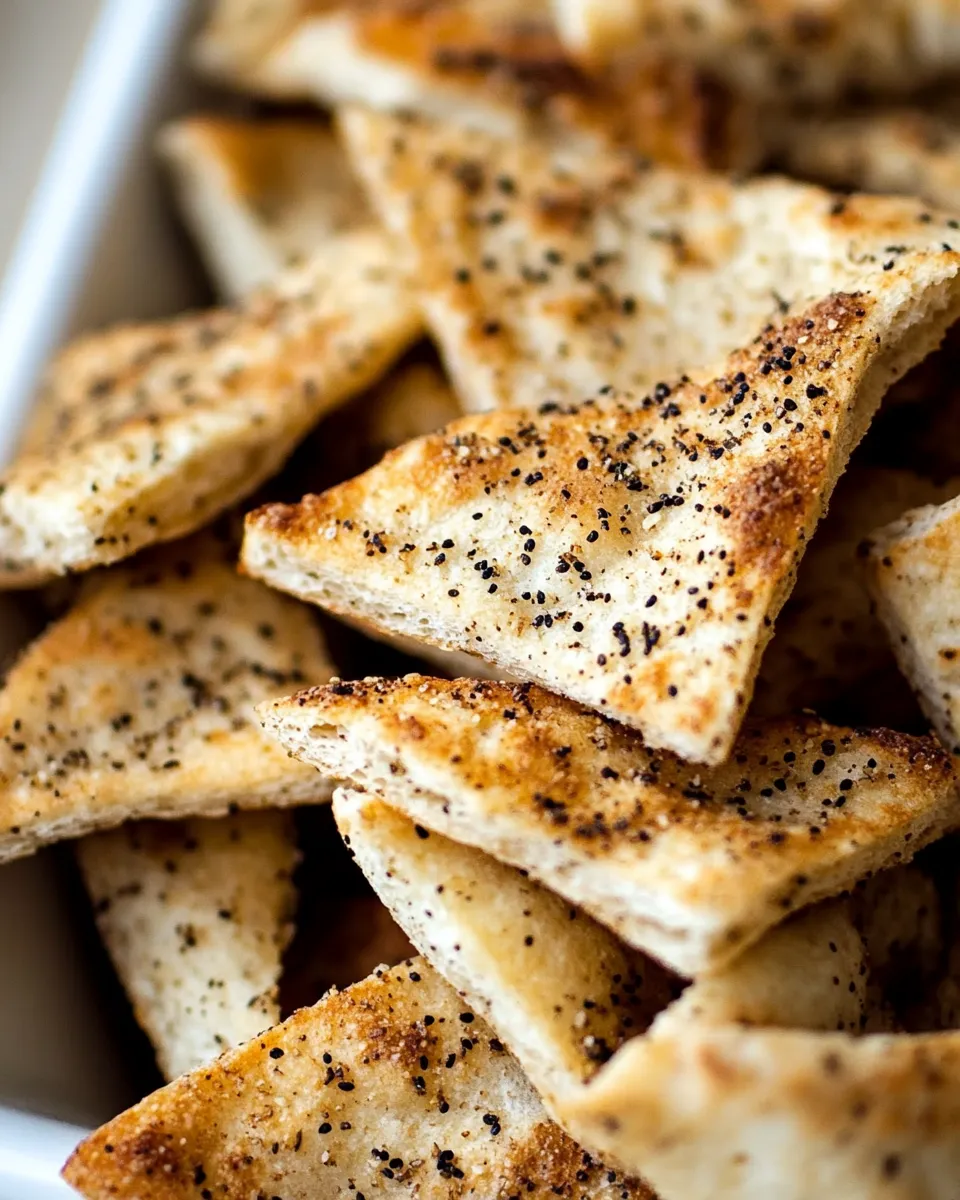
- Sprinkle each oiled side with a light pinch of the salt and a little of the freshly ground black pepper. Distribute the salt and pepper across the surface so every triangle will be seasoned.
- Cut each pita round into 8 triangles. A sharp knife or kitchen shears work well; cutting before baking makes uniform chips that crisp evenly.
- Arrange the triangles on the prepared baking sheet in a single layer, making sure the pieces do not touch. Crowding traps steam and prevents crisping.
- Bake in the preheated oven for 10 minutes. Check at 8 minutes—if your oven runs hot or you prefer darker chips, watch closely the last few minutes.
- Remove the tray from the oven and let the chips cool completely on the baking sheet. They’ll become crisper as they cool.
- Serve warm with roasted red pepper hummus or let cool fully before storing.
Why You’ll Keep Making It
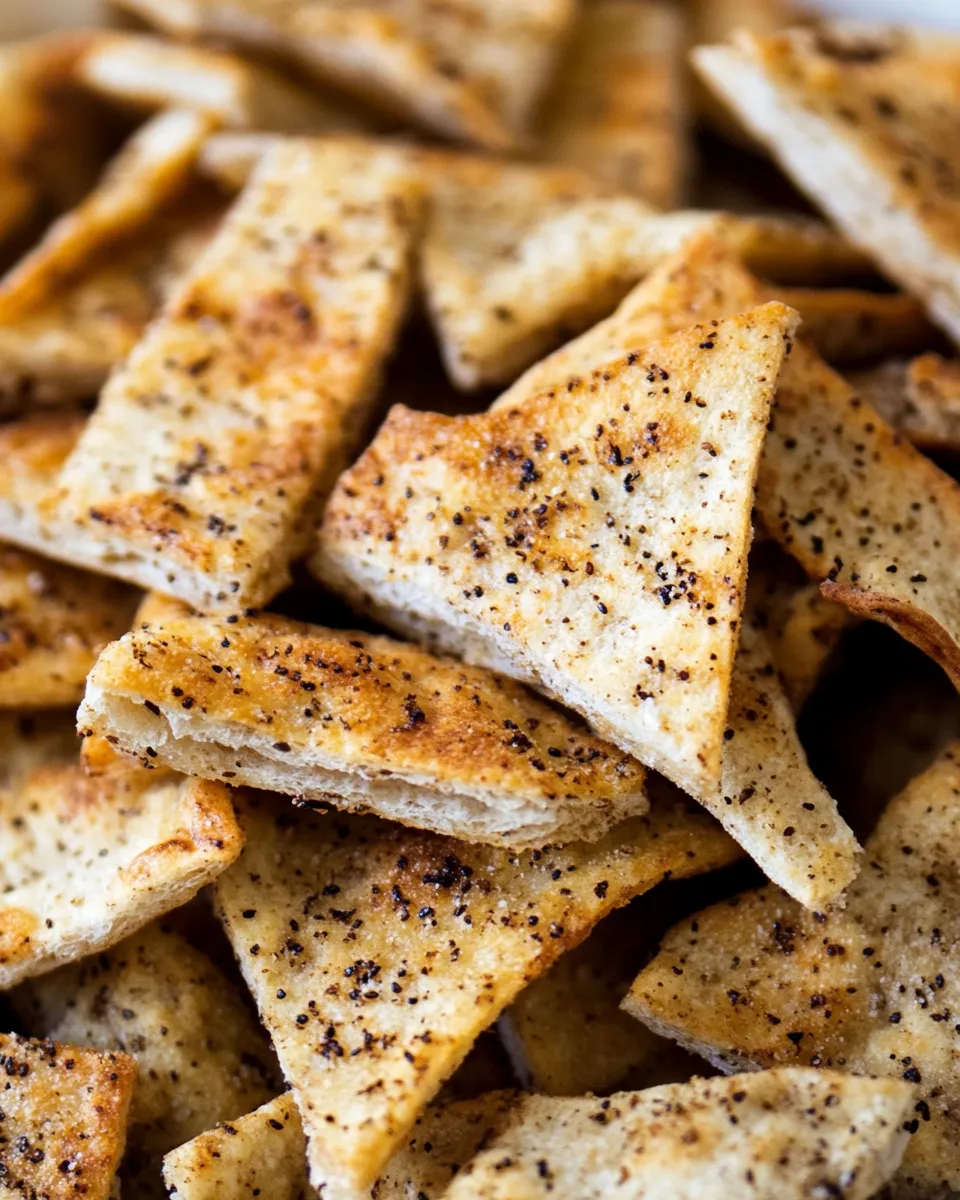
These chips are fast, inexpensive, and customizable. Whole-wheat pita gives a nutty flavor that stands up to bold dips. They take less time than frying and use very little oil, so they feel lighter. Once you taste homemade crunch, store-bought pita chips seem stale by comparison.
They’re also a small-batch, low-commitment recipe—make just a few pitas when you need them, or double the recipe for a party. The technique scales cleanly and lets you experiment with seasonings without risking a whole bag.
International Equivalents
Different regions have similar crisp bread snacks: Greek koulouri or toasted lavash, Middle Eastern house-baked flatbreads, and Mediterranean taralli. Swap whole-wheat pita with whole-grain flatbreads or pocket-less Arabic bread and use the same oven method for a local twist.
Tools of the Trade
Common Errors (and Fixes)
Allergy-Friendly Swaps
Author’s Commentary
I keep pita rounds in the freezer for moments exactly like this—sudden guests, an afternoon snack craving, or when I need a crunchy element for a bowl. The technique is forgiving: a little oil goes a long way, and the timing is short. I often finish some chips with a sprinkle of za’atar or a pinch of smoked paprika for variety. The recipe highlights how small changes (whole-wheat, fresh pepper) lift a simple technique into something memorable.
Save for Later: Storage Tips
Reader Questions
Q: Can I bake on a wire rack instead of a baking sheet?
A: Yes. A wire rack on a sheet pan improves airflow underneath the chips and can yield extra-even crisping. Make sure the rack is oven-safe and the pieces are cut uniformly.
Q: Can I use white pita instead of whole-wheat?
A: Absolutely. White pita will crisp the same way but taste milder. Adjust seasoning to your preference.
Q: Can I add other spices before baking?
A: You can, but keep additions dry (paprika, garlic powder, za’atar) and use them sparingly. Wet toppings or heavy coatings can prevent crisping.
Bring It Home
This recipe is a small, reliable win. Six pita rounds turn into a crunchy, whole-grain snack with minimal effort and familiar pantry ingredients. Whether you serve them with roasted red pepper hummus or use them to add texture to a salad, these pita chips are a practical, delicious component to keep in your repertoire.
Easy Whole-Grain Pita Chips
Ingredients
- 6 whole-wheat pita bread rounds
- 2 tablespoons extra-virgin olive oil
- 2 teaspoons kosher or sea salt
- 2 teaspoons freshly ground black pepper
Instructions
- Preheat the oven to 375°F (190°C).
- Place pita rounds on a cutting board and, if whole, gently separate the layers; brush or drizzle about 1 teaspoon of olive oil over one side of each pita.
- Sprinkle the oiled side of each pita with salt and freshly ground black pepper.
- Cut each pita into 8 triangles using a sharp knife.
- Arrange the pita triangles in a single layer on a parchment-lined or nonstick baking sheet, making sure pieces do not touch.
- Bake for 10 minutes, or until the chips are crisp and lightly golden.
- Remove from the oven and let the chips cool completely on the baking sheet before serving or storing.
Equipment
- Oven
- Baking Sheet
- parchment paper (optional)
- Knife
Notes
- Use 1 teaspoon olive oil per pita for even coating.
- Arrange in a single layer so chips crisp evenly.
- Cool completely before storing to keep them crisp.