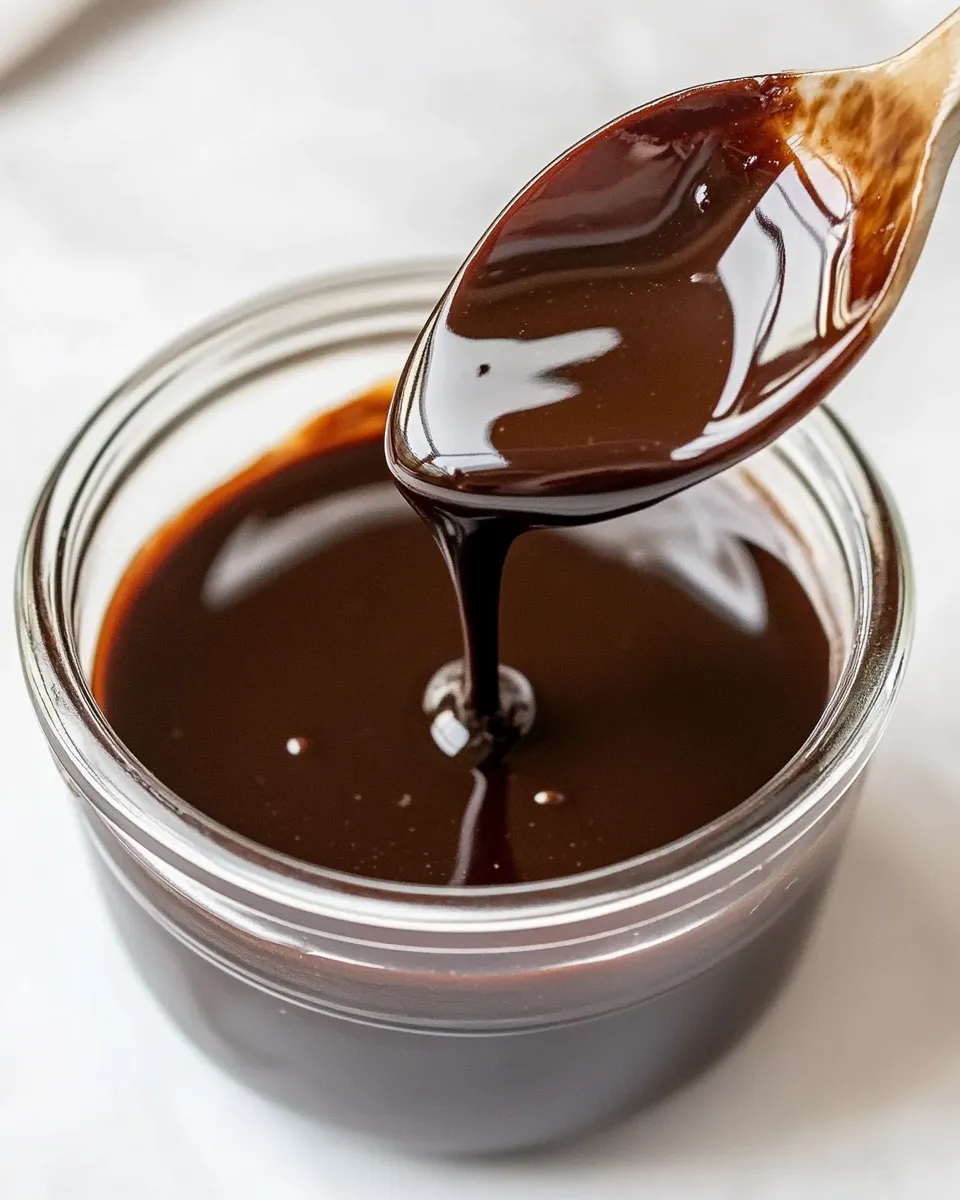
Thick Homemade Chocolate Sauce
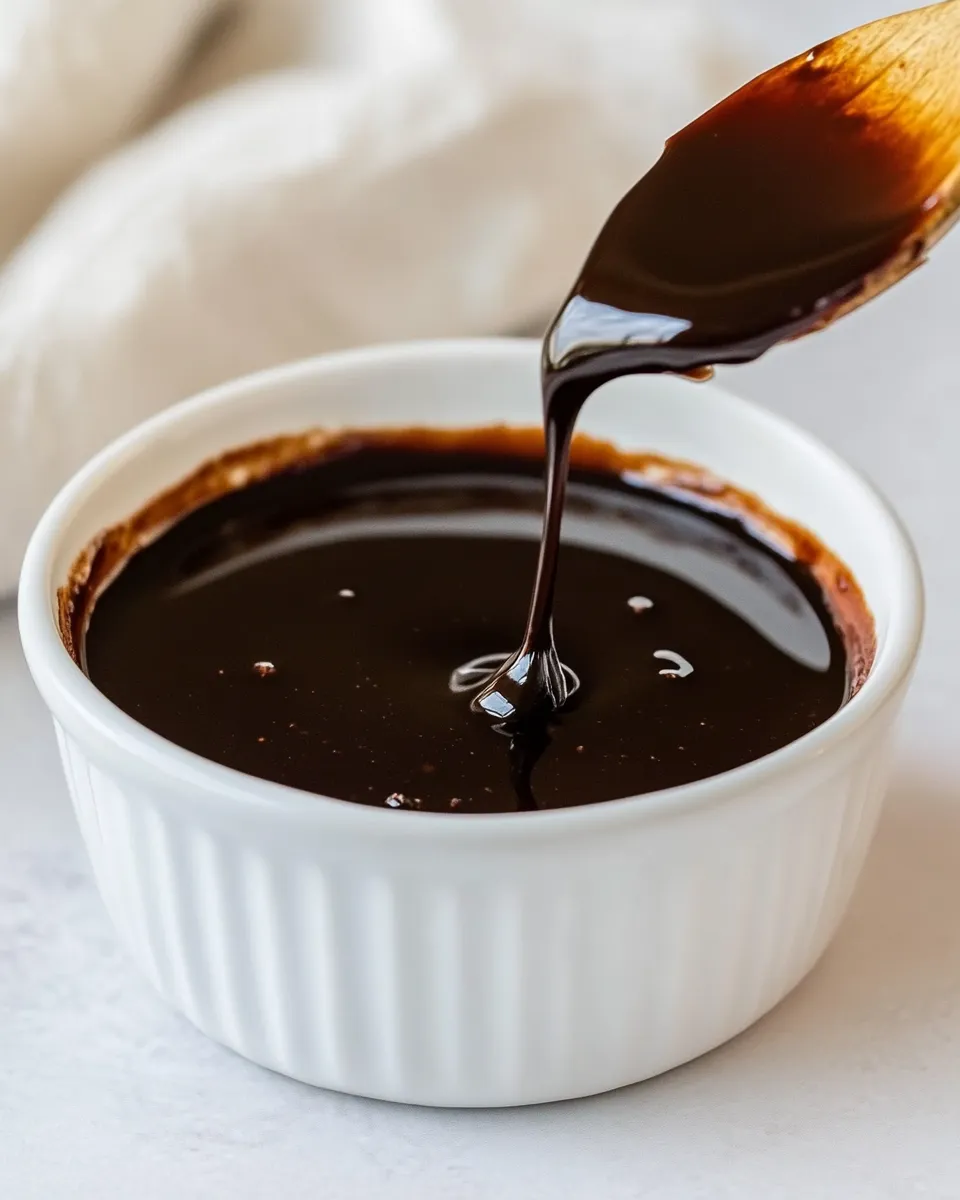
Rich, glossy chocolate sauce that’s thick enough to cling to a spoon but still pourable is a tiny luxury you can make at home in under 10 minutes. No melted chocolate bars, no heavy cream — just cocoa, water, sugar, salt and a whisper of vanilla. It’s straightforward, forgiving and exactly the kind of pantry-friendly recipe I reach for when I want homemade chocolate fast.
This version focuses on texture and flavor: enough cocoa for real chocolate intensity, sugar to balance bitterness, and a short stovetop finish to develop shine and body. It cools to a syrupy consistency that’s brilliant on ice cream, stirred into warm milk, or eaten straight from the jar when no one’s looking.
Below you’ll find a shopping guide, step-by-step method, storage tips and sensible troubleshooting notes so this becomes your go-to chocolate sauce. No fluff — just reliable steps and practical tweaks to make it perfect every time.
Your Shopping Guide
Buy good cocoa, not necessarily the priciest, but avoid the weakest economy powders — the flavor will show. A natural unsweetened cocoa powder gives bright chocolate flavor and blends smoothly with water. Standard granulated sugar works fine; if you prefer a softer sweetness, use superfine sugar so it dissolves quickly. A small jar of vanilla extract is all you need; the recipe calls for just half a teaspoon.
Freshness matters for both cocoa and vanilla. Cocoa that’s been sitting open for a long time can taste flat. If you like a really glossy sauce, use filtered water; tap water with strong minerals sometimes dulls shine. Finally, keep a small, heavy-bottomed saucepan and a heatproof whisk handy — they make the stovetop steps easier and safer.
Stepwise Method: Thick Homemade Chocolate Sauce
Ingredients
- ½ cup (40g) unsweetened cocoa powder — provides the chocolate flavor and color; sift if lumpy.
- 1 cup water — hydrates the cocoa and dissolves the sugar; warm or room temperature both work.
- 1 cup (200g) granulated sugar — sweetens and helps the sauce thicken as it reduces; superfine dissolves fastest.
- Pinch of salt — enhances chocolate flavor; don’t skip.
- ½ teaspoon vanilla — rounds and deepens the flavor; add off the heat.
Step-by-step Instructions
Follow these steps in order. Quantities above are the source of truth; do not change them.
- Measure everything first so you aren’t rushing at the stove. Sift the cocoa if it’s clumpy to ensure a smooth sauce.
- Combine the cocoa, water, sugar and a pinch of salt in a small saucepan. Whisk them together off the heat until the mixture is uniform and there are no dry pockets of cocoa.
- Place the saucepan over medium-low heat. Begin whisking constantly as the mixture warms. This prevents scorching and keeps the cocoa suspended in the liquid.
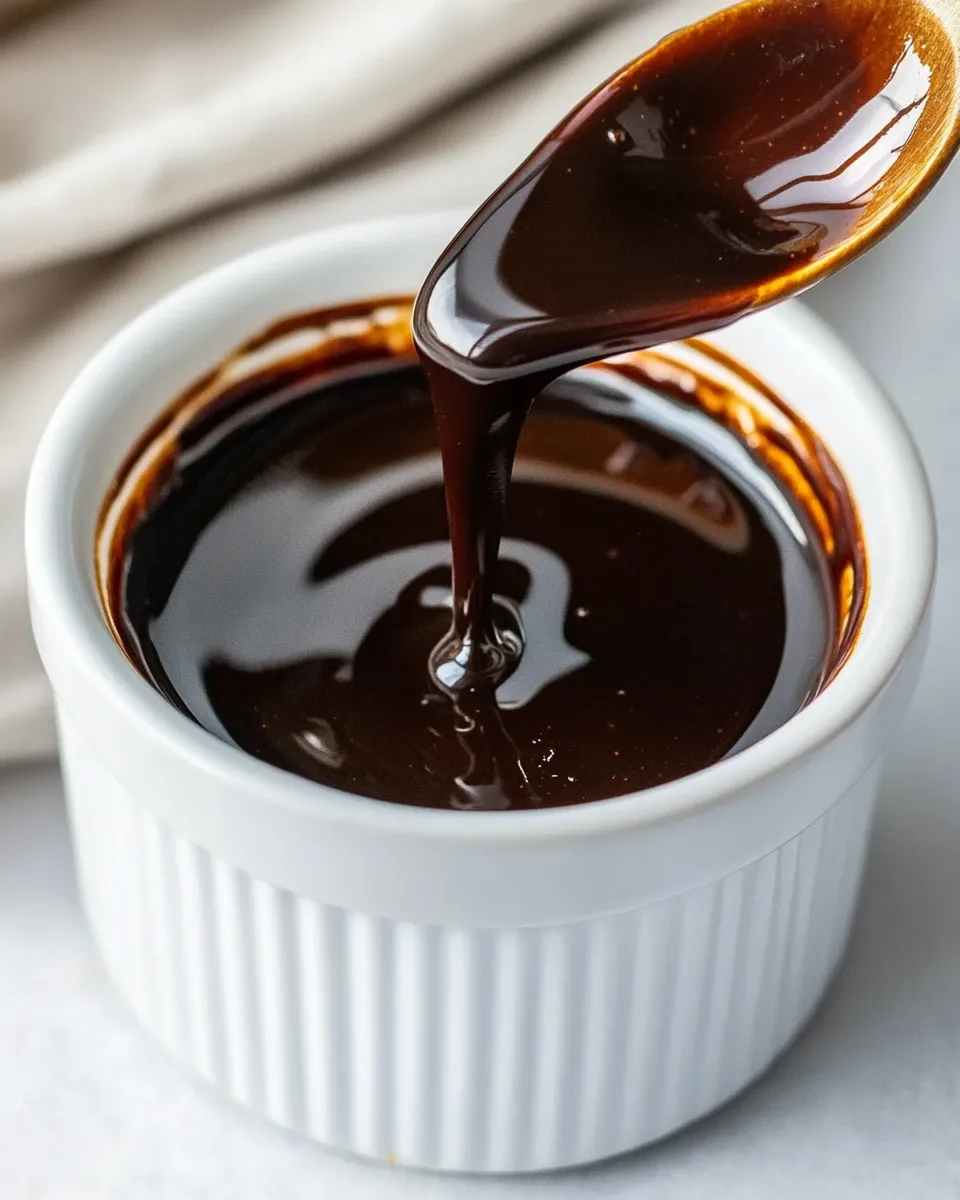
- Keep whisking and cook for about 3 minutes, or until the mixture thickens slightly and the cocoa has completely dissolved. You’re aiming for a glossy, homogeneous sauce that coats the whisk. Do not let it boil vigorously — a gentle simmer or steady bubbling at the surface is fine, but reduce heat if it starts to spatter or scorch.
- Remove the pan from the heat and stir in ½ teaspoon vanilla. Whisk briefly so the vanilla distributes evenly.
- Pour the hot sauce into a clean jar or covered container. Let it cool to room temperature uncovered, then seal and refrigerate. The sauce will thicken further as it cools.
- To use: warm briefly in a small saucepan or microwave to loosen if it has set very thick. Use it on ice cream, stirred into milk for hot chocolate, as a dip, or simply eat with a spoon.
Why It’s Crowd-Pleasing
This sauce hits the basics everyone recognizes: deep cocoa flavor, bright sweetness, and a texture that reads luxurious. It’s versatile — it can be the star over vanilla ice cream or a supporting player in drinks and desserts. Most people expect chocolate sauce to be familiar and comforting; this recipe delivers that with no fuss.
Because it’s made from pantry staples, you can whip it up at a moment’s notice for unexpected guests. The short list of ingredients also makes it approachable: no specialty items, just good technique to get a glossy finish and the right thickness.
Low-Carb/Keto Alternatives
To lower carbs while keeping texture, replace sugar with a granular erythritol blend that measures like sugar (e.g., allulose or erythritol + stevia/monk fruit blends that can be used 1:1). Note: sweetener choice affects mouthfeel and freezing behavior; some sugar substitutes yield a slightly different sheen and may crystalize if overcooked.
Keep the same volumes of cocoa and water but use a sweetener that’s labeled for direct replacement. Start with the same cook time, but taste and adjust — some sugar substitutes taste less sweet when warm and may need a touch more. Because the source recipe uses sugar for thickening as well as sweetening, expect the final texture to be a bit less syrupy with zero-calorie sweeteners.
Gear Checklist
- Small heavy-bottomed saucepan — steady heat and even cooking.
- Whisk — for dissolving cocoa and preventing lumps.
- Measuring cups and a kitchen scale (40g cocoa, 200g sugar) — for accuracy.
- Heatproof jar or container with lid — to store the sauce.
- Optional: fine-mesh sieve — to strain any residual lumps if needed.
Easy-to-Miss Gotchas
1) Lumpy cocoa: Cocoa powder can clump. If you don’t sift or whisk it thoroughly off the heat, you’ll end up with gritty bits in the sauce. Pre-sift or make a smooth slurry before heating.
2) Overheating: Boiling aggressively will dull flavor and can scorch the sugar. Keep the heat at medium-low and watch closely — the mix thickens fast.
3) Under-dissolved sugar: If sugar isn’t fully dissolved before cooling, you may get graininess or recrystallization. Whisk until there’s no grit; if needed, warm a bit longer but avoid vigorous boiling.
4) Storage shock: The sauce will firm up in the fridge. That’s normal. Warm gently to loosen; don’t microwave for long periods or you risk breaking the texture.
Make It Year-Round
In summer, keep it chilled and serve as a cool sauce over cold desserts. In winter, warm it to create instant hot chocolate — whisk a couple of tablespoons into a cup of steamed or hot milk. The recipe’s simplicity means it adapts to seasons: add a pinch of cayenne for warmth in cold months or fold in a small amount of citrus zest for bright summer desserts.
Because it stores well (see storage section), you can batch-make and keep a jar in the fridge for weeks of easy treats: ice cream nights, coffee garnishes, or quick chocolate bowls for fruit.
Behind-the-Scenes Notes
I developed this version to balance intensity and convenience. Using water instead of cream keeps the sauce lighter and shelf-stable in the fridge, and it concentrates the chocolate punch of the cocoa powder. The small amount of vanilla added off the heat preserves its aroma — heat can evaporate those delicate notes if added too early.
The 3-minute cook time is a practical target: long enough to dissolve sugar and develop gloss, brief enough to avoid over-reduction. If you prefer a thinner sauce, reduce the total cook time by 30–60 seconds; for thicker, a slightly longer simmer (watch closely) will concentrate it more.
Prep Ahead & Store
Cool the sauce to room temperature in the jar, seal, and refrigerate. It will keep for up to 2 weeks in the refrigerator. If it sets very firm, warm gently in a small saucepan or microwave in short bursts, stirring between intervals, until it reaches the desired consistency.
Do not store at room temperature long-term because there’s no preservative; refrigeration keeps flavor and safety. If you want to freeze it, use a freezer-safe container and leave headspace; thaw overnight in the refrigerator and warm gently before using.
Common Qs About Thick Homemade Chocolate Sauce
Q: Can I use cocoa blends like Dutch-processed? A: Yes. Dutch-processed cocoa will be darker and less acidic; flavor will shift slightly. You may notice a deeper color and a rounder taste.
Q: Why is my sauce grainy? A: Usually because sugar or cocoa didn’t fully dissolve. Reheat gently and whisk; if graininess persists, strain through a fine mesh.
Q: Can I swap water for milk or cream? A: You can substitute milk or cream for a richer sauce, but the recipe was written for water and quantities aren’t adjusted here. Using dairy will give a creamier mouthfeel and may require less warming to loosen from the fridge.
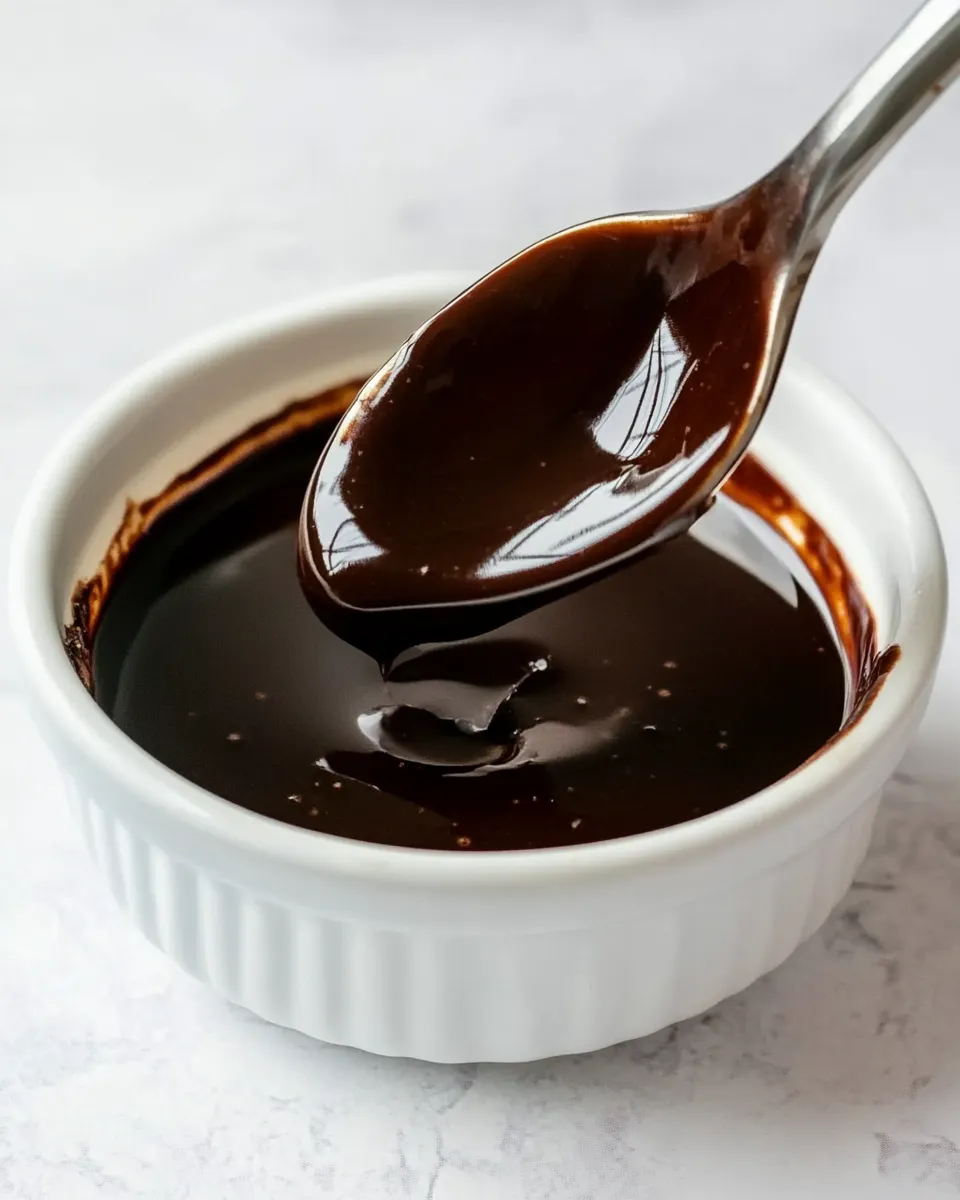
Q: How thick will it get? A: It will be pourable warm and thicken as it cools. Refrigerated, expect a syrupy, spoon-coating texture. Warm gently to restore pourability.
Final Bite
This Thick Homemade Chocolate Sauce is deliberately simple and dependable. A few quality pantry ingredients, a short whisking session, and you have a multi-use sauce that lifts everyday desserts. It’s honest chocolate: no fuss, no mystery, just rich flavor and a texture that makes reaching for a spoon feel perfectly reasonable. Try it on ice cream first — that’s my usual test — and then experiment: milk, fruit, or straight from the jar are all completely valid options.
Thick Homemade Chocolate Sauce
Ingredients
- 1/2 cup unsweetened cocoa powder 40 g
- 1 cup water
- 1 cup granulated sugar 200 g
- salt pinch
- 1/2 teaspoon vanilla
Instructions
- In a small saucepan, whisk together the unsweetened cocoa powder, water, granulated sugar, and a pinch of salt until smooth.
- Place the saucepan over medium-low heat and cook, whisking constantly, until the mixture thickens and the cocoa is fully dissolved, about 3 minutes.
- Remove the pan from the heat and stir in the vanilla.
- Pour the sauce into a jar or covered container and let cool to room temperature.
- Cover and refrigerate; the sauce will thicken as it chills.
Equipment
- Small Saucepan
- Whisk
- Measuring cups and spoons
- jar or covered container
Notes
- You can replace water with 2/3 cup coffee creamer and sugar with 1/2 cup agave or honey.
- Use Dutch-process cocoa for a deeper chocolate flavor.
- Store in the refrigerator for up to 2 weeks.
- If too thick after refrigeration, warm briefly in the microwave to thin.