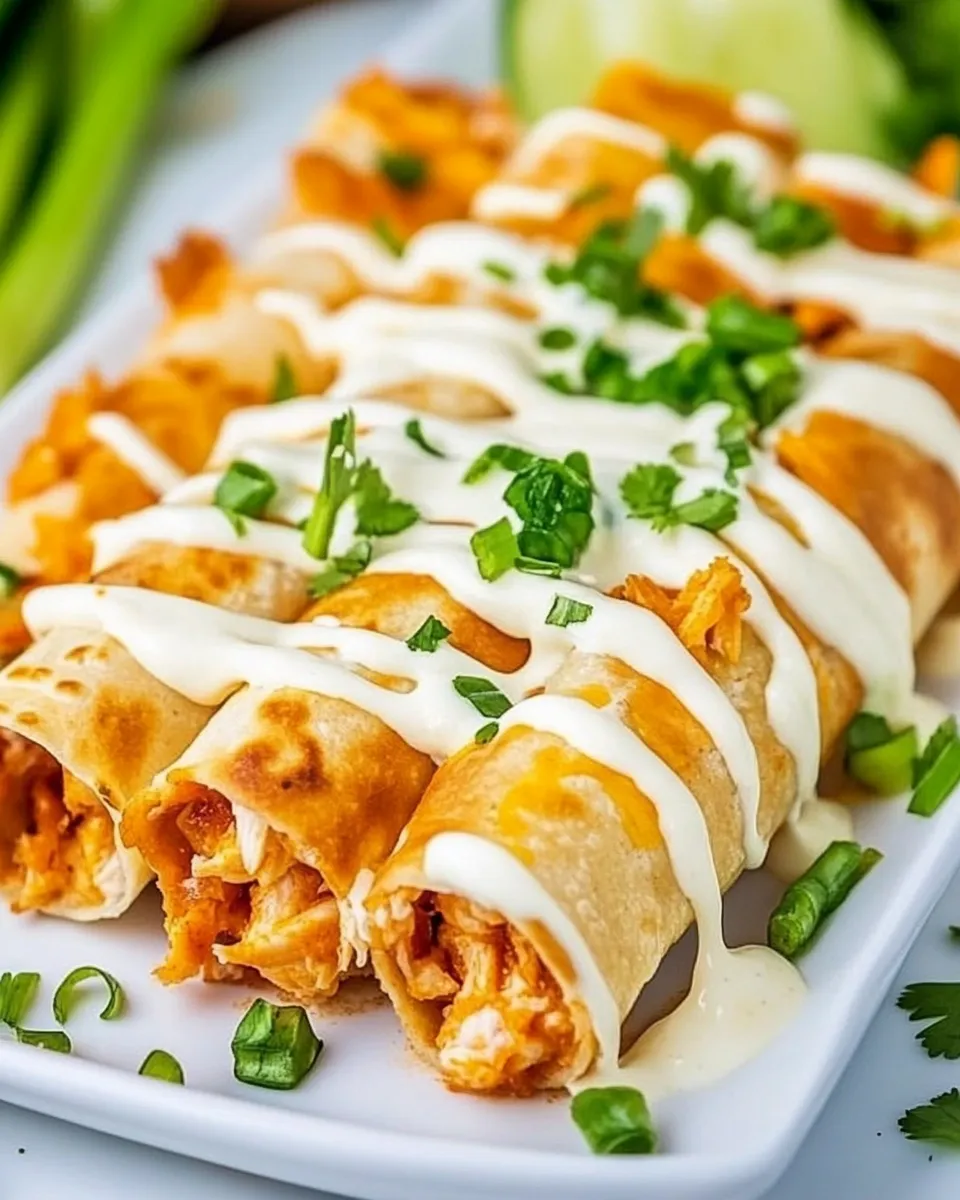
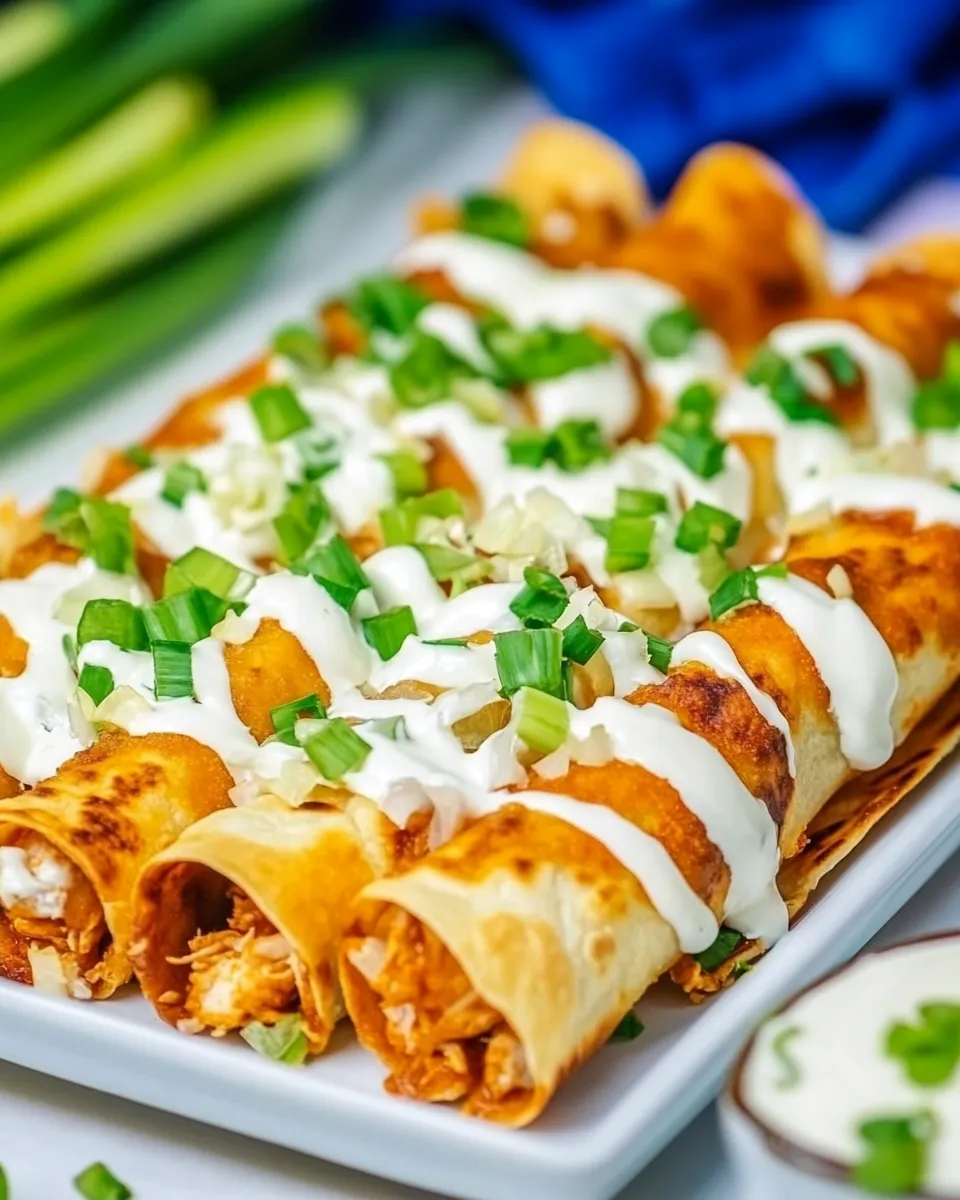
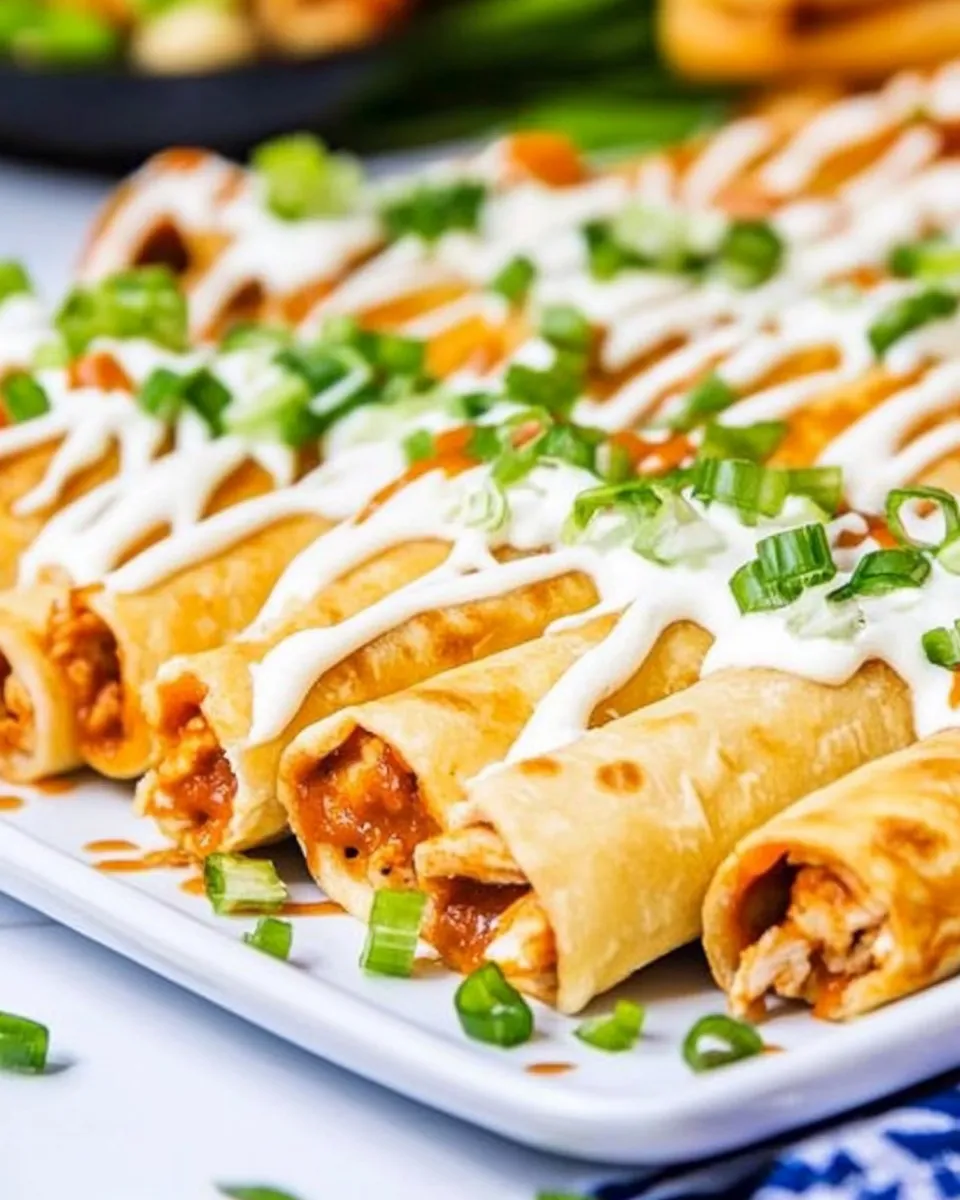
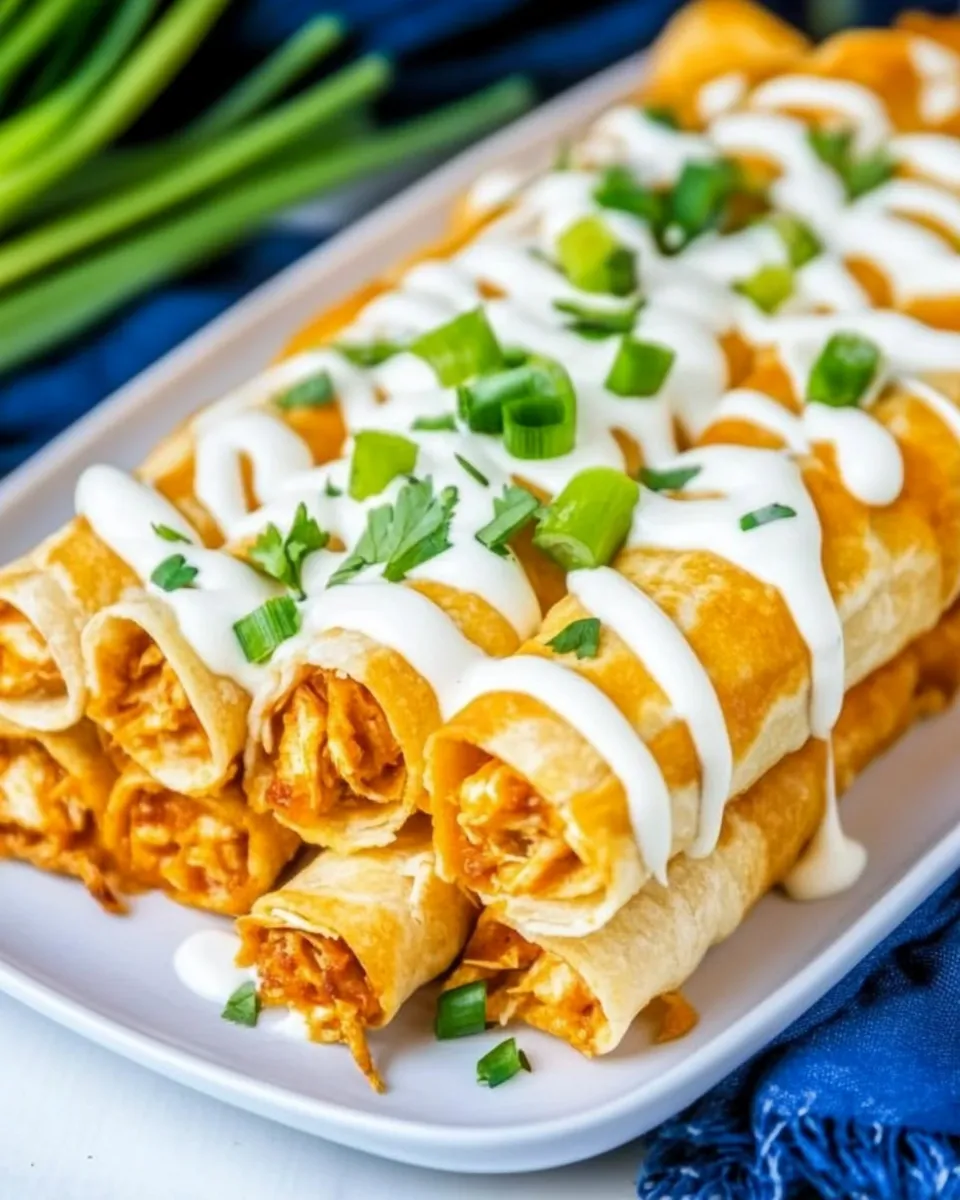
Cheesy Buffalo Chicken Taquitos
These taquitos are a weeknight hero: spicy Buffalo wing flavor folded into creamy, cheesy filling and baked until crisp. They’re mess-free, portable, and crowd-pleasing — perfect for game night, a quick dinner, or whenever you want the kick of Buffalo wings without frying a single thing.
The filling is simple: cream cheese, wing sauce, and ranch whip together, then get folded into shredded chicken and two cheeses. Roll that into small tortillas, bake until golden, and finish with fresh green onion and extra ranch for dipping. The result is crunchy edges with a molten, tangy interior.
I test recipes to make them reliable for home cooks. Below you’ll find an exact ingredient list with notes, a clarified step-by-step method that follows the original directions and amounts, troubleshooting tips, make-ahead ideas, and ways to adapt these taquitos to different diets.
What You’ll Gather
Ingredients
- 4 ounces cream cheese, softened — gives the filling a creamy base and helps bind the mix.
- 1/3 cup Buffalo wing sauce — provides the classic spicy, vinegary Buffalo flavor.
- 2 tablespoons Ranch dressing — adds tang and coolness to balance the heat.
- 2 cups shredded cooked chicken — the main protein; rotisserie chicken is a time-saver.
- 1 1/2 cups shredded cheddar cheese or Colby Jack cheese — melts into gooey richness inside each taquito.
- 1/3 cup blue cheese crumbles — adds sharp, salty bites that echo traditional Buffalo wings.
- 2 green onions, sliced — half goes into the filling, half for garnish to add freshness.
- black pepper — seasoning; add to taste.
- 12 small flour or corn tortillas — small size keeps taquitos crisp and perfectly portioned.
- Ranch dressing for serving — optional for drizzling or dipping.
Stepwise Method: Cheesy Buffalo Chicken Taquitos
Follow these steps in order. I kept the same ingredient amounts and the original sequence but clarified and expanded each action so the process is predictable and easy.
- Preheat your oven to 425°F (220°C). Line a large rimmed baking sheet and spray it lightly with cooking spray to prevent sticking and help the taquitos brown evenly.
- In a large bowl, combine the softened cream cheese, 1/3 cup Buffalo wing sauce, and 2 tablespoons Ranch dressing. Use an electric mixer (or a sturdy whisk and some elbow grease) to beat until the mixture is completely smooth and uniform in color.
- Add 2 cups shredded cooked chicken, 1 1/2 cups shredded cheddar or Colby Jack cheese, 1/3 cup blue cheese crumbles, and half (about 1) of the sliced green onions to the bowl. Stir gently with a spatula until everything is evenly distributed. Taste and season with black pepper as desired.
- Place the 12 small tortillas on a microwave-safe plate. Cover them with a damp paper towel and microwave for 40 seconds. This softens the tortillas and makes them pliable so they roll without cracking.
- Working with one tortilla at a time, divide the chicken mixture evenly so there’s enough for all 12. Spoon the filling onto the lower third of each tortilla (closest to you), forming a log about the width of your finger.
- Roll the tortilla tightly around the filling and place the taquito seam-side down on the prepared baking sheet. Arrange them in a single layer with a little space between each so air circulates and they crisp evenly.
- Lightly spray the assembled taquitos with cooking spray. This helps them brown and become crisp in the oven without deep frying.
- Bake on the middle rack for 15 minutes, or until the taquitos are golden brown and crisp. If your oven runs hot or your tortillas are very thin, check at 12 minutes to avoid overbrowning.
- Transfer the taquitos to a serving plate. Sprinkle with the remaining sliced green onion. Drizzle with additional Ranch dressing or serve with a bowl of Ranch on the side for dipping.
What You’ll Love About This Recipe
It’s fast: the filling comes together in one bowl and baking is hands-off. No frying reduces mess and cleanup. The texture contrast is excellent — crunchy tortillas and soft, melty centers. Flavor-wise, you get spicy Buffalo, cool ranch, and sharp blue cheese in every bite, which makes these addictive.
Vegan & Vegetarian Swaps
- Chicken replacement: Use 2 cups shredded jackfruit or crumbled, well-drained pressed tofu seasoned and mixed with the same sauce to mimic texture.
- Dairy swaps: Replace cream cheese with vegan cream cheese, cheddar with vegan shredded cheese, and omit blue cheese or use a vegan blue-style crumble if available.
- Sauce: Use a vegan wing sauce and vegan ranch to keep the same flavor profile.
Recommended Tools
- Electric mixer or sturdy whisk — for a smooth, lump-free filling.
- Large mixing bowl — to combine the filling ingredients with room to stir.
- Rimmed baking sheet — helps with even browning and prevents spills.
- Cooking spray — for keeping taquitos from sticking and promoting crispness.
- Microwave-safe plate and damp paper towel — to warm tortillas so they roll without tearing.
Frequent Missteps to Avoid
- Cold cream cheese: If the cream cheese isn’t softened, the filling will be lumpy. Soften it to room temperature first.
- Overfilling tortillas: Too much filling makes rolling difficult and causes seams to split. Keep filling to the lower third and roll snugly.
- Skipping the damp towel step: Microwaving the tortillas with a damp towel prevents cracking. If you skip this, expect tears and leaks.
- Under- or over-baking: Fifteen minutes is the guideline; ovens vary. Check at 12 minutes if your oven browns fast, or add a few minutes if they’re not crisping.
Tailor It to Your Diet
- Lower sodium: Use low-sodium buffalo sauce, low-sodium cheeses, and taste before adding extra salt.
- Higher protein: Use extra shredded chicken (increase outside ingredients) or add a bit of drained, rinsed canned beans to the filling in small amounts.
- Gluten-free: Use certified gluten-free corn or flour tortillas sized similarly to keep texture consistent.
What I Learned Testing
Softening the cream cheese fully and using an electric mixer makes the filling smoother and easier to roll. Microwaving the tortillas under a damp towel is a small step that prevents a lot of frustration; it keeps them flexible and reduces tearing. A light mist of cooking spray before baking gives the best crunchy exterior without frying. Finally, blue cheese is essential for the authentic Buffalo profile — even a small amount makes a big difference.
Make-Ahead & Storage
To make ahead: assemble the taquitos on the baking sheet, cover tightly with plastic wrap, and refrigerate for up to 8 hours. When ready to bake, remove the wrap, mist with cooking spray, and bake as directed — you may need an extra 2–4 minutes if they’re cold straight from the fridge.
Storage: cooled taquitos keep in an airtight container in the refrigerator for 3–4 days. Reheat in a 375°F oven for 8–10 minutes or in an air fryer until heated through and crisp. For longer storage, freeze cooked taquitos in a single layer on a sheet pan, then transfer to a freezer bag for up to 2 months; reheat from frozen at 400°F for 12–15 minutes.
Your Questions, Answered
Q: Can I make these spicier or milder? A: Yes — increase or reduce the Buffalo sauce to taste. For milder, add extra ranch or reduce the wing sauce by a tablespoon or two.
Q: Can I pan-fry instead of baking? A: You can shallow-fry for extra crispness, but baking is cleaner and uses far less oil. If frying, watch closely to avoid over-browning.
Q: What’s the best tortilla to use? A: Small flour tortillas are easiest to roll and crisp well; corn works but may need extra care when warming to prevent cracks.
Make It Tonight
Gather your ingredients, preheat to 425°F, and plan 30 minutes from start to finish for a hot tray of Cheesy Buffalo Chicken Taquitos. These are great with celery sticks and extra Ranch on the side. Enjoy the perfect balance of spicy, tangy, and cheesy — baked, not fried, and ready to share.

Cheesy Buffalo Chicken Taquitos
Ingredients
- 4 ounces cream cheese softened
- 1/3 cup Buffalo wing sauce
- 2 tablespoons ranch dressing
- 2 cups shredded cooked chicken
- 1 1/2 cups shredded cheddar or Colby Jack cheese
- 1/3 cup blue cheese crumbles
- 2 green onions sliced, divided
- black pepper to taste
- 12 small flour or corn tortillas
- ranch dressing for serving
Instructions
- Preheat the oven to 425°F (220°C) and spray a large rimmed baking sheet with cooking spray.
- In a large bowl, beat the softened cream cheese, Buffalo wing sauce, and 2 tablespoons ranch dressing with a hand-held electric mixer until smooth.
- Stir in the shredded cooked chicken, shredded cheddar or Colby Jack, blue cheese crumbles, and half of the sliced green onions. Season with black pepper to taste.
- Place tortillas on a microwave-safe plate, cover with a damp paper towel, and microwave for about 40 seconds until pliable.
- Divide the chicken mixture among the tortillas, placing it on the lower third of each tortilla, then roll up tightly and place seam-side down on the prepared baking sheet.
- Lightly spray the tops of the taquitos with cooking spray and bake for 15 minutes, or until golden brown and crispy.
- Transfer to a serving plate, sprinkle with the remaining sliced green onions, and drizzle with or serve alongside ranch dressing for dipping.
Equipment
- large rimmed baking sheet
- hand-held electric mixer
- Mixing Bowl
- microwave-safe plate
- Measuring cups and spoons
Notes
- Taquitos can be rolled up to 8 hours in advance and refrigerated covered tightly.