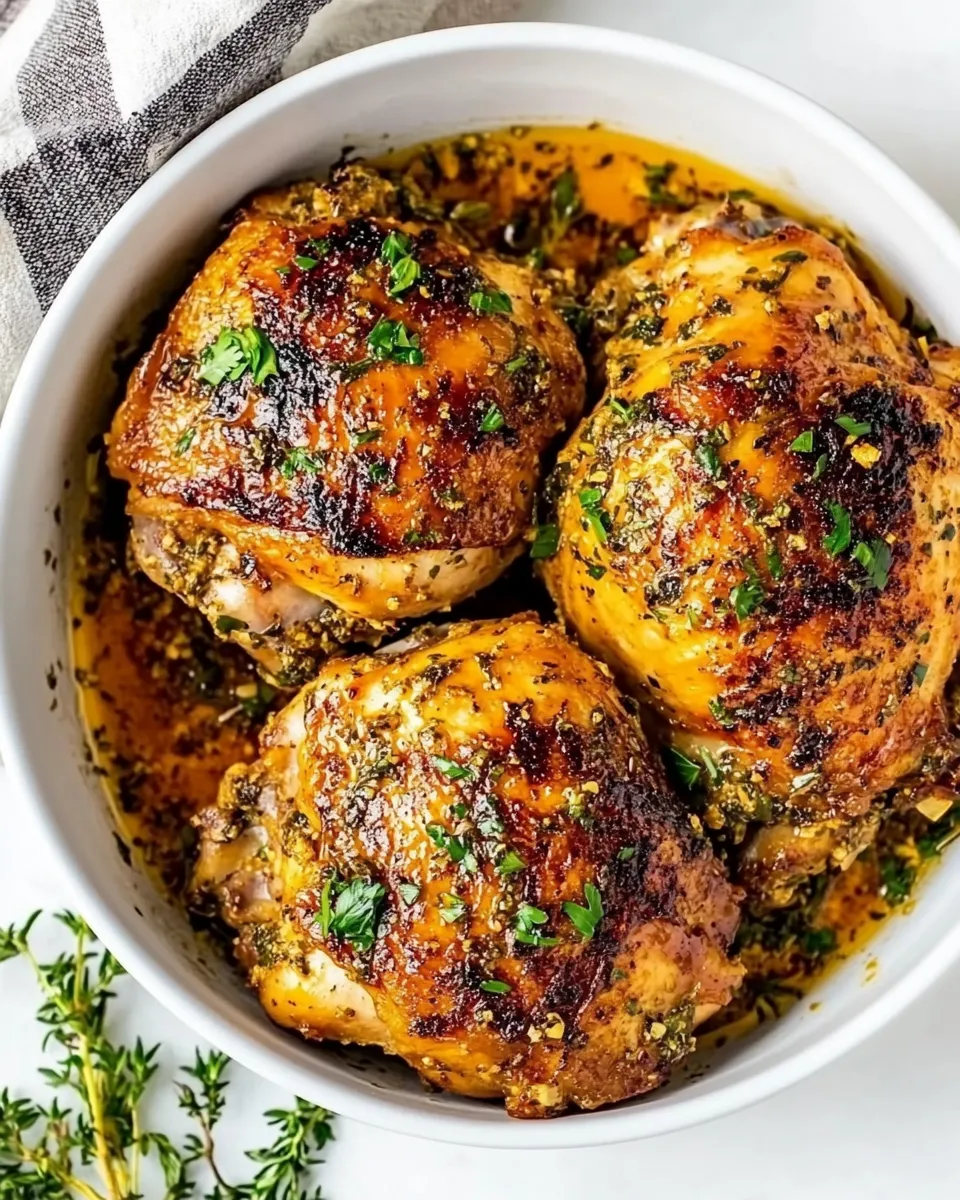
Cast Iron Chicken Thighs
I love weeknight dinners that feel like a small celebration. These cast iron chicken thighs deliver crisp, browned skin and juicy meat without drama. You can get dinner on the table in under 30 minutes, and the skillet does most of the work — browning, flavor-building, and finishing in the oven.
This is a straightforward recipe that focuses on technique and timing rather than fancy ingredients. A little salt, pepper, garlic, olive oil, and butter are all you need. The result is deeply satisfying: crackling skin, a garlicky finish, and chicken that stays moist.
What You’ll Gather
From Start to Finish: Cast Iron Chicken Thighs
1. Preheat the oven to 200°C (400°F). Position an oven rack in the middle so the skillet sits centered for even heat.
2. Pat the chicken thighs dry with paper towels. Sprinkle both sides with 1/2 teaspoon salt and 1/2 teaspoon pepper, rubbing gently so the seasoning adheres. Dry skin yields the crispiest result.
3. Heat a 10–12 inch cast iron skillet over medium-high heat until it’s hot but not smoking (about 2–3 minutes). Add 1 tablespoon olive oil and 1 tablespoon butter to the skillet. Swirl to combine and coat the surface.
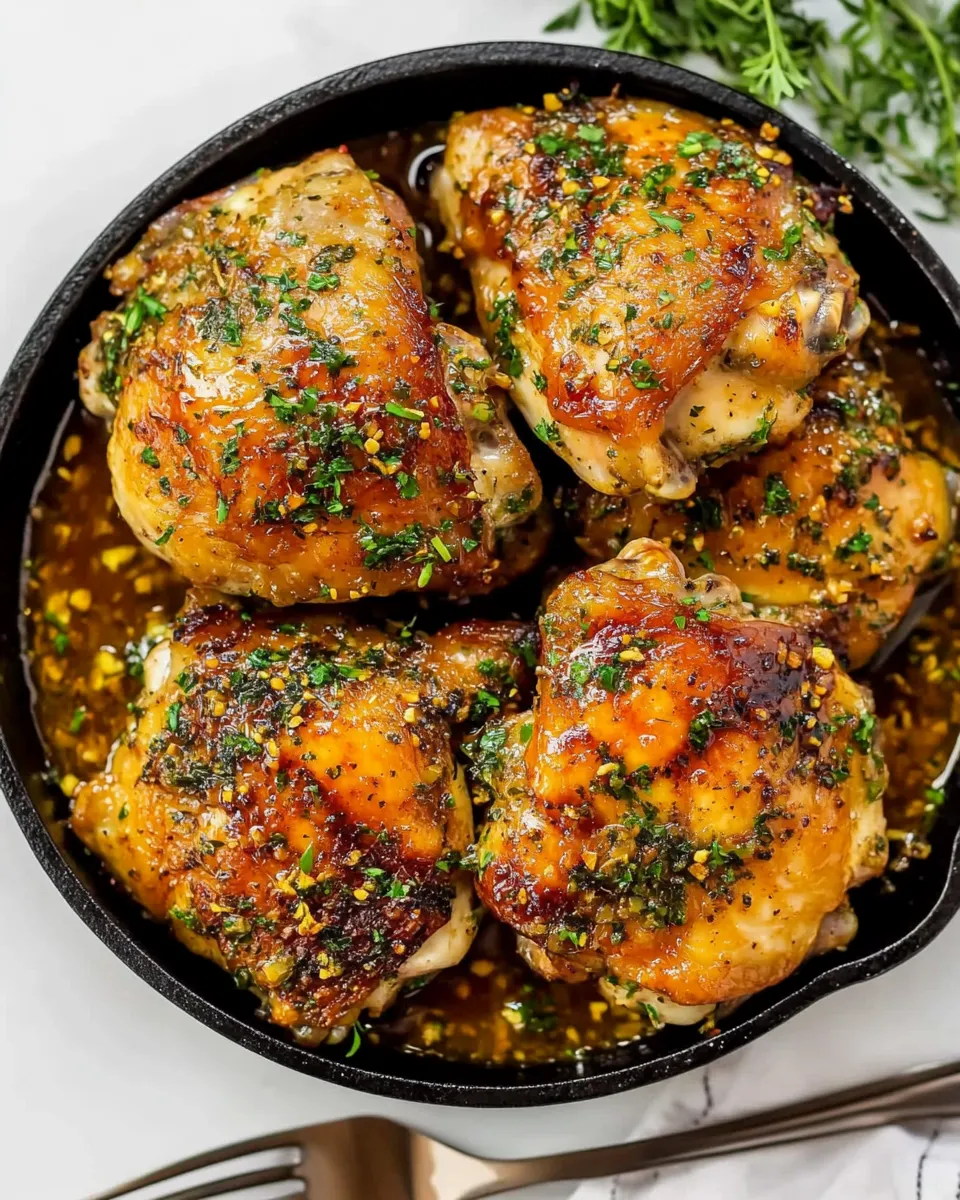
4. Place the chicken thighs in the skillet skin-side down, spacing them so they don’t crowd. Cook undisturbed for 6–8 minutes, watching for the skin to turn deep golden brown and release easily from the pan. If the skin sticks, give it a little more time—the crust will loosen as it browns.
5. Flip the thighs so the skin side is up. Scatter the 3 cloves minced garlic around the chicken (not directly under the skin) so it flavors the pan juices.
6. Immediately transfer the skillet to the preheated oven. Bake for 12–15 minutes, or until an instant-read thermometer inserted into the thickest part of a thigh (avoiding bone) reads 165°F (74°C). Ovens vary; start checking at 12 minutes.
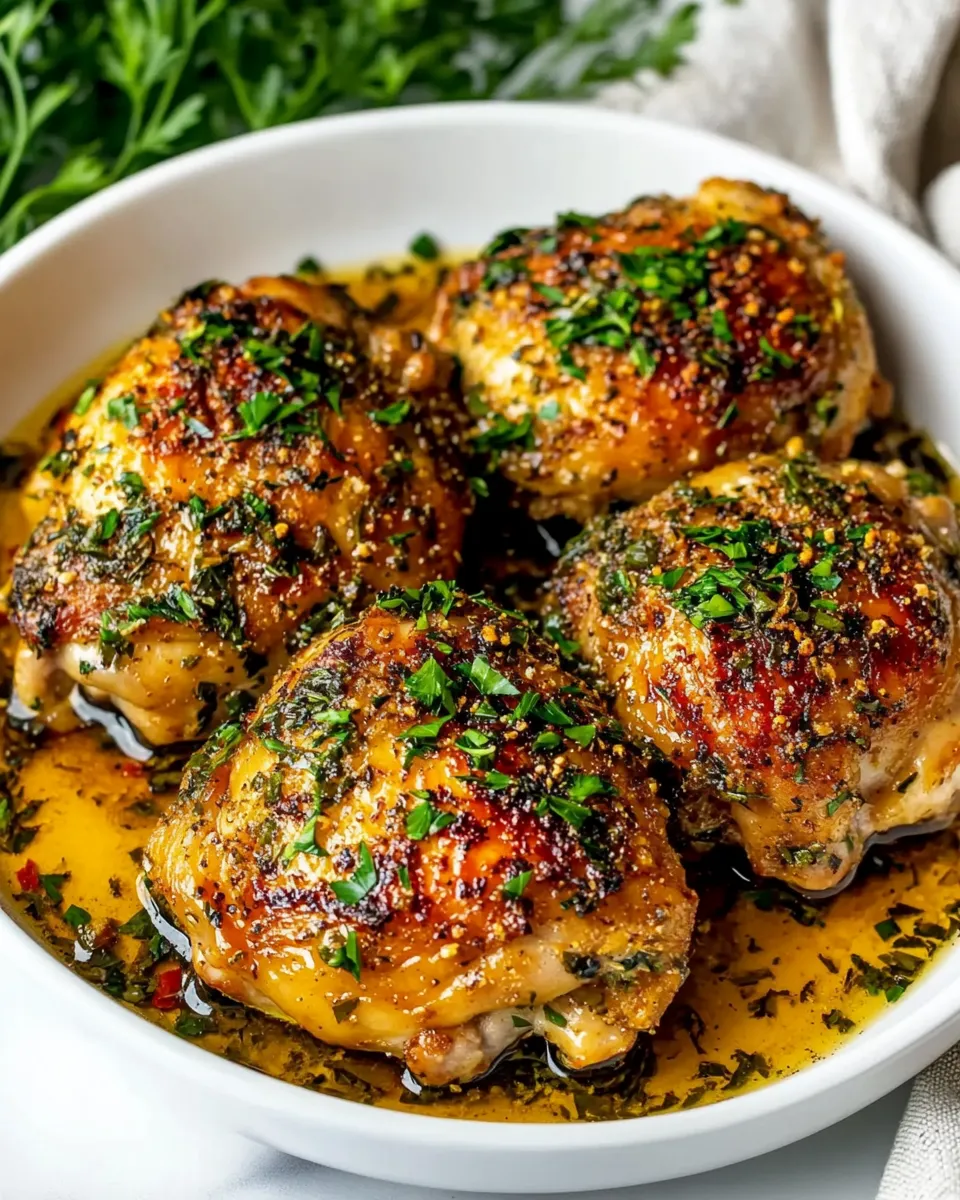
7. Remove the skillet from the oven and let the thighs rest in the pan for a few minutes. Resting lets the juices redistribute and keeps the meat moist. Spoon any pan juices over the thighs before serving.
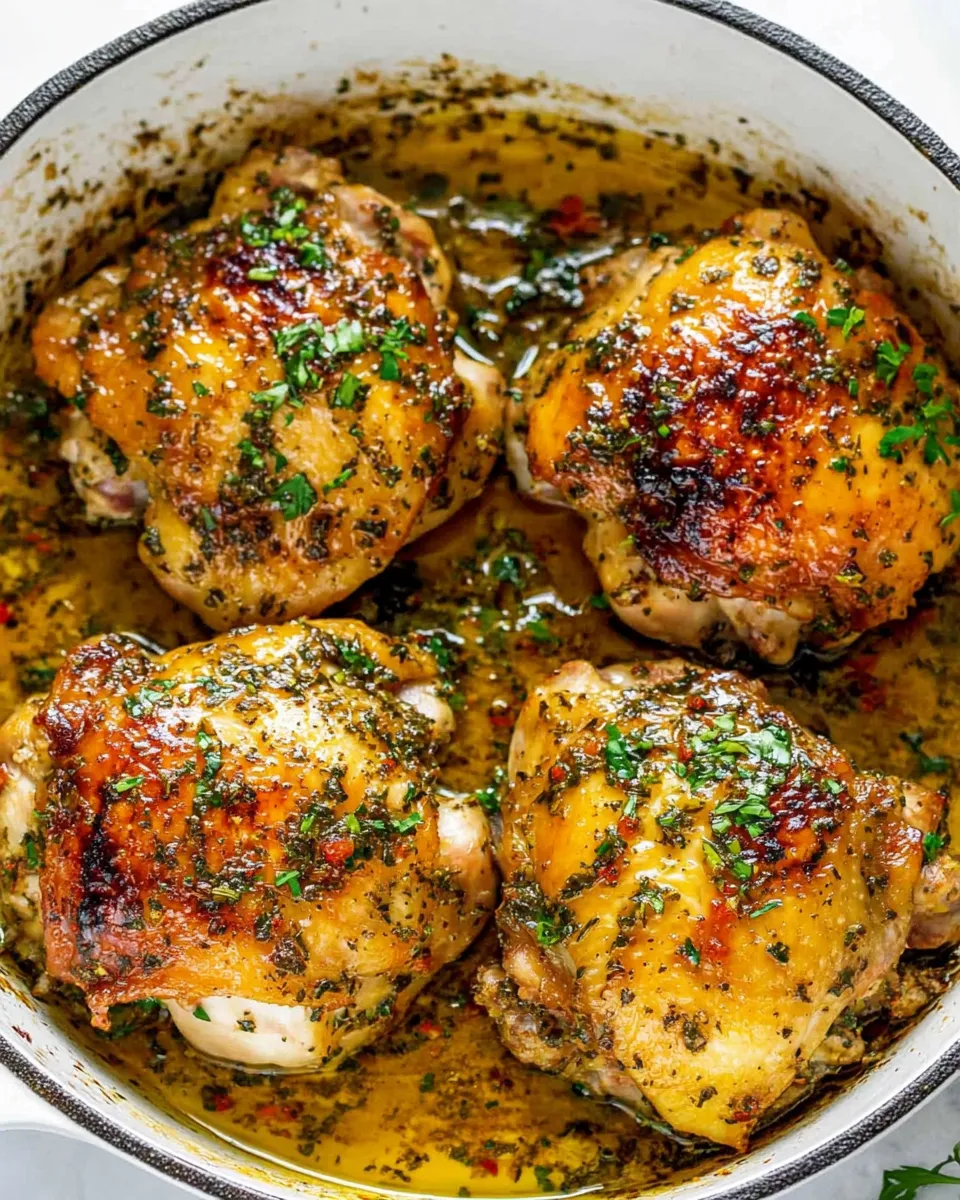
Why This Cast Iron Chicken Thighs Stands Out
This dish leans on two reliable techniques: dry, seasoned skin and high-heat browning in a heavy skillet. Cast iron holds heat consistently, giving you an even, deeply caramelized crust. The quick oven finish guarantees the thighs cook through without drying out. A small amount of butter added while searing enriches the fond; the garlic added just before roasting infuses the pan without burning. The result is simple but layered — crispy, savory, and ideal for pairing with quick sides.
No-Store Runs Needed
Most of these items are pantry and fridge staples. If you’re missing garlic, you can use a light dusting of garlic powder (use sparingly). No cast iron? A heavy stainless pan works, but you’ll miss a touch of retained heat that helps crisp the skin during the oven finish. If you have only skinless thighs, cook times will be shorter and the texture different; for best results stick with skin-on.
Equipment & Tools
Frequent Missteps to Avoid
Variations by Season
Spring
Summer
Fall/Winter
Notes on Ingredients
Meal Prep & Storage Notes
Top Questions & Answers
Hungry for More?
If you like this method, try scaling up for a sheet-pan meal: brown the thighs exactly the same way, then roast with chopped potatoes and carrots tossed in oil and herbs for a simple one-pan dinner. Or use the same skillet technique on bone-in chicken breasts—just watch the timing and internal temperature closely. Simple techniques like these become staples because they’re dependable and fast. Enjoy — and let that skin get good and crunchy.

Cast Iron Chicken Thighs
Ingredients
- 4 chicken thighs skin-on
- 1/2 teaspoon salt
- 1/2 teaspoon black pepper
- 1 tablespoon olive oil
- 1 tablespoon butter
- 3 cloves garlic minced
Instructions
- Preheat the oven to 200°C (400°F).
- Pat the chicken thighs dry with paper towels and season both sides with the salt and pepper.
- Heat a cast iron skillet over medium-high heat until hot, then add the olive oil and butter and swirl to coat.
- Place the chicken thighs in the skillet skin-side down and cook undisturbed for 6–8 minutes, until the skin is golden brown and crispy.
- Flip the thighs, add the minced garlic to the pan, then transfer the skillet to the preheated oven.
- Bake for 12–15 minutes, or until an internal temperature of 74°C (165°F) is reached.
- Remove the skillet from the oven and let the chicken rest for a few minutes before serving.
Equipment
- Cast-Iron Skillet
- Oven
- Meat Thermometer
Notes
- Let chicken rest a few minutes to retain juices.
- Use a meat thermometer to confirm doneness.
- Drying the skin before cooking helps it crisp.
- Adjust salt to taste.