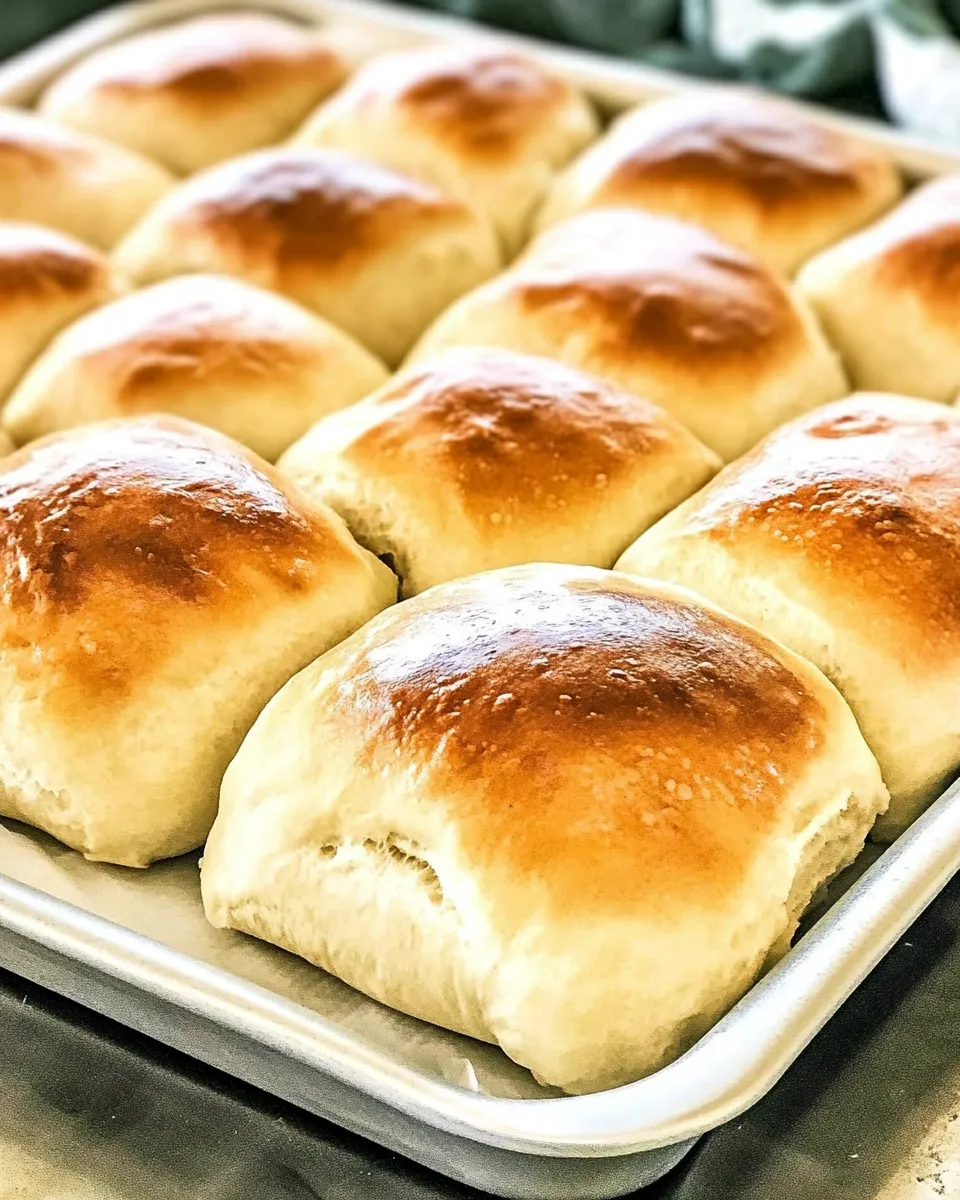
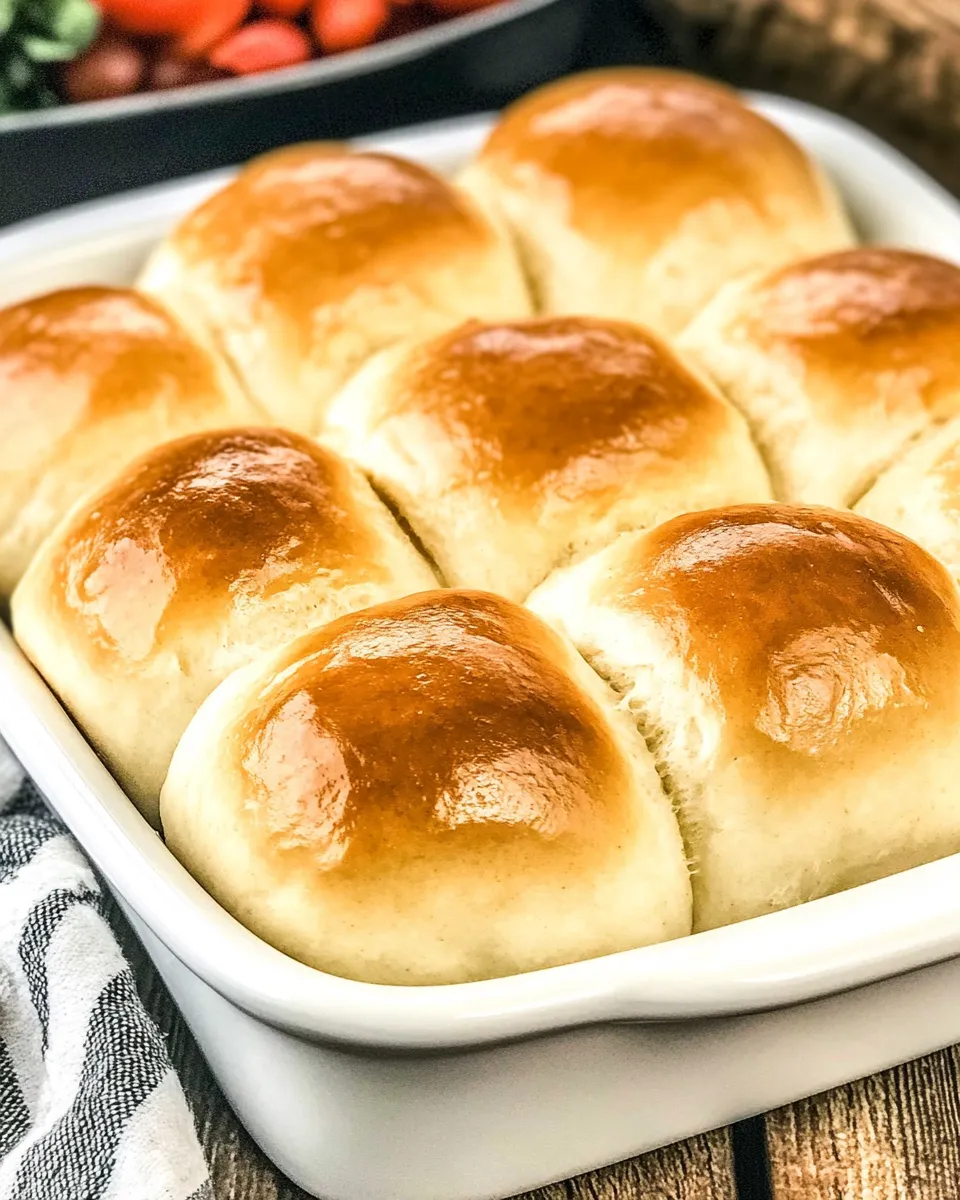
School Cafeteria Yeast Rolls
These are the soft, slightly sweet rolls I remember from lunch lines and field trips—the kind that came warm and buttered, disappearing in minutes. They’re straightforward to make at home with pantry-stable ingredients and a standard stand mixer. No fancy techniques, just reliable steps that produce fluffy, tender rolls every time.
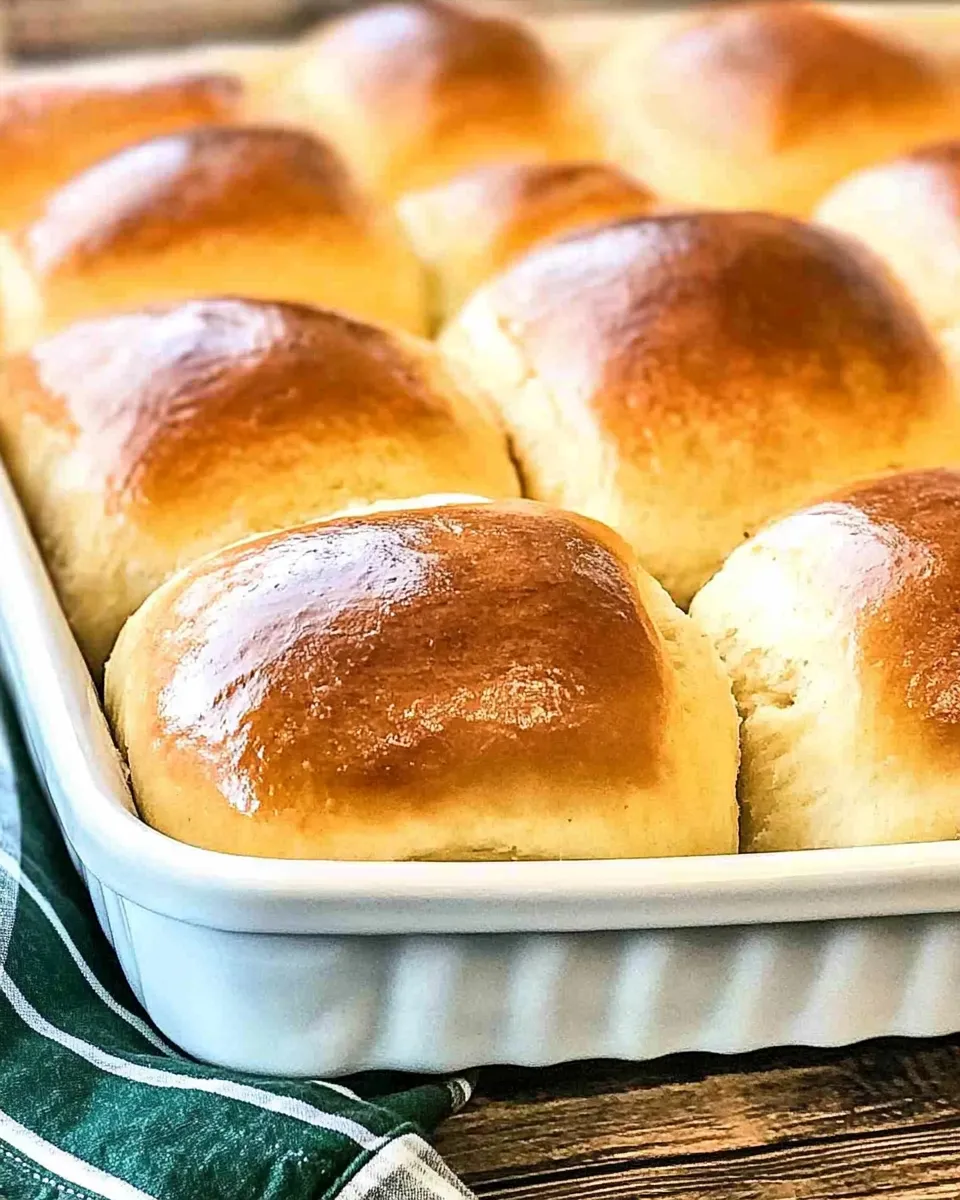
If you’re baking for a crowd or want an easy weekly batch, this recipe scales well and keeps its texture when stored properly. The dough is forgiving: a short first rise, a quick shaping into 24 small rolls, and a final rise before a high-temperature bake that gives a light, golden crust.
I’ll walk you through the exact ingredient list, step-by-step directions, swaps, and troubleshooting notes so you can get cafeteria-style results without the industrial oven. Let’s get into it.
Ingredient List
- 2½ Tbsp yeast — Active leavening; dissolves in warm water to start fermentation.
- ¾ cup warm water — For proofing the yeast; should be lukewarm (about 100–110°F).
- 6½ cups bread flour — High-protein flour gives structure and chew typical of cafeteria rolls.
- 11 Tbsp instant non-fat dry milk powder — Adds tenderness, flavor, and helps with browning.
- 6½ Tbsp sugar — Feeds the yeast and gives a touch of sweetness to the rolls.
- 1 Tbsp salt — Strengthens gluten and balances sweetness.
- 6½ Tbsp vegetable oil — Keeps rolls soft and extends shelf life.
- 1¼ cups water — Combined with the oil in the dough; this is in addition to the warm water used for the yeast.
School Cafeteria Yeast Rolls: How It’s Done
- Proof the yeast: In a small bowl, stir the 2½ tablespoons yeast into ¾ cup warm water. Let it sit 5–10 minutes until foamy. If it doesn’t foam, the yeast may be inactive—start again with fresh yeast and properly warmed water.
- Combine dry ingredients: In the bowl of a stand mixer, whisk together 6½ cups bread flour, 11 tablespoons dry milk powder, 6½ tablespoons sugar, and 1 tablespoon salt so everything is evenly distributed.
- Add oil and water: Pour 6½ tablespoons vegetable oil and 1¼ cups water into the dry mix. Mix on low speed for about 3 minutes until the mixture starts to come together into a shaggy dough.
- Incorporate the yeast: Add the proofed yeast mixture to the mixer bowl. Increase the mixer to medium speed and knead for 8 minutes. The dough should become smooth, elastic, and not overly sticky; it will hold together and pull away cleanly from the bowl.
- First rise: Loosely cover the mixer bowl with plastic wrap or a damp towel and place it in a warm draft-free spot. Let the dough rise until it doubles in size, about 45 minutes.
- Shape the rolls: Punch the risen dough down to release air. Lightly spray a 9×13-inch baking dish with cooking spray. Divide the dough into 24 equal pieces—use a bench scraper or kitchen scale for even sizing—and shape each into a smooth ball. Arrange the 24 dough balls evenly in the prepared baking dish.
- Second rise: Loosely cover the baking dish with plastic wrap or a clean towel and let the rolls rise in a warm spot until doubled, about 30 minutes.
- Preheat and bake: While the rolls finish the second rise, preheat the oven to 400°F. Once risen, place the baking dish in the oven and bake for 18–20 minutes, until the tops are golden brown and an internal check shows the rolls are cooked through.
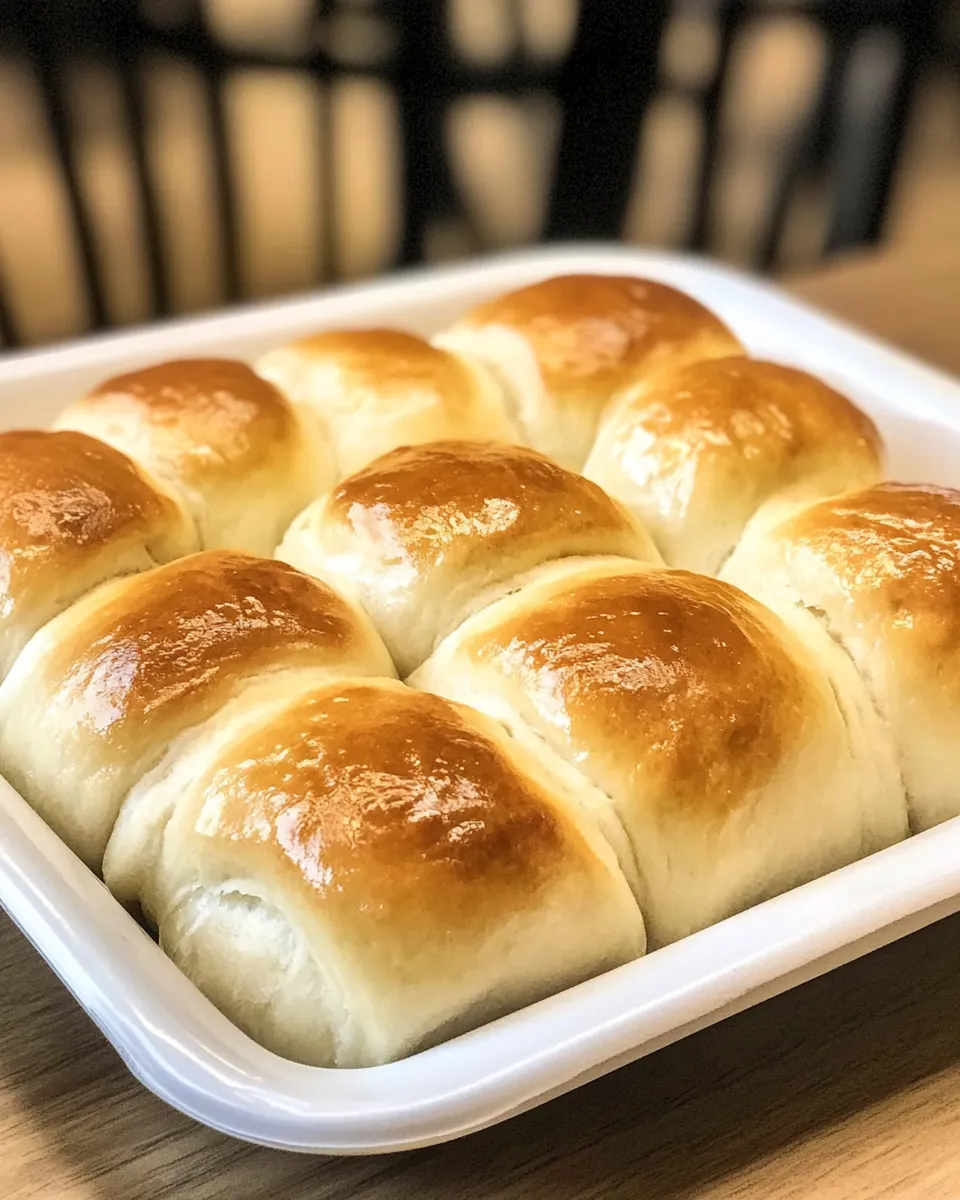
- Finish with butter: Remove the rolls from the oven and immediately brush the tops with melted butter. Serve warm or let cool slightly before storing.
Why This Recipe Works
The formula balances flour, water, fat, and sugar to recreate the soft, tender crumb of cafeteria rolls. Bread flour provides enough gluten for structure while keeping the interior chewy—not dense. Dry milk powder enriches the dough without extra liquid, giving a subtle milky flavor and better browning. The two-stage rise (bulk and proof) develops flavor and creates the uniform small cells that make these rolls pillowy.
Mixing first on low and then kneading at medium speed develops gluten without overheating the dough. Baking at 400°F sets a light brown crust quickly so the interior remains moist. The small 24-roll format provides consistent baking time and the familiar look of lunchroom favorites.
Swap Guide
- Flour: You can replace up to 1 cup of bread flour with all-purpose if needed, but expect slightly less chew.
- Oil: Substitute the vegetable oil with an equal amount of melted unsalted butter for richer flavor.
- Milk powder: If you don’t have dry milk, use 1/2 cup whole milk (reduce the 1¼ cups water by 1/2 cup) — this will change hydration slightly.
- Sugar: Brown sugar can be used for a deeper flavor, though the rolls will be a touch darker.
- Yeast: If using active dry yeast instead of instant, proof it the same way; the given quantity assumes a general active yeast measure—ensure proper proofing.
Tools & Equipment Needed
- Stand mixer with dough hook — for consistent kneading and less hands-on time.
- Small bowl — to proof the yeast.
- 9×13-inch baking dish — fits the 24 rolls as specified.
- Measuring cups and spoons — for accurate proportions.
- Kitchen scale or bench scraper (optional) — to divide the dough into equal pieces.
- Plastic wrap or clean kitchen towel — to cover dough during rises.
Don’t Do This
- Don’t skip proofing the yeast. If the yeast doesn’t foam in the 5–10 minute window, the dough won’t rise properly.
- Don’t add extra flour out of habit during kneading. The dough should be slightly tacky; add flour sparingly only if it’s excessively sticky.
- Don’t expose the dough to drafts or cold spots during rises. Temperature inconsistency will slow or stop fermentation.
- Don’t open the oven repeatedly during baking. That can lower the temperature and affect rise and crust color.
Year-Round Variations
- Winter: Add 1 tsp cinnamon to the dry mix and brush with honey-butter after baking for a cozy twist.
- Spring/Summer: Fold in 1/4 cup finely chopped fresh herbs (like chives or parsley) to the dough for a savory roll—reduce salt by 1/4 tsp if desired.
- Fall: Stir 2 tbsp pumpkin puree into the liquid portion and add 1/2 tsp ground ginger for a seasonal flavor; dough hydration will be affected minimally given the small amount.
- Holiday: Before the final rise, press a small pat of softened butter into the center of each ball for a pull-apart, buttery surprise.
Pro Tips & Notes
- Water temperature: Aim for 100–110°F when proofing yeast. Too hot will kill yeast; too cool slows activity.
- Even sizing: Use a kitchen scale to divide the dough into 24 equal portions for uniform baking.
- Warm spot: Use an oven with the light on or a microwave with a cup of hot water to create a gentle, warm rise environment.
- Check doneness: Rolls should be deep golden on top; an instant-read thermometer in the center should read about 190–200°F if you want a precise check.
- Butter finish: Brushing with melted butter right after baking keeps tops soft and adds flavor; for a shiny finish, brush with an egg wash before baking instead.
Meal Prep & Storage Notes
Cool rolls completely before storing to avoid condensation. Store at room temperature in an airtight container or resealable bag for up to 3 days. For longer storage, freeze cooled rolls in a single layer on a baking sheet, then transfer to a freezer bag for up to 3 months. Reheat from frozen in a 325°F oven for 10–15 minutes, or thaw at room temperature and warm briefly.
Troubleshooting Q&A
- Q: My dough didn’t rise. A: Check yeast freshness and water temperature. If yeast didn’t foam when proofed, start over with fresh yeast. Also ensure salt didn’t touch active yeast directly when mixing.
- Q: Rolls are dense. A: Under-kneading or insufficient rise time can cause density. Knead the full 8 minutes at medium speed and allow both rises to reach roughly double in volume.
- Q: Tops are pale. A: Your oven temperature may be low or the rolls need a bit more baking time. Verify oven calibration and bake until golden; consider brushing with melted butter for better color.
- Q: Dough too sticky to handle. A: Lightly oil your hands and work surface instead of adding large amounts of flour; a tacky dough is normal and yields softer rolls.
Ready to Cook?
Gather the listed ingredients and your stand mixer, and plan for about 2 hours from start to finish (including rises). Follow the step-by-step directions above, and you’ll have 24 cafeteria-style yeast rolls that are soft, buttery, and perfect for family dinners, potlucks, or batch-freezing. Enjoy the warm, nostalgic result—and don’t skimp on the melted butter at the end.
School Cafeteria Yeast Rolls
Ingredients
- 2.5 Tbsp yeast
- 3/4 cup warm water
- 6.5 cups bread flour
- 11 Tbsp instant nonfat dry milk powder
- 6.5 Tbsp sugar
- 1 Tbsp salt
- 6.5 Tbsp vegetable oil
- 1.25 cups water
Instructions
- In a small bowl, stir the yeast into 3/4 cup warm water and set aside until foamy, about 5–10 minutes.
- In the bowl of a stand mixer fitted with the dough hook, combine the bread flour, sugar, salt, and dry milk powder.
- Add the vegetable oil and 1¼ cups water to the dry ingredients and mix on low for 3 minutes to hydrate the flour.
- Add the yeast mixture and knead on medium speed with the dough hook for about 8 minutes, until the dough is smooth and elastic.
- Loosely cover the bowl and let the dough rise in a warm place until doubled in size, about 45 minutes.
- Punch the dough down and divide it into 24 equal pieces. Lightly spray a 9x13-inch baking dish and place the rolls seam-side down in the dish.
- Loosely cover the baking dish and let the rolls rise in a warm spot until doubled, about 30 minutes.
- Preheat the oven to 400°F (200°C). Bake the rolls for 18 to 20 minutes, until golden brown on top.
- Brush the warm rolls with melted butter, if desired, and serve.
Equipment
- stand mixer
- 9x13 inch Baking Dish
- small bowl
- Measuring cups and spoons
- pastry brush
Notes
- The recipe correctly calls for 2½ tablespoons of yeast.
- Measure flour by lightly spooning into the cup and leveling with a straight edge.
- All-purpose flour can be used; bread flour gives a slightly higher rise.
- You can freeze baked rolls for later use.