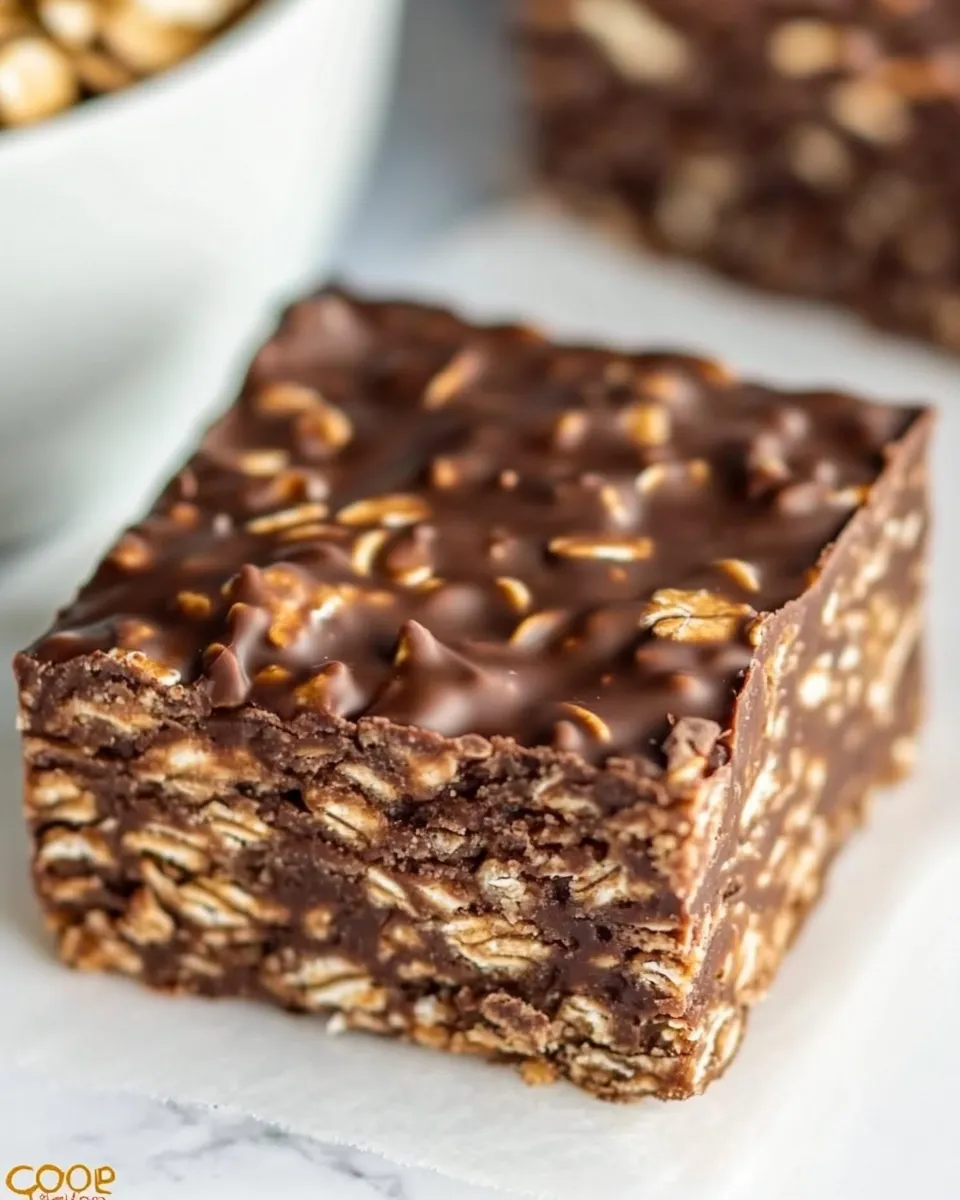
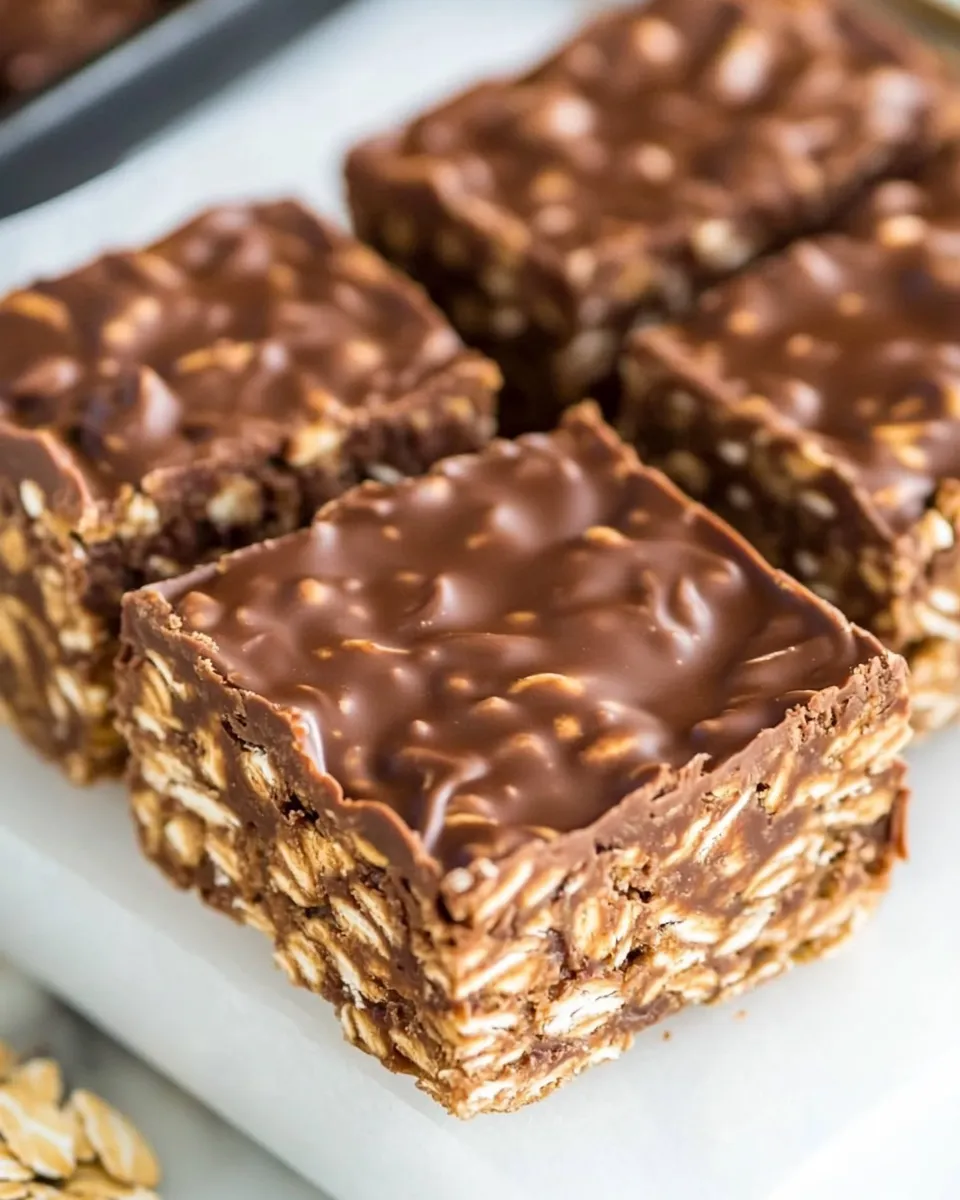
No Bake Chocolate Oat Bars
These bars are the kind of recipe I turn to when I want something chocolatey, reliable, and fast — no oven required. Crisp edges aren’t the goal; instead you get a tender, slightly chewy oat base with a rich peanut butter-chocolate contrast that sets in the fridge. They’re simple to pull together and travel well for potlucks, school lunches, or when guests drop by unannounced.
You’ll appreciate that the ingredient list is short and pantry-friendly. The technique is straightforward: melt, mix, press, and chill. Little tricks in the instructions make a cleaner cut and a prettier top finish, so even if you’re in a hurry the bars still look like you put in a bit of effort.
These are forgiving: swap nut butters or use different chips, and you’ll still end up with a satisfying treat. Below I give exact steps, ingredient notes, tool suggestions, and storage ideas so you can make these repeatedly with consistent results.
Gather These Ingredients
- 1 cup butter — melts to bind the oats and brown sugar; provides richness and helps the bars set when chilled.
- ½ cup brown sugar, packed — sweetens and adds moisture; packing ensures the right sweetness and texture.
- 1 teaspoon vanilla extract — brightens the flavor and complements the chocolate and peanut butter.
- 3 cups quick cooking oats — the base of the bars; quick oats give a cohesive, tender texture.
- 1 cup semisweet chocolate chips — melted with peanut butter to form the central chocolate layer.
- ½ cup creamy peanut butter — adds flavor, richness, and helps the chocolate layer stay smooth and spreadable.
- chocolate chips, for drizzle — for finishing; adds a glossy, chocolate top when melted and drizzled.
How to Prepare No Bake Chocolate Oat Bars
1. Line a 9×9-inch pan with parchment paper or grease it lightly and set aside so the bars release easily.
2. In a medium pot over low heat, melt 1 cup butter completely. Stir frequently to prevent browning.
3. Add ½ cup packed brown sugar and 1 teaspoon vanilla extract to the melted butter. Stir until the sugar dissolves and the mixture is smooth. Keep the heat low so it doesn’t boil.
4. Stir in 3 cups quick cooking oats, coating them thoroughly in the butter-sugar mixture. Cook on low for a few minutes, stirring, until everything is uniform and warm. Remove from heat.
5. Press half of the oat mixture firmly and evenly into the prepared 9×9-inch pan using a spatula or the back of a spoon. Set the remaining oat mixture aside for later.
6. In a separate small pot over low heat, combine 1 cup semisweet chocolate chips and ½ cup creamy peanut butter. Stir constantly until they melt together into a smooth chocolate-peanut butter sauce. Take care not to overheat.
7. Pour the melted chocolate-peanut butter mixture over the pressed oat layer in the pan and spread it evenly with a spatula.
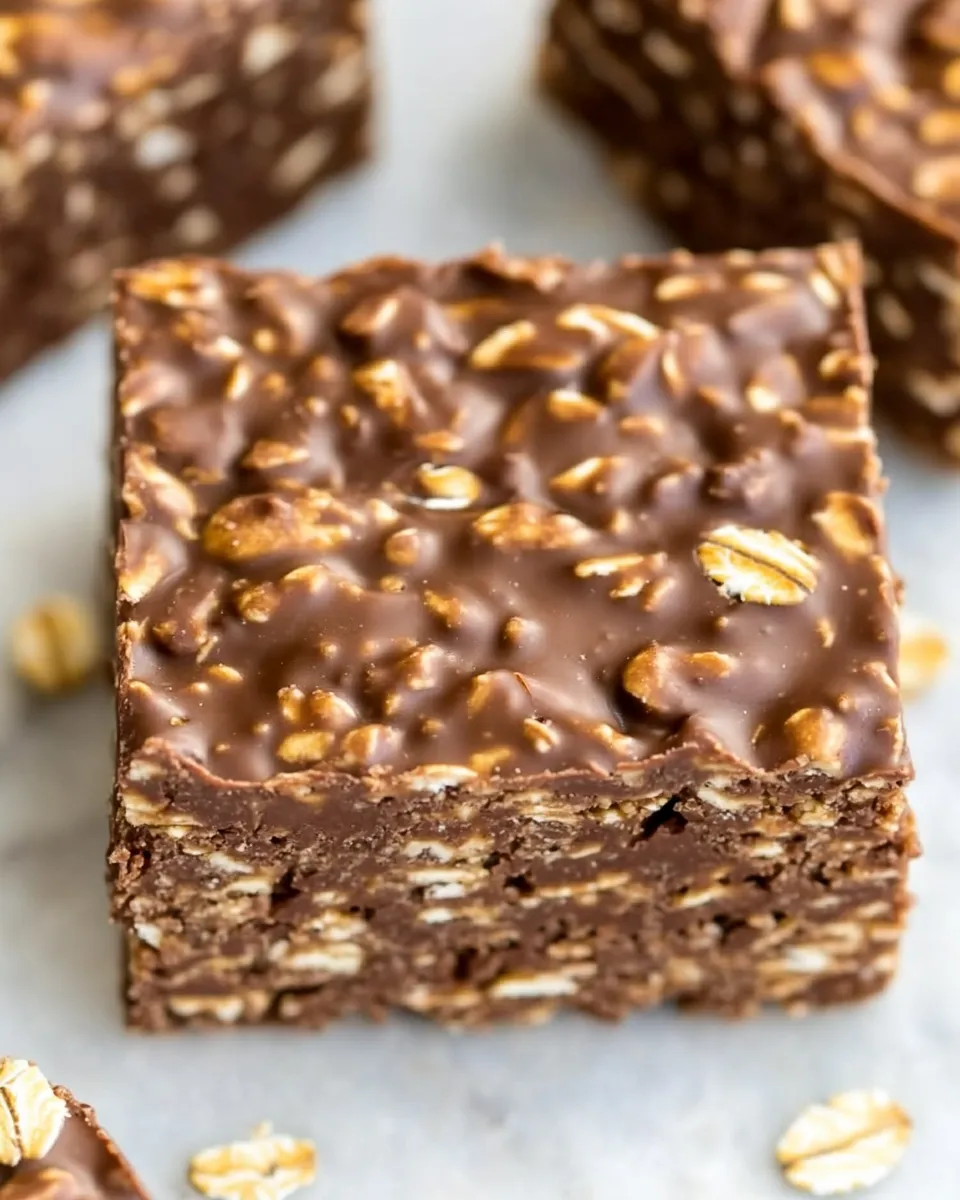
8. Crumble the reserved oat mixture over the chocolate layer, distributing it as evenly as possible. Press the crumbled oat pieces gently into the chocolate so they adhere and create a rustic top layer.
9. Melt an additional handful of chocolate chips (the amount is flexible; use enough for a visible drizzle) in a small bowl over low heat or in short bursts in the microwave, stirring until smooth. Drizzle this melted chocolate over the top of the bars for a finishing touch.
10. Cover the pan and refrigerate for a few hours, or until the bars are firm. For cleaner slices, allow the bars to sit at room temperature for 10–15 minutes before cutting. Enjoy.
Why It’s Crowd-Pleasing
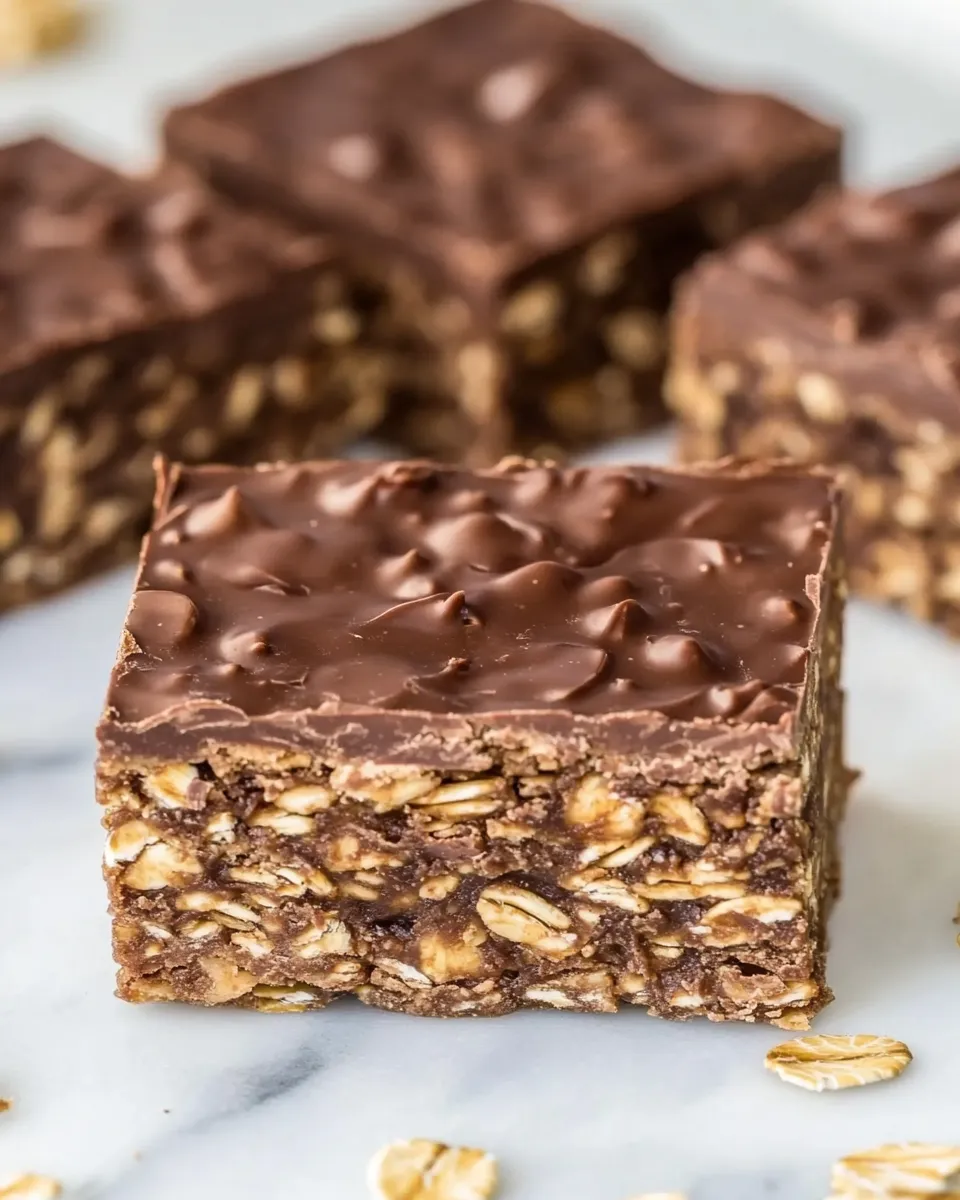
These bars hit familiar flavor notes: chocolate, peanut butter, and hearty oats. They’re sweet without being cloying, portable, and simple to make in one go. The texture balance — chewy oat bits with a creamy chocolate center — works across ages and tastes. Because there’s no baking, you can make a batch in a small apartment or during hot weather without heating the kitchen. They also slice into tidy squares that travel well for picnics or office treats.
Dairy-Free/Gluten-Free Swaps
- For dairy-free: replace the 1 cup butter with a dairy-free stick or coconut oil of similar firmness; note coconut oil will add a subtle coconut note.
- For gluten-free: use certified gluten-free quick cooking oats to avoid cross-contamination and keep the same texture.
- For nut-free: swap the ½ cup creamy peanut butter for sunflower seed butter; flavor will differ but texture remains similar.
Recommended Tools
- 9×9-inch baking pan — gives bars the correct thickness for freezing and slicing.
- Medium pot and small pot — one for the oat-butter mix, one for melting chocolate with peanut butter (keeps flavors clean).
- Spatula and spoon — spatula for pressing and smoothing, spoon for stirring.
- Parchment paper — optional but makes lifting and slicing bars much simpler.
- Sharp knife — for cleaner cuts after the bars have chilled and softened slightly at room temperature.
Steer Clear of These
- Overheating chocolate — heat gently and stir constantly; scorched chocolate tastes bitter and grainy.
- Not pressing the bottom layer firmly — loose base makes bars fall apart when cut or carried.
- Skipping the chill time — bars will be too soft to cut neatly if not fully set in the fridge.
- Using large-flake or steel-cut oats — they won’t bind properly; stick to quick cooking oats as listed.
Nutrition-Minded Tweaks
- Reduce sugar impact: replace half the brown sugar with a mashed ripe banana for some natural sweetness (note: this adds moisture and changes texture slightly).
- Boost fiber: fold in 2 tablespoons of ground flaxseed with the oats for more fiber and omega-3s.
- Lower fat: substitute ½ cup of the butter with unsweetened applesauce, but expect a softer, chewier bar and slightly different flavor.
Author’s Commentary
I love this recipe because it’s a dependable snack that comes together from pantry staples. I often double it for gatherings and press it into a sheet tray when I want thinner bars. My favorite tweak is using a mix of semisweet and dark chocolate chips for a deeper cocoa note. For a prettier finish, pipe the melted chocolate drizzle instead of freehanding it — it elevates presentation with almost no extra work.
Best Ways to Store
- Refrigerator: Store bars in an airtight container for up to one week. Separate layers with parchment to prevent sticking.
- Freezer: Wrap individual squares in plastic wrap and freeze in a sealed container for up to 2 months. Thaw in the fridge or at room temperature before serving.
- Room temp for short term: If your kitchen is cool, you can keep them at room temperature for a day in an airtight container, but they’re best chilled.
Reader Q&A
- Q: Can I use old-fashioned oats?
A: Quick oats are recommended for binding; old-fashioned oats will make the texture chunkier and may not hold together as well. - Q: My top sank when I pressed it — what happened?
A: Press gently when adding the crumb layer; pressing too hard can force chocolate out and cause sinking. Also ensure the chocolate layer is warm but not hot when you add crumbs. - Q: Can I make these nut-free?
A: Yes — swap peanut butter for sunflower seed butter and check chocolate chips for cross-contamination if needed. - Q: How do I get cleaner slices?
A: Let chilled bars sit at room temperature for 10–15 minutes, then use a sharp knife wiped clean between cuts. Refrigerate briefly between servings if the knife drags chocolate.
Hungry for More?
If you liked these bars, try swapping in toasted coconut flakes or folded-in dried cherries for a variation. For a more indulgent version, add a thin layer of caramel under the chocolate. I post regular no-bake ideas and quick desserts — sign up for recipe updates or check the blog for seasonal twists and tested variations.
No Bake Chocolate Oat Bars
Ingredients
- 1 cup butter
- 1/2 cup brown sugar packed
- 1 teaspoon vanilla extract
- 3 cups quick cooking oats
- 1 cup semisweet chocolate chips
- 1/2 cup creamy peanut butter
- chocolate chips for drizzle
Instructions
- Grease a 9×9-inch pan or line it with parchment paper and set aside.
- In a medium saucepan over low heat, melt the butter. Stir in the packed brown sugar and vanilla extract until combined.
- Add the quick cooking oats to the butter mixture and cook on low, stirring, for 2–3 minutes until the oats are evenly coated and slightly softened; remove from heat.
- Press half of the oat mixture firmly into the prepared pan to form an even layer.
- In a separate small saucepan over low heat (or in a microwave-safe bowl), melt 1 cup semisweet chocolate chips with 1/2 cup creamy peanut butter, stirring until smooth.
- Pour the melted chocolate-peanut butter mixture over the oat layer in the pan and spread evenly.
- Crumble the remaining oat mixture over the chocolate layer and press gently so it adheres but still leaves some texture.
- Melt additional chocolate chips for the drizzle, then drizzle over the top of the bars.
- Cover and refrigerate for a few hours (about 2 hours) until firm. Bring to room temperature briefly before cutting into bars and serve.
Equipment
- 9x9 inch baking pan
- Medium Saucepan
- Spatula
- parchment paper (optional)
- Measuring cups and spoons
- small saucepan or microwave-safe bowl
Notes
- Use natural-style creamy peanut butter for best texture.
- To make a larger batch, double the recipe and use a 9×13-inch pan.
- Add each layer before the previous one sets so layers bind together.
- Line the pan with parchment paper to make cutting easier.