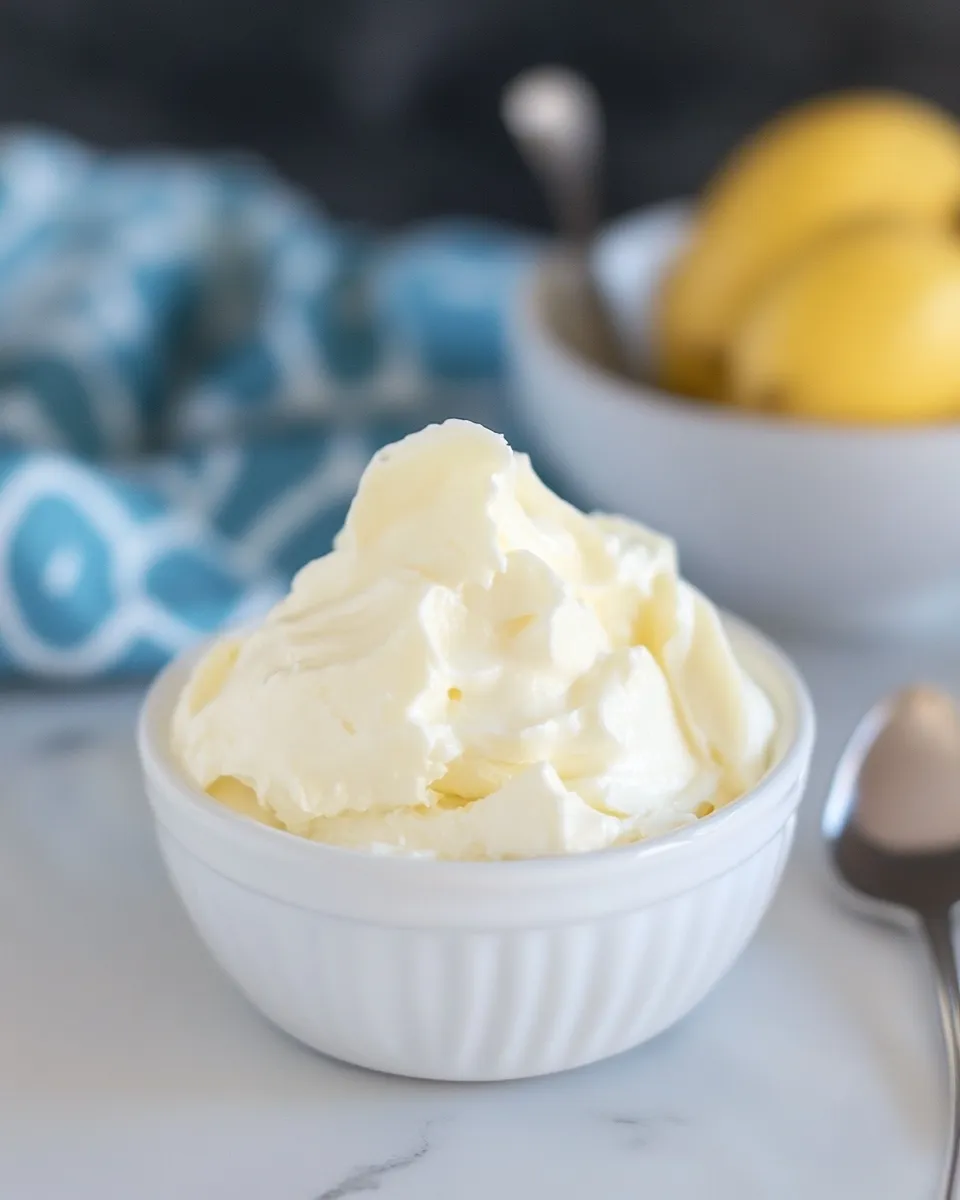
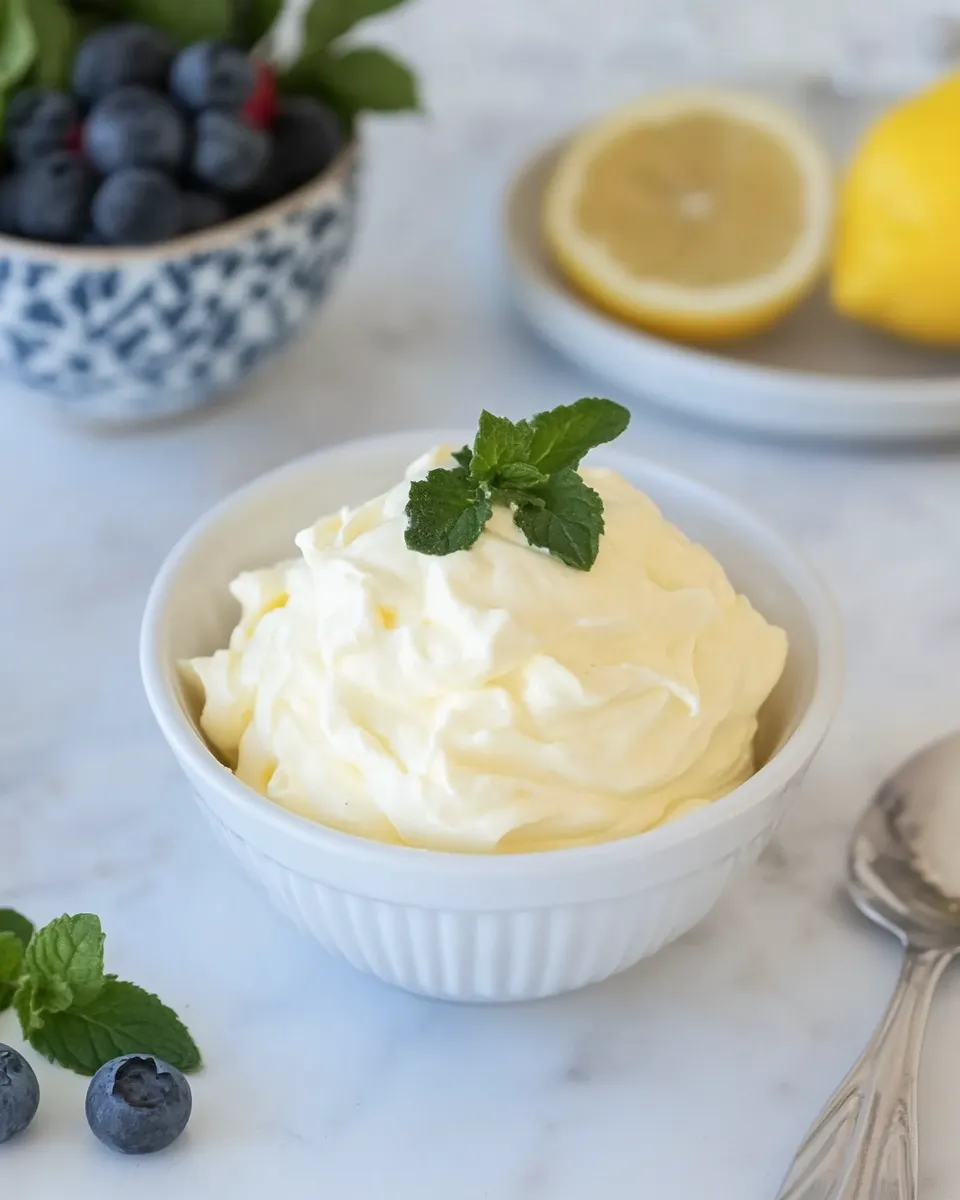
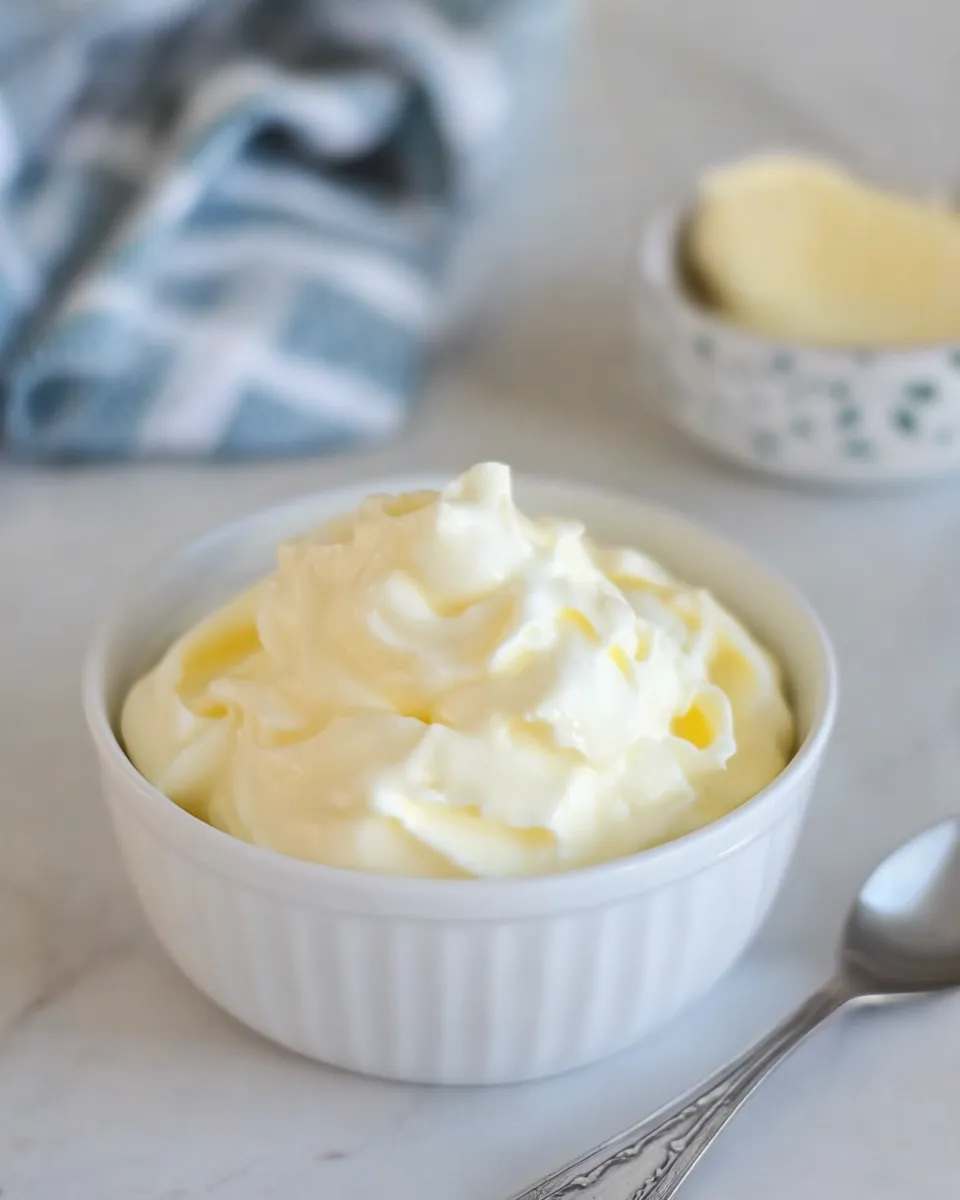
Homemade Mascarpone (2 Ingredients!)
Mascarpone is the silky, rich Italian cream cheese that makes tiramisu sing, brightens fruit, and transforms simple desserts into luxurious treats. Making it at home is surprisingly straightforward: just heavy cream and a bit of lemon juice. No culturing starter, no specialty equipment—just gentle heat, patience, and a few smart steps.
In my kitchen I make small batches so the texture is fresh and supple. This recipe uses 500 g of fresh whipping cream and 1 tablespoon of fresh lemon juice. The method is built around precise temperatures and a careful drain so you get that classic, spreadable richness without any bitterness or graininess.
If you’ve never made mascarpone before, expect a calm, hands-on process that rewards you with a decadent, homemade ingredient you can use in both sweet and savory dishes. Read through the steps, gather the minimal equipment, and plan for an overnight chill—most of the work is passive.
Gather These Ingredients
- 500 g fresh whipping cream — the only dairy base; use the best quality you can find for the creamiest result.
- 1 tablespoon fresh lemon juice — provides the acid to gently thicken the cream; always use fresh juice for a clean flavor.
Homemade Mascarpone (2 Ingredients!) Made Stepwise
- Prepare your equipment: set a large saucepan, a thermometer, a sieve, and a clean tea towel or 3–4 layers of cheesecloth over a bowl. The sieve should sit securely so the cream can drain without spills.
- Pour 500 g fresh whipping cream into the saucepan. Heat over low heat, stirring gently and constantly for about 3 minutes. Monitor with a thermometer and bring the cream to 185°F (85°C). Keep the temperature steady—do not boil.
- Remove the pan briefly from direct heat if it looks like it might boil. Once the cream reaches 185°F (85°C), add 1 tablespoon fresh lemon juice and continue stirring gently over low heat for another 2–3 minutes. The acid will start to slightly thicken the cream; you’re looking for a subtle change, not curdling.
- Take the pan off the heat and allow the cream to cool to room temperature. Stir occasionally to keep the texture even and to release any trapped heat.
- Line a sieve with a clean tea towel or 3–4 layers of cheesecloth and set it over a bowl to catch the drained liquid. Pour the cooled cream into the lined sieve. If too much liquid is passing through, fold the towel to use two layers to slow drainage—only a few drops should reach the bowl at first.
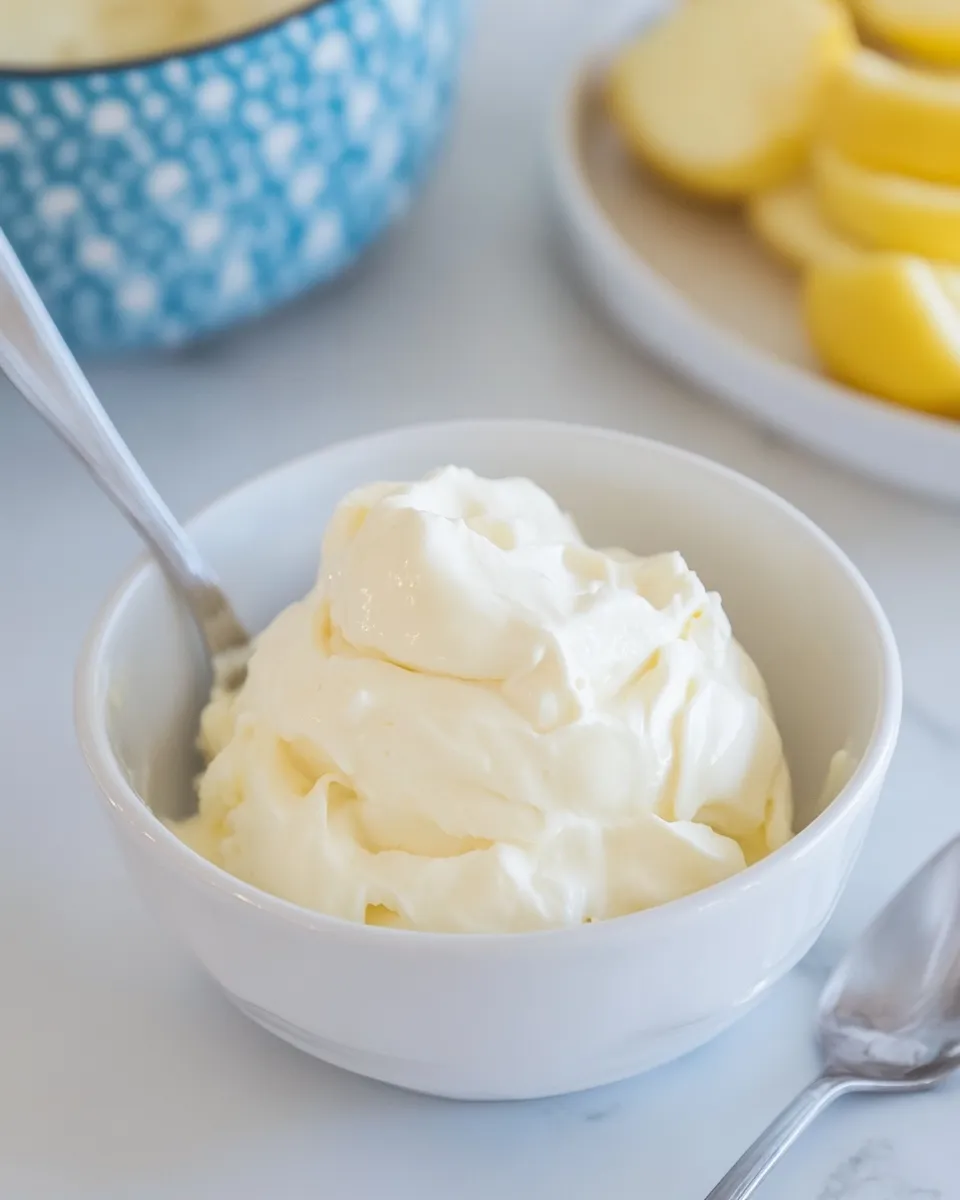
- Cover the cream in the sieve with plastic wrap or a plate and place it in the refrigerator. Let it drain and set for 24 hours. After this time the mascarpone should be thick, rich, and spreadable.
- Transfer the finished mascarpone to an airtight container and store in the refrigerator until ready to use.
Why It Deserves a Spot
Mascarpone is one of those pantry game-changers. It adds immediate luxury to simple desserts like fruit, cakes, and pancakes, and it brings creaminess to savory sauces and pastas without the tang of cream cheese. Because it’s so mild and fatty, it rounds flavors without stealing the show.
Making it at home saves money over small specialty tubs at the store and lets you control freshness and flavor. Homemade mascarpone also blends more smoothly into recipes than some commercial versions that can be denser or overly stabilized.
Ingredient Swaps & Substitutions
This recipe sticks to two ingredients by design. Swaps are limited because acid and cream are what create mascarpone. A few notes if you must adapt:
- Whipping cream — do not substitute light cream or half-and-half; mascarpone needs high-fat cream (about 30–40% fat) to set properly.
- Lemon juice — white vinegar can technically acidify the cream, but it will change flavor. Use fresh lemon juice for the cleanest taste.
Must-Have Equipment
- Large saucepan — roomy enough for the cream to warm without boiling over.
- Instant-read thermometer — essential to hit 185°F (85°C) and avoid overheating.
- Sieve plus tea towel or cheesecloth — for draining and achieving the right texture; 3–4 layers of cheesecloth work well.
- Bowl — to collect drained whey; choose one deep enough to keep the finished mascarpone elevated above any liquid.
- Airtight container — for storing the finished mascarpone in the fridge.
Problems & Prevention
Here are common issues and how to avoid them.
- Grainy texture — usually caused by overheating or boiling the cream. Keep the heat low and use a thermometer; stop at 185°F (85°C).
- Too thin after draining — the cream may not have been acidified or heated enough. Ensure you add the full tablespoon of lemon juice and maintain the low simmer for the additional 2–3 minutes after adding the acid.
- Too much whey passing through — line the sieve with an extra layer of towel or fold it to slow drainage so the final texture remains thick.
- Bitter or off flavors — avoid using bottled lemon juice or overcooking; fresh lemon juice and gentle heating give the cleanest flavor.
Variations for Dietary Needs
Because mascarpone is a high-fat dairy product, variations for specific diets are limited.
- Lactose-intolerant or dairy-free — this recipe cannot be adapted faithfully into a dairy-free mascarpone without introducing new ingredients and changing texture; consider vegan cream cheeses available commercially instead.
- Lower-fat — skipping fat will prevent proper setting. If you need fewer calories, use smaller quantities in recipes rather than attempting to make a lower-fat mascarpone.
Notes from the Test Kitchen
I test this method repeatedly to dial in timing and texture. Two things made the biggest difference: a reliable thermometer and giving the finished cream a full 24 hours in the fridge to firm up. Shortening that time yields a looser product; waiting longer won’t hurt it, though you may want to bring it back to room temperature briefly before use for spreading.
When I substitute lemons with bottled juice in a pinch, the flavor is noticeably flatter. Fresh lemon juice keeps the delicate dairy flavor bright without adding overt acidity.
Prep Ahead & Store
Mascarpone needs about 24 hours to set, so plan ahead. Make it the day before you need it; it keeps well refrigerated for up to 5 days in an airtight container. For longer storage, you can freeze mascarpone for up to 1 month, though texture will change and it’s best used in cooked dishes after thawing rather than as a spread.
Ask & Learn
If your mascarpone turned out thinner than expected, did you reach 185°F (85°C)? Did you give it the full 24-hour drain and chill? Those two checkpoints solve most issues. If it’s grainy, consider that it was likely overheated. For any other question—about using mascarpone in tiramisu, folding it into frosting, or stabilizing it for piping—ask for the specific use and I’ll suggest the best approach.
Make It Tonight
This recipe is perfect for a weekend project or for making the day before you need a creamy finish. Gather your two ingredients and the listed equipment, follow the stepwise instructions, and you’ll have homemade mascarpone ready to elevate desserts and savory dishes alike. It’s simple to make, rewards a little patience, and pays off every time you spoon it into a recipe.

Homemade Mascarpone (2 Ingredients!)
Ingredients
- 500 g fresh whipping cream
- 1 tablespoon fresh lemon juice
Instructions
- Pour the 500 g whipping cream into a large saucepan and warm it over low heat, stirring gently, until it reaches 185°F (85°C), about 3 minutes.
- Remove the pan briefly from the heat, add 1 tablespoon fresh lemon juice, then return to low heat and stir for 2–3 minutes until slightly thickened.
- Line a sieve with a tea towel or 3–4 layers of cheesecloth and set it over a bowl. Pour the warm cream into the lined sieve to drain; only a few drops should pass through to the bowl.
- Cover the draining cream and refrigerate for 24 hours to set; the mascarpone is ready when it has a rich, creamy texture.
Equipment
- Saucepan
- instant-read thermometer
- sieve
- tea towel or cheesecloth (3–4 layers)
- bowl
Notes
- Store in an airtight container in the refrigerator.
- Use within 3–4 days for best quality.
- Do not freeze the finished mascarpone.