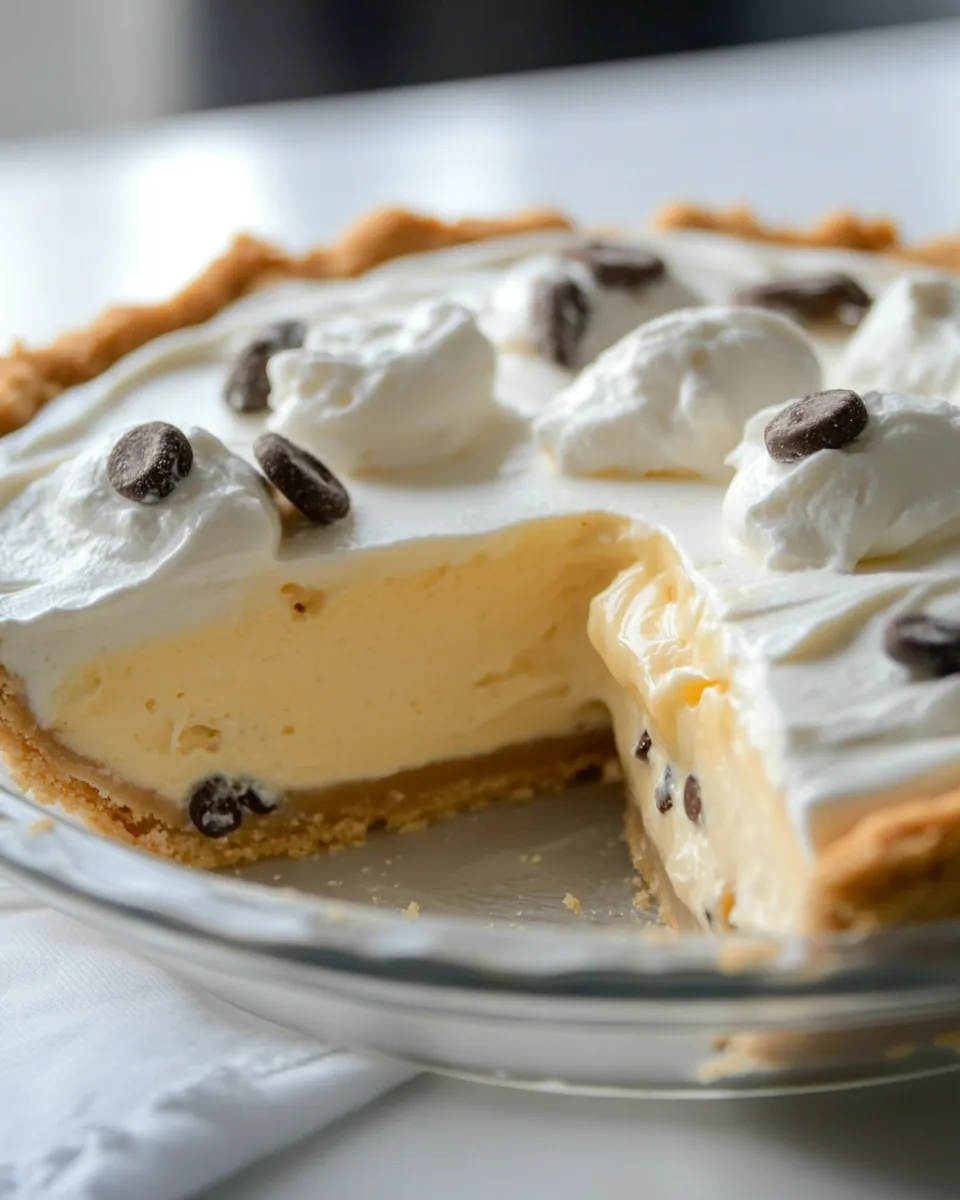
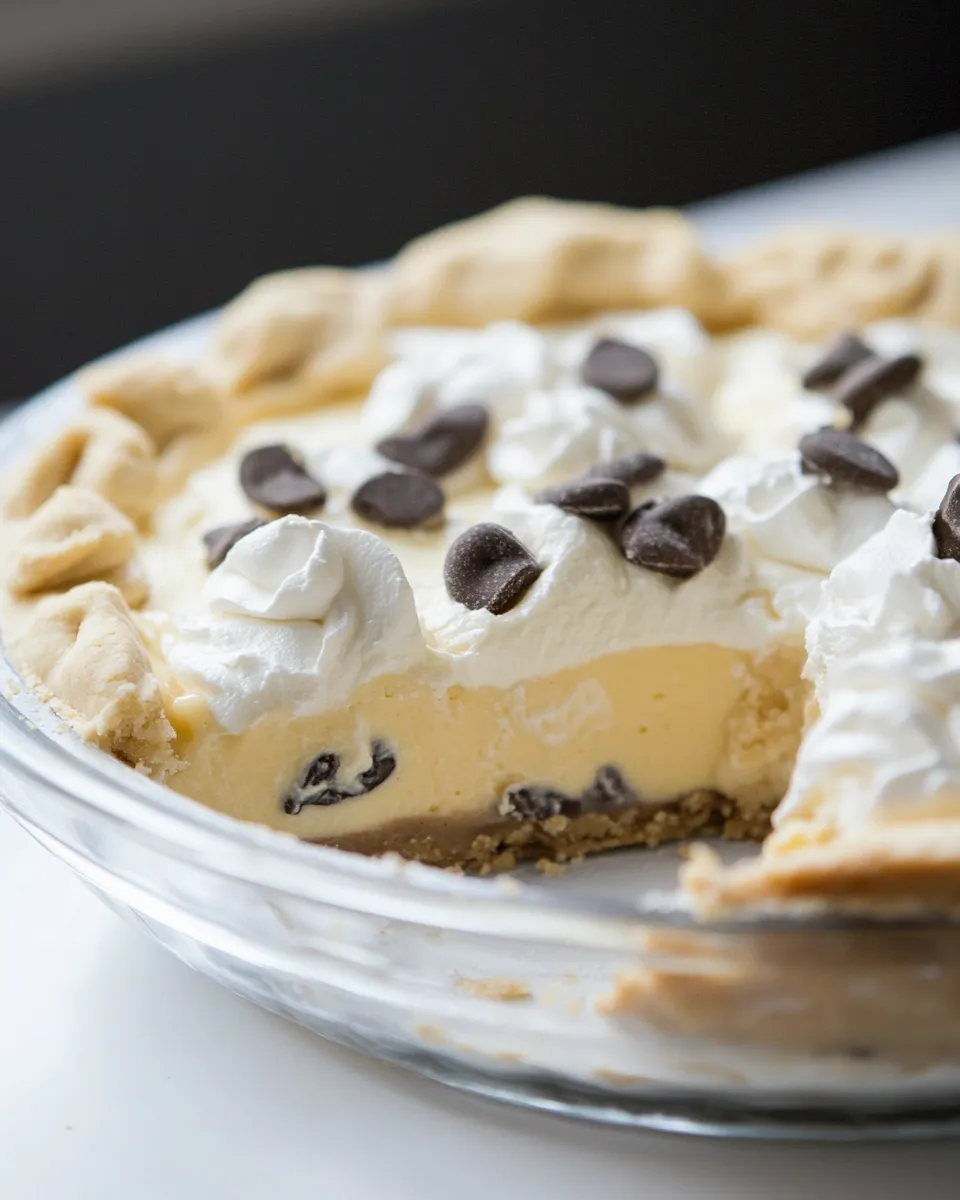
Cookie Dough Cream Pie
There’s a comforting, slightly indulgent joy in a dessert that combines two favorite treats: cookie dough and cream pie. This recipe delivers a sturdy chocolate wafer crust, a luscious custard-like filling, and a layer of soft, eggless cookie dough baked just enough to be safe and chewy. It’s approachable, make-ahead friendly, and built so each component shines without fuss.
I tested this pie until the balance felt right — not too sweet, with texture differences that keep every bite interesting. Below you’ll find a clear shopping list, a step-by-step method that follows the recipe exactly, useful swaps, troubleshooting tips, and notes on freezing and serving.
Read through the whole post if you’re new to layered pies; otherwise jump to the instructions and get baking. This version keeps the cookie dough eggless and uses a cooked milk-custard filling so the finished pie is stable and refrigerator-set.
What to Buy
- Chocolate wafer cookies (about 7 oz) — for processing into 1 1/2 cups of fine crumbs to make a chocolate crust.
- Unsalted butter — melted for the crust and room temperature for the cookie dough and filling finish.
- All-purpose flour — you’ll need 1 1/4 cups for the cookie dough and 1/3 cup for the filling.
- Granulated sugar — used in cookie dough and whipped cream topping.
- Light brown sugar — 3/4 cup for the filling adds depth and caramel notes.
- Packed brown sugar — 3/8 cup specifically for the cookie dough.
- Salt — 1/2 teaspoon in the cookie dough and 1/4 teaspoon in the filling to balance sweetness.
- Baking soda — 1/4 teaspoon in the cookie dough to give a tender lift.
- Whole milk — 2 cups total: 1 cup for the hot base and 1 cup to beat with the yolks.
- Egg yolks — 3 yolks for the cooked custard filling.
- Vanilla extract — for both filling and cookie dough (1 teaspoon + 1/2 teaspoon) to boost flavor.
- Mini semi-sweet chocolate chips — 1/2 cup to stir into the cookie dough for pockets of chocolate.
- Heavy cream — 1 cup for the whipped topping.
- Milk (or soy milk) — 2 1/2 tablespoons called for in the cookie dough (the recipe lists as 2 1/2 tbsp milk or soy milk).
Ingredients
- 1 1/2 cups chocolate wafer cookie crumbs (about 7 oz of cookies, processed in a food processor) — forms the chocolate crust; fine crumbs press together best.
- 6 tablespoons butter, melted — binds and flavors the crust; use melted and warm for easier pressing.
- 1 1/4 cups all purpose flour — base of the eggless cookie dough; provides structure.
- 1/2 teaspoon salt — seasons the cookie dough.
- 1/4 teaspoon baking soda — gives the cookie dough a slight lift and tender texture.
- 1/2 cup (1 stick) butter, room temperature — creamed with sugars to make the cookie dough light and spreadable.
- 3/8 cup granulated sugar — sweetens and helps with texture in the cookie dough.
- 3/8 cup packed brown sugar — adds moisture and a caramel flavor to the cookie dough.
- 1/2 teaspoon vanilla — flavoring for the cookie dough.
- 2 1/2 tablespoons milk or soy milk — loosens the cookie dough so it’s pliable; use a little more if dough is dry.
- 1/2 cup mini semi-sweet chocolate chips — mix-ins for the cookie dough.
- 3/4 cups light brown sugar — sweetener for the cooked filling, gives depth.
- 1/3 cup all-purpose flour — thickener for the filling (combined with sugar before adding milk).
- 1/4 teaspoon salt — balances the filling’s sweetness.
- 2 cups whole milk — split between cooking and tempering with egg yolks.
- 3 egg yolks — enrich and thicken the cooked filling when tempered in.
- 1 tablespoon unsalted butter — stirred in at the end of cooking the filling for silkiness.
- 1 teaspoon vanilla extract — flavor boost for the filling.
- 1 cup heavy cream — whipped for the topping.
- 3 tablespoons sugar — sweetens the whipped cream topping.
- 1/2 teaspoon vanilla — flavor for the whipped cream topping.
Cookie Dough Cream Pie Made Stepwise
1. Make and bake the crust
- Preheat the oven to 350°F (keep it on for later steps).
- In a small bowl, combine 1 1/2 cups chocolate wafer cookie crumbs with 6 tablespoons melted butter. Stir until the crumbs are evenly moistened.
- Firmly press the crumb mixture into a 9-inch pie pan, covering the bottom and pressing up the sides to form an even crust. Tip: use a flat-bottomed measuring cup to get clean corners and a compact crust.
- Bake the crust for 8 minutes. Remove from the oven and set aside to cool completely while you continue with the next steps.
2. Prepare and bake the mini cookie dough pieces
- In a large bowl, beat 1/2 cup (1 stick) room-temperature butter with 3/8 cup granulated sugar and 3/8 cup packed brown sugar on medium speed until light and fluffy.
- Add 2 1/2 tablespoons milk (or soy milk) and 1/2 teaspoon vanilla; mix to combine.
- On low speed, or by hand, mix in 1 1/4 cups all-purpose flour, 1/4 teaspoon baking soda, and 1/2 teaspoon salt until incorporated. Stir in 1/2 cup mini semi-sweet chocolate chips.
- Use a small spoon or your fingers to form eight small dough balls about 1/2 inch in diameter. Place them on a non-stick baking sheet or a parchment-lined sheet.
- Bake the mini dough balls for 7–9 minutes, until the edges are lightly golden. Let them cool a few minutes on the sheet, then transfer to a wire rack to cool completely.
- Reserve the remaining cookie dough. You can make the full dough up to 1 day ahead and keep it covered in the refrigerator; bring it to room temperature before pressing into the crust.
3. Cook the filling
- In a medium saucepan, whisk together 3/4 cup light brown sugar, 1/3 cup all-purpose flour, and 1/4 teaspoon salt until evenly combined.
- Stir in 1 cup of the whole milk, mixing until smooth. Place the pan over medium heat and bring the mixture to a boil, stirring constantly. Continue to stir until the mixture thickens and is smooth, about 2 minutes, then remove from heat.
- In a separate bowl, beat the 3 egg yolks with the remaining 1 cup of whole milk.
- Temper the egg mixture by whisking a small amount of the slightly cooled hot milk mixture into the yolk mixture, then slowly whisk the tempered yolks back into the saucepan with the larger pot of milk mixture.
- Return the saucepan to medium heat, bring to a boil again while stirring constantly, then reduce the heat and simmer until the mixture reaches a thick pudding-like consistency, about 1 minute. Remove from the heat and immediately stir in 1 tablespoon unsalted butter and 1 teaspoon vanilla extract. Set aside to cool slightly.
4. Assemble and refrigerate
- While the filling is cooling, break off pieces of the reserved cookie dough (or press the room-temperature dough) and press them into the cooled crust to form an even layer about 1/2 inch thick. You may have leftover dough—remember it’s eggless and safe to nibble.
- Pour the warm filling over the cookie dough layer, smoothing the top with a rubber spatula. The filling should come up to about 1/2 inch from the top edge of the crust.
- Refrigerate the pie until the filling is completely set and chilled.
5. Whip and top
- Whip 1 cup heavy cream until it begins to form soft folds. Add 3 tablespoons sugar and 1/2 teaspoon vanilla, then beat until the cream holds stiff peaks.
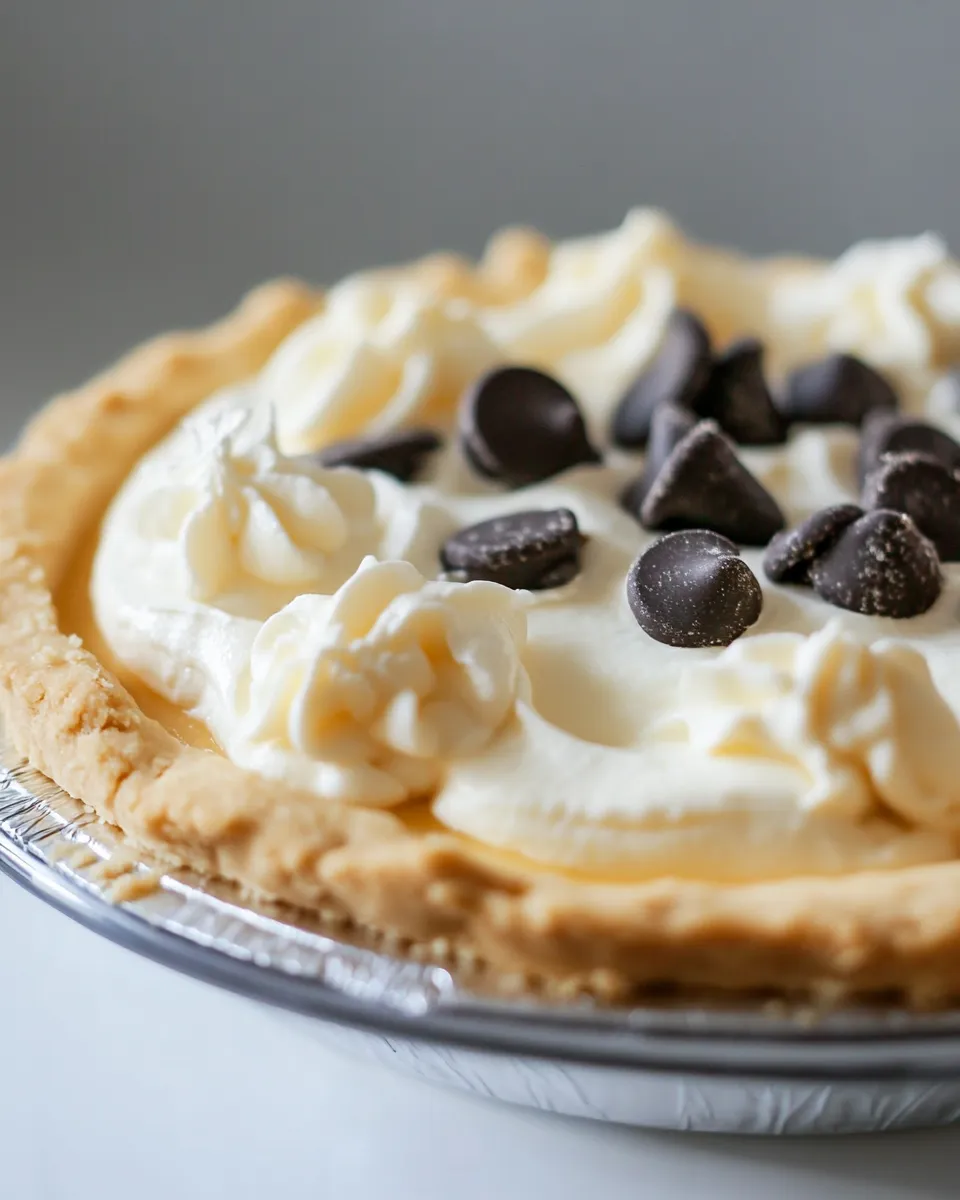
- Gently spread all but 1/3 cup of the whipped cream over the cooled filling, smoothing into a slight dome.
- With the remaining 1/3 cup whipped cream, pipe or dollop small mounds evenly around the pie. Garnish with the baked mini cookies.
- Keep the pie refrigerated until serving. Slice with a clean, warm knife for the neatest pieces.
Why This Recipe Works
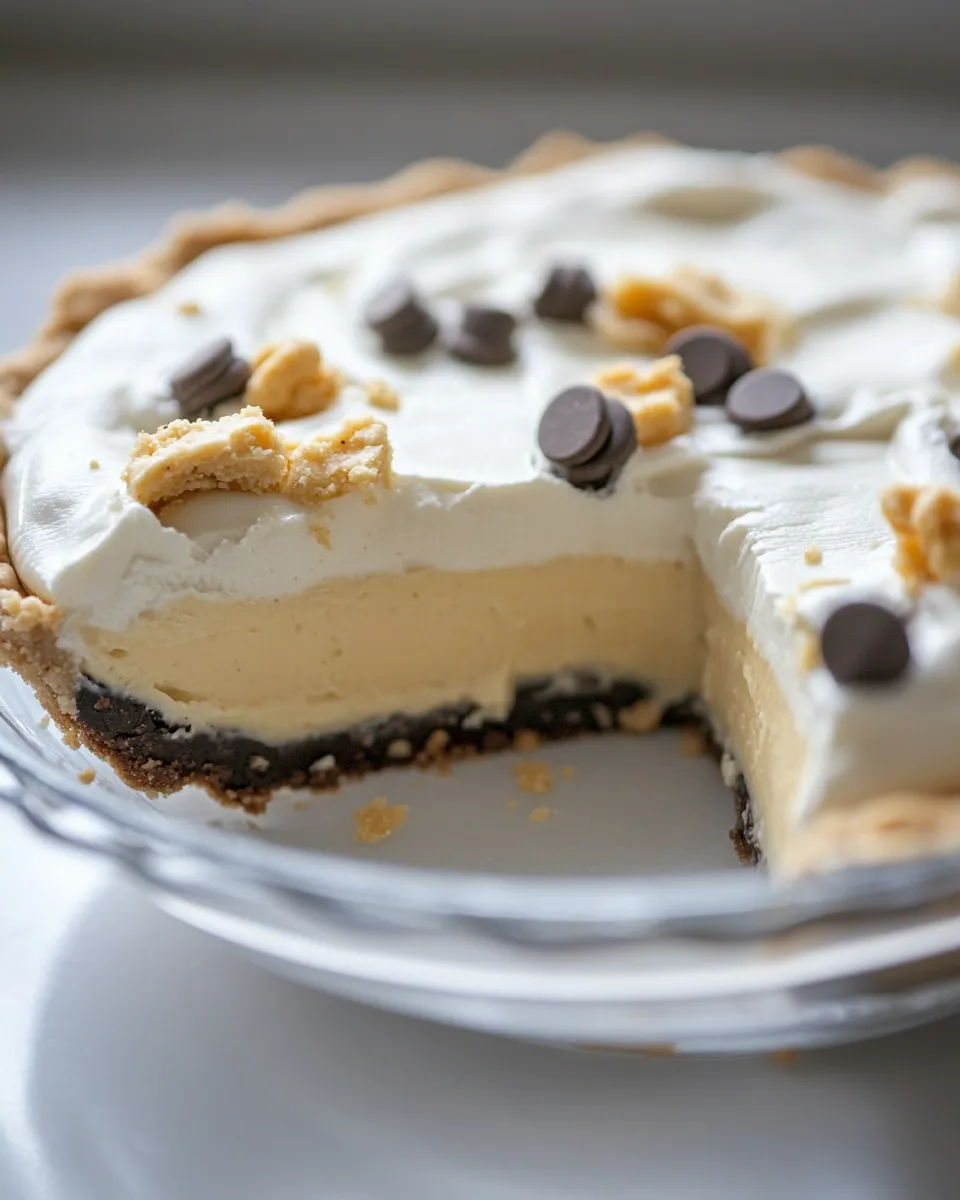
Each component has a specific job: the chocolate wafer crust provides a sturdy, slightly bitter base to balance the sweet filling; the cooked milk-and-egg yolk filling sets firmly when chilled, so the pie slices cleanly; and the eggless cookie dough layer stays soft and chewy without adding food-safety concerns. Small baked cookie dough bites sprinkled on top add visual contrast and a toasty flavor note. The layers work together texturally and flavor-wise so no single element overwhelms the others.
Swap Guide
- Crust — Substitute graham crackers for chocolate wafers if you prefer a lighter base; reduce added sugar elsewhere if you make this swap.
- Milk — Use plant-based whole-style milk replacements for a dairy-free version, but choose a richer option (like oat or full-fat soy) for comparable mouthfeel.
- Butter — For the crust and cookie dough, stick to butter for flavor; you can use plant-based sticks for a dairy-free adaptation.
- Chocolate chips — Swap semi-sweet for mini dark or milk chips depending on sweetness preference.
Recommended Tools
- 9-inch pie pan — the size specified for even layer thickness.
- Food processor — to turn wafer cookies into fine crumbs quickly.
- Flat-bottomed measuring cup — for pressing the crust evenly into the pan.
- Electric mixer — speeds up creaming butter/sugars and whipping cream.
- Medium saucepan and whisk — essential for a lump-free cooked filling.
- Rubber spatula and wire rack — for smoothing and proper cooling.
Watch Outs & How to Fix
- Curdled or grainy filling — usually from overheating or not tempering properly. Fix by tempering the yolks carefully (whisk hot milk into yolks slowly), keep stirring while returning to heat, and remove promptly once thickened.
- Crust falls apart — either crumbs were too coarse or not enough butter. Pulse crumbs finer and press firmly; if still loose, add 1–2 teaspoons melted butter and re-press, then chill before baking.
- Cookie dough too dry — add an extra 1/2 teaspoon milk at a time until pliable; the dough should press easily into the crust.
- Whipped cream weeps — ensure the cream is cold and don’t overbeat; stabilize with a teaspoon of cornstarch or instant pudding mix if you need longer display time.
Holiday-Friendly Variations
- Christmas — fold in crushed peppermint to the crust or add a few drops of peppermint extract to the whipped cream and garnish with crushed candy canes.
- Fourth of July — top with red and blue mini candies or fresh berries arranged on the whipped cream mounds.
- Thanksgiving — swap mini chocolate chips for chopped toasted pecans in the cookie dough and sprinkle a few on top for a nutty finish.
What I Learned Testing
Pressing the crust firmly with a flat-bottomed cup makes a noticeable difference in structure; pie slices come out cleaner and the crust doesn’t crumble when you cut. Tempering the yolks slowly is non-negotiable for a silky filling. I also found that pressing the cookie dough layer while the crust is cool (not frozen) gives the best contact between layers and prevents the dough from sliding when the filling is poured.
Freezer-Friendly Notes
This pie freezes well for up to one month. Freeze after fully assembling but before adding whipped cream topping: wrap the pie tightly in plastic wrap and aluminum foil. Thaw overnight in the refrigerator, then whip fresh cream and finish the topping just before serving to keep it light and stable. If you freeze the whole topped pie, the whipped cream texture will change and may weep on thawing.
Frequently Asked Questions
- Can I make the cookie dough ahead? Yes — the directions allow making dough a day ahead; keep covered in the fridge and bring to room temperature before pressing.
- Is the cookie dough safe without eggs? Yes — this dough is eggless, so it’s safe to press and eat raw or bake small bites as the recipe directs.
- How long does the pie need to chill? Chill until the filling is completely set, typically at least 4 hours or overnight for best slicing.
- Can I double the recipe? You can double it to make two pies, but bake and assemble separately rather than trying to use a larger pan.
Final Bite
Cookie Dough Cream Pie hits a comforting sweet spot: a chocolatey base, a dense yet silky cooked filling, and a playful cookie dough layer. It’s approachable enough for a weekend bake and special enough for a gathering. Make it a day ahead, finish with fresh whipped cream, and watch it disappear. If anything goes sideways, refer back to the troubleshooting above — most problems have an easy fix. Happy baking.
Cookie Dough Cream Pie
Ingredients
- 1.5 cups chocolate wafer cookie crumbs about 7 oz cookies, processed
- 6 tablespoons butter melted (for crust)
- 1.25 cups all-purpose flour for cookie dough
- 0.5 teaspoon salt for cookie dough
- 0.25 teaspoon baking soda
- 0.5 cup butter 1 stick, room temperature (for cookie dough)
- 0.375 cup granulated sugar
- 0.375 cup packed brown sugar
- 0.5 teaspoon vanilla extract for cookie dough
- 2.5 tablespoons milk or soy milk, for cookie dough
- 0.5 cup mini semi-sweet chocolate chips
- 0.75 cup light brown sugar for filling
- 0.333 cup all-purpose flour for filling
- 0.25 teaspoon salt for filling
- 2 cups whole milk divided
- 3 egg yolks
- 1 tablespoon unsalted butter for filling
- 1 teaspoon vanilla extract for filling
- 1 cup heavy cream for topping
- 3 tablespoons sugar for whipped topping
- 0.5 teaspoon vanilla for whipped topping
Instructions
- Preheat the oven to 350°F (175°C). Stir the chocolate wafer cookie crumbs with 6 tablespoons melted butter until evenly moistened, then press firmly into the bottom and up the sides of a 9-inch pie pan to form a crust.
- Bake the crust for 8 minutes, then remove and let cool completely on a wire rack while keeping the oven on.
- Make the cookie dough: in a large bowl, beat 1/2 cup room-temperature butter with 3/8 cup granulated sugar and 3/8 cup packed brown sugar on medium speed until light and fluffy. Add 2 1/2 tablespoons milk and 1/2 teaspoon vanilla and mix to combine.
- Reduce speed to low and add 1 1/4 cups all-purpose flour, 1/4 teaspoon baking soda, and 1/2 teaspoon salt; mix until just incorporated. Stir in 1/2 cup mini semi-sweet chocolate chips.
- Form about eight 1/2-inch dough balls from some of the dough and place on a parchment-lined baking sheet; bake 7–9 minutes until edges are lightly golden. Cool on the sheet a few minutes, then transfer to a wire rack to cool completely. Reserve the remaining dough for the pie.
- For the filling, whisk 3/4 cup light brown sugar, 1/3 cup all-purpose flour, and 1/4 teaspoon salt in a medium saucepan. Stir in 1 cup of the milk until smooth, then bring to a boil over medium heat, stirring constantly, until thickened (about 2 minutes). Remove from heat to cool slightly.
- Beat the 3 egg yolks with the remaining 1 cup milk in a bowl. Temper the yolk mixture by slowly whisking in a small amount of the slightly cooled milk mixture, then pour the tempered yolks back into the saucepan and return to medium heat.
- Bring the combined mixture to a gentle boil again, stirring constantly, then reduce heat and simmer about 1 minute until pudding-thick. Remove from heat and stir in 1 tablespoon unsalted butter and 1 teaspoon vanilla. Set aside to cool slightly.
- While the filling cools, break off pieces of the reserved cookie dough and press evenly into the cooled crust to form a layer about 1/2 inch thick.
- Pour the warm (not piping hot) filling over the cookie dough layer, leveling the surface; the filling should come up about 1/2 inch from the top of the crust. Refrigerate until completely chilled and set.
- Whip 1 cup heavy cream until soft peaks form, then add 3 tablespoons sugar and 1/2 teaspoon vanilla and continue beating to stiff peaks. Spread all but 1/3 cup of the whipped cream over the chilled filling, smoothing to a slight dome.
- Use the reserved 1/3 cup whipped cream to pipe or dollop small mounds around the edge of the pie and garnish as desired.
Equipment
- 9-inch pie pan
- food processor (or spice blender for cookies)
- Mixing bowls
- Electric Mixer
- Medium Saucepan
- Measuring cups and spoons
- rubber spatula
- Wire Rack
Notes
- Use a flat-bottomed measuring cup to press the crust for clean edges.
- Cookie dough is eggless and can be eaten raw safely.
- You may make the dough up to 1 day ahead and refrigerate, then bring to room temperature before using.
- Let the pie chill completely before topping with whipped cream to avoid melting.