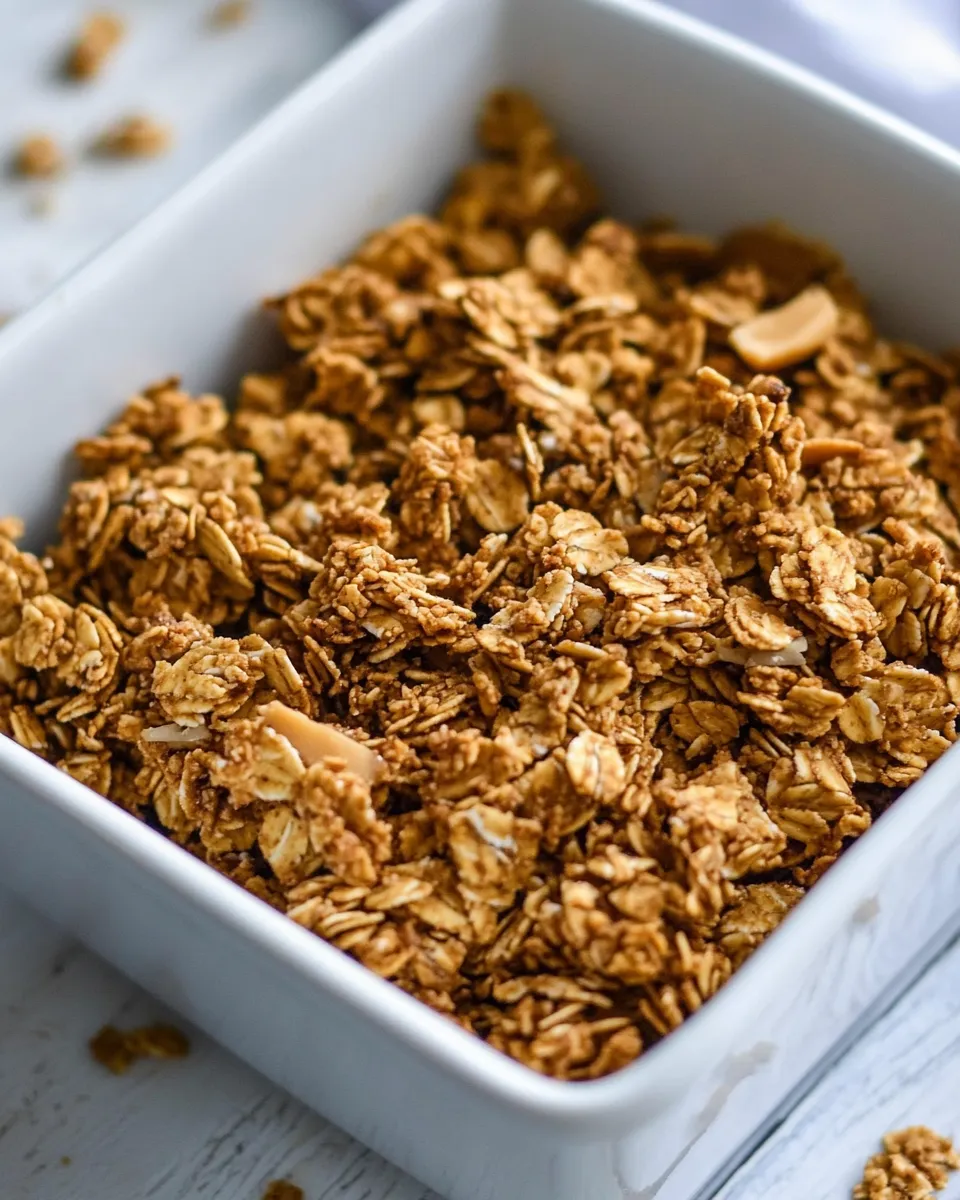
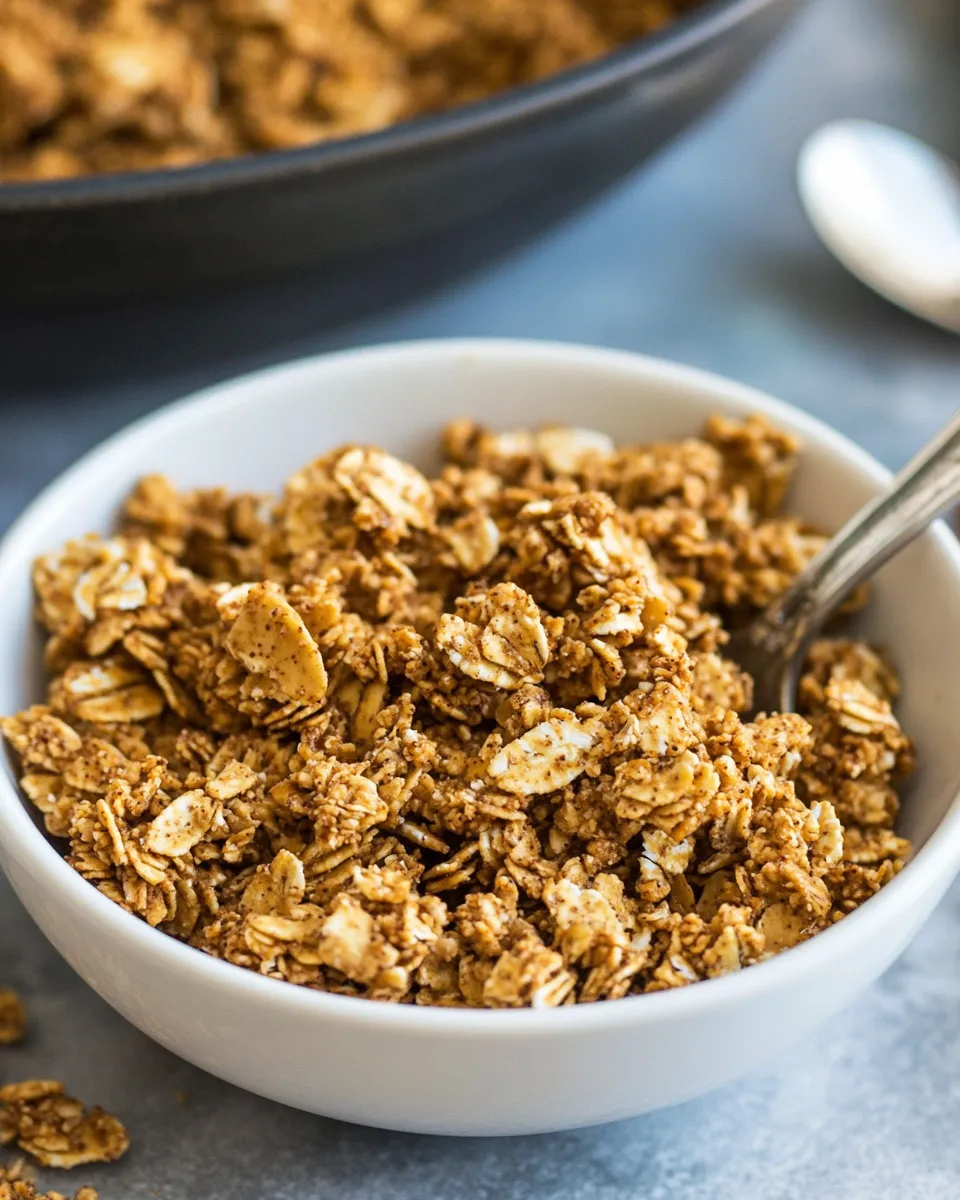
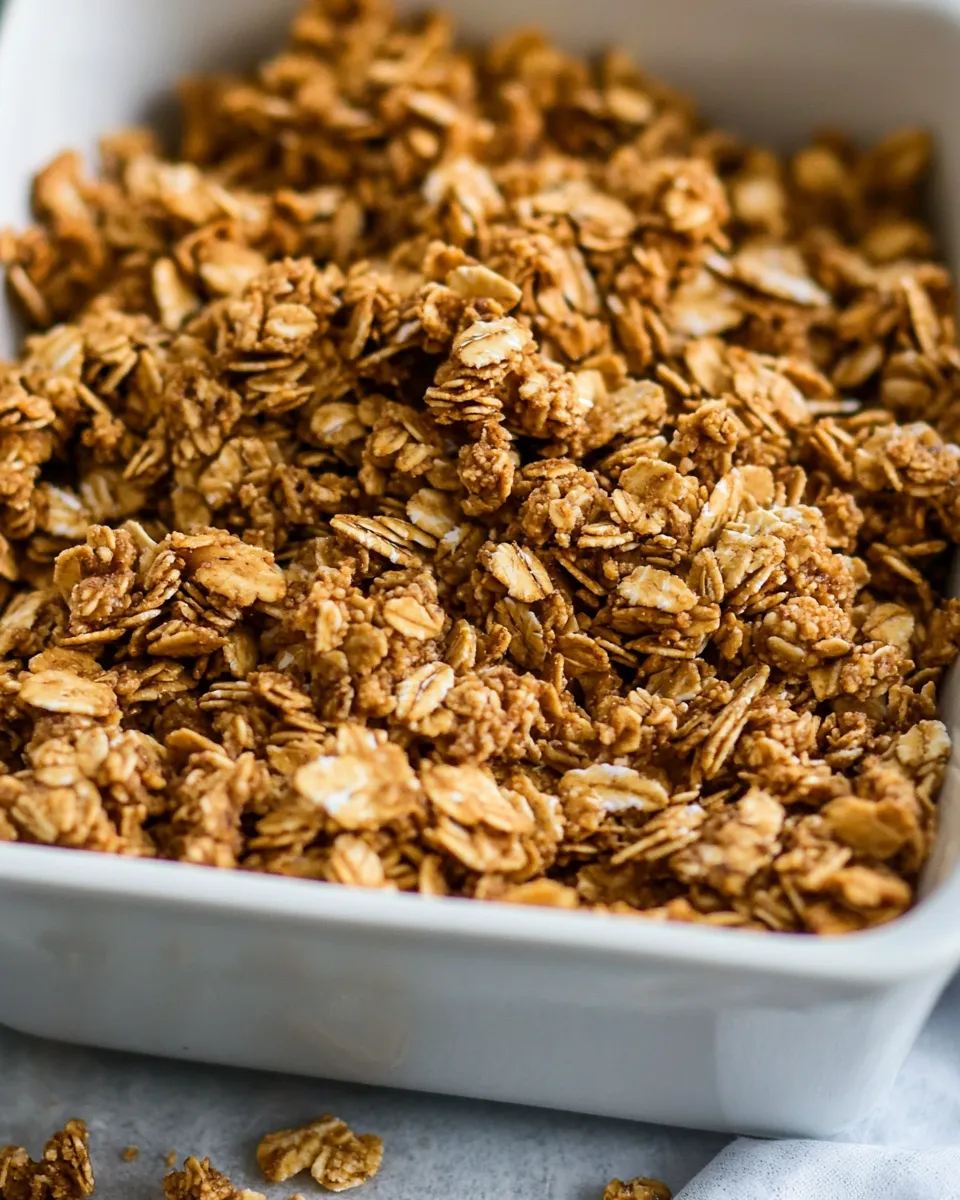
Simple Crunchy Peanut Butter Granola
I love recipes that do a lot with a little. This granola is exactly that: five pantry staples turned into a crunchy, peanut-butter-forward morning ritual. It browns beautifully, clumps into satisfying clusters, and plays nicely with yogurt, milk, or just your hand on the way to the door.
No complicated steps, no special equipment. You’ll roast the oats, let them cool into crisp clusters, and end up with a jar that keeps well. The texture is where this recipe shines — chewy centers with toasted edges — and the flavor is straightforward, nutty, and slightly caramelized from pure maple syrup.
What Goes In

- 3 1/2 cups rolled oats — the base; use regular or gluten-free rolled oats for texture and bulk.
- 2 tablespoons flour — helps bind clusters; use gluten-free all-purpose if needed.
- 1/3 cup pure maple syrup — sweetener and slight caramel note; also helps the granola clump.
- 2/3 cup drippy peanut butter — provides fat, flavor, and holds clusters together; stir if separated.
- 1/4 cup oil — neutral oil like coconut or canola gives browning and crispness; coconut adds subtle flavor.
- 1 teaspoon vanilla extract — lifts flavors and rounds sweetness.
Crunchy Peanut Butter Granola Cooking Guide
Step-by-step
- Preheat your oven to 325°F (163°C). Line a baking sheet with parchment paper so the granola won’t stick and cleanup is easier.
- In a medium mixing bowl, add 3 1/2 cups rolled oats and 2 tablespoons flour. Stir to combine so the flour distributes evenly through the oats.
- Add the wet ingredients: 1/3 cup pure maple syrup, 2/3 cup drippy peanut butter, 1/4 cup oil, and 1 teaspoon vanilla extract. Use a sturdy spoon or spatula to stir until the oats are completely coated and the mixture looks evenly moistened.
- Transfer the coated oats to the prepared baking sheet and spread into an even layer. Press down lightly with the back of the spatula if you want larger clusters.
- Bake for about 25–30 minutes, rotating the pan once halfway through for even browning. Bake until the granola is golden brown; edges will darken slightly and the aroma will be toasty.
- Remove the sheet from the oven and let the granola cool in the open air on the pan for at least one hour. Cooling is crucial — it allows the clusters to harden and become crunchy.
- Once completely cool, break the granola into pieces and store it in an airtight container at room temperature.
Why I Love This Recipe
This granola is forgiving and fast. It uses common pantry ingredients and comes together in one bowl. The peanut butter gives it a rich, nutty backbone without relying on whole nuts (so it stays budget-friendly). The texture is reliably crunchy when you give it that full hour to cool, and the maple syrup creates those satisfying clusters everyone fights over.
It’s also versatile. Eat it over yogurt with fresh fruit, sprinkle it on smoothie bowls, or enjoy a handful straight from the jar. It performs well packed in lunches and keeps for weeks if stored properly.
Quick Replacement Ideas
- Rolled oats: Steel-cut oats won’t work here; quick oats will make a finer, less crunchy texture.
- Flour: Use gluten-free all-purpose if needed; rice flour or oat flour can work but change binding slightly.
- Pure maple syrup: Light brown rice syrup or honey can substitute, but flavor and browning will differ.
- Drippy peanut butter: Swap for almond butter or another runny nut/seed butter for a different flavor profile.
- Oil: Coconut or canola are recommended; avocado or light olive oil are okay but will alter flavor.
- Vanilla extract: Omit or replace with a pinch of cinnamon for a different twist.
Gear Checklist
- Baking sheet (rimmed) — for even roasting and catching any drips.
- Parchment paper — prevents sticking and makes cleanup easy.
- Mixing bowl (medium) — big enough to stir oats and wet ingredients.
- Spatula or wooden spoon — for combining and spreading.
- Measuring cups and spoons — for accurate results.
- Airtight container or jar — to store the finished granola.
Pitfalls & How to Prevent Them
- Granola not crunchy: The most common issue. Make sure you cool the granola on the pan for at least one hour — cooling is when it crisp ups. If your kitchen is humid, let it cool longer.
- Burned edges: Ovens vary. Check at 20 minutes and rotate the pan at 12–15 minutes to prevent hot spots from over-browning.
- Clumps too small: Press the mixture lightly into the pan before baking to encourage larger clusters.
- Sticky jar: If your granola seems sticky after cooling, it may be slightly underbaked or the sweetener used is too runny; extend baking by a few minutes and cool thoroughly.
Holiday & Seasonal Touches
- Autumn: Add 1/2 teaspoon ground cinnamon and a pinch of nutmeg to the dry oats before mixing for warm spice notes.
- Winter holidays: Fold in dried cranberries and chopped roasted nuts after cooling for a festive crunch.
- Spring: Mix in chopped freeze-dried strawberries or lemon zest after baking for brightness.
- Summer: Serve over chilled yogurt with fresh berries and a drizzle of extra maple syrup.
Chef’s Notes
- Measure the peanut butter volume after stirring if it has separated — you want the drippy consistency so it mixes into the oats easily.
- If you prefer more pronounced clusters, press the oats down firmly on the pan before baking and resist stirring while it bakes.
- For extra toasty flavor, stir the mixture once at the 12–15 minute mark and then press back down; just avoid overworking it.
- Coconut oil will add a subtle tropical aroma; use canola for the most neutral flavor.
Store, Freeze & Reheat
- Store: Keep in an airtight container at room temperature for up to 2–3 weeks. Ensure the granola is fully cool before sealing.
- Freeze: Freeze in a sealed bag or container for up to 3 months. Thaw at room temperature before serving.
- Reheat: To revive a little chew or warmth, toast a portion in a skillet over low heat for a few minutes, or warm briefly in a 300°F oven for 5–8 minutes.
FAQ
- Can I add nuts and seeds? Yes — add them after baking or add small quantities during mixing. If added raw, watch the bake time as they can brown faster.
- Is this gluten-free? Use certified gluten-free rolled oats and a gluten-free all-purpose flour to keep it gluten-free.
- Why use oil and peanut butter? Oil ensures crispness and even browning; peanut butter provides flavor and additional binding for clusters.
- How do I get big clusters? Press the mixture into the pan firmly before baking and avoid breaking it up immediately after it comes out of the oven. Let it cool fully.
Wrap-Up
This Simple Crunchy Peanut Butter Granola is a reliable, no-nonsense recipe you’ll return to. It’s speedy, uses everyday ingredients, and rewards patience at the cooling stage with great crunch. Make a double batch and keep a jar on the counter — it’s excellent for breakfast, snacks, and impromptu toppings. Enjoy.
Simple Crunchy Peanut Butter Granola
Ingredients
- 3 1/2 cups rolled oats regular or gluten free
- 2 tablespoons flour use gluten free all-purpose as substitute
- 1/3 cup pure maple syrup
- 2/3 cup drippy peanut butter
- 1/4 cup oil coconut or canola recommended for flavor
- 1 teaspoon vanilla extract
Instructions
- Preheat the oven to 325°F (160°C) and line a baking sheet with parchment paper.
- In a medium mixing bowl, combine the rolled oats and flour and stir to blend.
- Add the maple syrup, drippy peanut butter, oil, and vanilla extract to the oats and stir until all oats are evenly coated and mixture is uniform.
- Spread the mixture in an even layer on the prepared baking sheet, pressing lightly for larger clusters if desired.
- Bake for 25–30 minutes, stirring once halfway through if you prefer smaller pieces, until the granola is golden brown.
- Remove from the oven and allow the granola to cool in open air for at least 1 hour to develop crunch before storing in an airtight container.
Equipment
- Mixing Bowl
- Measuring cups and spoons
- spatula or spoon
- Baking Sheet
- Parchment Paper
- Oven
Notes
- Use drippy peanut butter for easier mixing.
- Press the mixture for chunkier clusters.
- Let granola cool completely to become crunchy.
- Substitute gluten-free flour if needed.