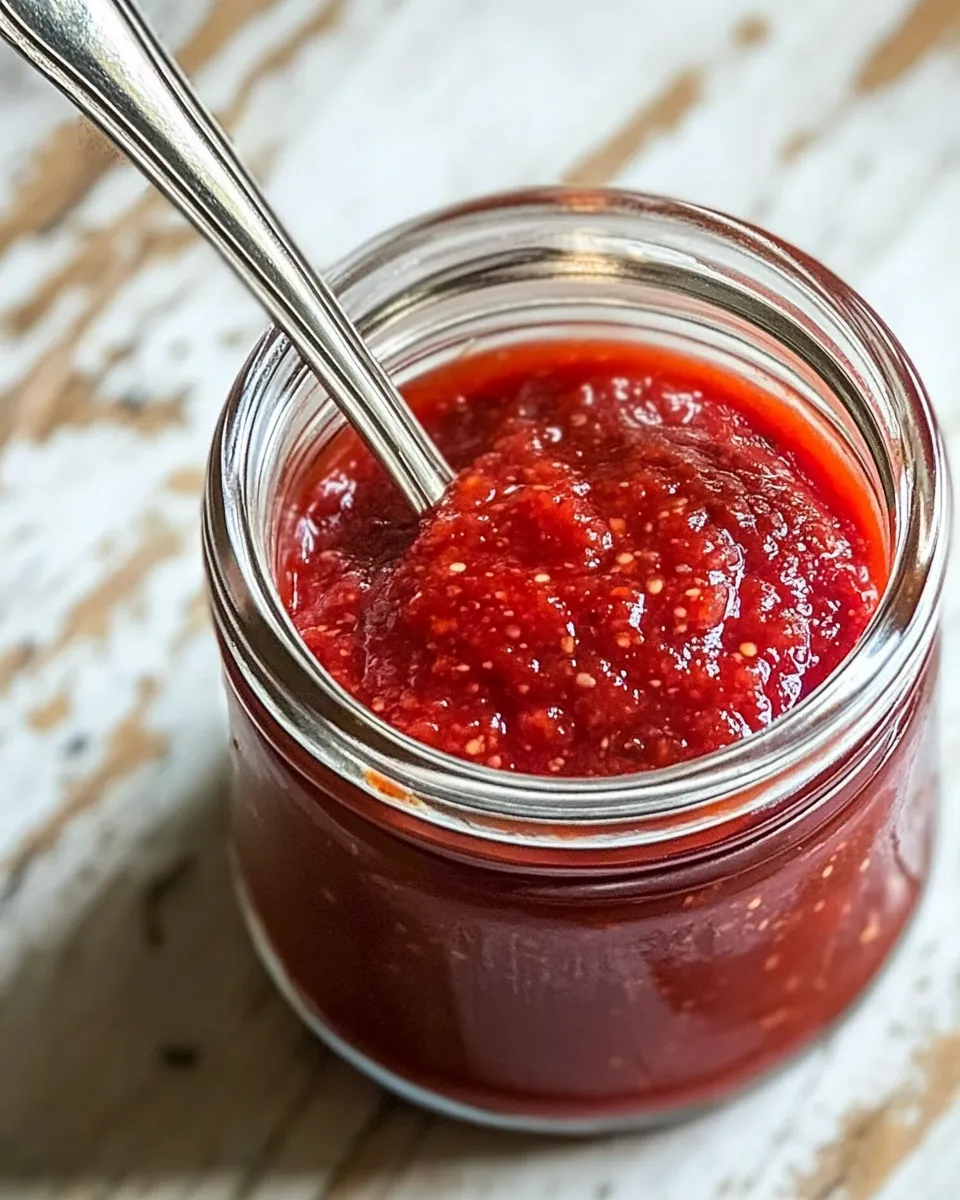
Aged Sriracha Hot Sauce Recipe
If you love hot sauce with depth, this aged sriracha-style recipe is for you. It starts simple — fresh red chiles, garlic, salt and a splash of vinegar — then relies on short fermentation to develop a bright, rounded heat. The result: a thicker, garlicky sriracha-like paste and a thinner, tangy vinegar hot sauce you can use almost anywhere.
I test small batches in my kitchen and prefer letting the blend ferment about a week for a noticeable tang without losing fresh chile flavor. You’ll strain and treat the two textures separately, so you get both a spreadable sriracha and a pourable hot sauce. Both keep well refrigerated.
This post walks you through the ingredients, simple equipment, where things commonly go wrong, and how to store and use your finished sauces. No fancy tools or obscure ingredients — just attention to cleanliness and time.
Ingredient Checklist

- 2 pounds Fresno chiles — ripe red chiles provide bright heat and color; substitute other red chilies if needed.
- 9 cloves garlic — adds savory depth and the classic garlicky hit of sriracha.
- 2 teaspoons kosher salt — season and help control fermentation; if using table salt, use 1 teaspoon instead.
- 6 tablespoons distilled white vinegar — used after fermentation to stabilize and brighten both sauces.
Aged Sriracha Hot Sauce Recipe, Made Easy
Step-by-step
- Wash and prepare chiles: Rinse the 2 pounds of Fresno chiles under cold water. Trim off stems. If you want milder heat, split the chiles and remove seeds and white membranes before processing; otherwise keep them intact.
- Process in batches: Work in two batches so the food processor is not overloaded. Divide the chiles, garlic, and salt roughly in half for each batch.
- Blend to a smooth puree: Put one batch of chiles, a portion of the 9 garlic cloves, and the proportional amount of salt into the food processor. Process for about 2 minutes until the mixture is very liquid and smooth — it should look like a foamy smoothie. Repeat with the second batch and combine the two purees in the processor or a bowl.
- Jar for fermentation: Scrape the blended sauce into a very clean 1-quart (or larger) glass jar. Avoid plastic. Loosely cover the jar mouth with a paper towel and secure it with a rubber band; this keeps bugs out but lets the sauce breathe.
- Ferment: Place the jar in a cool, dark spot for 2–4 days to start fermentation. You’ll see the liquid settle to the bottom and a thicker sauce rise to the top. Bubbles at the surface are normal and a sign of fermentation. Taste after a couple of days; if you want more developed tang, let it sit longer — I usually prefer 7 days in total.
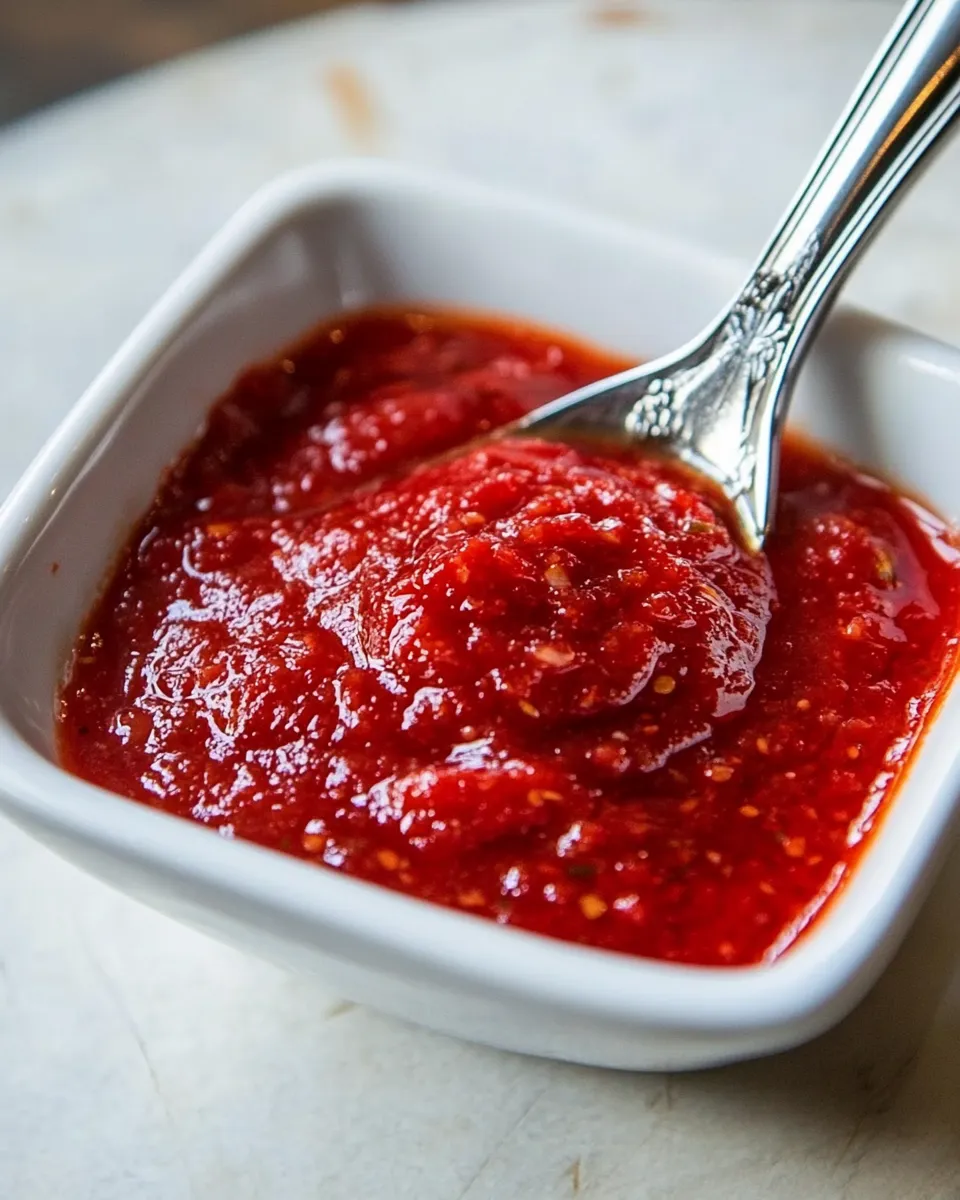
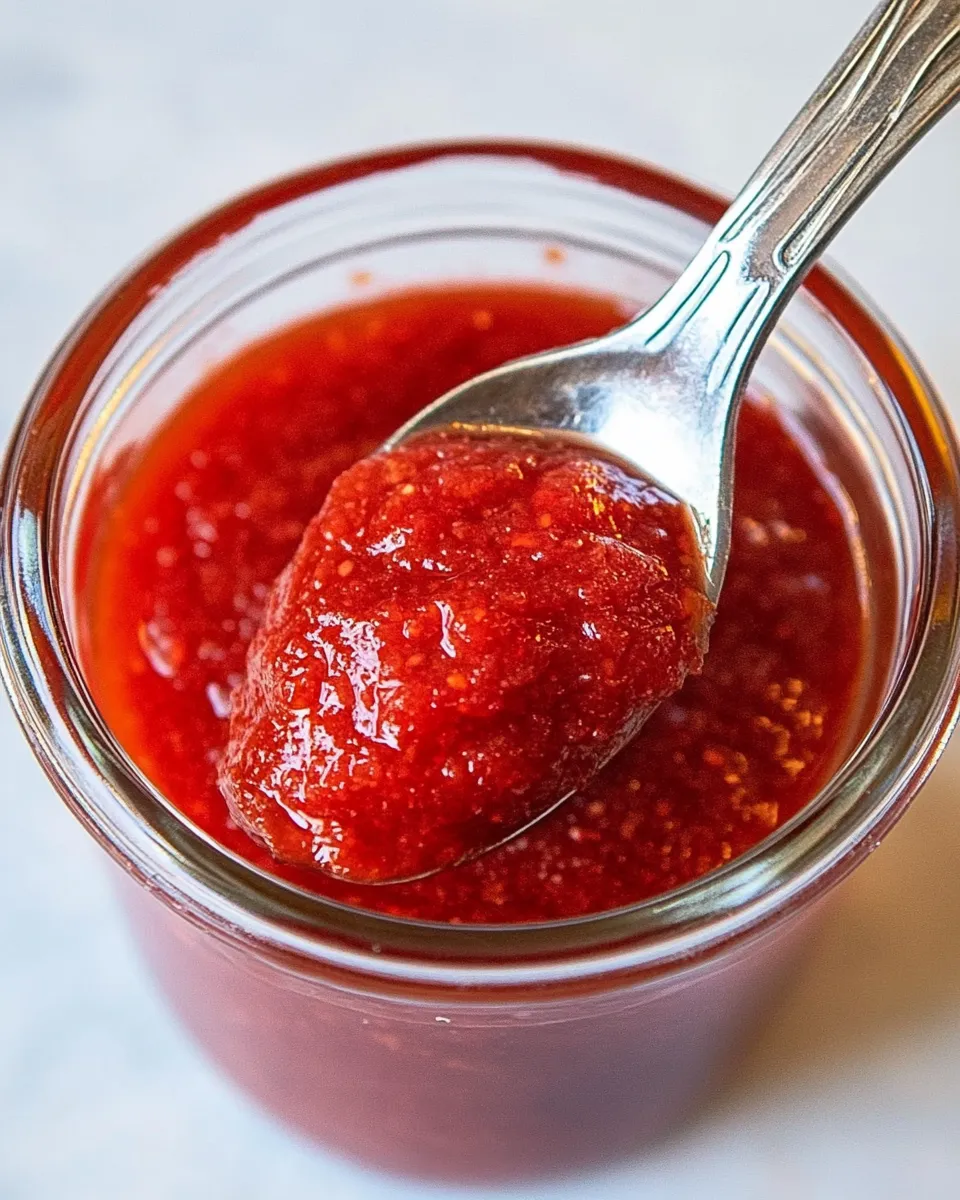
- Separate textures: After your chosen fermentation time, pour the sauce through a fine-mesh sieve into a bowl. You’ll separate a thinner, vinegar-like hot sauce from a thicker chile paste.
- Acidify and finish: To each portion (both the thinner strained liquid and the thicker paste), add 3 tablespoons of distilled white vinegar and stir well to incorporate. This brightens the flavor and helps preservation.
- Optional smoothing: If you prefer a finer, less chunky texture for the thicker sauce, pulse it in a blender briefly until you reach the desired consistency.
- Store: Bottle each sauce in airtight containers and refrigerate. The thicker sriracha-style sauce keeps up to 4 months; the thinner vinegar-style hot sauce will keep indefinitely under refrigeration.
What Sets This Recipe Apart
This recipe leans on short aging for complexity without turning into a long-term kraut-style ferment. You get the garlicky, slightly sweet body of a traditional sriracha paste plus a bright, pourable vinegar hot sauce in one batch. The two-texture approach makes the batch more versatile — use the paste as a condiment, the vinegar sauce for dressings and marinades.
No-Store Runs Needed
- Fresh Fresno chiles (or other red chiles) — usually available at grocery stores or farmers’ markets.
- Garlic — pantry staple.
- Kosher or table salt — pantry staple.
- Distilled white vinegar — pantry staple.
- Paper towels and a rubber band — common household items to cover the fermenting jar.
Tools & Equipment Needed
- Food processor — to puree the chiles and garlic smoothly in two batches.
- 1-quart (or larger) glass jar — fermentation vessel; glass is nonreactive and easy to sterilize.
- Fine-mesh sieve — to separate the thinner hot sauce from the thicker paste.
- Blender (optional)
- Rubber band and paper towel — simple breathable cover for fermentation.
- Spoon and clean spatula — for scraping and stirring.
Slip-Ups to Skip
- Using plastic jars: Plastic can retain odors and is more permeable; always use glass for fermenting and storage.
- Overloading the processor: Crowding leads to uneven pureeing and heat buildup; process in two batches as directed.
- Sealing the jar air-tight during fermentation: You need airflow — airtight lids can cause pressure buildup and messy blowouts.
- Skipping cleanliness: Start with a very clean jar and utensils to avoid off-flavors and unwanted microbes.
- Rushing the taste test: Fermentation changes quickly; test after 2–4 days but don’t discard a batch that seems mild — more time can bring desirable tang.
Make It Year-Round
Fresno chiles are seasonal in many places, but you can use other red chiles like red jalapeños, red serranos, or even mature cayenne. Keep the ratios the same. If fresh chiles aren’t available, consider frozen red chiles (thawed) — they work fine when pureed. Store-bought chiles in vinegar aren’t a direct substitute because their liquid changes fermentation dynamics.
Cook’s Notes
Heat level
Seed and de-rib the chiles to reduce heat. Keeping membranes and seeds will yield a spicier sauce.
Salt guidance
Recipe lists 2 teaspoons kosher salt; if you only have table salt, use 1 teaspoon instead because table salt is denser. Salt controls fermentation pace and seasoning.
Fermentation timing
2–4 days is the minimum to see activity; 7 days gives more tang. Cooler spaces slow fermentation, warmer spaces speed it. Taste is the best guide.
Vinegar adjustment
The directions call for 3 tablespoons of distilled white vinegar added to each portion after straining. If you prefer a sharper vinegar note, add a little more to the thinner sauce, but stick near the recipe amount to preserve balance and shelf stability.
Make Ahead Like a Pro
Ferment the sauce for your preferred time, strain and acidify as directed, then bottle and refrigerate. The thinner vinegar hot sauce keeps for a very long time in the fridge; the thicker sriracha-style paste is best used within about 4 months for peak flavor.
Label jars with the date you finished fermentation so you can track freshness. For gifting, keep refrigerated and note that the paste may separate: a quick stir or shake before use brings it back together.
Quick Q&A
- Can I skip fermentation? — You can, but you’ll lose the developed tang and complexity. Blending and adding vinegar immediately makes a fresh, bright hot sauce, not an aged one.
- Why two sauces? — Straining gives you a pourable, vinegary hot sauce and a thicker, spreadable chile paste. Both have different culinary uses.
- Is it safe? — Yes, if you use clean equipment, appropriate salt, and refrigerate finished sauces. Look for off smells or mold; if either appears, discard.
- Can I use other vinegars? — The recipe specifies distilled white vinegar. Substituting impacts flavor and acidity; stick to distilled white for predictable results.
Final Bite
This aged sriracha hot sauce is practical, flexible, and rewarding. A short fermentation window yields bright complexity without a long wait. Keep an eye on cleanliness, process in two batches, and decide how tangy you want the final product — then enjoy both the spoonable sriracha and the pourable hot sauce across sandwiches, eggs, marinades and dressings.
Aged Sriracha Hot Sauce Recipe
Ingredients
- 2 pounds Fresno chiles or other red chilies
- 9 cloves garlic
- 2 teaspoons kosher salt or 1 teaspoon table salt
- 6 tablespoons distilled white vinegar plus additional 3 tablespoons for thinning each sauce after sieving
Instructions
- Wash the chiles and remove the stems; if you prefer a milder sauce, split the chiles and remove the seeds and membranes, then discard them.
- Work in two batches so the processor does not overload: place half the chiles, half the garlic, and half the salt into a food processor.
- Process each batch for about 2 minutes until the mixture is very smooth and slightly foamy, scraping down the sides as needed; combine both batches in the bowl.
- Scrape the blended chile mixture into a very clean 1‑quart (or larger) glass jar; cover the jar opening with a paper towel and secure with a rubber band to allow airflow while keeping insects out.
- Place the jar in a cool, dark spot for 2–4 days to ferment; you should see liquid settle at the bottom and thicker sauce rise, with bubbles on top indicating activity—taste and continue fermenting up to about 7 days if desired.
- Pour the fermented sauce through a fine-mesh sieve into a bowl, separating the thinner vinegary liquid from the thicker chile paste.
- To each portion (the thinner and the thicker), stir in 3 tablespoons of distilled white vinegar to thin and season; if desired, blend the thicker portion for a smoother consistency.
- Transfer each sauce to tightly sealed containers and refrigerate.
Equipment
- food processor or blender
- 1-quart (or larger) glass jar
- paper towel and rubber band
- Fine Mesh Sieve
- Spatula
- Measuring spoons
Notes
- Use glass containers only; avoid plastic for fermentation.
- If you remove seeds the sauce will be milder.
- Fermentation time can be adjusted to taste.
- Add vinegar after sieving to preserve flavor balance.