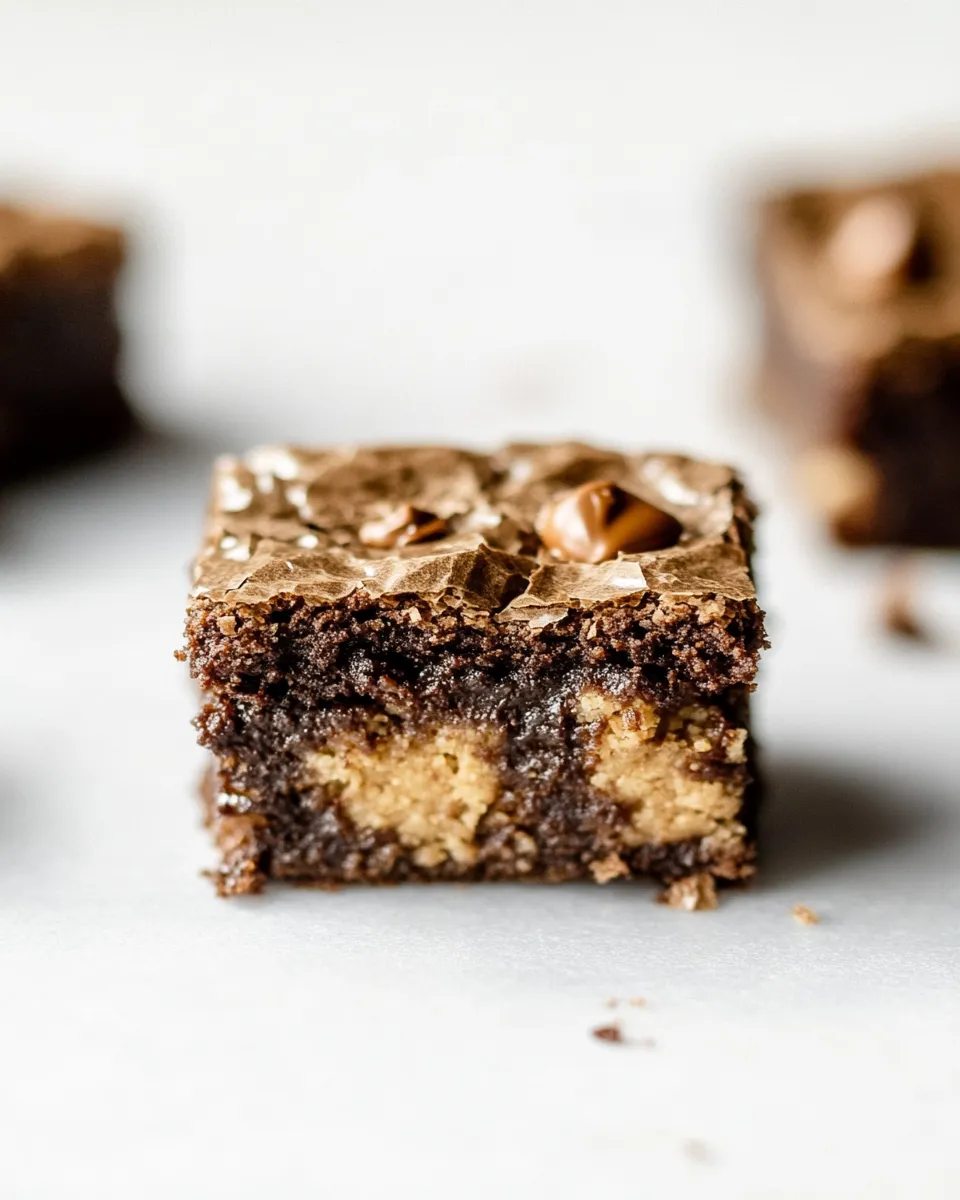
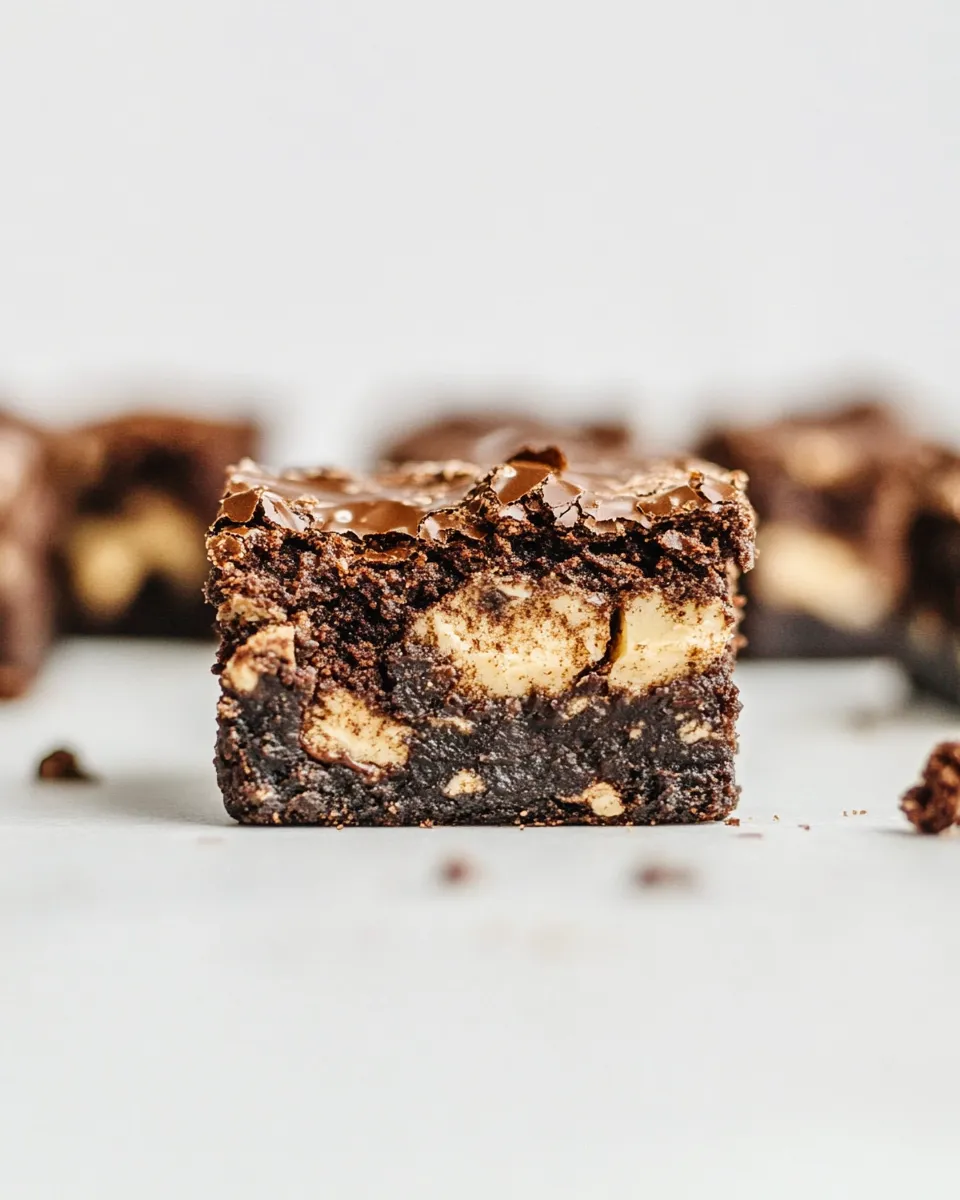
Better-Than-Crack Brownies.
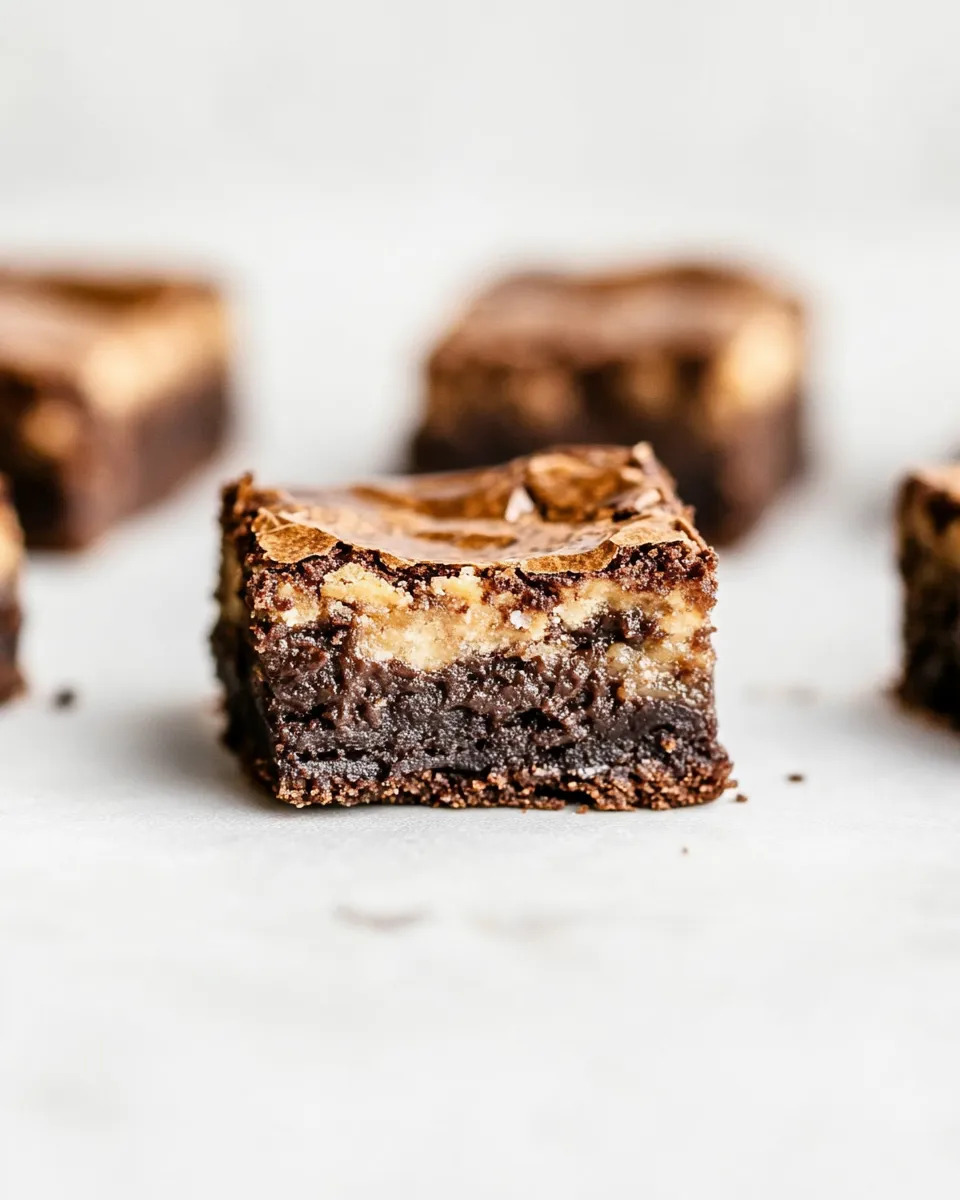
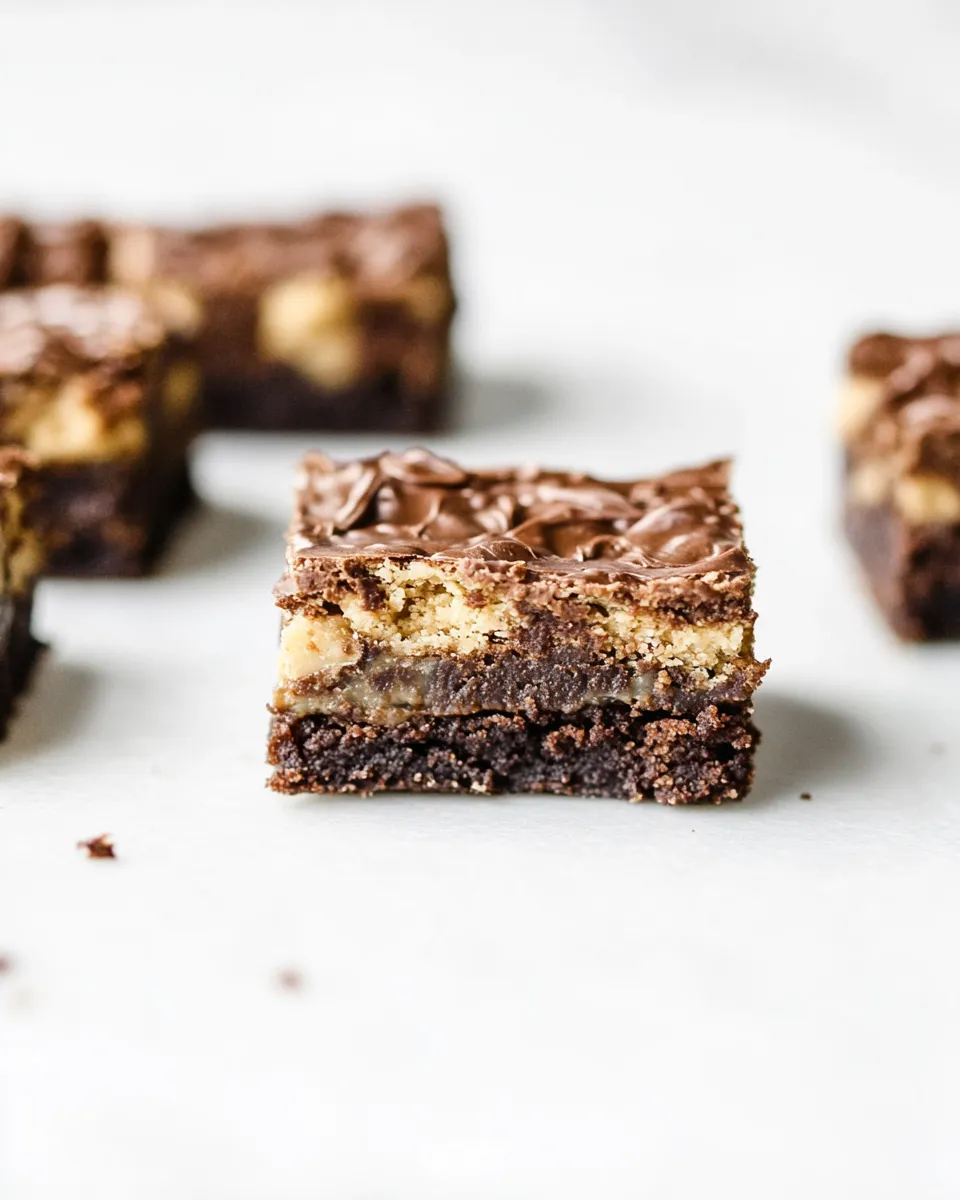
These brownies are loud in the best possible way: chewy, fudgy, and loaded with chocolate and peanut butter. They come together fast because you start with a boxed brownie mix, but the finish elevates them into something ridiculous—peanuts, chopped peanut butter cups, a cereal crunch and a glossy chocolate-peanut butter pour. Expect moments of sticky, gooey decadence and a crackle from the Rice Krispies.
I test desserts for a living and I keep coming back to this one when I need something that feeds a crowd and feels outrageously homemade. The method is simple: bake, top, finish, and chill. Minimal hands-on time, huge payoff.
Below you’ll find an exact shopping list, clear step-by-step instructions that follow the original recipe order and amounts, troubleshooting tips, storage advice, and quick variations that lean into seasonal flavors.
What to Buy
Stock these exact items so the recipe works as written. Quantities match the recipe for one 9 x 13 pan.
- 1 batch boxed brownie mix — any standard-size box that makes a 9 x 13 pan; follow the mix’s instructions for eggs/oil/water when assembling the batter.
- 1/2 cup salted peanuts — provides salty crunch; if you only have unsalted peanuts, sprinkle a pinch of sea salt over the top after assembly.
- 1 cup chopped Reese’s peanut butter cups — adds pockets of peanut-buttery candy throughout.
- 1 1/2 cups milk chocolate chips — for the glossy chocolate layer; melts smoothly.
- 1 1/2 cups creamy peanut butter — creates a silky peanut-butter sauce when melted with chocolate.
- 1/2 tablespoon butter — helps the chocolate-peanut butter mixture shine and loosen for pouring.
- 1 1/2 cups Rice Krispies Cereal — provides light, crispy texture in the topping.
From Start to Finish: Better-Than-Crack Brownies.
These instructions keep the original order and amounts but clarify each step so your bake is predictable. You’ll make the boxed brownies, give them a candy-studded top, finish with a melted-chocolate/peanut-butter-cereal mixture, then chill fully before cutting.
- Preheat the oven and prepare your pan: Preheat oven according to the brownie mix package for a 9 x 13 pan. Grease the pan lightly or line it with parchment, leaving an overhang for easy removal.
- Mix the brownie batter: Prepare the boxed brownie mix following the box directions for a 9 x 13 pan (use the exact eggs, oil, and water the mix instructs). Stir until combined but avoid overmixing.
- Bake the base layer: Pour the batter into the prepared 9 x 13 baking dish and smooth the top. Bake for 20 to 25 minutes, checking at 20 minutes. You want the brownies set but still slightly underbaked in the center because they’ll get a short second bake after toppings.
- Add peanuts and peanut butter cups: Remove the brownies from the oven. Evenly scatter 1/2 cup salted peanuts and 1 cup chopped Reese’s peanut butter cups over the hot surface.
- Return to the oven briefly: Place the pan back in the oven and bake 4 to 6 minutes more. This melds the candies into the top without fully baking them into the base.
- Prepare the chocolate-peanut butter-cereal topping: While the brownies finish baking, combine 1 1/2 cups milk chocolate chips, 1 1/2 cups creamy peanut butter, and 1/2 tablespoon butter in a microwave-safe bowl. Heat in 30-second intervals, stirring between each, until completely melted and smooth. Once melted and glossy, stir in 1 1/2 cups Rice Krispies cereal until evenly coated.
- Top the brownies: Remove the pan from the oven. Working quickly, pour the melted chocolate-peanut-butter-cereal mixture evenly over the warm brownies, using an offset spatula or the back of a spoon to spread if needed.
- Chill to set: Refrigerate the assembled pan for at least 2 hours so the topping firms and slices hold their shape.
- Slicing and serving: After chilling, lift the brownies out using the parchment overhang (if used) and cut into squares with a sharp knife. For cleaner cuts, warm the knife under hot water, dry it, and slice, wiping the blade between cuts.
Why You’ll Keep Making It
This recipe hits multiple textures and flavors: fudgy brownie, salty peanuts, melty peanut butter cups, crisp Rice Krispies, and a glossy chocolate-peanut butter cap. It’s fast for the impact—start to chill in under an hour—and flexible for crowds. Guests always ask for seconds.
It also scales nicely: one 9 x 13 pan feeds a group, but you can halve it for a smaller sheet or double it for a party. The components are pantry-friendly and easy to swap if you need variation.
Healthier Substitutions
- Reduce sugar — choose a lower-sugar boxed brownie mix, though texture will vary slightly.
- Peanut butter — use natural peanut butter (stirred) for fewer additives; expect a looser topping texture—chill slightly longer to set.
- Chocolate chips — substitute darker chocolate chips for less sweet flavor; use same volume (1 1/2 cups).
- Peanuts — swap to dry-roasted or raw peanuts and lightly toast them for a cleaner flavor; if using unsalted, add sea salt to the top.
- Gluten-free — choose a gluten-free boxed brownie mix and gluten-free Rice Krispies-style cereal.
Equipment & Tools
- 9 x 13 baking dish — required for the pan size and bake times to match.
- Mixing bowls — one for batter, one microwave-safe bowl for melting topping.
- Measuring cups and spoons — for accurate ingredient amounts.
- Offset spatula or spoon — to spread the topping smoothly.
- Sharp knife — for clean slicing after chilling.
- Parchment paper (optional) — makes removing and slicing easier.
Errors to Dodge
- Overbaking the base: Don’t bake the initial brownies beyond 25 minutes. They should be slightly underdone in the center before you add toppings so they don’t dry out.
- Skipping the short second bake: The 4–6 minute return to the oven helps the peanuts and peanut butter cups adhere; skipping it can make the toppings fall off when you pour the glaze.
- Burning the topping: Melt the chocolate-peanut butter mixture gently in 30-second intervals and stir between each to prevent scorching.
- Pouring too hot: If the melted topping is excessively hot, it can sink into the brownie rather than sit on top. Heat until smooth but not boiling.
- Not chilling long enough: Cutting before the 2-hour chill yields messy squares; give it the time to set.
In-Season Flavor Ideas
- Spring: Stir in a handful of chopped toasted almonds in place of some peanuts for a lighter crunch.
- Summer: Top with chopped strawberries right before serving for a bright counterpoint (add after chilling to avoid sogginess).
- Fall: Sprinkle a pinch of flaky sea salt or cinnamon on the topping just before chilling to deepen the flavor.
- Winter: Fold in 1/2 cup crushed peppermint candies into the topping for a holiday twist.
Testing Timeline
- 0–10 minutes: Prep the pan and mix the boxed brownie batter.
- 10–35 minutes: Bake the brownies for 20–25 minutes.
- 35–40 minutes: Remove, scatter peanuts and chopped peanut butter cups, then return to oven for 4–6 minutes.
- During that 4–6 minutes: Melt chocolate chips, peanut butter, and butter in 30-second intervals and stir in Rice Krispies.
- 40–45 minutes: Pour the topping over the brownies and smooth.
- 2 hours after finishing: Brownies are fully set and ready to slice and serve.
Make-Ahead & Storage
These brownies store well. After the initial 2-hour chill, keep them in an airtight container in the refrigerator for up to 5 days. For longer storage, freeze individual squares wrapped tightly in plastic wrap and foil for up to 2 months; thaw in the fridge overnight before serving. Bring chilled brownies to room temperature 15–30 minutes before serving for the best texture.
Frequently Asked Questions
- Can I use natural peanut butter? Yes. Use the same 1 1/2 cups, but expect a looser topping; chill a bit longer to firm it up.
- Can I skip the Rice Krispies? You can omit them, but you’ll lose the crisp contrast. If omitted, the topping will be denser.
- Do I have to refrigerate? Yes—chilling for at least 2 hours is necessary for the topping to set and for neat slices.
- Why add the peanuts and peanut butter cups before returning to the oven? That short bake melts the candies slightly and helps them anchor into the brownie surface so they don’t float when you pour the topping.
The Takeaway
Better-Than-Crack Brownies deliver a crowd-pleasing, no-fuss dessert: a boxed-brownie base upgraded with crunch, candy, and a shiny peanut-butter-chocolate topping. Follow the exact ingredient amounts and the organized steps above, chill thoroughly, and you’ll have slices that look and taste like a bakery treat with half the effort.
Better-Than-Crack Brownies.
Ingredients
- 1 batch boxed brownie mix
- 1/2 cup salted peanuts or unsalted peanuts + a pinch of sea salt
- 1 cup Reese's peanut butter cups chopped
- 1 1/2 cups milk chocolate chips
- 1 1/2 cups creamy peanut butter
- 1/2 tablespoon butter
- 1 1/2 cups Rice Krispies cereal
Instructions
- Prepare the brownie batter according to the directions on the boxed mix.
- Pour the batter into a greased 9 x 13-inch baking dish and bake for 20 to 25 minutes, until a toothpick inserted near the center comes out with a few moist crumbs.
- Remove the brownies from the oven and evenly sprinkle the 1/2 cup salted peanuts and 1 cup chopped Reese's peanut butter cups over the top, then return to the oven and bake 4 to 6 minutes more.
- While the brownies finish baking, combine the 1 1/2 cups milk chocolate chips, 1 1/2 cups creamy peanut butter, and 1/2 tablespoon butter in a microwave-safe bowl; heat in 30-second intervals, stirring between each, until smooth. Alternatively, melt together in a double boiler.
- Stir the 1 1/2 cups Rice Krispies cereal into the melted chocolate-peanut butter mixture until evenly coated.
- Remove the brownies from the oven and immediately pour the chocolate-peanut butter-Rice Krispies mixture evenly over the hot brownies, spreading gently if needed.
- Refrigerate the brownies for at least 2 hours to set, then slice into squares and serve.
Equipment
- 9 x 13-inch baking dish
- Mixing bowls
- Microwave-safe bowl or double boiler
- Spatula
- measuring cups
- Knife
Notes
- Use salted peanuts or add a pinch of sea salt if using unsalted peanuts.
- Microwave melts in short intervals and stirring prevents burning.
- Let the topping set in the fridge so slices hold together.
- Chop peanut butter cups roughly for bite-sized pieces.