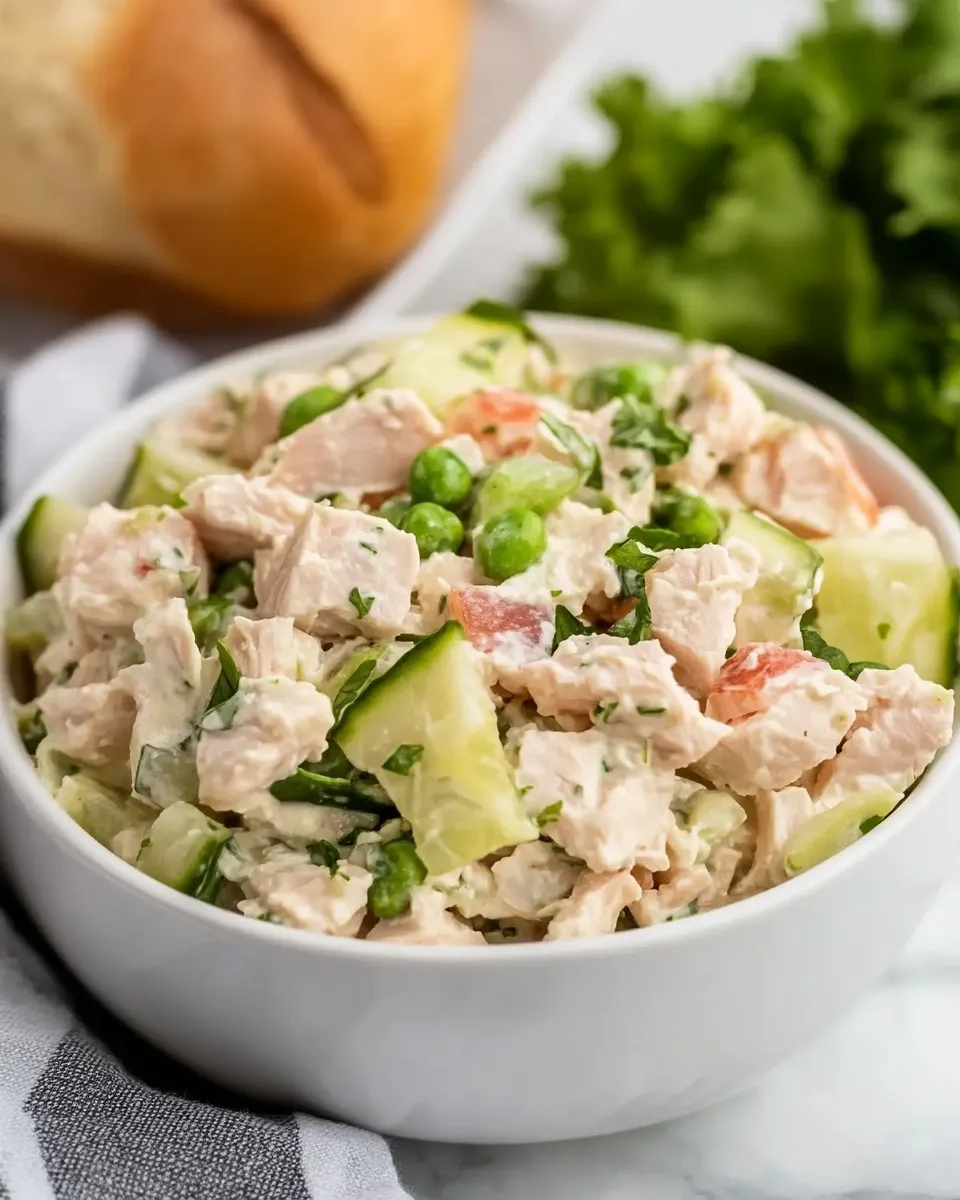
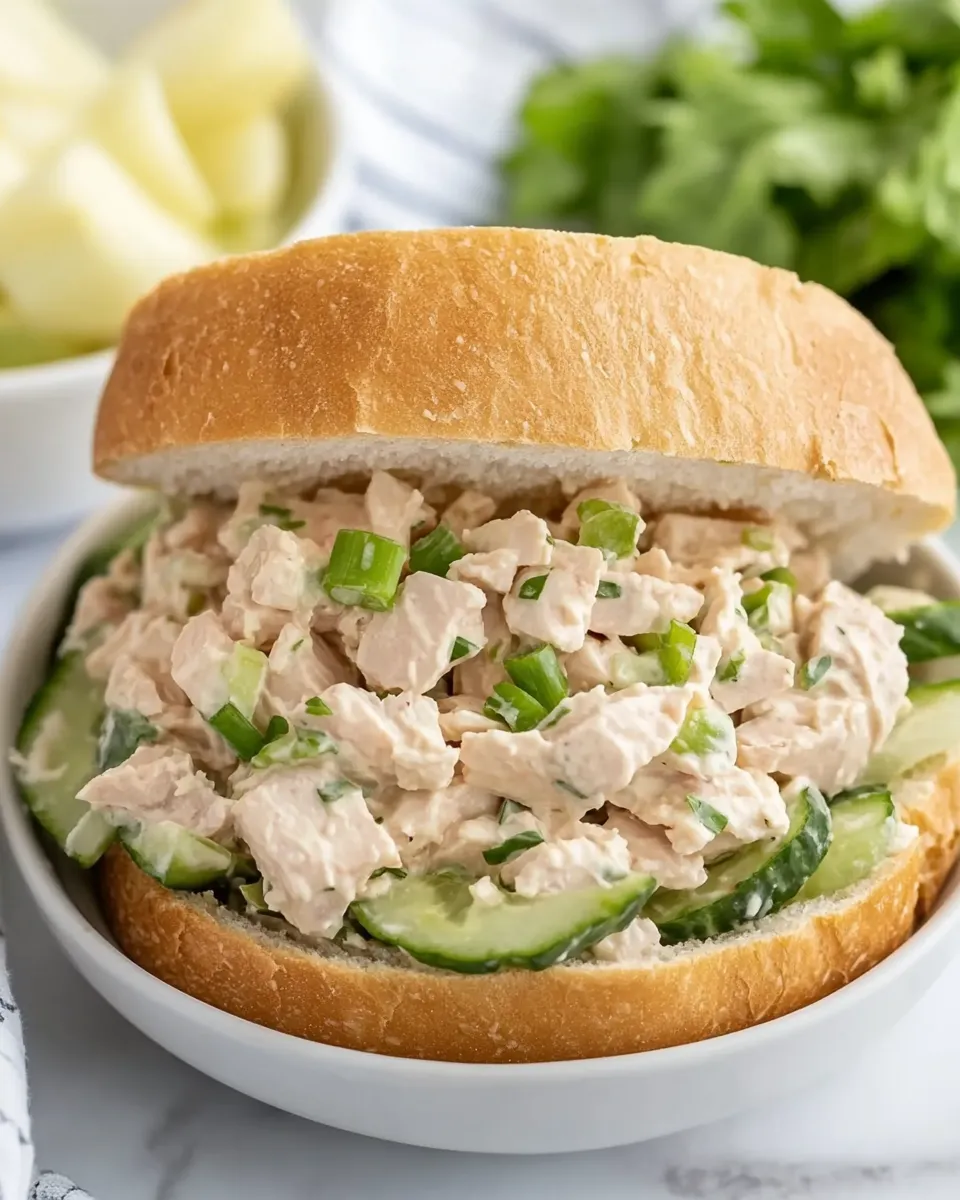
Tuna Salad Recipe
If you’re looking for a simple yet satisfying dish that’s perfect for lunch, picnics, or even a light dinner, this tuna salad recipe is your answer. Made with delicious canned albacore tuna, crunchy vegetables, and a creamy dressing, it’s a meal that you can whip up in just minutes. Whether you spread it on a slice of bread, serve it on a bed of greens, or enjoy it straight from the bowl, this tuna salad provides a delightful combination of flavors and textures. Plus, it’s versatile, making it easy to customize according to your preferences. Let’s dive into how to make this flavorful dish that your family will love.
Why This Recipe Is a Must-Try
This tuna salad recipe stands out for several reasons. First, its simplicity is a game-changer. With just a handful of ingredients, you can prepare a refreshing meal that packs a punch of flavor. Not to mention, it’s a great source of protein, thanks to the tuna. The combination of creamy mayonnaise, zesty Dijon mustard, and the crunch of celery and red onion creates a delightful symphony of tastes. Plus, it’s quick to prepare, making it an excellent option for busy weekdays or spontaneous gatherings with friends.
Ingredients
- 20 ounces canned albacore tuna in water (4 cans)
- 1 cup mayonnaise (see note)
- 2 stalks celery, finely diced
- 1 small red onion, peeled and finely diced
- 1 tablespoon Dijon mustard
- ½ teaspoon salt
- ½ teaspoon black pepper
How To Make Tuna Salad Recipe
Step 1: Gather Your Ingredients
Start by gathering all your ingredients. Open the cans of albacore tuna and drain the water. You’ll want to make sure you have everything ready to go, as this will make the process smooth and enjoyable.
Step 2: Prepare the Vegetables
Take the celery and red onion. Rinse the celery stalks under cold water, then finely dice them into small pieces. Peel the red onion and chop it into similar-sized pieces. The idea is to have small bits that will provide a nice crunch without overpowering the dish.
Step 3: Combine the Ingredients
In a large mixing bowl, combine the drained tuna, diced celery, and red onion. Make sure to break up the tuna gently with a fork, allowing it to blend with the vegetables without becoming too mushy.
Step 4: Add the Dressing
To your tuna and vegetable mixture, add the mayonnaise, Dijon mustard, salt, and black pepper. Stir everything together until well combined. The mayonnaise will add creaminess, while the mustard gives it a lovely tang.
Step 5: Taste and Adjust
Give your tuna salad a quick taste and adjust the seasoning if necessary. You may want to add a bit more salt, pepper, or even a splash more of Dijon mustard for an extra kick.
Step 6: Chill and Serve
For the best flavor, cover the bowl with plastic wrap or a lid and let the tuna salad chill in the refrigerator for at least 30 minutes. This allows the flavors to meld beautifully. When you’re ready to serve, scoop it onto slices of bread, crackers, or a fresh salad!
Expert Tips
- Use high-quality tuna: Opt for albacore tuna packed in water for the best flavor and texture.
- Customize your mayonnaise: Experiment with different brands or types of mayonnaise, like avocado oil mayo, for a healthier twist.
- Let it chill: Allowing your tuna salad to sit in the fridge enhances the flavors, making it even more delicious.
- Keep it fresh: If you plan to store your tuna salad, consider adding ingredients like celery just before serving to maintain their crunch.
Variations and Customizations

- Add diced pickles or relish for a sweet tangy flavor.
- Incorporate hard-boiled eggs for extra protein and creaminess.
- Stir in fresh herbs such as dill or parsley for a burst of freshness.
- Infuse some heat by adding diced jalapeños or a pinch of cayenne pepper.
How to Store Leftovers
Tuna salad can be stored in an airtight container in the refrigerator for up to three days. Make sure to keep it chilled and consume it within this timeframe for the best quality and flavor. If you added any crunchy toppings, such as diced celery, consider adding them fresh when you’re ready to eat to maintain their crispness.
FAQ
Can I use tuna packed in oil instead of water?
Absolutely! Tuna packed in oil will give your salad a richer flavor. Just be aware that it may also add extra calories and fat.
What can I serve tuna salad with?
Tuna salad is incredibly versatile. You can serve it on a bed of greens, between slices of bread, with crackers, or even in lettuce wraps for a low-carb option.
How long does tuna salad last in the fridge?
When stored properly in an airtight container, tuna salad can last for up to three days in the refrigerator.
Is tuna salad healthy?
Yes! Tuna is rich in protein and omega-3 fatty acids, while the addition of celery and onions provides fiber and various vitamins. Using a moderate amount of mayonnaise keeps the calorie count reasonable, especially if you choose a lighter version.
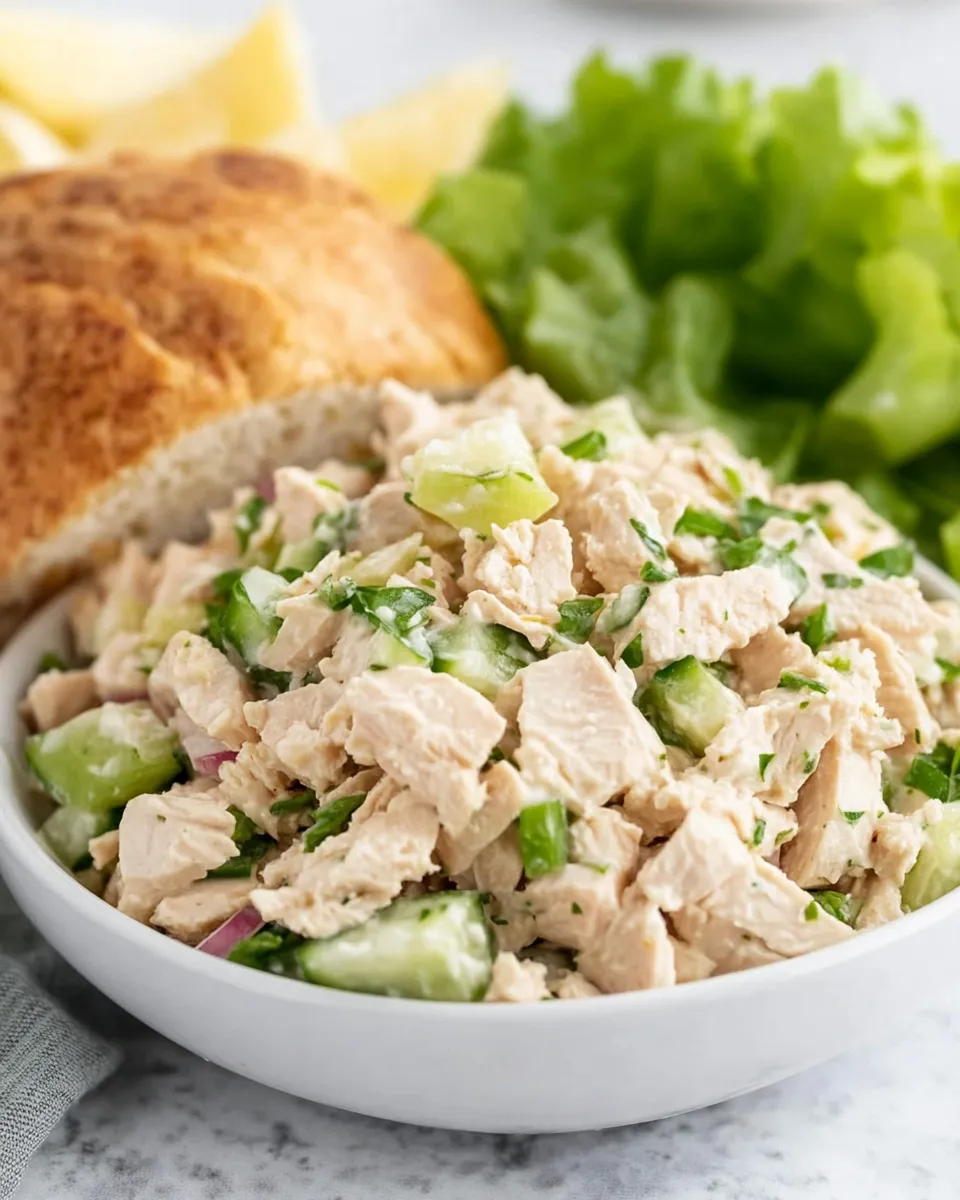
Conclusion
This tuna salad recipe is not only a breeze to make, but it’s also a crowd-pleaser that brings a touch of comfort to your table. With its creamy texture, crunchy veggies, and the robust flavor of albacore tuna, this dish is perfect for any occasion. Whether you enjoy it as a quick lunch, a picnic staple, or a satisfying snack, you’ll find yourself going back for seconds. So, the next time you need a healthy yet delicious meal, reach for this classic tuna salad recipe. Enjoy every bite!
Tuna Salad
Ingredients
Tuna
- 20 ounces canned albacore tuna in water (about 4 cans)
Dressing
- 1 cup mayonnaise adjust to taste
- 2 stalks celery finely diced
- 1 small red onion peeled and finely diced
- 1 tablespoon Dijon mustard
- ½ teaspoon salt
- ½ teaspoon black pepper
Instructions
- Step 1: Gather your ingredients. Open the cans of albacore tuna and drain the water.
- Step 2: Prepare the vegetables by rinsing the celery and finely dicing it along with the red onion.
- Step 3: In a large mixing bowl, combine the drained tuna, diced celery, and red onion. Break up the tuna gently with a fork.
- Step 4: Add the mayonnaise, Dijon mustard, salt, and black pepper to the mixture and stir until well combined.
- Step 5: Taste and adjust the seasoning if necessary.
- Step 6: Chill in the refrigerator for at least 30 minutes before serving.
Equipment
- Mixing Bowl