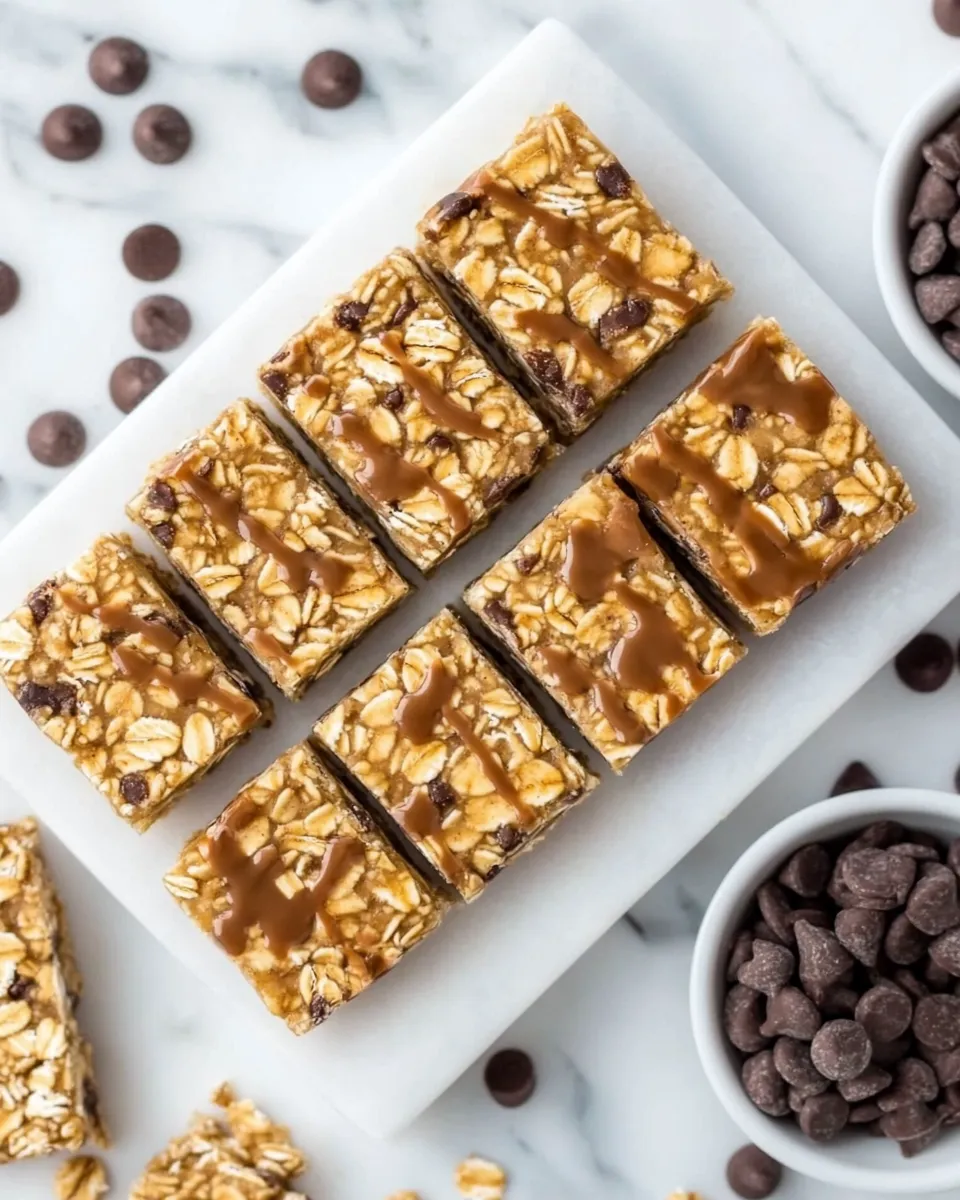
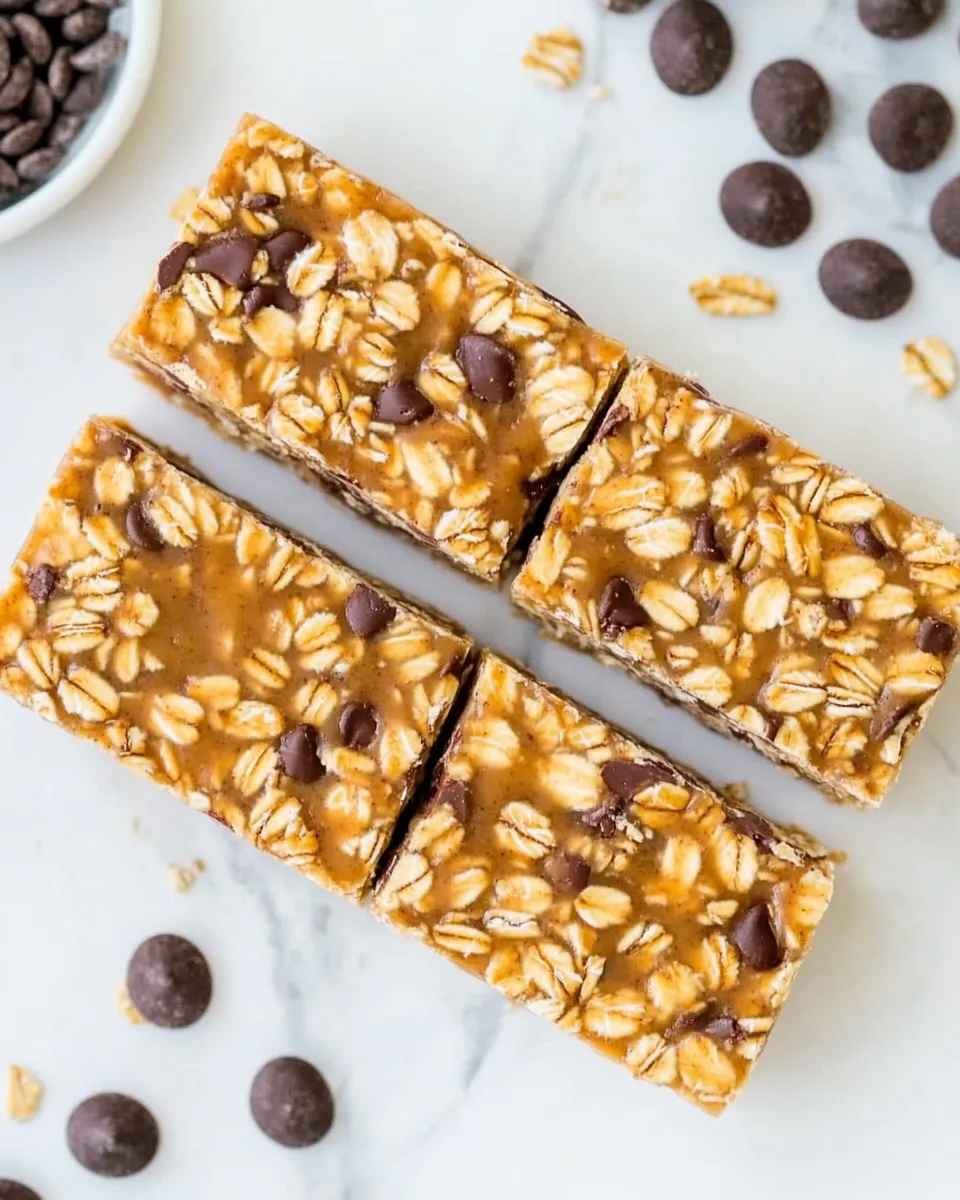
Protein Granola Bars
I make these protein granola bars all the time for busy mornings, post-workout snacks, and for tucking into lunchboxes. They’re not fussy: whole rolled oats, your favorite protein powder, peanut butter, and a touch of honey to bind. They come together fast, store well, and travel without drama.
What I love most is how easy they are to adapt. With the same basic method you can change flavors, boost nutrition, or make them fit a diet requirement. Below you’ll find a clear ingredient list with notes, step-by-step instructions, troubleshooting tips, and several helpful swaps and variations.
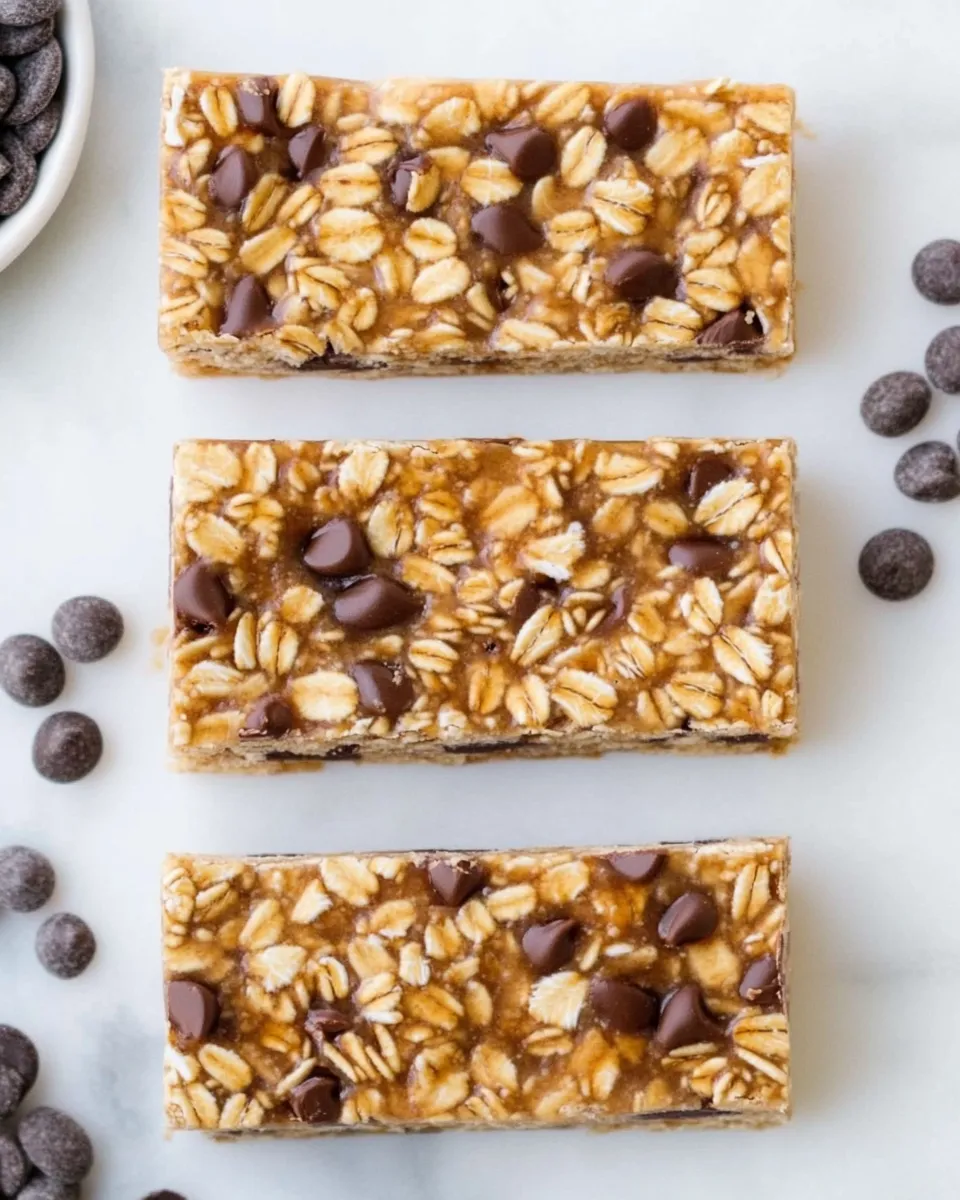
These bars are sturdy yet tender, with a gentle chew from the oats and a creamy binder from the peanut butter-honey mixture. Make a batch, slice into twenty portions, and you’ve got a week’s worth of smart snacks that actually taste good.
Ingredients at a Glance
- 3 cups rolled oats — The bulk and chew of the bars; use old-fashioned rolled oats for best texture.
- 1 1/2 cups protein powder — Adds structure and protein; any flavor works but note how it affects sweetness and texture.
- 1 cup peanut butter (smooth and creamy) — The primary binder and flavor; smooth peanut butter blends and presses into the pan cleanly.
- 1/2 cup honey or brown rice syrup — Sweetener and secondary binder; honey gives flavor and slightly firmer set, brown rice syrup is less sweet and keeps bars softer.
- 1/2 cup chocolate chips (optional) — Folded in at the end for pockets of chocolate; mini chips distribute more evenly.
Cooking Protein Granola Bars: The Process
- Line an 8 x 8-inch pan with parchment paper and set it aside so assembly is quick.
- In a large mixing bowl, combine the 3 cups rolled oats and 1 1/2 cups protein powder; stir until evenly mixed. This is your dry base.
- Place 1 cup smooth peanut butter and 1/2 cup honey (or brown rice syrup) into a microwave-safe bowl. Microwave in 20-second intervals, stirring between each burst, until the peanut butter softens and the mixture is smooth and slightly thickened—usually 40–60 seconds total depending on your microwave.
- Whisk the warmed peanut butter and honey together until fully combined and pourable. If the mix seems too stiff to stir, microwave an additional 10–15 seconds and whisk again.
- Pour the warm peanut butter-honey mixture into the bowl with the oats and protein powder. Use a sturdy spatula to fold and press until everything is moistened and holds together. Work quickly while the binder is warm so it coats the dry ingredients evenly.
- If you are using 1/2 cup chocolate chips, fold them in now so they’re distributed throughout the mixture.
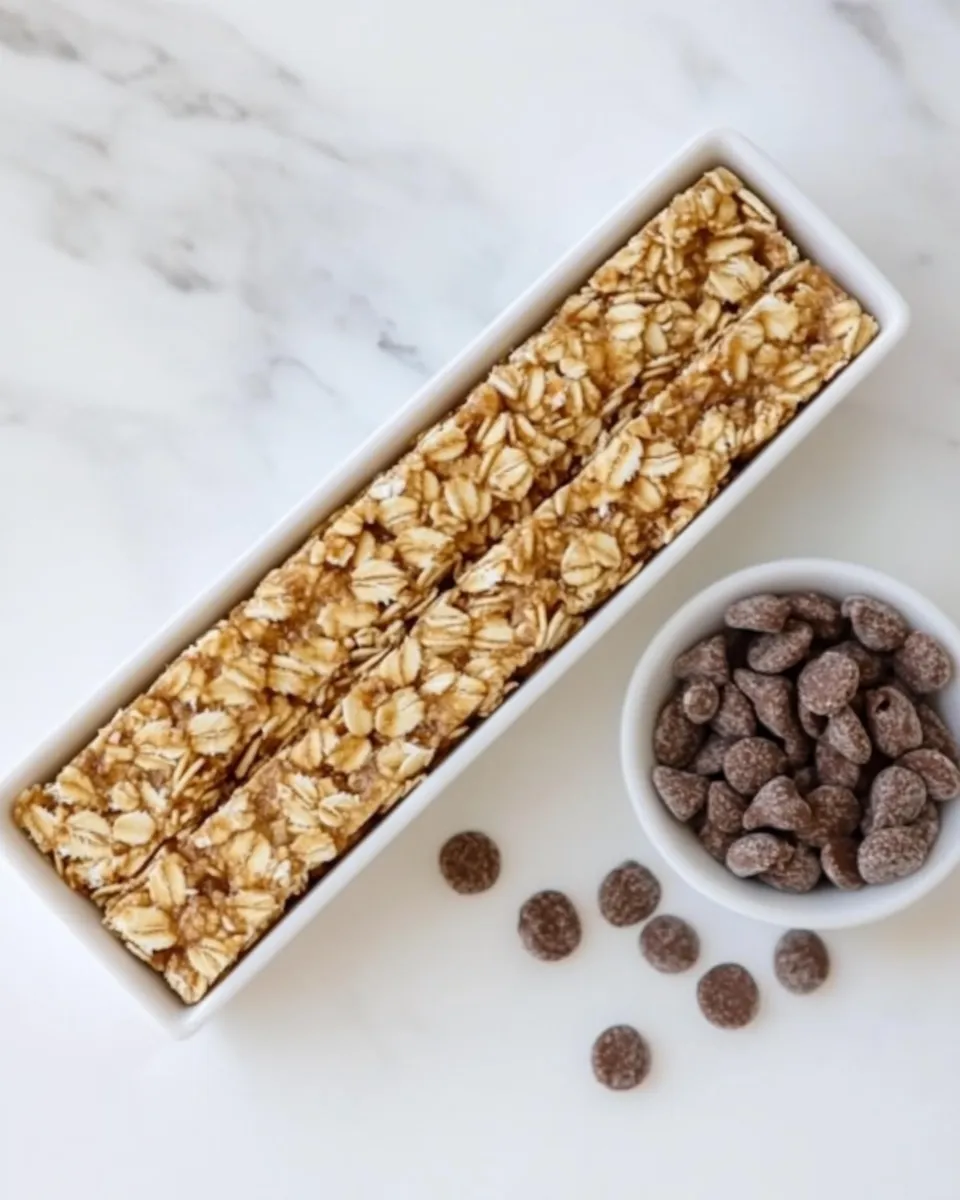
- Transfer the mixture to the prepared 8 x 8 pan. With clean hands or the back of a spatula, press the mixture firmly and evenly into the pan. The firmer you press, the better the bars will hold their shape once chilled.
- Refrigerate the pan for at least 1 hour to allow the bars to firm up. For a firmer set, chill longer or freeze for 20–30 minutes before slicing.
- Once firm, lift the mixture from the pan using the parchment paper and place on a cutting board. Slice into 20 bars using a sharp knife. For clean cuts, wipe the knife between passes or chill the slab briefly if it feels too soft.
- Store bars in an airtight container in the fridge for up to 2 weeks, or freeze for longer storage. Separate layers with parchment paper to prevent sticking.
The Upside of Protein Granola Bars
- Portable nutrition — compact source of protein and carbs for on-the-go fuel.
- Customizable — change protein powder flavor, nut butter, or add-ins to suit taste and goals.
- Quick to assemble — no baking required and minimal hands-on time.
- Cost-effective — makes about 20 bars for a fraction of store-bought prices.
- Longer shelf life when refrigerated or frozen — easy to batch-make and store.
Ingredient Swaps & Substitutions
- Rolled oats — For a finer texture, pulse oats briefly in a food processor, but don’t turn them into flour. Quick oats can be used but bars may be softer.
- Protein powder — Whey, casein, pea, soy, or blended plant protein all work. Choose an unflavored or complementary flavor (vanilla, chocolate) and remember flavor affects sweetness.
- Peanut butter — Swap for almond, cashew, or sunflower seed butter (use sunflower for nut-free). Smooth varieties press together more easily than chunky.
- Honey or brown rice syrup — Maple syrup will work but gives a thinner binder and sweeter flavor; if using maple, press the mixture more firmly and chill longer to set.
- Chocolate chips — Substitute chopped nuts, dried fruit, seeds, or cacao nibs. If using dried fruit, reduce total honey slightly because fruit adds sweetness.
Recommended Tools
- 8 x 8-inch baking pan — the correct size keeps bar thickness consistent.
- Parchment paper — for easy removal and clean slicing.
- Large mixing bowl — roomy enough to mix dry and wet ingredients without spills.
- Microwave-safe bowl or a small saucepan — to warm and combine peanut butter and honey.
- Sturdy spatula or wooden spoon — for pressing and mixing dense dough.
- Sharp knife or bench scraper — for neat slicing into 20 bars.
- Measuring cups — accurate amounts keep texture consistent.
Problems & Prevention
- Too crumbly / won’t hold together — Not pressed hard enough or binder too cool. Press mixture very firmly into the pan and ensure the peanut butter-honey is warm when combined. Chill longer before slicing.
- Too soft — Could be too much honey or a very fine protein powder that absorbs less liquid. Press firmly and chill longer; consider swapping to a slightly thicker nut butter.
- Greasy or oily bars — Very oily nut butter can cause greasiness. Stir nut butter before measuring and use a slightly firmer variety if needed. Press thoroughly to compact oils into the mixture.
- Chocolate chips melting — If bars are still warm when folding in chips, they’ll melt. Add chips when mixture has cooled slightly but is still pliable.
- Sticking to pan — Always line the pan with parchment that overhangs on two sides; it doubles as handles to lift the slab cleanly out.
Variations for Dietary Needs
- Gluten-free — Use certified gluten-free rolled oats and gluten-free protein powder.
- Vegan — Choose plant-based protein powder and use brown rice syrup or maple syrup instead of honey.
- Nut-free — Replace peanut butter with sunflower seed butter and ensure protein powder and add-ins are nut-free.
- Lower-sugar — Use plain protein powder, reduce chocolate chips, and choose brown rice syrup (less sweet) or reduce the amount of honey slightly; press extra firmly and chill longer.
- Higher-fiber — Add up to 1/4 cup ground flaxseed or chia seeds folded into the dry mix; this will slightly change texture and may require firmer pressing.
Insider Tips
Texture & Pressing
- Press hard. This is the single biggest factor for bars that hold their shape. Use the bottom of a measuring cup for a flat, even press.
- Warm binder = better coating. If your peanut butter is too cool, the oats won’t absorb it evenly. Heat until pourable but not scalding.
- Chill fully. One hour is the minimum; overnight in the fridge improves slicing and texture.
Flavor & Add-ins
- Match protein flavor to mix-ins: vanilla protein pairs well with nuts and dried fruit; chocolate blends naturally with chocolate chips or cocoa nibs.
- Mini chocolate chips distribute more evenly than large chips.
- Toast oats lightly for a nuttier flavor before combining, but allow them to cool first.
Save It for Later
- Refrigerator: Store in an airtight container for up to 2 weeks.
- Freezer: Wrap individual bars in parchment or plastic and freeze up to 3 months. Thaw in the fridge or at room temperature for 30–60 minutes before eating.
- Travel: Keep a small cooler or insulated bag with an ice pack for longer outings to prevent melting if your bars contain chocolate chips.
Helpful Q&A
- Can I bake these? No—this recipe is a no-bake formula. Baking would dry them out and change the texture significantly.
- How do I make fewer bars? The recipe makes about 20 bars from an 8 x 8 pan. To halve, use a 9 x 5 loaf pan and halve all ingredient amounts.
- My bars are too hard after refrigeration—how do I soften them? Let them sit at room temperature for 10–20 minutes before eating, or microwave a single bar for 8–10 seconds for a softer, chewier bite.
- Can I use crunchy peanut butter? Yes, but chunky bits can make pressing harder; chop or pulse larger nut pieces to distribute them or warm a bit longer to help mix.
- Why does protein powder change texture? Different protein powders absorb liquid differently. If your blend seems to dry out the mix, press extra firmly and chill well, or swap to a different powder next time.
Save & Share
- Make a double batch and freeze portions so you always have a healthy snack on hand.
- Share these with friends—wrap individual bars in parchment and tie with a ribbon for an easy homemade gift.
- Pin this recipe or print a copy to keep in your kitchen for quick reference; the method is a framework you can use for endless flavor combos.
Protein Granola Bars
Ingredients
- 3 cups rolled oats
- 1.5 cups protein powder see notes
- 1 cup peanut butter smooth and creamy; see notes
- 0.5 cup honey or brown rice syrup see notes
- 0.5 cup chocolate chips optional
Instructions
- Line an 8 x 8-inch (20 x 20 cm) baking pan with parchment paper and set aside.
- In a large bowl, combine the rolled oats and protein powder and stir until evenly mixed.
- In a microwave-safe bowl, add the peanut butter and honey (or brown rice syrup). Microwave in 20-second intervals, stirring between intervals, until the peanut butter softens and the mixture is smooth and thick.
- Pour the warmed peanut butter mixture into the dry ingredients and mix until fully combined. If the mixture is too thick, add a few tablespoons of water to loosen it.
- If using chocolate chips, fold them in until evenly distributed.
- Transfer the mixture to the prepared pan and press it firmly and evenly into the pan with a spatula or the back of a spoon.
- Refrigerate for at least 1 hour to firm up, then remove from the pan and slice into 20 bars.
Equipment
- 8 x 8-inch baking pan
- Parchment Paper
- large mixing bowl
- Microwave-safe Bowl
- spatula or spoon
- measuring cups
- knife for slicing
Notes
- Use vanilla or plain protein powder; brown rice, casein, or some whey blends work well.
- Almond butter or a nut-free alternative can replace peanut butter.
- Maple syrup can be used but may not hold the bars together as well.
- If mixture is too thick, add a few tablespoons of water to loosen it.
- Refrigerate bars to firm before slicing.