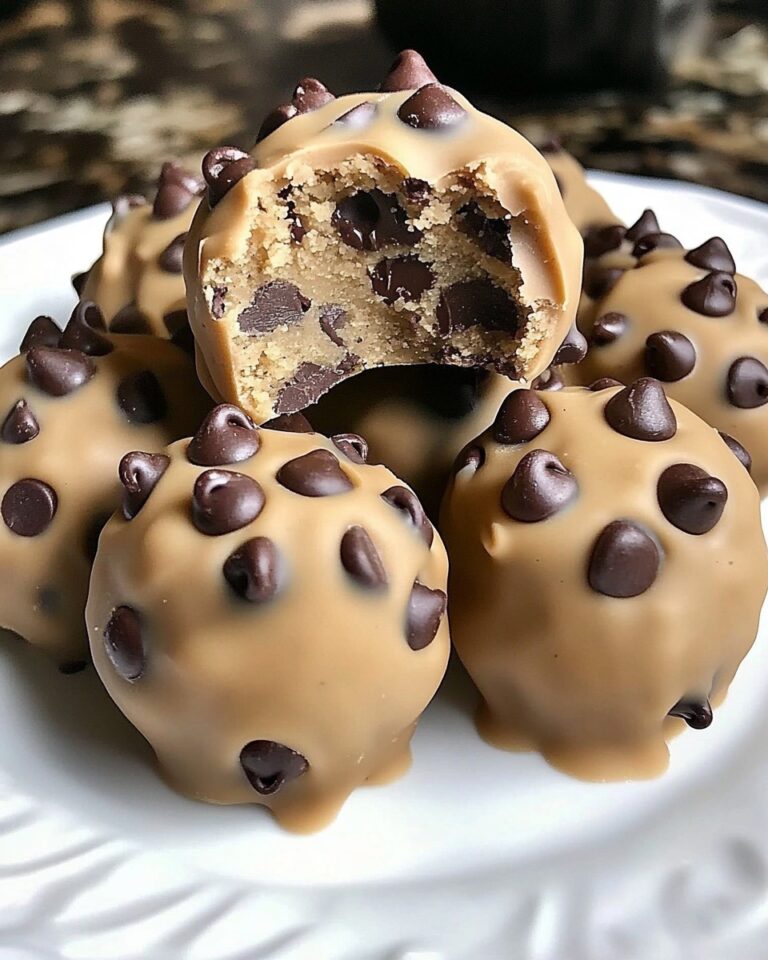
Peanut Butter Jelly Cookies
I love cookies that take me straight back to childhood, but still feel a little grown-up. These Peanut Butter Jelly Cookies do exactly that: soft, peanut-buttery dough with a sweet pocket of jam in the center. They’re approachable, forgiving, and fast enough to make on a weeknight when you need something cheerful.
You don’t need fancy tools or rare ingredients. The recipe keeps things simple—standard pantry staples and your favorite jelly. I’ll walk you through exactly how to make them, what to swap if you don’t have something, and the mistakes I made so you don’t have to.
What Goes Into Peanut Butter Jelly Cookies

Ingredients
- 1 ½ cups creamy peanut butter — provides the cookie’s base flavor and fat; creamy smooths the dough texture.
- 1 cup butter, salted or unsalted — adds richness and tenderness; use unsalted and adjust salt if preferred.
- ⅔ cup white sugar — for sweetness and structure; helps cookies brown slightly.
- ⅔ cup brown sugar — adds moisture and a deeper caramel note than white sugar alone.
- 2 eggs — bind the dough and provide lift.
- 2 teaspoons vanilla extract — rounds the flavors and highlights the peanut butter.
- 2 ¾ cups all-purpose flour — the main structure; measure by spooning into the cup and leveling for accuracy.
- 2 teaspoons baking soda — the leavening agent; gives a gentle rise and lighter crumb.
- 1 teaspoon salt — balances sweetness and enhances flavor; omit if using salted butter and you prefer less saltiness.
- ¾ cup grape jelly, or your favorite flavor — the jam filling; choose a spreadable jam (not whole fruit preserves) for easy filling.
Peanut Butter Jelly Cookies in Steps
- Preheat the oven to 375˚F (190˚C). Line a baking sheet with parchment paper or lightly grease it.
- In a large bowl, combine 1 ½ cups creamy peanut butter, 1 cup butter (salted or unsalted), ⅔ cup white sugar, and ⅔ cup brown sugar. Beat them together until the mixture is light and fluffy—about 2 to 3 minutes with an electric mixer, or a bit longer by hand.
- Add 2 eggs and 2 teaspoons vanilla extract to the peanut butter mixture. Mix until fully incorporated and smooth.
- Whisk together 2 ¾ cups all-purpose flour, 2 teaspoons baking soda, and 1 teaspoon salt in a separate bowl. This ensures even distribution of the leavening and salt.
- Gradually add the dry ingredients to the wet mixture, stirring until a soft dough forms. The dough should be soft but not sticky; it will hold its shape when rolled. If it feels sticky, chill 10–15 minutes.
- Measure 2 tablespoons of dough and roll it into a ball between your palms. Repeat until all the dough is portioned. Place the dough balls on the prepared baking sheet, spacing them about 2 inches apart.
- Bake the cookies in the preheated oven for 9–11 minutes. They should be lightly golden at the edges but still soft in the center.
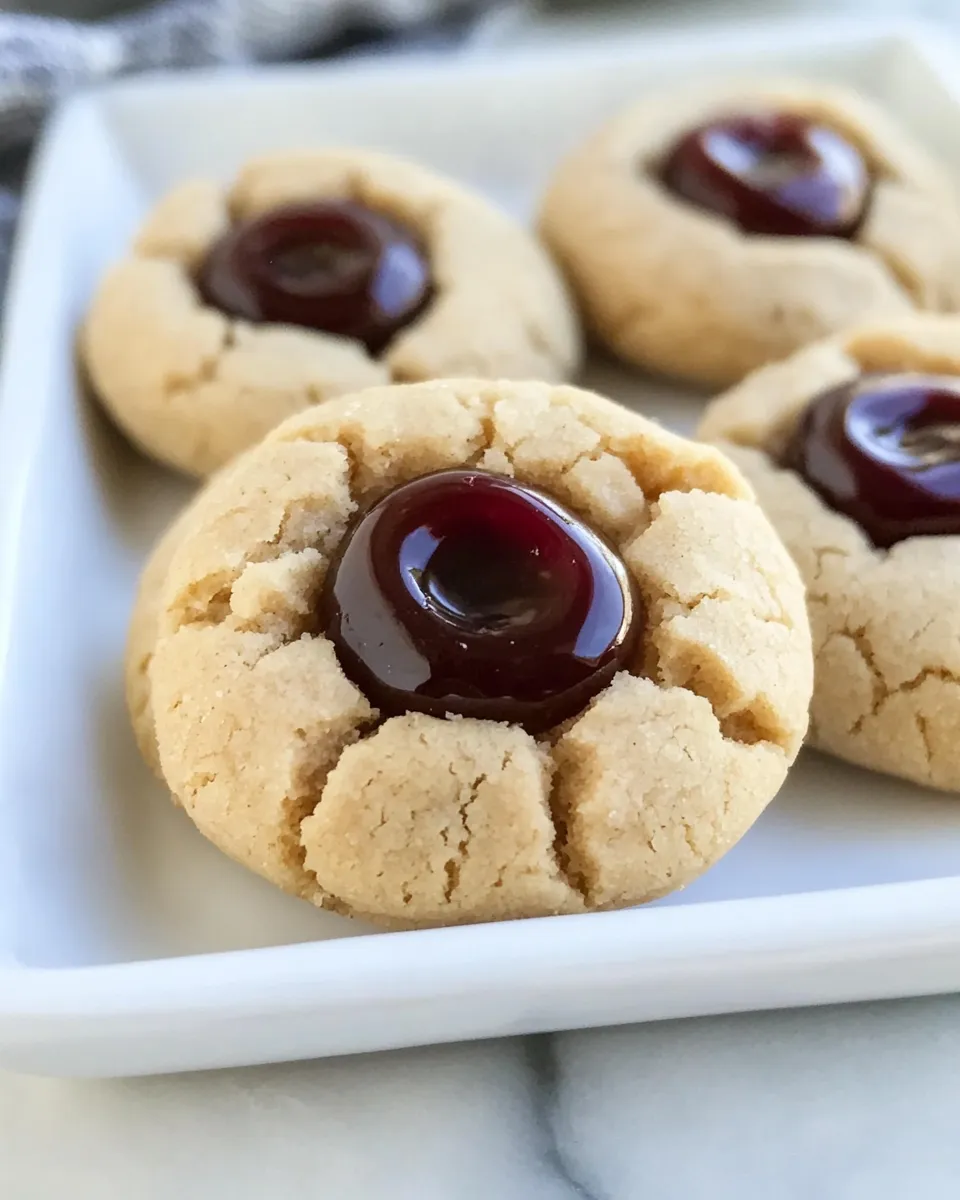
- As soon as the cookies come out of the oven, press the back of a teaspoon into the center of each cookie to create a shallow well. Work quickly so the indentation holds while the cookie is still warm.
- Add 1 teaspoon of jelly to the center of each cookie’s indentation. Use a piping bag, small spoon, or even a clean squeeze bottle to make this neat. Allow the cookies to cool on the baking sheet for 5–10 minutes, then transfer to a wire rack to cool completely.
Why It’s Crowd-Pleasing
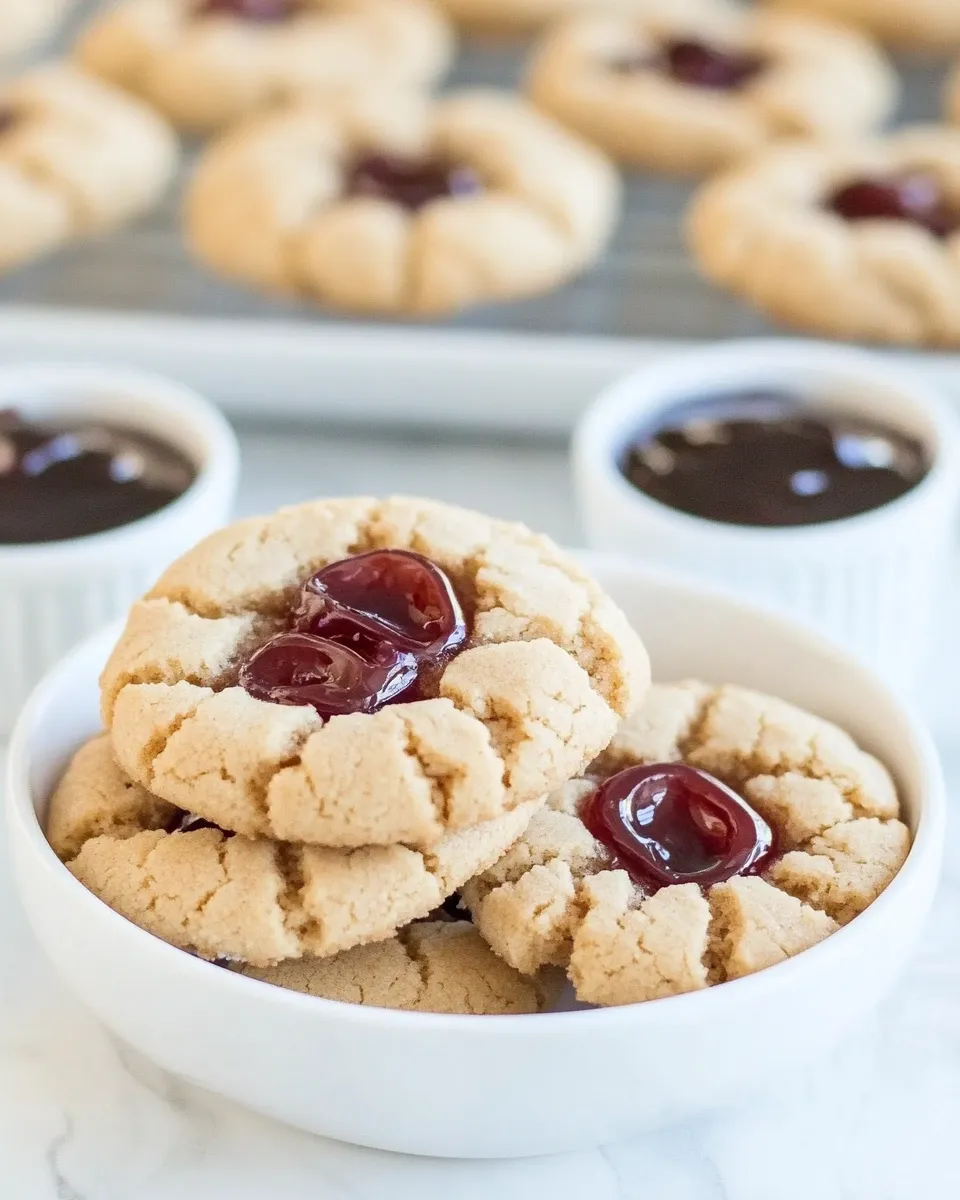
Peanut butter and jelly are a beloved combo for a reason: salty, nutty peanut butter and sweet-tart jam are instantly comforting. These cookies capture that nostalgia in single-bite form. They’re familiar enough for picky eaters and playful enough for kids.
Texture plays a big role. The cookie is tender and slightly cakey from the eggs and baking soda, while the jam adds a jelly-like center that softens the cookie just enough. They’re portable, shareable, and photograph well—great for bake sales or lunches.
Easy Ingredient Swaps
- Peanut butter — swap with almond or sunflower seed butter for nut-free options; expect a slight flavor change.
- Butter — use all unsalted butter and add an extra 1/4 teaspoon salt if you like a slightly saltier cookie.
- White/brown sugar — swap brown for coconut sugar 1:1 for a deeper flavor, but color and moisture will change.
- Grape jelly — replace with strawberry, raspberry, or apricot jam; smoother jams work best for the indentation.
- All-purpose flour — for a chewier cookie, replace up to 1 cup with bread flour; do not swap entirely without adjusting liquid.
Kitchen Gear Checklist
- Mixing bowls (one large, one medium).
- Electric mixer or sturdy wooden spoon—mixer shortens the work.
- Measuring cups and spoons (accurate flour measurement matters).
- Baking sheet(s) and parchment paper (or silicone mat).
- Teaspoon for making the indentation.
- Wire rack for cooling.
- Spoon or small piping bag for filling jelly.
Learn from These Mistakes
Common missteps and how to avoid them
- Overbaking — cookies will firm up as they cool. Pull them when edges are set but centers still look slightly soft.
- Indentations that fill back in — press wells immediately after baking while cookies are warm. If you wait, the dough will set and resist forming a cup.
- Too-stiff jelly — if your jelly is thick and hard to spoon, warm it briefly or stir in a teaspoon of water to loosen before filling.
- Sticky dough — chill the dough 10–15 minutes if it’s unworkably sticky. This makes rolling easier without changing the recipe.
Seasonal Ingredient Swaps
- Spring — use strawberry or rhubarb jam for a bright, tangy filling.
- Summer — try fresh-berry jams (seedless raspberry or blueberry) for a juicy burst.
- Fall — pear or fig jam pairs beautifully with peanut butter’s nuttiness.
- Winter — orange marmalade adds a warm, citrus note that lifts the cookie.
What I Learned Testing
I tested this recipe several times to get the balance right between a tender cookie and a stable well for jelly. A few takeaways:
– The 2-tablespoon scoop makes uniformly sized cookies that bake evenly. Too large and the centers collapse; too small and the jam overwhelms.
– Pressing the indentation immediately after baking is essential. The warm dough forms a clean cup that holds the jelly.
– Using both white and brown sugar gives the cookie a subtle caramel depth while keeping the texture soft. Reducing white sugar made the cookies denser, so I kept the original ratio.
Make-Ahead & Storage
- Make dough ahead: Refrigerate for up to 48 hours wrapped tightly. Let it sit at room temperature 10–15 minutes before rolling if it’s very firm.
- Baked cookies: Store in an airtight container at room temperature for up to 4 days. Place parchment between layers to prevent sticking.
- Freezing: Freeze baked, unfilled cookies in a single layer on a tray, then transfer to a freezer bag for up to 3 months. Thaw, then press wells and add jelly before serving.
- Prepared jars of jelly: Store per manufacturer instructions; most jams keep for weeks in the fridge after opening.
Troubleshooting Q&A
- Q: My dough was sticky—what now? A: Chill 10–15 minutes to firm it up, then roll. If still sticky, dust hands lightly with flour but avoid adding too much to preserve texture.
- Q: The wells disappeared when I pressed them. A: Press immediately after the cookies come out while still warm. Use a spoon or the back of a teaspoon and press gently but firmly.
- Q: The jelly sank into the cookie and made it soggy. A: Use a thicker jam or reduce the amount slightly. Let cookies cool a little (5–10 minutes) so the edges begin to set before filling.
- Q: Cookies tasted flat. A: Make sure baking soda is fresh and you measured flour properly; too much flour flattens flavor. A pinch more salt can also brighten the taste.
Wrap-Up
These Peanut Butter Jelly Cookies are simple, nostalgic, and forgiving—perfect for feeding a crowd or satisfying a snack attack. The recipe is straightforward: creamy peanut butter in the dough, a tender cookie base, and a sweet dollop of jelly. Follow the step-by-step directions, press wells while warm, and use a jam you really love. You’ll end up with cookies that taste like a childhood favorite, only better.
If you try them, let me know which jam you used and how they turned out. Enjoy baking—and eating—these little bites of happiness.
Peanut Butter Jelly Cookies
Ingredients
- 1 1/2 cups creamy peanut butter
- 1 cup butter salted or unsalted, softened
- 2/3 cup white sugar
- 2/3 cup brown sugar
- 2 eggs
- 2 teaspoons vanilla extract
- 2 3/4 cups all-purpose flour
- 2 teaspoons baking soda
- 1 teaspoon salt
- 3/4 cup grape jelly or your favorite flavor
Instructions
- Preheat the oven to 375°F (190°C) and line baking sheets with parchment paper or silicone mats.
- In a large bowl, beat together the creamy peanut butter and softened butter until smooth.
- Add the white sugar and brown sugar to the bowl and beat until the mixture is light and fluffy.
- Mix in the eggs one at a time, then stir in the vanilla extract until combined.
- Add the all-purpose flour, baking soda, and salt; stir until a soft dough forms that is not sticky.
- Measure about 2 tablespoons of dough and roll into a ball. Place dough balls 2 inches apart on the prepared baking sheets.
- Bake for 9–11 minutes, until the edges are set and the centers are still slightly soft.
- Immediately after removing the cookies from the oven, press the back of a teaspoon into the center of each cookie to create an indentation.
- Spoon about 1 teaspoon of grape jelly (or chosen flavor) into each indentation and allow cookies to cool on the sheet until set.
Equipment
- large mixing bowl
- Hand mixer or stand mixer
- Measuring cups and spoons
- Baking Sheet
- parchment paper or silicone baking mat
- Teaspoon
Notes
- These cookies freeze well either before or after baking.
- You can double the recipe to make a larger batch.