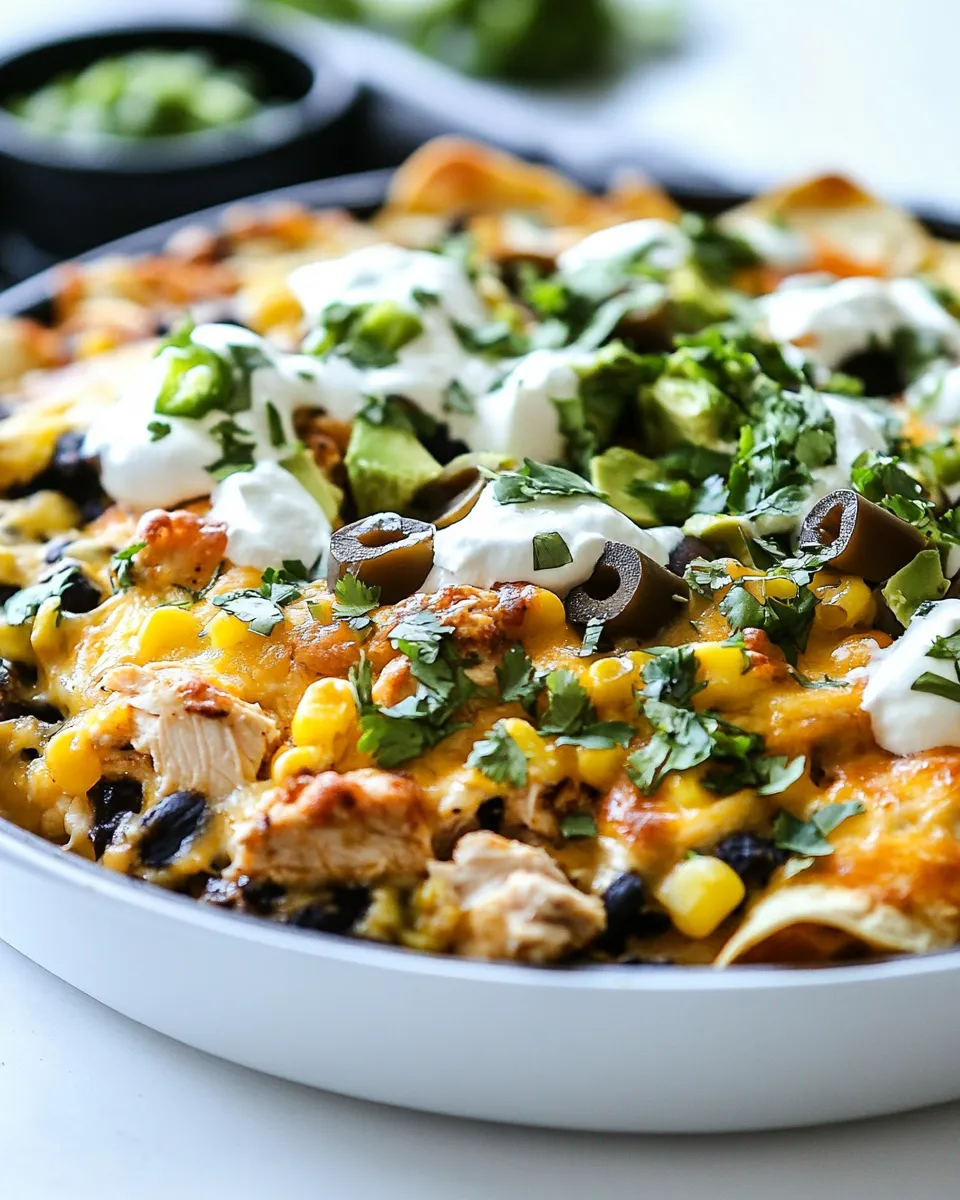
One-Pan Chicken Tortilla Bake
This One-Pan Chicken Tortilla Bake is the kind of dinner I turn to when I want something fast, forgiving, and seriously satisfying. It uses a handful of pantry-friendly ingredients, a rotisserie chicken, and one ovenproof skillet—or a baking dish—so cleanup is minimal and flavor is maximum. It’s layered like a hot, cheesy tortilla casserole and comes together in under an hour.
Think of it as a lasagna with a Tex-Mex spin: soft flour tortillas replace pasta sheets, salsa verde brings brightness, and melted Mexican cheese ties everything together. The finished dish is perfect for weeknights, leftovers, and feeding a small crowd. I love topping mine simply with sour cream and green onions so the layers stay front and center.
Below you’ll find a clear ingredient breakdown with notes, precise step-by-step instructions using the exact amounts below, and practical tips for swaps, storage, and troubleshooting. No fluff—just how to make the bake turn out reliably every time.
The Ingredient Lineup
- 10 (6-inch) Old El Paso soft taco flour tortillas — the base and layers; their size fits a 10–12 inch skillet and they soften as they bake.
- 2 cups shredded rotisserie chicken — pre-cooked shortcut protein; shred small so layers assemble evenly.
- 1 (16 ounce) jar salsa verde — the sauce/sauce layer; it keeps the tortillas moist and adds tang.
- 1 cup black beans, rinsed and drained — adds creaminess and bulk; rinse to remove canning liquid and reduce salt.
- 1 cup corn, fresh, grilled, frozen, or canned — sweetness and texture; if frozen, thaw and drain; if canned, drain.
- 3 cups shredded Mexican blend cheese — melty binder and flavor; use freshly shredded for best melt.
- 1/4 cup sliced green onions — fresh garnish; adds color and a mild onion bite.
The Method for One-Pan Chicken Tortilla Bake
Prep and assemble
- Preheat the oven to 350°F (175°C). Spray a 10–12 inch oven-proof skillet or baking dish with cooking spray so the tortillas won’t stick.
- Lay 5 of the 6-inch flour tortillas in the bottom of the skillet, overlapping them to fully cover the base. Make sure the edges tuck up slightly against the sides so you form a continuous layer.
- Spread half of the shredded rotisserie chicken evenly over the tortillas.
- Spoon half of the 16 oz jar of salsa verde over the chicken. Use enough so the tortillas are well-coated but not swimming; the goal is even coverage to keep layers moist.
- Scatter half of the rinsed and drained 1 cup black beans across the salsa layer.
- Sprinkle half of the 1 cup corn evenly over the beans.
- Top with half of the 3 cups shredded Mexican blend cheese, distributing it in an even layer.
- Repeat the layering: lay the remaining 5 tortillas (or fold/overlap as needed) to form the next layer, then add the remaining 2 cups shredded rotisserie chicken, the remaining salsa verde, the remaining black beans, the remaining corn, and finish with the remaining 3 cups shredded Mexican blend cheese.
Bake and finish
- Make sure the top has an even cheese layer and that salsa verde has been spread enough that the tortillas beneath are covered.
- Place the skillet or baking dish in the preheated oven and bake for 20–30 minutes. Bake until the casserole is heated through, the cheese is melted, and edges are bubbling.
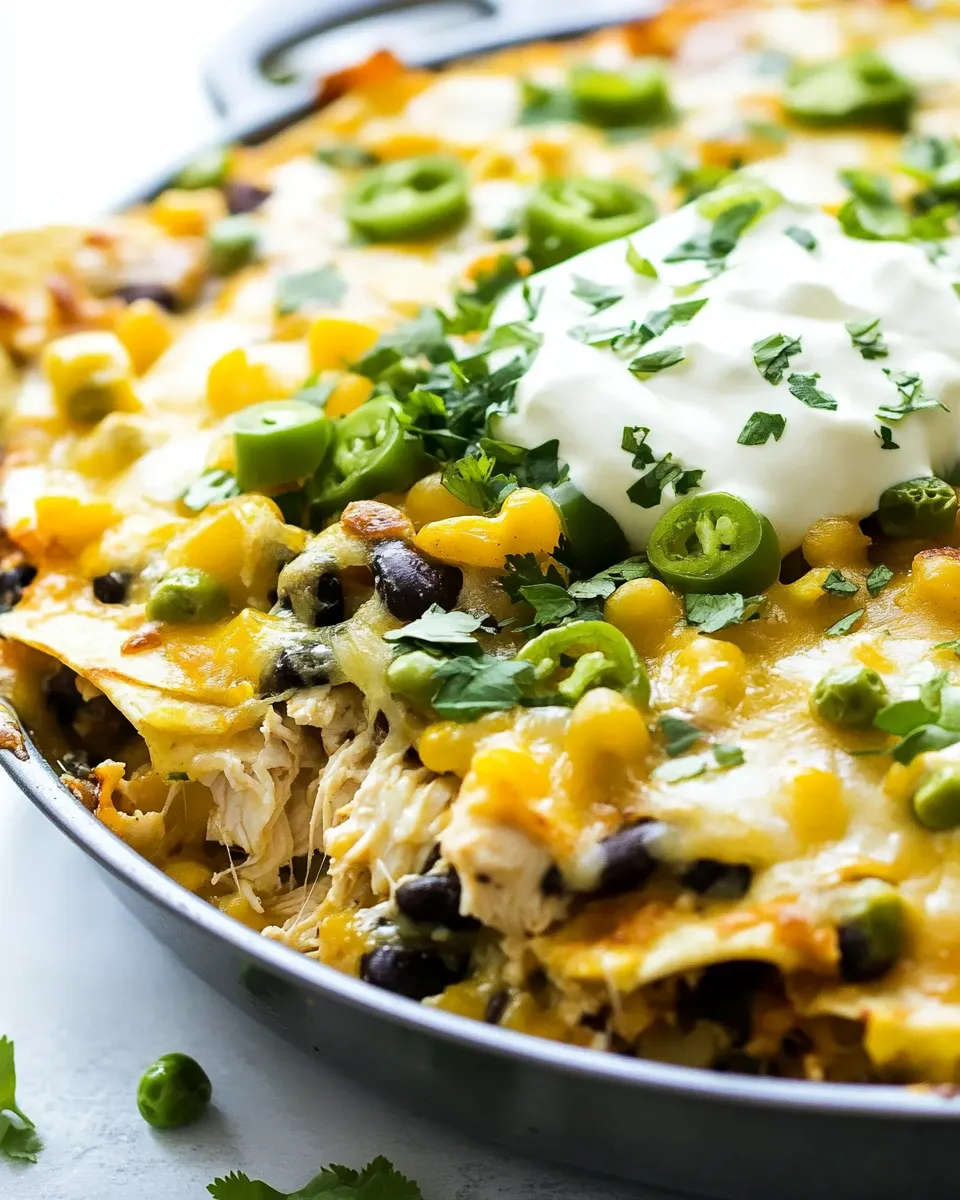
- Remove from the oven and let rest for 5 minutes. Top with the 1/4 cup sliced green onions and any additional desired toppings—sour cream is recommended.
- Slice into triangles (like a pie) and serve hot.
Why It Works Every Time
Layering tortillas with sauce and cheese ensures even moisture distribution so nothing dries out. Using pre-cooked rotisserie chicken removes guesswork about doneness while giving rich flavor. Salsa verde contributes acidity and salt to balance the cheese, and the beans and corn add body and texture so each bite feels complete. Baking at 350°F lets cheese melt and ingredients heat through without burning the tortillas.
Texture-Safe Substitutions
- Tortillas: If you only have 8-inch tortillas, overlap more to cover the base; if corn tortillas are all you have, they’ll crisp more—briefly warm them before layering to reduce cracking.
- Chicken: Cooked shredded chicken breast or thigh both work; the recipe relies on pre-cooked chicken so any cooked-and-shredded option is fine.
- Salsa verde: Mild green enchilada sauce or a jarred tomatillo salsa can be used, but adjust the amount if they’re much thinner or thicker.
- Black beans & corn: Substitute pinto beans for a similar texture; frozen and canned corn both work—drain canned corn to avoid excess liquid.
- Cheese: A blend of cheddar and Monterey Jack is fine if you don’t have a Mexican blend; freshly shredded melts best.
Must-Have Equipment
- 10–12 inch oven-proof skillet or a similarly sized baking dish — fits the tortilla layout and goes from oven to table.
- Cooking spray — prevents sticking and helps crisp the base slightly.
- Mixing spoon or spatula — for spreading salsa verde and leveling layers.
- Sharp knife or pizza cutter — to slice the finished bake into wedges.
Pitfalls & How to Prevent Them
- Dry tortillas: If you skimp on salsa verde, the tortillas can dry. Make sure each tortilla layer has even salsa coverage.
- Soggy bottom: Too much loose watery liquid (from thawed frozen corn or watery salsa) can make the base soggy. Drain canned ingredients and use a salsa with moderate viscosity.
- Cheese not melting: Use freshly shredded cheese rather than pre-shredded bagged varieties, which contain anti-caking agents that reduce meltiness.
- Uneven heating: Use an ovenproof skillet or dish that fits your oven and check the center for bubbling to ensure it’s heated through—if edges are done but center isn’t, cover loosely with foil and bake a few more minutes.
Variations for Dietary Needs
- Vegetarian: Omit the chicken and add an extra cup of beans or a cup of diced roasted vegetables (peppers, zucchini) to keep bulk.
- Gluten-free: Use certified gluten-free flour tortillas in the same quantity.
- Dairy-free: Use a plant-based shredded cheese substitute (3 cups) and skip the final cheese melt step if necessary; nutritional yeast can add savory notes.
- Lower sodium: Rinse canned beans thoroughly, use a low-sodium jarred salsa verde, and choose a lower-sodium cheese.
What Could Go Wrong
Common mistakes are easy to fix: not enough sauce leaves the bake dry; too much watery ingredient makes it soggy. Overlapping tortillas unevenly can create thick spots that don’t heat through—lay them flat and evenly. Using pre-shredded cheese can leave a greasy layer instead of a smooth melt; fresh shredding prevents that. Finally, slicing too soon will cause the layers to fall apart—let it rest 5 minutes after baking so the cheese sets slightly.
Freezer-Friendly Notes
This casserole freezes well either before or after baking, with a few caveats. To freeze before baking, assemble in a freezer-safe dish, wrap tightly with plastic wrap and foil, and freeze up to 2 months. Bake from frozen: remove wrapping, place in a cold oven, set to 350°F, and bake for about 45–60 minutes until heated through and bubbly—cover with foil for the first 30 minutes to prevent over-browning, then remove to finish.
To freeze leftovers after baking, cool completely, slice into portions, wrap each portion tightly, and freeze up to 2 months. Reheat in a 350°F oven covered (to avoid drying) until warmed through, or microwave on medium power, checking frequently.
Reader Q&A
Q: Can I make this in a 9×13 pan?
A: Yes. Use the same ingredient amounts; the layers will be thinner and the bake time should be similar—check for bubbling and melted cheese at 20 minutes, and allow up to 30 minutes.
Q: Do the tortillas get soggy?
A: They soften during baking, which is the intent. If you prefer a little crisp, use a cast-iron skillet and let the bake rest uncovered for a minute or two, or briefly broil the top for 1–2 minutes—watch closely.
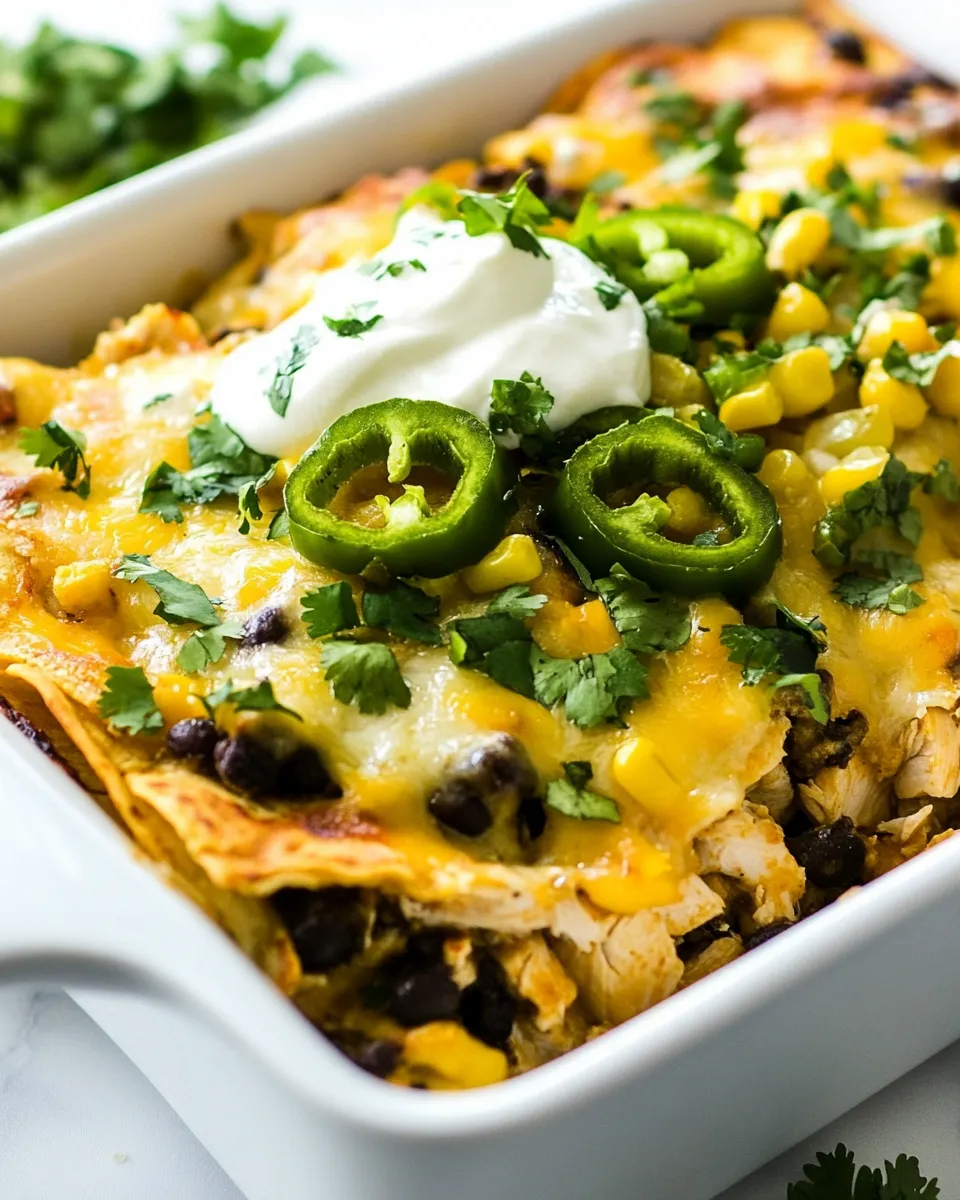
Q: Can I add extra heat?
A: Yes. Stir diced jalapeño into the chicken layer or use a spicier salsa verde. Add chili powder or a pinch of cayenne to the chicken before layering if you want consistent heat.
Before You Go
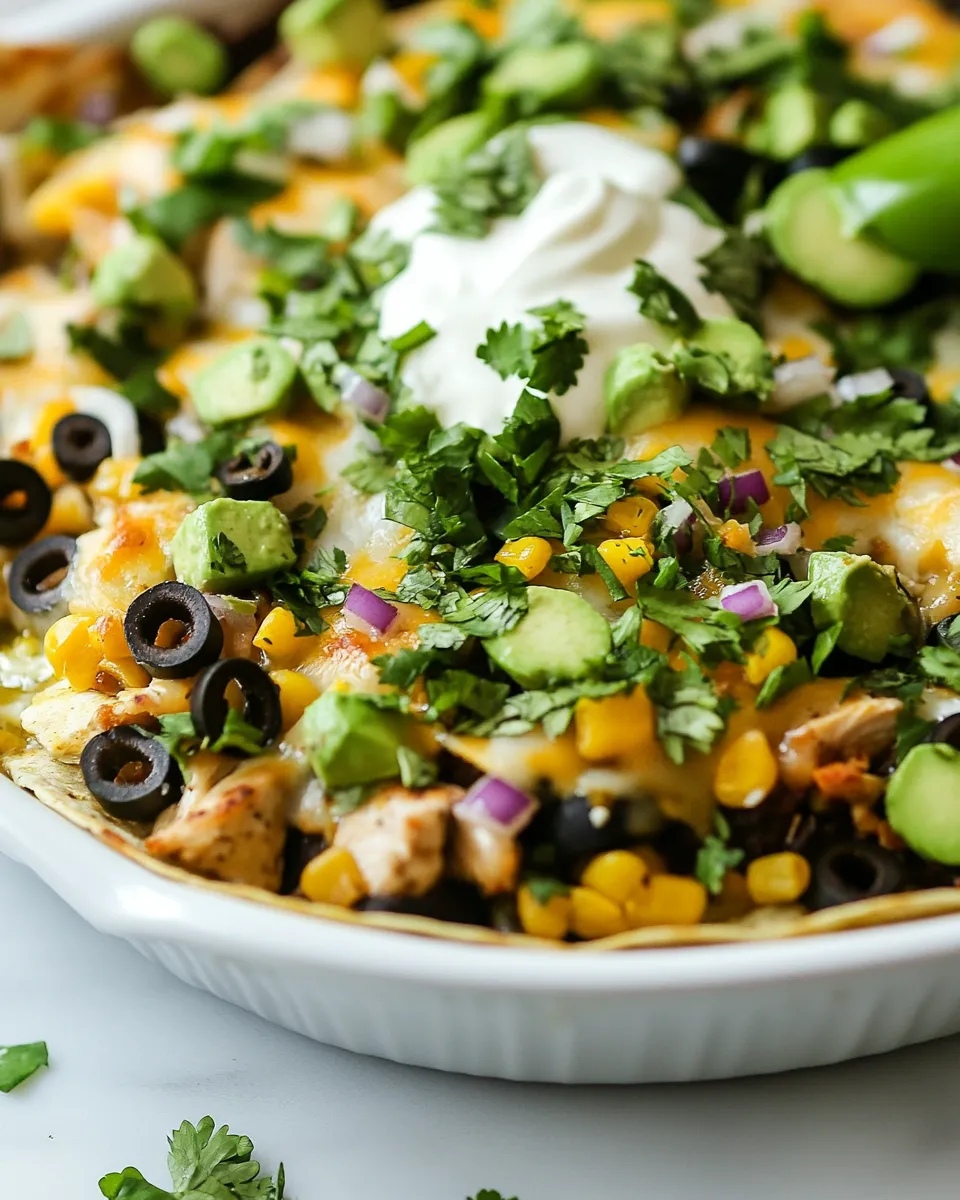
This One-Pan Chicken Tortilla Bake is practical, fast, and endlessly adaptable—perfect for weeknights or casual weekends. Keep the ingredient list simple, follow the step-by-step assembly above, and you’ll get a reliable, crowd-pleasing dinner with minimal fuss. If you try it, tell me what toppings you used—sour cream and green onions are my go-tos, but avocado, pickled onions, or a squeeze of lime are all lovely additions.

One-Pan Chicken Tortilla Bake
Ingredients
- 10 6-inch Old El Paso soft taco flour tortillas
- 2 cups shredded rotisserie chicken
- 1 (16 ounce) jar salsa verde
- 1 cup black beans rinsed and drained
- 1 cup corn fresh, grilled, frozen, or canned
- 3 cups shredded Mexican blend cheese
- 1/4 cup sliced green onions
Instructions
- Preheat the oven to 350°F (175°C). Lightly spray a 10–12 inch oven-proof skillet or baking dish with cooking spray.
- Layer five 6-inch tortillas in the bottom of the skillet or dish, overlapping to cover the base.
- Top the tortillas with half of the shredded chicken, half of the salsa verde, half of the black beans, half of the corn, and half of the shredded cheese, spreading evenly.
- Repeat the layers with the remaining tortillas, chicken, salsa verde, beans, corn, and cheese, ensuring the top layer of tortillas is well covered with salsa so they stay moist.
- Bake uncovered in the preheated oven for 20–30 minutes, until the cheese is melted and bubbly and the filling is heated through.
- Remove from the oven, sprinkle with sliced green onions, slice into triangles, and serve with desired toppings such as sour cream.
Equipment
- 10–12 inch oven-proof skillet or baking dish
- cooking spray
Notes
- Use a 10–12 inch skillet or similarly sized baking dish for best layering.
- Rinse and drain canned black beans well before using.
- Any type of corn (fresh, grilled, frozen, or canned) works fine.
- Leftover rotisserie chicken is an easy shortcut.