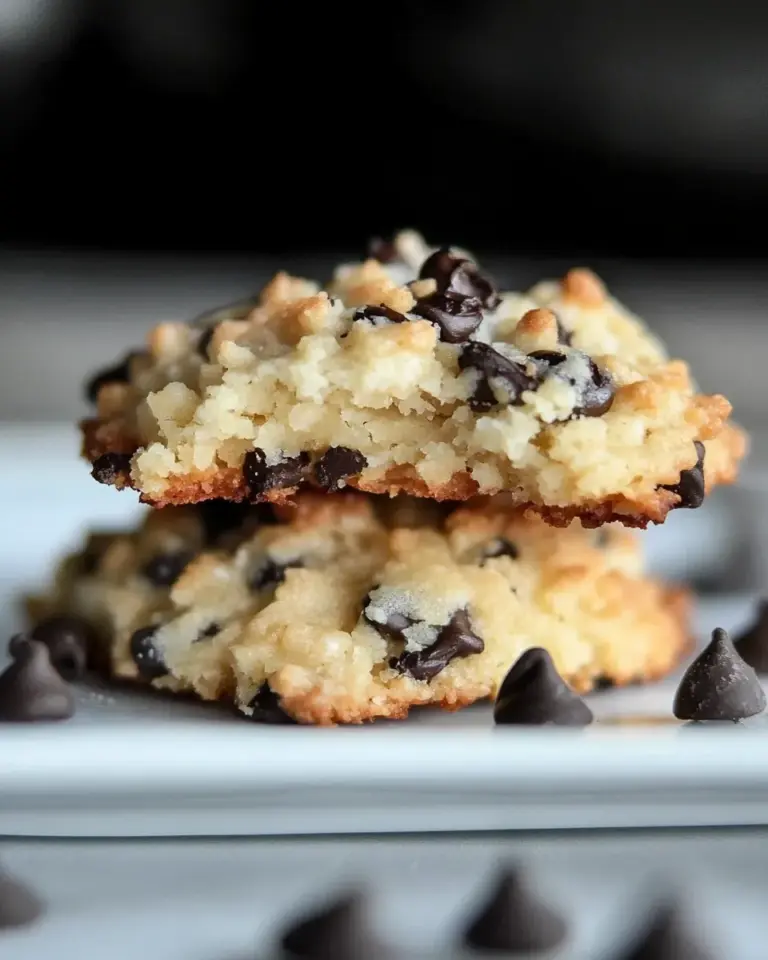
Olive Oil Chocolate Chunk Cookies
These Olive Oil Chocolate Chunk Cookies are the little change your cookie rotation needs. They bake up with a tender, slightly chewy crumb and a subtle, fruity olive oil backbone that plays beautifully against rich dark chocolate. The dough is straightforward and forgiving, and the cookies are great straight from the oven or packed for a week of snacking.
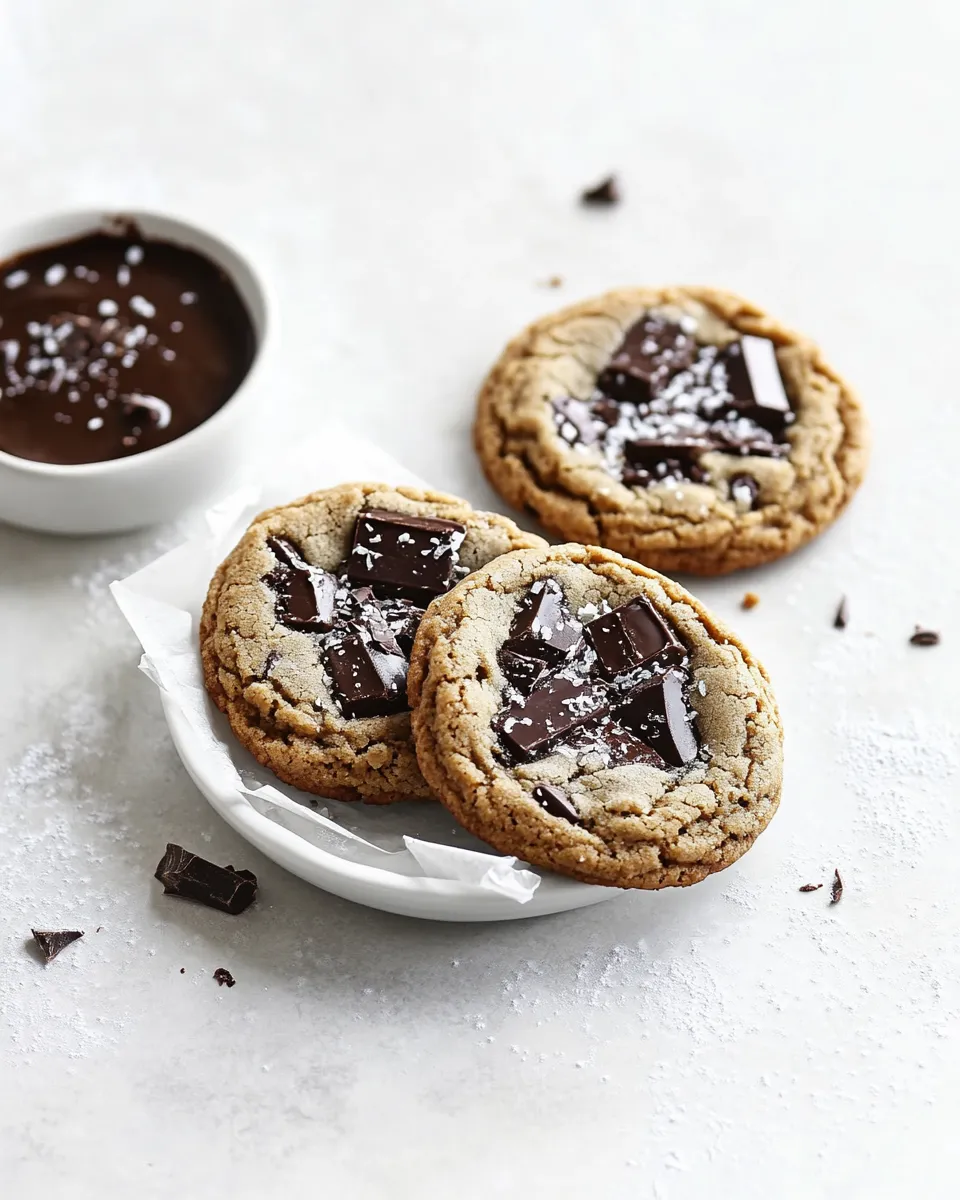
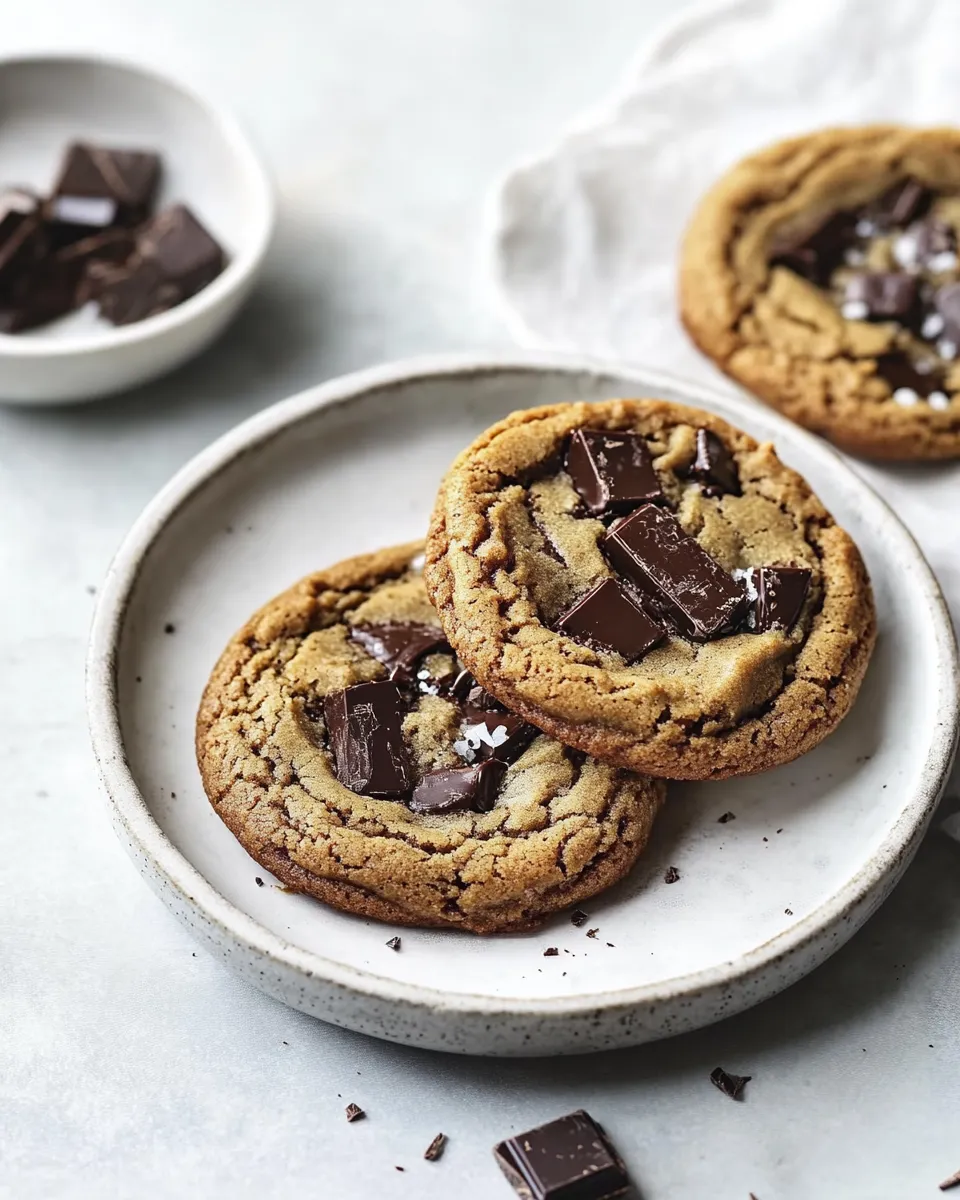
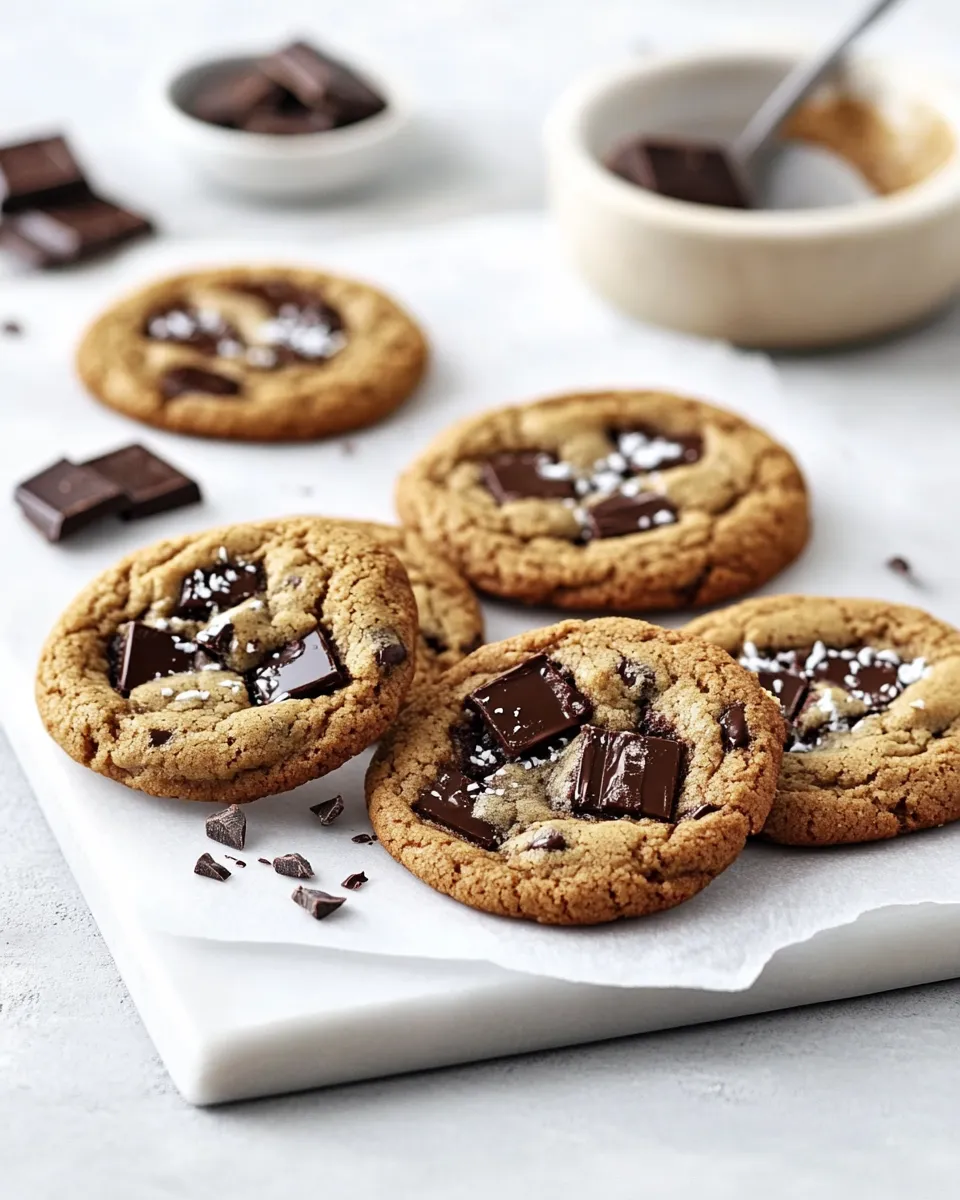
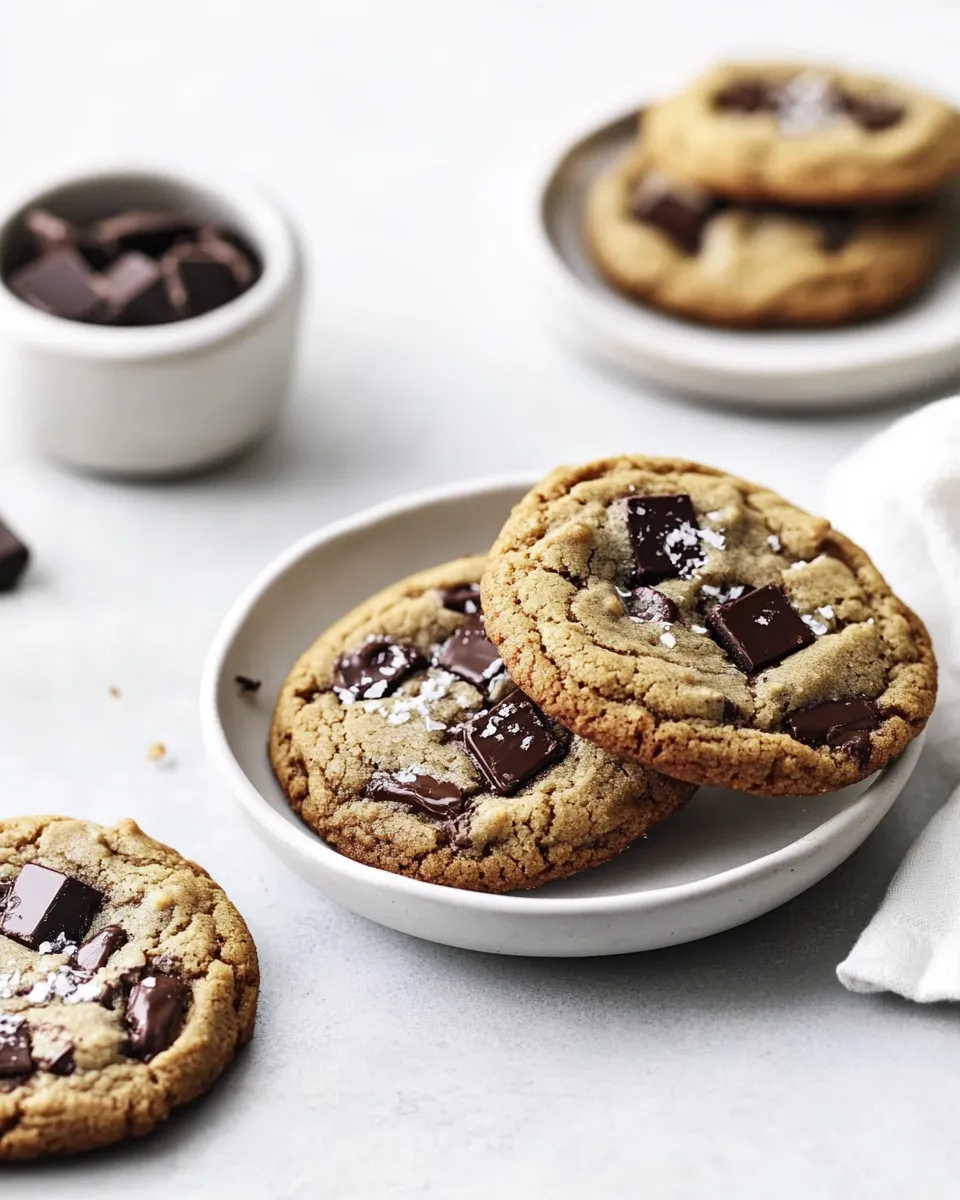
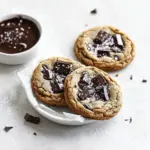
I tested the balance of sugars and the double egg addition so the cookies have lift and chew without being cakey. Chopping chocolate by hand gives better texture than chips—big, rustic chunks that melt into pockets of gooey chocolate. Finish with a few flakes of sea salt to make the flavors pop.
This recipe works for cooks who want a reliable, no-fuss batch: measure, mix, chill, scoop, and bake. I include notes on technique and storage so you can nail them every time.
Ingredient Breakdown
- 1 ⅞ cup / 230 g all-purpose flour — provides structure; measure carefully by spooning into the cup and leveling or weigh for best accuracy.
- 1 teaspoon baking soda — leavens the dough and helps with spread and lift.
- ½ teaspoon kosher salt — balances sweetness and enhances chocolate flavor.
- ½ cup / 100 g extra virgin olive oil — the fat for the cookie; choose a mild, fruity EVOO for best results.
- ¾ cup / 175 g packed light brown sugar — adds moisture and chew thanks to the molasses content.
- ¼ cup / 50 g granulated sugar — helps with browning and crisp edges.
- 1 large egg, at room temperature — adds structure and moisture.
- 1 large egg yolk, at room temperature — extra fat for tenderness and chewiness.
- 1 ½ teaspoons vanilla extract — rounds out the flavors and complements the chocolate.
- 1 cup / 150 g roughly chopped dark chocolate pieces (60–80%) — the star mix-in; rough chunks create pockets of molten chocolate.
- Maldon flake sea salt, optional, for topping — finishes and contrasts sweet with a delicate crunch.
Olive Oil Chocolate Chunk Cookies Made Stepwise
- Preheat and prep: When you’re ready to bake, preheat the oven to 350°F (175°C). Line a heavyweight baking sheet with parchment paper.
- Mix dry ingredients: In a medium bowl, whisk together 1 ⅞ cup (230 g) all-purpose flour, 1 teaspoon baking soda, and ½ teaspoon kosher salt. Set this bowl aside.
- Combine wet ingredients: In a mixing bowl or the bowl of a stand mixer fitted with the paddle attachment, add ½ cup (100 g) extra virgin olive oil, ¾ cup (175 g) packed light brown sugar, and ¼ cup (50 g) granulated sugar. Mix just until the dry sugars are evenly moistened.
- Add eggs and vanilla: Add 1 large room-temperature egg and 1 large room-temperature egg yolk to the sugar-oil mixture. Beat on high speed for 30–60 seconds until the mixture is smooth. Mix in 1 ½ teaspoons vanilla extract.
- Incorporate dry into wet: Dump the reserved dry ingredients into the wet mixture. Mix on low speed until the dough is almost incorporated—stop while a few streaks of flour remain to avoid overmixing.
- Add chocolate: Fold in 1 cup (150 g) roughly chopped dark chocolate pieces with a spatula until evenly distributed. Reserve a small handful of chunks to press on top of dough balls if you like a prettier presentation.
- Chill the dough: Cover the bowl tightly with plastic wrap and chill for at least 30 minutes so the dough firms up enough to shape. For best flavor and texture, chill overnight.
- Scoop and shape: Use a medium (#40) cookie scoop (just under 2 tablespoons of dough) to portion dough. Because the dough can feel oily, press each portion into a smooth ball instead of rolling. Arrange cookies on the prepared sheet with at least 2 inches between them.
- Optional finishing touches: If desired, press the reserved chocolate chunks into the top of each dough ball and sprinkle with Maldon flake sea salt.
- Freeze option: To bake later, freeze the arranged dough balls overnight on the baking sheet, then transfer to an airtight container or bag and store for up to 1 month.
- Bake: Bake the cookies for 9–11 minutes, until the tops are puffed and the edges are golden brown. If baking from frozen, add about 2 minutes to the bake time.
- Deflate and cool: Before removing the pan from the oven, give the baking sheet a firm, controlled “smack” by dropping it a few inches onto the oven rack to deflate excess puffiness. Let the cookies cool on the sheet for 15 minutes, then transfer to a wire rack to cool completely.
- Serve or store: Enjoy warm, or store fully cooled cookies in an airtight container for up to 3 days.
Why You’ll Keep Making It
These cookies are reliably tender with a distinct olive oil character that’s not overpowering. The oil keeps them moist for a few days, and the rough chocolate chunks give moments of molten richness. They feel slightly grown-up compared with butter-based cookies, so they’re perfect for gifts, casual dessert, or an afternoon treat. They’re also adaptable: chill for better flavor development or freeze shaped dough for quick baking later.
Vegan & Vegetarian Swaps
- Vegetarian — the recipe is vegetarian as written (no meat or gelatin).
- Vegan option — replace the egg + egg yolk with a commercially available egg replacer formulated for baking or try a flax “egg” (1 tbsp ground flaxseed + 3 tbsp water per egg; use two flax eggs in total). Results will be slightly different—flax adds more chew and a denser crumb. Use a neutral olive oil instead of a fruity extra virgin to reduce strong flavor.
Equipment Breakdown
- Stand mixer with paddle or hand mixer — makes mixing the oil-and-sugar base easier; a bowl and sturdy whisk will work too.
- Medium mixing bowl — for dry ingredients.
- Cookie scoop (#40 / ~2 tbsp) — ensures consistent cookie size and even baking.
- Baking sheet and parchment paper — heavy gauge baking sheet for even browning, parchment prevents sticking.
- Spatula — for folding chocolate into dough.
- Wire rack — for cooling and preventing soggy bottoms.
Don’t Do This
- Do not skip chilling the dough entirely; warm dough will spread too much and yield flat cookies.
- Don’t overmix after adding flour; overworking develops gluten and makes cookies tough.
- Avoid using a very robust, peppery olive oil—choose a mild or fruity extra virgin olive oil so it complements, not overwhelms, the chocolate.
- Don’t remove the cookies immediately from the hot sheet—letting them rest for 15 minutes helps them set and prevents breakage when transferring.
Substitutions by Diet
- Gluten-free — swap the all-purpose flour for a 1:1 gluten-free baking flour blend that contains xanthan gum. Results may vary; dough texture can be softer.
- Lower sugar — reduce granulated sugar slightly, but keep brown sugar for moisture; note texture will change and cookies may be less tender.
- Dairy-free — the recipe is dairy-free as written if you use dairy-free chocolate.
- Lower fat — reducing olive oil will change texture drastically; not recommended for this recipe’s success.
Author’s Commentary
I love how olive oil transforms a simple cookie—there’s a softness and lightly fruity note you don’t get from butter. The extra yolk in this recipe gives a silkier mouthfeel and helps the cookie keep a tender center while the edges crisp. The “smack the pan” trick is nonintuitive but effective: it brings the tops down into a more classic cookie shape without losing the soft interior.
When choosing chocolate, aim for 60–80% cocoa. Too-sweet chocolate will skew the balance; milk chocolate works in a pinch but the cookie will be sacchariner. Rough, uneven chunks are the goal—bite into one and you should find a warm, melty streak rather than a uniform chip.
Keep It Fresh: Storage Guide
- Room temperature — store in an airtight container for up to 3 days. Place a slice of bread or a folded paper towel inside to help retain moisture.
- Reheat — warm a cookie 6–8 seconds in the microwave for that fresh-baked feel, or 3–5 minutes at 300°F on a sheet if starting from frozen.
- Freeze dough balls — freeze arranged dough balls overnight on the sheet, then transfer to a bag for up to 1 month. Bake from frozen, adding ~2 minutes to the bake time.
- Freeze baked cookies — freeze cooled cookies in a single layer, then transfer to an airtight container for up to 1 month. Thaw at room temperature.
Olive Oil Chocolate Chunk Cookies FAQs
- Can I substitute butter for olive oil? — You can, but it will change the texture and flavor profile. Butter will make a richer, more traditional cookie; olive oil creates a tender, slightly different crumb and a fruity note.
- Why do I need both an egg and an extra yolk? — The whole egg provides structure, while the additional yolk adds fat for tenderness and chew without drying the dough.
- My cookies puff up too much—what happened? — The oven temperature or too much leavening can cause over-puffing. Check that you used 1 teaspoon baking soda (not baking powder) and that the oven is calibrated. The recommended “smack” helps deflate them if they puff too high.
- Can I make the dough in advance? — Yes. Chilling overnight improves flavor and texture. Dough can also be frozen in portioned balls for later baking.
Next Steps
Make a batch this weekend and try both fresh-baked and chilled-overnight versions to compare. If you like a richer taste, experiment with a 50/50 mix of dark and semi-sweet chocolate. Share a photo and tell me whether you used a fruity or mild olive oil—I’m always curious how that choice shows up in the final cookie.
Olive Oil Chocolate Chunk Cookies
Ingredients
- 1 7/8 cup all-purpose flour 230 g
- 1 teaspoon baking soda
- 1/2 teaspoon kosher salt
- 1/2 cup extra virgin olive oil 100 g
- 3/4 cup packed light brown sugar 175 g
- 1/4 cup granulated sugar 50 g
- 1 large egg room temperature
- 1 large egg yolk room temperature
- 1 1/2 teaspoons vanilla extract
- 1 cup dark chocolate, roughly chopped about 150 g, 60–80% recommended
- Maldon flake sea salt optional, for topping
Instructions
- Whisk together the flour, baking soda, and kosher salt in a bowl; set aside.
- In a mixing bowl or the bowl of a stand mixer fitted with the paddle attachment, combine the olive oil, packed light brown sugar, and granulated sugar until evenly moistened.
- Add the whole egg and the egg yolk, then beat on high speed for 30–60 seconds until smooth; mix in the vanilla extract.
- Add the dry ingredients and mix on low speed until almost incorporated; do not overmix.
- Fold in the chopped dark chocolate with a spatula, reserving a small handful to press on top of the dough balls if desired.
- Cover the dough tightly with plastic wrap and chill for at least 30 minutes until firm enough to shape, or refrigerate overnight for best flavor.
- Preheat the oven to 350°F (175°C) and line a heavy baking sheet with parchment paper.
- Scoop the chilled dough into balls (about 2 tablespoons each, a medium #40 scoop) and shape into smooth balls by pressing rather than rolling; place on the prepared sheet with about 2 inches between each.
- Optionally press reserved chocolate pieces into the tops of the dough balls and sprinkle with flake sea salt.
- Bake for 9–11 minutes, or 11–13 minutes if baking from frozen, until tops are puffed and edges are golden brown.
- Immediately after removing from the oven, give the baking sheet a firm but controlled drop onto the oven rack from a few inches to deflate any excess puffiness.
- Let cookies cool on the baking sheet for 15 minutes, then transfer to a wire rack to cool completely.
Equipment
- Mixing bowls
- Whisk
- stand mixer or hand mixer with paddle or whisk attachment
- Spatula
- Baking Sheet
- Parchment Paper
- cookie scoop or spoon
- Wire Rack
Notes
- 1⅞ cups = 230 g; weighing flour is recommended.
- The recipe is sensitive to over-measuring flour; 20 g extra can dry the dough.
- Chill at least 30 minutes or refrigerate overnight for better flavor.
- Reserve some chocolate chunks to press on top for appearance.
- Optional: sprinkle with flaky sea salt before baking.