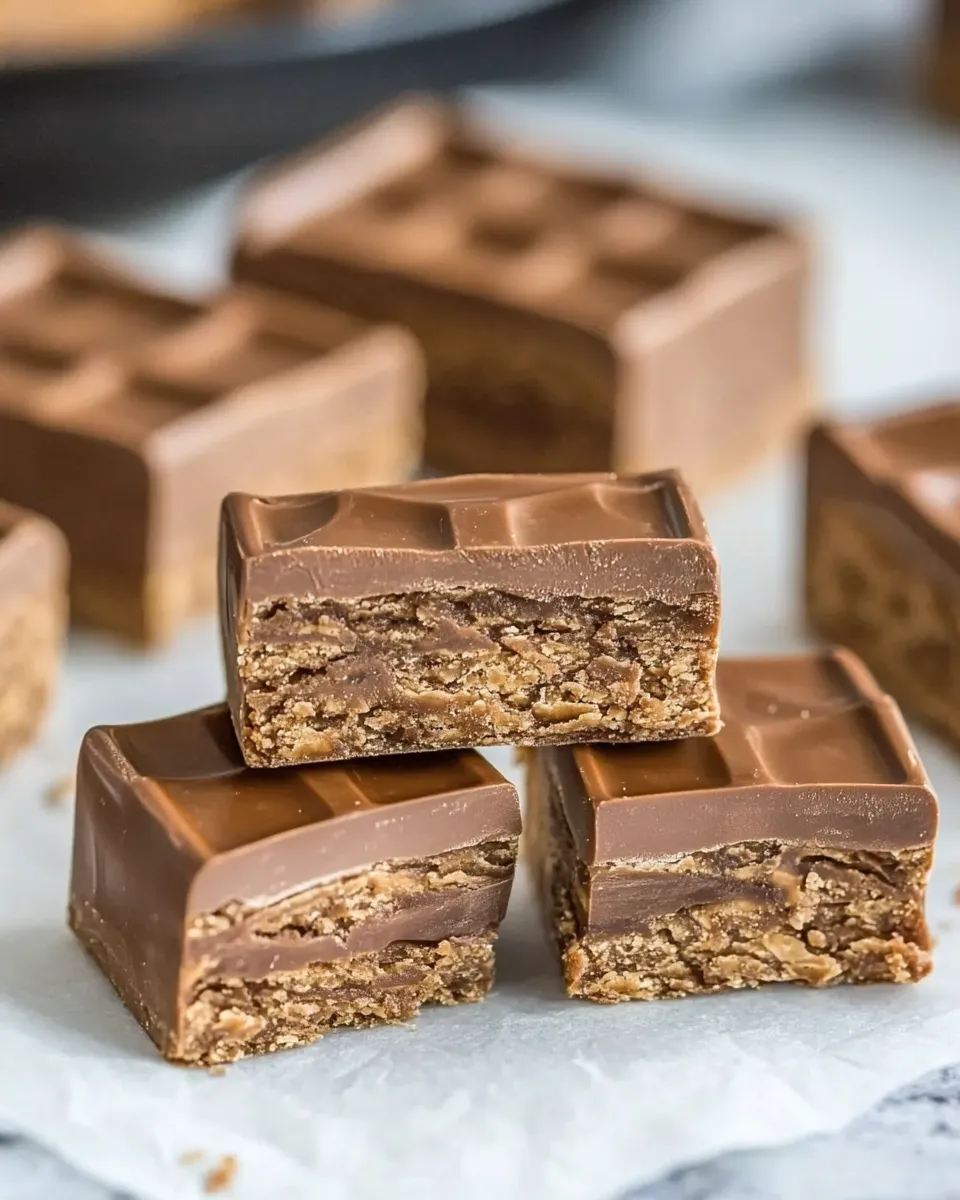
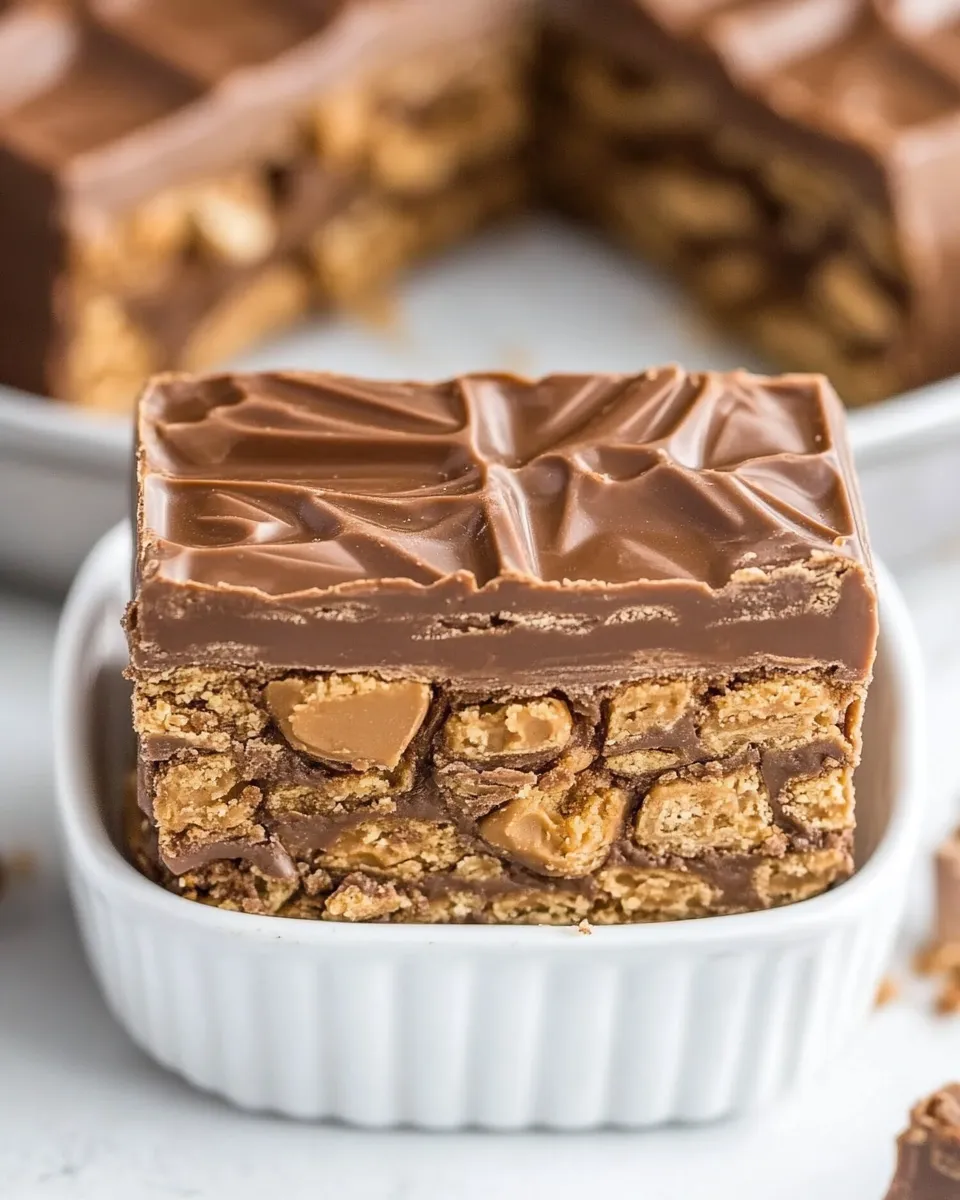
Kit Kat Bars
I love a snack that feels indulgent without a fuss. These Kit Kat Bars are essentially a homemade take on a crunchy, chocolatey bar you can slice and share. They come together in one bowl, require no baking, and rely on pantry-friendly ingredients: Rice Chex, chocolate chips, peanut butter, maple syrup, and coconut oil.
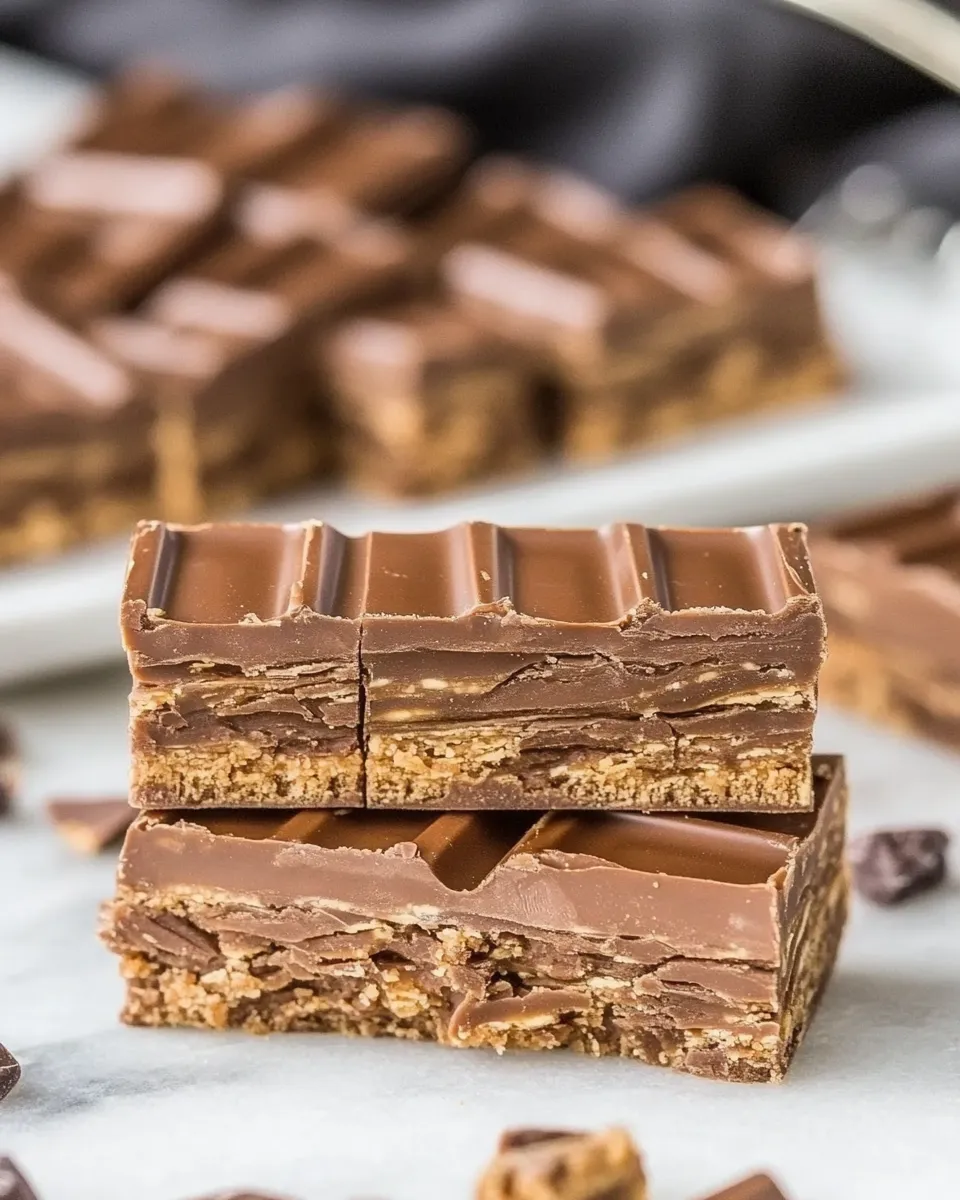
This recipe is straightforward and forgiving. If you prefer a different Chex variety or another nut butter, swap freely. The end result is a firm, sliceable bar with a crisp, chocolate-coated bite—perfect for lunchboxes, coffee breaks, or a simple dessert.
I’ll walk you through the ingredient roles, a precise step-by-step method, equipment to set up, common mistakes to avoid, and ways to keep or reheat these bars. No fluff—just practical tips so your bars turn out reliably every time.
Ingredient Breakdown
Make Kit Kat Bars: A Simple Method
1. Line an 8 x 8-inch deep dish or baking tray with parchment paper. Press the paper into the corners and leave an overhang on two sides to lift the bars out later. Set the lined pan aside.
2. Measure 3 cups Rice Chex cereal into a large mixing bowl and set it nearby. Make sure the bowl is large enough to mix without spilling.
3. Combine the wet ingredients: add 1 cup peanut butter, 1 1/2 cups chocolate chips, 1/2 cup maple syrup, and 1/4 cup coconut oil to a microwave-safe bowl or a small saucepan.
– If using a microwave: heat in 20–30 second intervals, stirring between each interval until the mixture is fully melted and smooth.
– If using the stovetop: warm gently over low heat, stirring frequently until everything melts and the mixture is glossy and uniform.
4. Once melted, remove from heat and whisk the mixture briefly to make sure the chocolate and peanut butter are completely incorporated and smooth.
5. Pour the warm chocolate-peanut mixture over the Rice Chex in the large bowl. Use a spatula to fold and stir until the cereal is evenly coated and no large dry patches remain.
6. Transfer the coated cereal into the prepared 8 x 8-inch pan. Use the back of a spatula or a piece of parchment to press the mixture down into an even, compact layer. Press firmly but evenly to ensure the bars hold together.
7. Refrigerate the pan until the bars are firm, at least 1 hour. Chilling solidifies the coconut oil and helps the bars set cleanly for slicing.
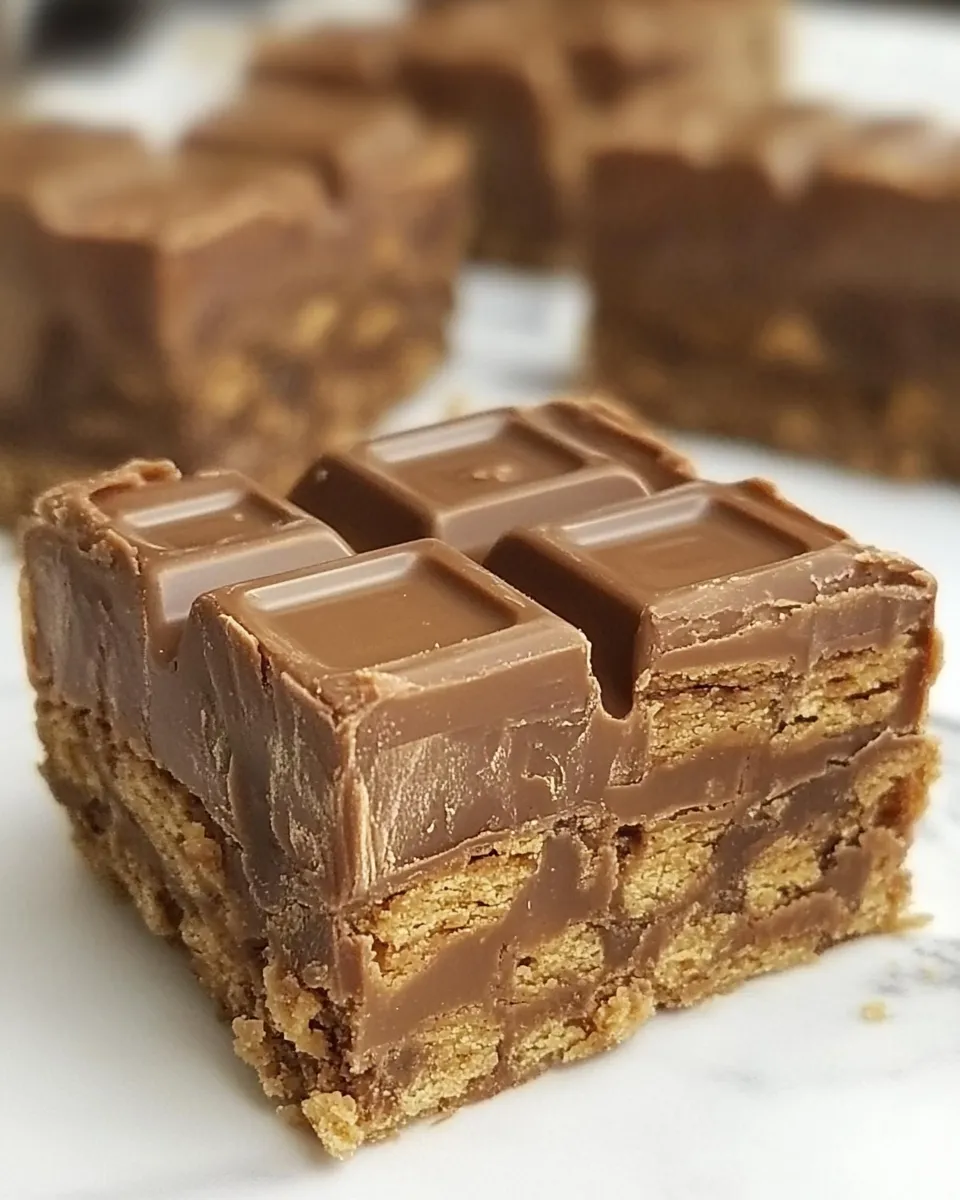
8. Lift the set slab from the pan using the parchment overhang. Place on a cutting board and slice into bars or squares with a sharp knife. If the chocolate is very hard, let the slab sit at room temperature for a few minutes for easier cutting.
9. Serve immediately or store as directed in the Storage section below.
What Makes This Recipe Special
These bars are a no-bake, pantry-friendly treat that balances crisp cereal with a creamy chocolate-peanut matrix. The maple syrup acts as a natural binder and adds subtle caramel notes versus using refined sugar. Coconut oil keeps the mixture pourable when warm and firm when chilled, giving neat, sliceable bars every time. The recipe is flexible: swap Chex type, nut butter, or chocolate to tailor sweetness and texture.
International Equivalents
Setup & Equipment
Learn from These Mistakes
Seasonal Flavor Boosts
Pro Perspective
Press the mixture evenly and use a weight (a smaller pan or a flat spatula with even pressure) to compact the bars without crushing the cereal. For clean slices, chill until very firm, then warm the knife under hot water, dry it, and slice in a single, decisive stroke. If you want a glossier finish, temper your chocolate chips before combining, or use couverture chocolate for a sleeker sheen and firmer snap.
Store, Freeze & Reheat
Handy Q&A
See You at the Table
These Kit Kat Bars are reliable, quick, and adaptable. They’re perfect for busy afternoons when you want something homemade without turning on the oven. Make a batch, keep them chilled, and bring them out for snack time, picnics, or a simple sweet finish to a weeknight meal. Enjoy—then stash a few in the freezer for later.

Kit Kat Bars
Ingredients
- 3 cups Rice Chex cereal can use any Chex cereal of choice
- 1 1/2 cups chocolate chips
- 1 cup peanut butter can use any nut or seed butter of choice
- 1/2 cup maple syrup
- 1/4 cup coconut oil can sub for butter
Instructions
- Line an 8 x 8-inch deep baking dish or tray with parchment paper and set aside.
- Place the Rice Chex cereal in a large mixing bowl and set aside.
- In a microwave-safe bowl or small saucepan, combine the peanut butter, chocolate chips, maple syrup, and coconut oil.
- Heat the mixture until melted—either in 20–30 second microwave bursts stirring between each, or over low heat on the stove—then whisk until smooth and fully combined.
- Pour the melted chocolate mixture over the Rice Chex and gently fold until the cereal is evenly coated.
- Transfer the coated cereal into the prepared pan, press evenly into an even layer, and refrigerate until firm, at least 1 hour.
- Remove from the refrigerator, lift out using the parchment, and cut into 24 bars.
Equipment
- 8 x 8-inch baking dish or deep tray
- Parchment Paper
- large mixing bowl
- Microwave-safe bowl or small saucepan
- Spatula or whisk
Notes
- Store at room temperature, covered, for up to two weeks.
- Refrigerated bars will keep for up to two months.
- Freeze in a zip-top bag for up to 6 months.