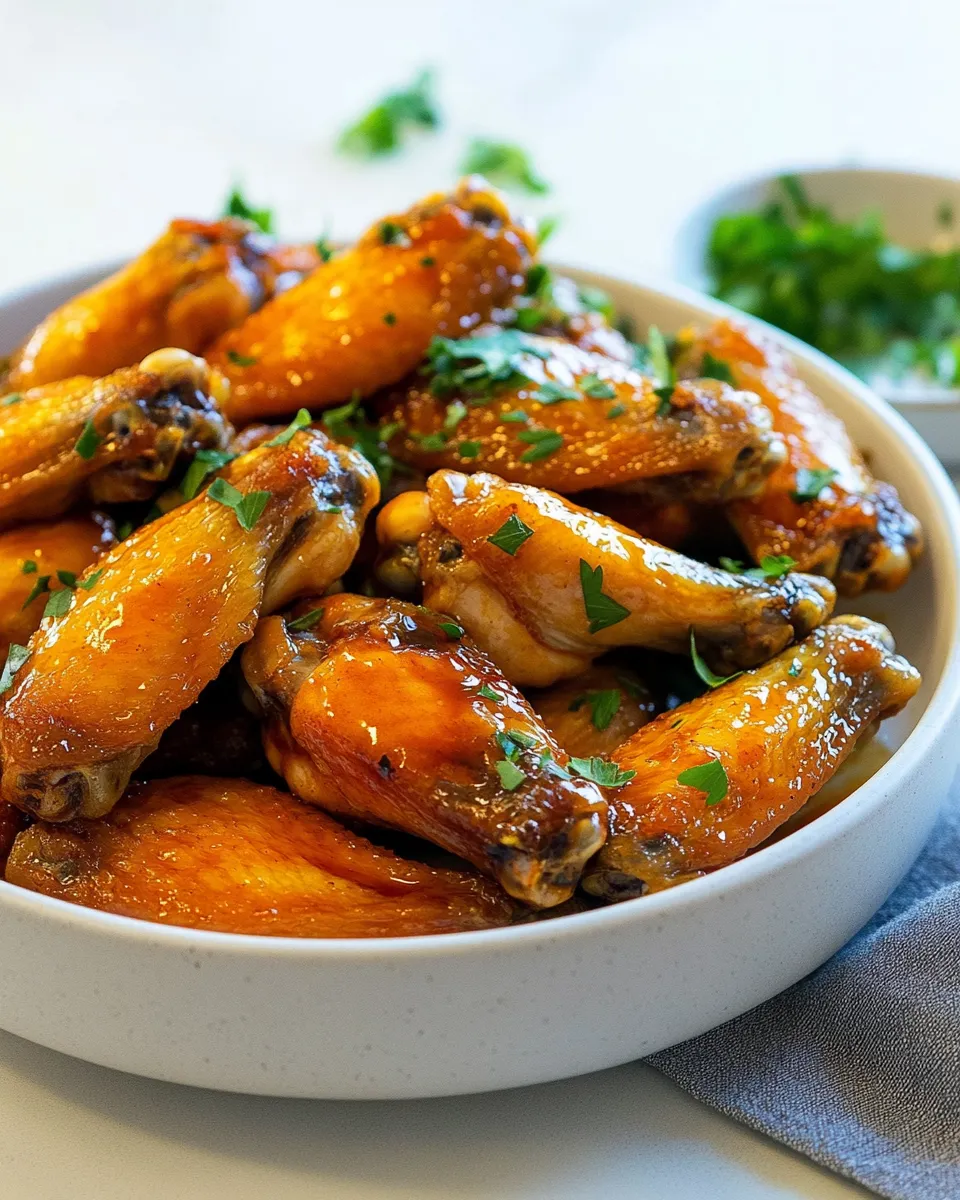
Frozen Chicken Wings
I love quick wins in the kitchen, and frozen chicken wings are one of those reliable pantry heroes. They go from freezer to table with minimal fuss, yet deliver big on flavor when you finish them right. This post is a practical walk-through: no fluff, just the steps, tips, and variations that make frozen wings consistently good.
Whether you’re feeding a crowd or craving an easy weeknight dinner, these wings are forgiving. You don’t need to thaw them first, and with a hot oven and a little patience they come out crisp on the outside and tender inside. Read on for a clear ingredient list, precise step-by-step directions, and smart notes to avoid the common pitfalls.
At the end I’ll cover substitutions, helpful gear, storage, nutrition-friendly choices, and serving ideas. Keep this page handy next time wings are on the menu—you’ll save time and get better results.
The Essentials
What you need to know before you start: use a hot oven (425°F) and don’t overcrowd the pan. Cook frozen wings straight from the freezer—no thawing required—and plan for roughly 50 minutes of baking time. An instant-read thermometer is the most reliable way to confirm doneness.
Frozen Chicken Wings Made Stepwise
Ingredients
- 20 frozen chicken wings (drumettes and flats) — the full recipe yield; cook from frozen, whole batch at once for even timing.
Instructions
- Preheat the oven to 425°F (220°C). Set a rack in the middle of the oven so the wings cook evenly.
- Line a baking sheet with aluminum foil for easier cleanup. If you have one, place a wire rack on the sheet to allow air circulation under the wings; if not, the foil alone is fine.
- Arrange the 20 frozen chicken wings in a single layer on the prepared sheet or rack. Make sure they are not overlapping—each wing needs space for air and heat to crisp the skin.
- Put the baking sheet in the oven immediately. There is no need to wait for the oven to finish preheating; the wings can go in right away.
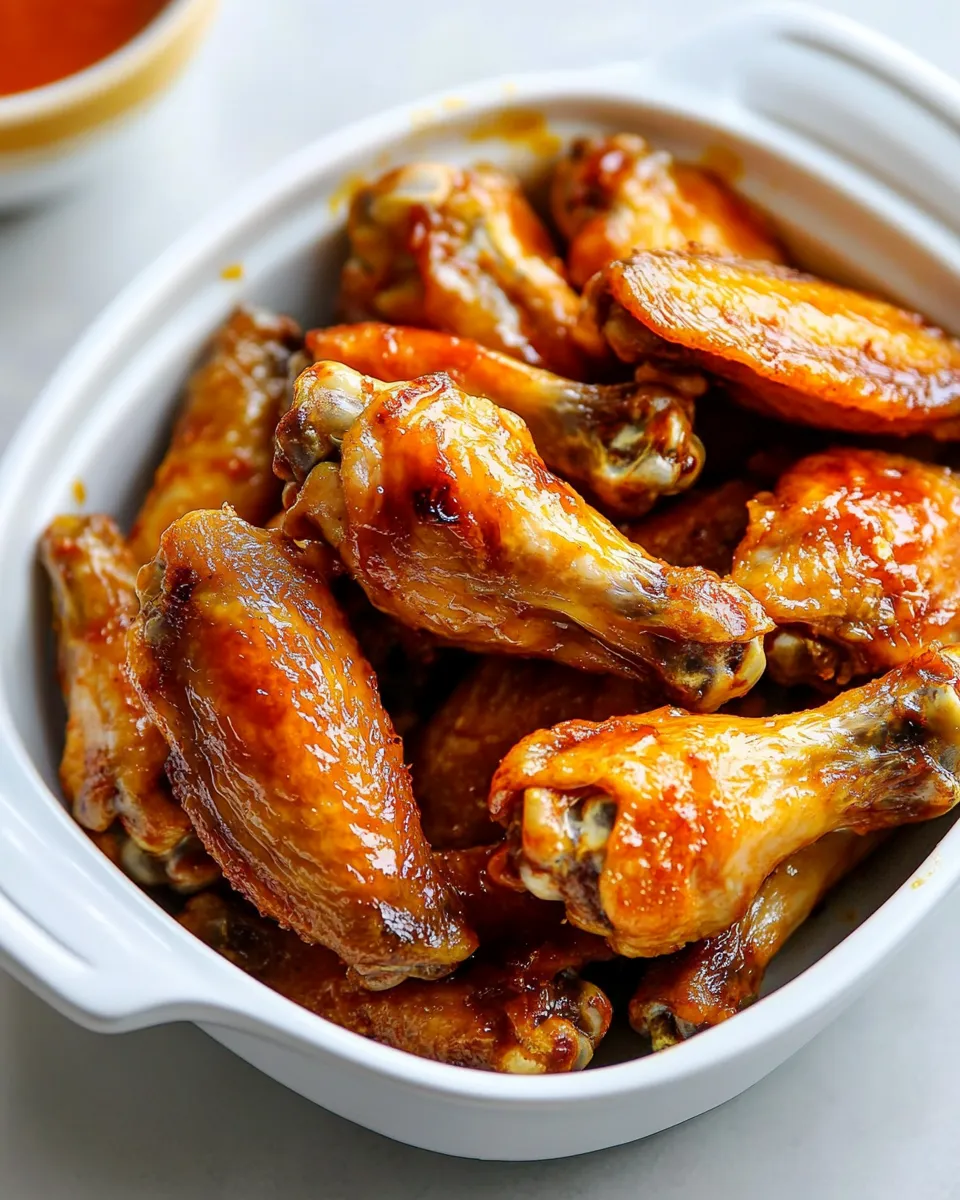
- Bake the wings for about 50 minutes. Start checking toward the end of that window. The wings are done when an instant-read thermometer inserted into the thickest part of a wing reads 160°F.
- Remove the wings from the oven and let them rest for 5 minutes. Resting lets the juices settle and finishes the carryover cooking.
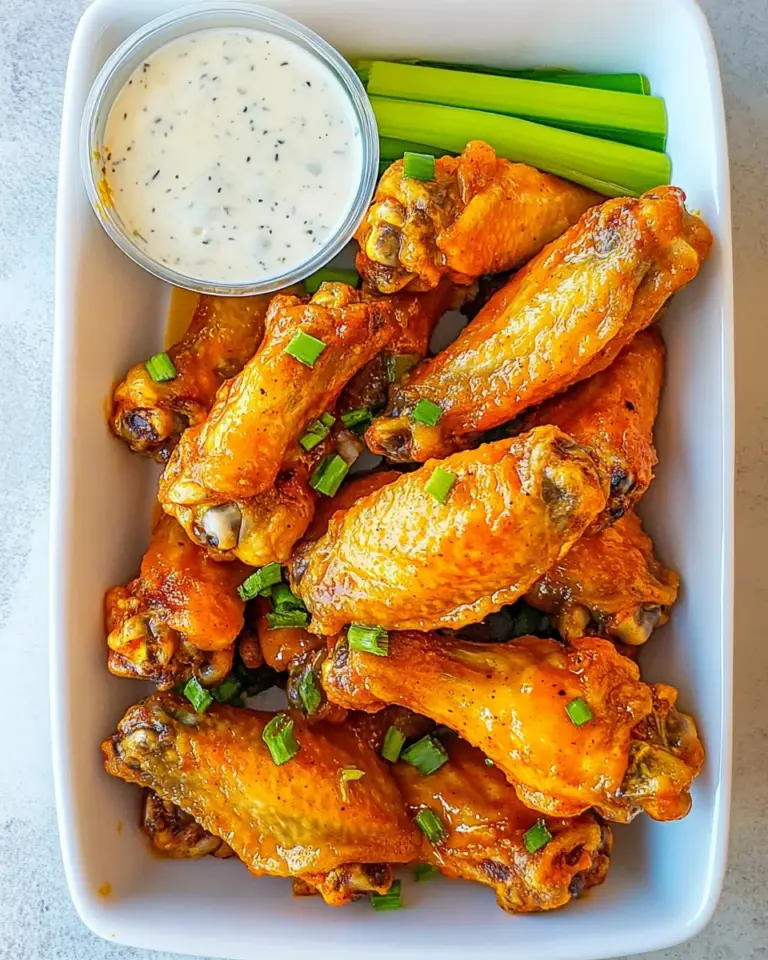
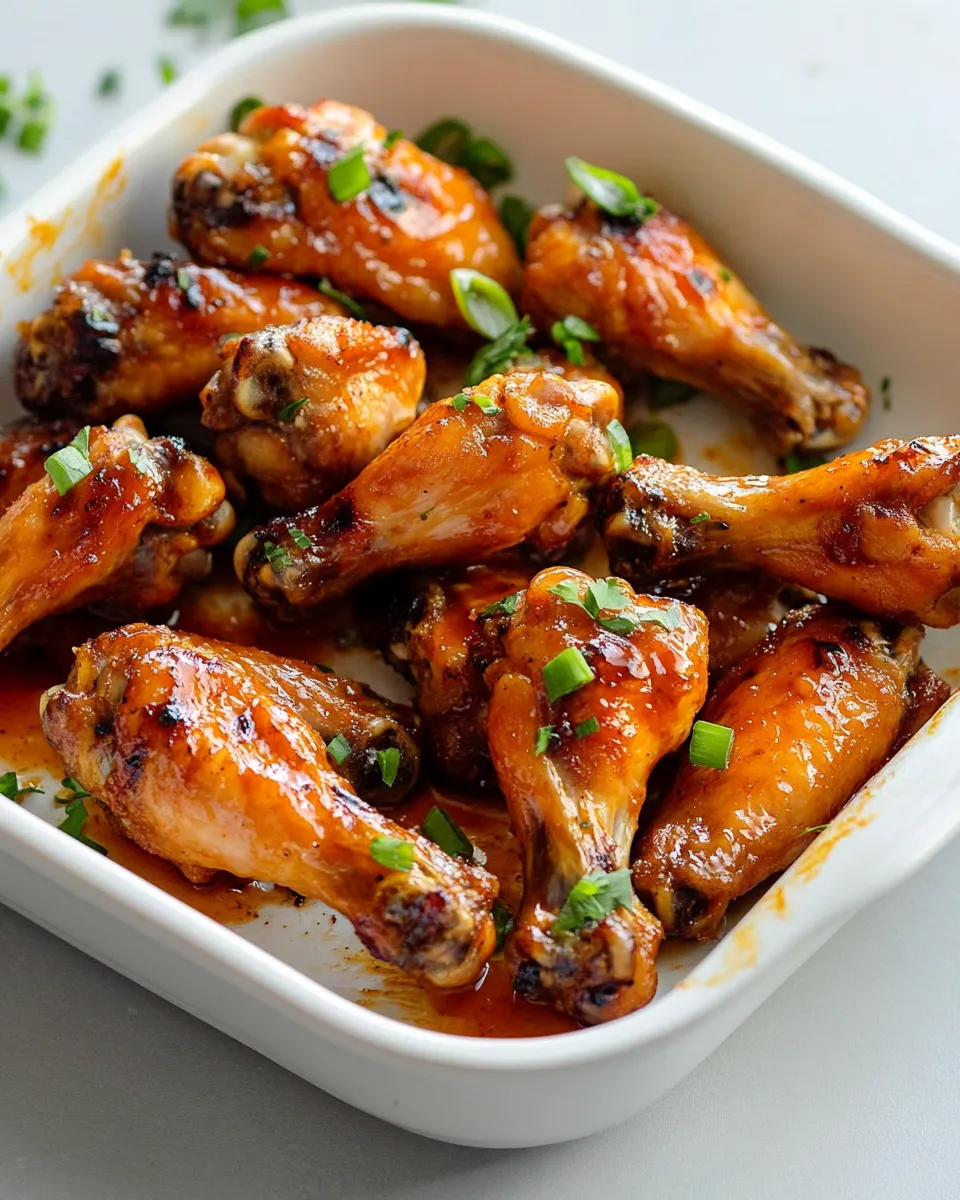
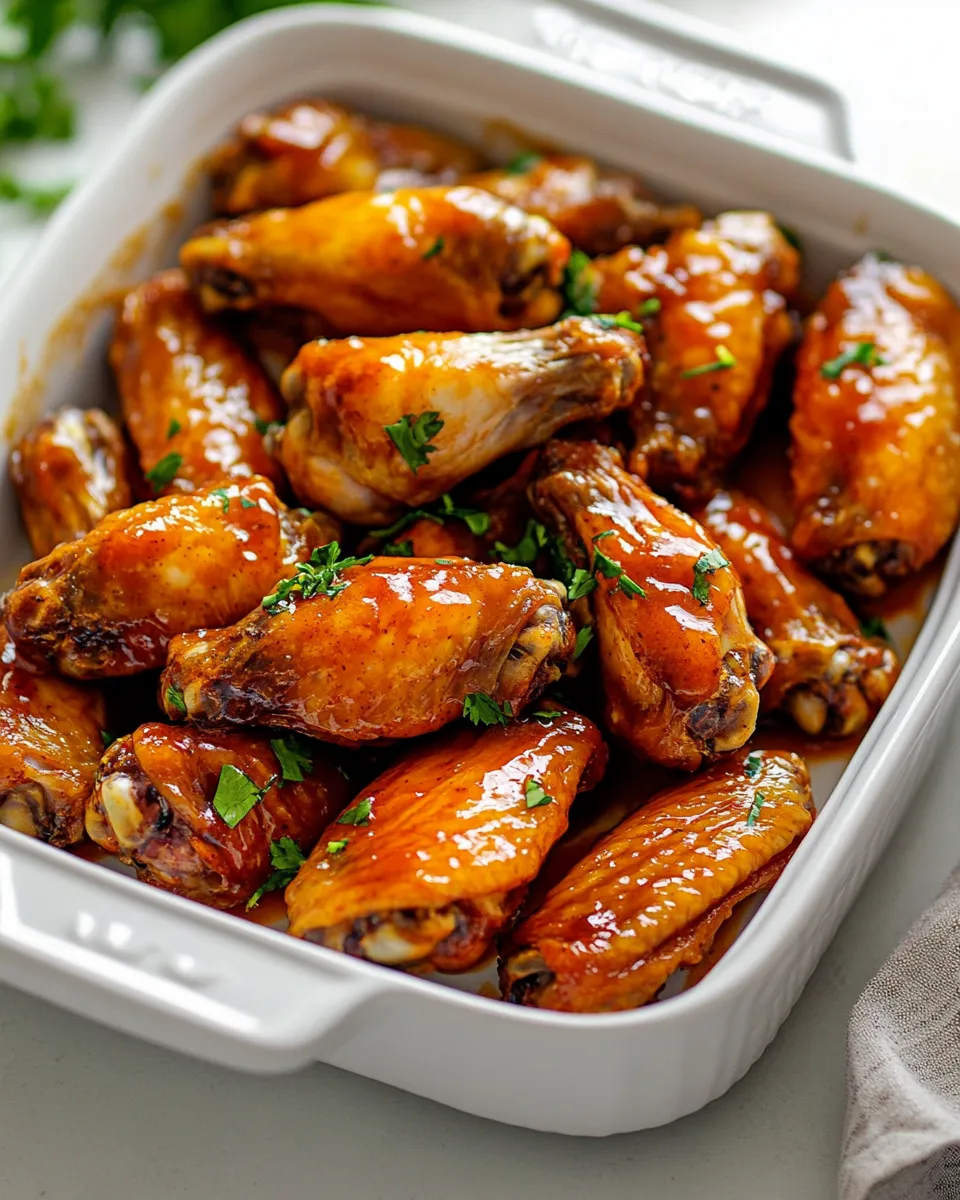
- If you like saucy wings, toss them in your favorite barbecue or Buffalo sauce after resting. Serve immediately.
Why This Frozen Chicken Wings Stands Out
This approach is straightforward and dependable. Cooking from frozen avoids food-safety mistakes and is faster overall since you skip thawing. The high oven temperature and single-layer setup help render fat and crisp the skin without drying the meat. Using an instant-read thermometer ensures safety and prevents overcooking.
Substitutions by Category
- Protein: Not applicable—this recipe is specific to the 20 frozen chicken wings provided.
- Finishes/Sauces: Swap barbecue or Buffalo sauce for teriyaki, honey-garlic, or a dry rub after baking.
- Equipment: If you lack a wire rack, place wings directly on foil; they’ll still cook well but may be a touch less crisp underneath.
Kitchen Gear Checklist
- Aluminum foil — for lining the baking sheet and simplifying cleanup.
- Baking sheet — large enough for 20 wings in a single layer.
- Wire rack (optional) — promotes even browning and crispiness.
- Instant-read thermometer — the best way to confirm wings reach 160°F safely.
- Tongs or a spatula — for turning or transferring wings to a bowl for saucing.
Easy-to-Miss Gotchas
- Crowding the pan: Overlapping wings will steam, not crisp. Keep a single layer with space between pieces.
- Skipping the thermometer: Time estimates vary by oven and wing size; rely on temperature, not minutes alone.
- Putting sauce on too early: Saucing before baking can burn sugars. Add sauces after the wings have rested.
- Assuming thawing helps: Thawing increases prep time and can lead to soggier skin. This method intentionally starts from frozen.
Better-for-You Options
- Lower-sodium sauces: Choose reduced-sodium barbecue or make your own with less salt.
- Dry rubs: Use a spice-forward dry rub (paprika, garlic powder, black pepper) to avoid extra sugar and salt in bottled sauces.
- Air crisping alternative: If you have an air fryer with a tray large enough, you can cook smaller batches at 400°F for a slightly lower-fat finish, though this deviates from the source directions.
Cook’s Notes
- Timing: Fifty minutes is a reliable target, but wing size and oven accuracy can change that. Expect a 45–55 minute realistic range.
- Temperature target: 160°F in the thickest part of the wing is the doneness number called for here; residual heat during the 5-minute rest will finish cooking.
- Finishing sauces: Toss wings in sauce after resting so the sauce clings without burning. For extra gloss, briefly return sauced wings to a hot oven for 2–3 minutes, watching carefully.
- Presentation: For crispier results, serve immediately after saucing or provide sauce on the side for dunking.
Keep It Fresh: Storage Guide
- Refrigerate: Store cooked wings in an airtight container for up to 3–4 days.
- Freeze: Freeze cooked wings in a single layer on a tray, then transfer to a sealed bag for up to 2 months. Reheat from frozen in a 375°F oven until hot, about 15–20 minutes, flipping halfway.
- Reheating tips: Warm in a preheated oven or on a wire rack over a baking sheet to help re-crisp the skin. Avoid microwave reheating if you want to keep the texture.
Your Questions, Answered
- Can I thaw the wings first? You can, but this recipe is designed to be cooked from frozen. Thawing may increase cook time variability and can reduce crispiness.
- Are 20 wings enough for a crowd? Plan roughly 4–6 wings per person as a main, or 2–3 as an appetizer depending on appetite and sides.
- What if my thermometer reads 165°F? 160°F is the source temperature; if your thermometer reads 165°F that’s safe too—just watch to avoid drying out the meat.
- Can I add seasoning before baking? Seasoning frozen skin is tricky because it won’t stick well. For best adherence, pat wings dry if thawed and season, or season and toss after baking with a dry rub or sauce.
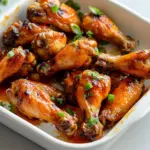
Bring It to the Table
Serve these wings with celery sticks, carrot sticks, and a cooling dip like ranch or blue cheese. For a game-day spread add potato wedges, coleslaw, and pickles. If you’re saucing the wings, provide extra sauce on the side and a stack of napkins—wings are meant to be eaten with your hands.
Final practical tip: if you’re making these for a party, stagger baking so wings come out hot and crisp in batches, or keep finished wings warm in a 200°F oven on a wire rack over a sheet pan while you finish the rest. Enjoy—simple, satisfying wings are within easy reach.
Frozen Chicken Wings
Ingredients
- 20 frozen chicken wings (drumettes and flats)
Instructions
- Preheat the oven to 425°F (220°C).
- Line a baking sheet with aluminum foil and arrange the frozen chicken wings in a single layer with space between pieces.
- Place the baking sheet in the oven immediately; you do not need to wait for the oven to finish preheating.
- Bake for about 50 minutes, or until an instant-read thermometer inserted into the thickest part of a wing registers 160°F (71°C).
- Remove the wings from the oven and let them rest for 5 minutes before serving.
- If desired, toss the wings in barbecue or Buffalo sauce just before serving.
Equipment
- Baking Sheet
- Aluminum Foil
- instant-read thermometer
Notes
- Arrange wings in a single layer for even cooking.
- No need to thaw—cook from frozen.
- Check doneness with a thermometer inserted into the thickest part.
- Let wings rest 5 minutes before serving.