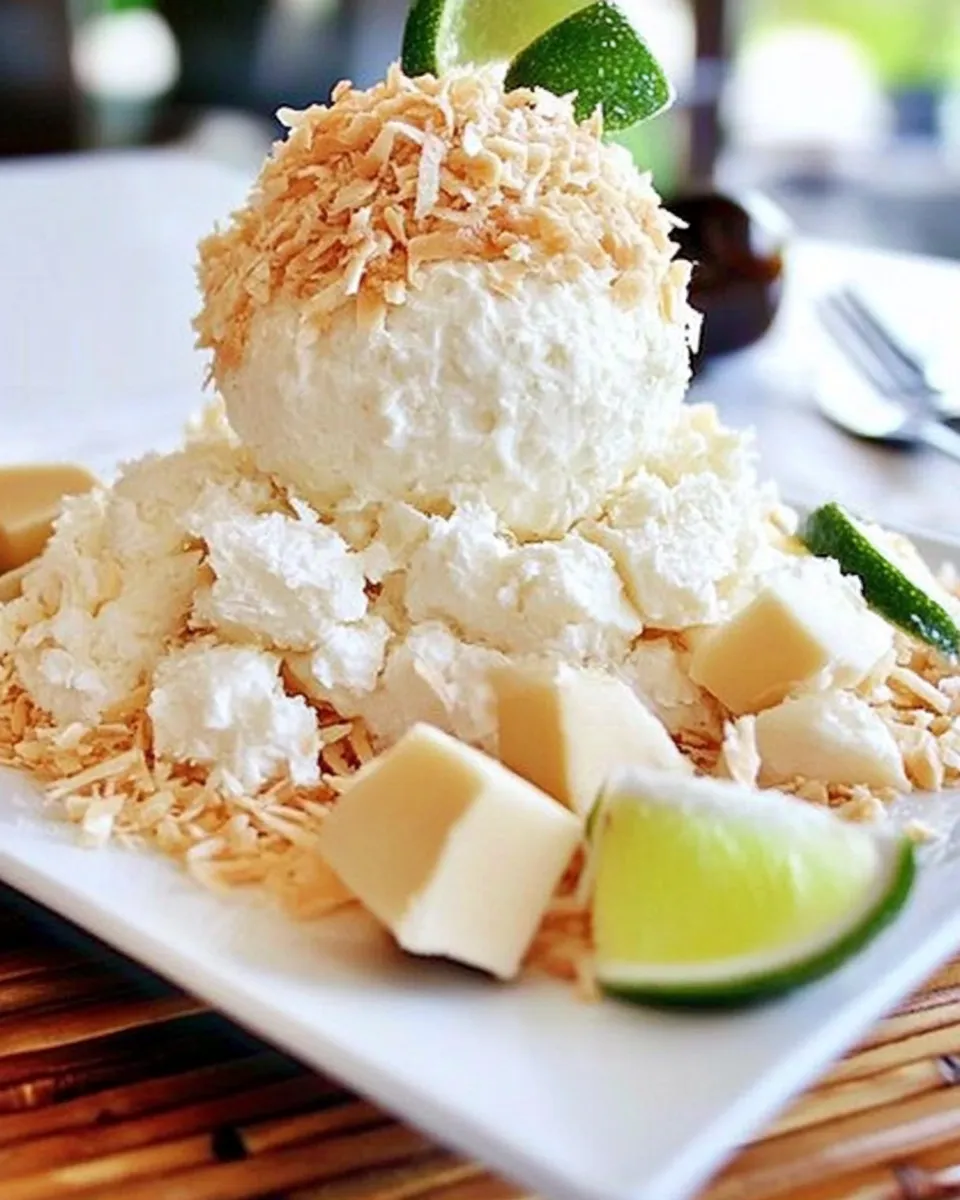
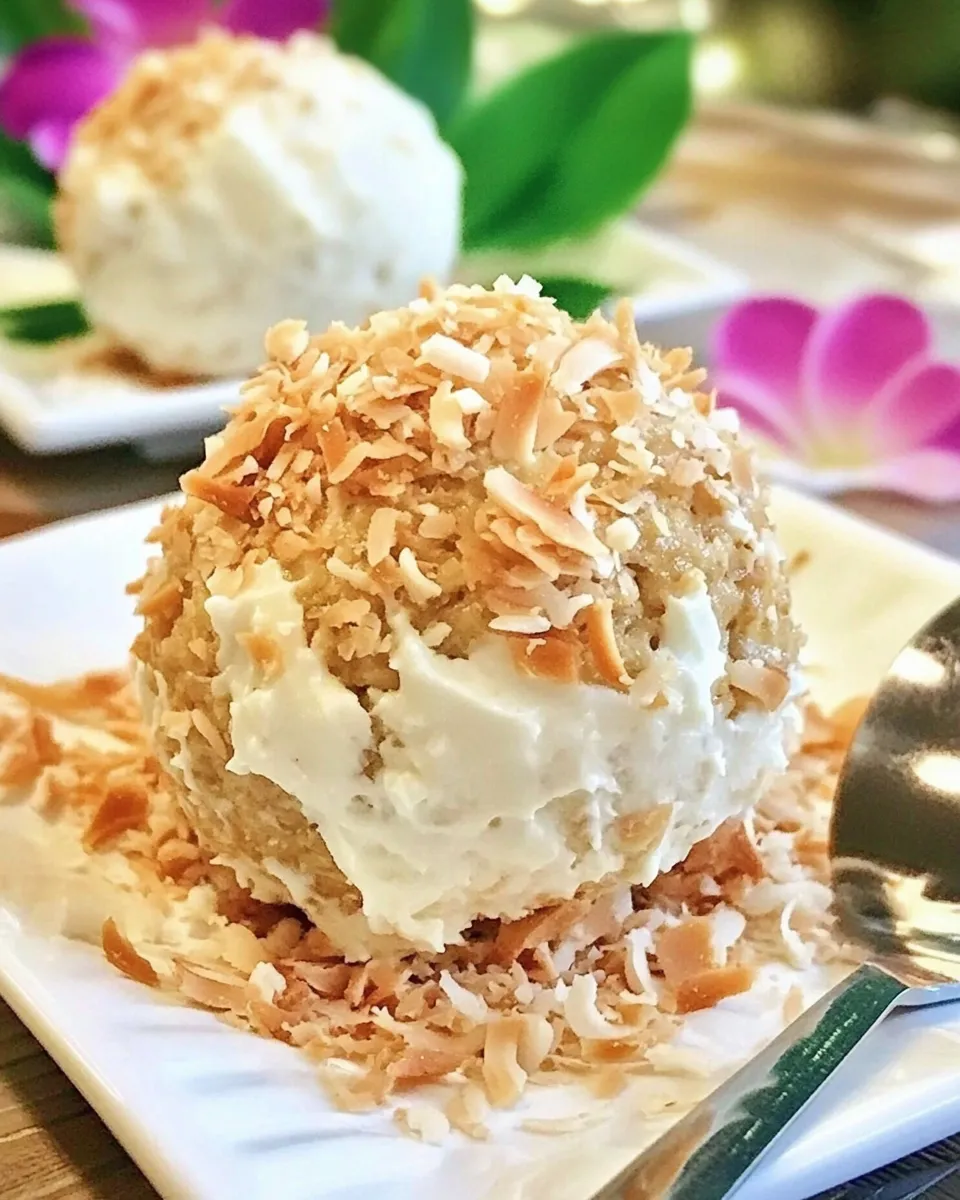
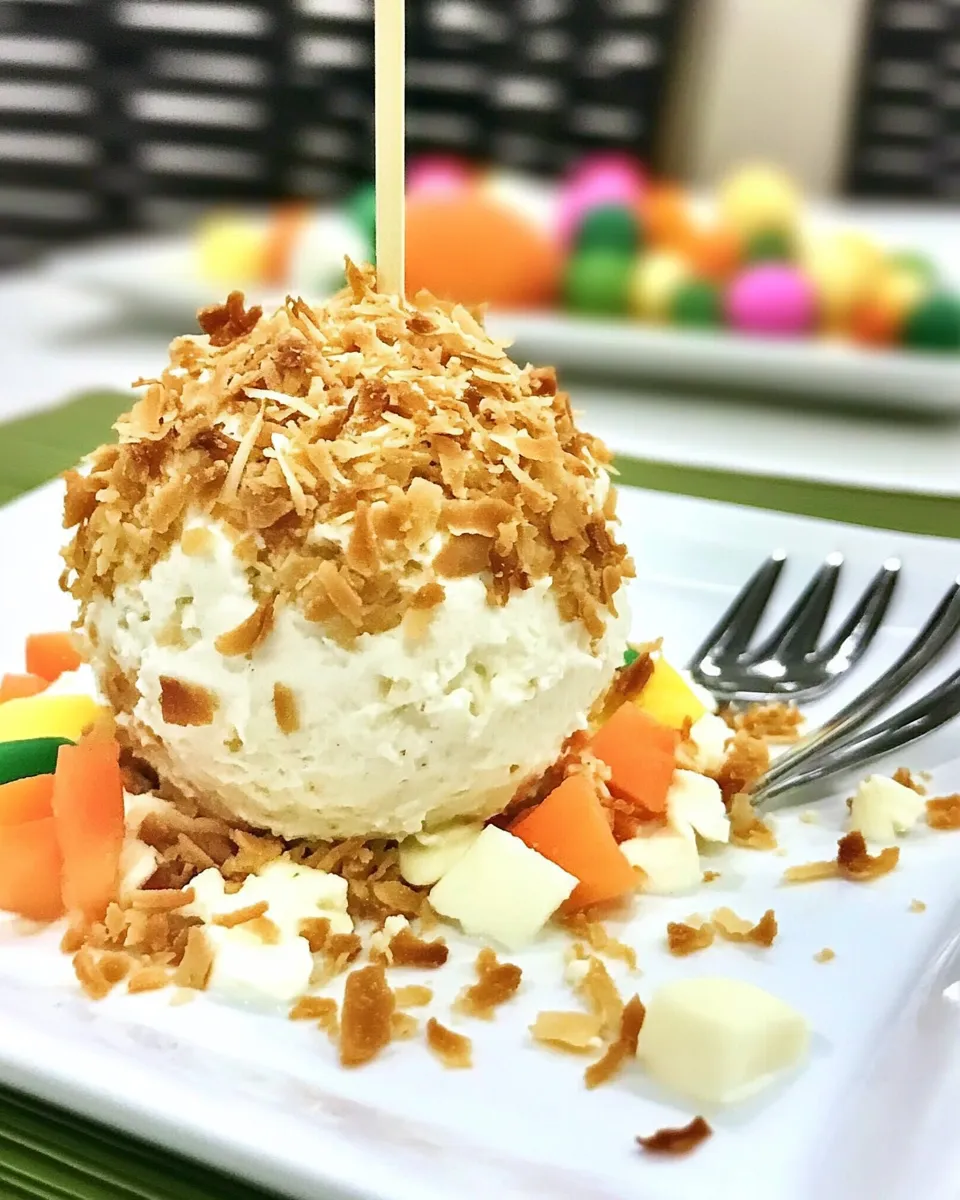
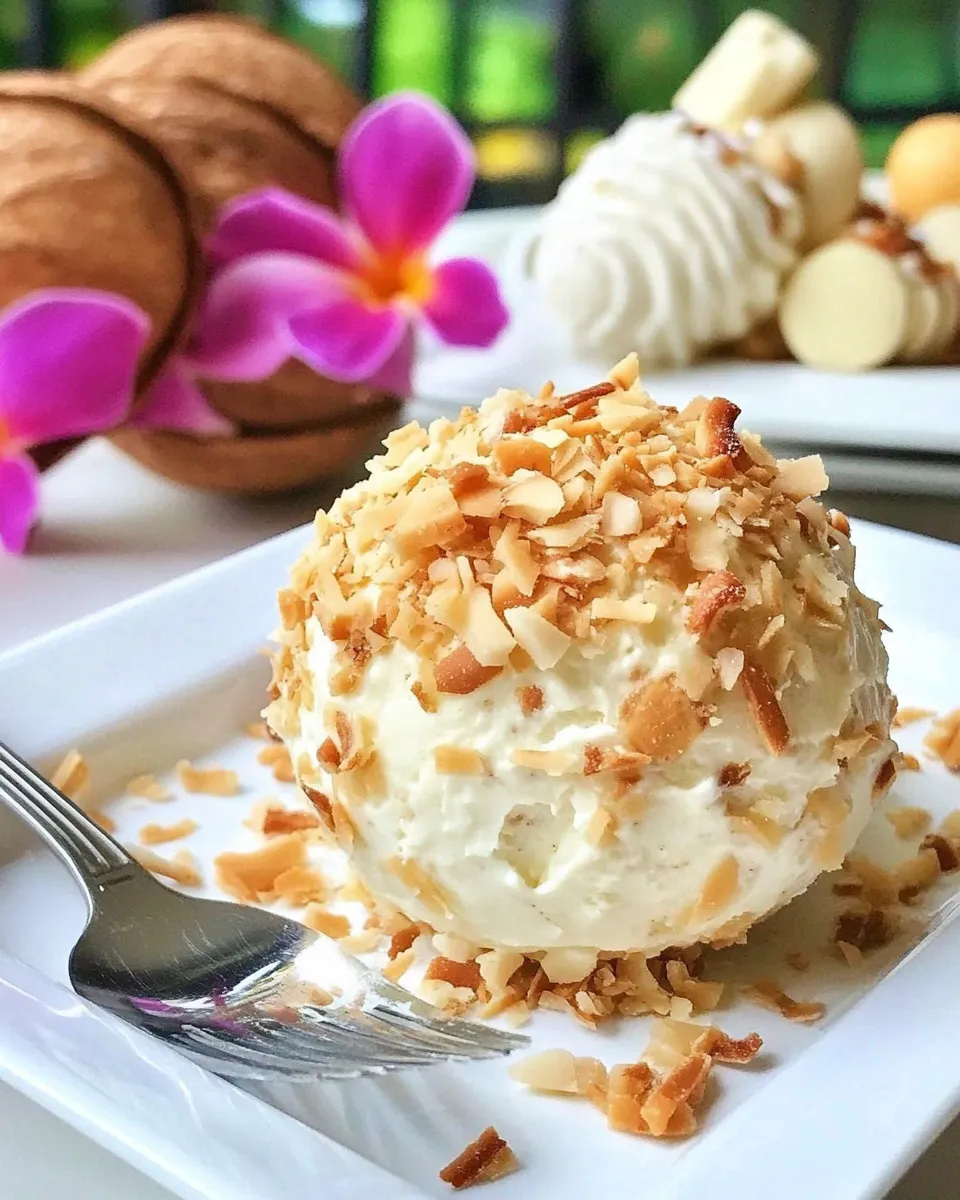
Coconut Cream Cheese Ball
I love recipes that feel indulgent but come together without drama. This Coconut Cream Cheese Ball is one of those — bright, slightly tropical, and perfect for parties or an easy dessert spread. It’s creamy, lightly sweet, and gets that crunch and toasty aroma from quickly toasted coconut.
The prep is straightforward: mix, chill, toast, roll, and serve. You can make the ball a few hours ahead, which makes it one of my go-to recipes when I need something impressive with minimal hands-on time.
Below you’ll find clear ingredient notes, step-by-step instructions, troubleshooting tips, substitutions for common allergies, storage guidance, and answers to frequent reader questions. Let’s get into it.
The Essentials
This recipe produces a single, refrigerated coconut-flavored cream cheese ball that’s sweet, creamy, and coated in toasted coconut. It pairs beautifully with graham cracker squares and tart Granny Smith apple slices for dipping.
Hands-on time is under 15 minutes; chilling adds 30 minutes. The texture is spreadable but firm enough to keep its shape after chilling.
Coconut Cream Cheese Ball: From Prep to Plate
Ingredients
- 16 oz. cream cheese, room temp. — Softened for easy mixing and a smooth, spreadable texture.
- 2 tbsp. sour cream — Adds tang and loosens the cream cheese slightly for a lighter bite.
- 1 package Jell-O instant pudding mix, in Coconut Cream — Provides coconut flavor and helps sweeten and stabilize the mixture.
- 1 package Dream Whip mix — Lightens the texture and adds volume; follow package instructions only as part of mixing with the other dry ingredients.
- 1 tsp almond extract — Small amount of warm, nutty fragrance to round the coconut.
- 1 cup shaved, sweetened coconut flakes — Toasted and used to coat the outside for crunch and toasty flavor.
- Graham cracker squares — For serving; sturdy and slightly sweet for dipping.
- Sliced Granny Smith apples — Tart, crisp dipping option that balances the sweetness.
Instructions
- Place the 16 oz. cream cheese in a large mixing bowl; it should be at room temperature so it blends smoothly.
- Add 2 tbsp. sour cream to the cream cheese.
- Open and pour 1 package Jell-O instant pudding mix (Coconut Cream) into the bowl.
- Add 1 package Dream Whip mix to the bowl with the other dry ingredients.
- Pour in 1 tsp almond extract.
- Using an electric mixer or a sturdy whisk, beat the mixture until everything is fully combined and smooth. Scrape the sides and bottom of the bowl with a spatula once or twice to ensure even mixing.
- Lay out a sheet of plastic wrap on your countertop. Spoon the cream cheese mixture onto the center of the plastic wrap.
- Gather the plastic wrap around the mixture and shape it into a compact ball. Twist the plastic wrap to tighten the shape and seal.
- Refrigerate the wrapped ball for 30 minutes to firm up.
- While the ball chills, heat a dry skillet over medium heat. Add 1 cup shaved, sweetened coconut flakes to the skillet and toast, stirring often, until the coconut is golden brown and crispy. Watch closely—coconut browns fast and can burn.
- Remove the toasted coconut from the skillet and let it cool slightly on a plate.
- Unwrap the chilled cream cheese ball and place it on a small plate or board. Roll the ball in the toasted coconut until the surface is evenly coated. Press gently so the coconut adheres.
- Arrange graham cracker squares and sliced Granny Smith apples on a serving platter. Place the Coconut Cream Cheese Ball in the center and serve.
- Enjoy immediately, or keep refrigerated until serving time.
Why This Recipe Belongs in Your Rotation
This recipe is fast, reliable, and party-ready. It requires no baking and uses pantry-friendly mixes, so you can pull it together even on short notice. The toasted coconut gives it a homemade touch that elevates the fairly simple base.
It’s versatile: serve it as an appetizer, a dessert, or part of a snack platter. The creaminess appeals to both kids and adults, and the tart apples provide a nice contrast to the sweet coconut coating.
Allergy-Friendly Substitutes
- Dairy-free option: Use a dairy-free cream cheese and dairy-free sour cream. Note: pudding mix and Dream Whip may contain milk ingredients—choose vegan equivalents if available.
- Nut extract swap: If almond extract is a problem, omit it or replace with 1 tsp vanilla extract for a more neutral flavor.
- Gluten-free serving: Replace graham crackers with gluten-free crackers or rice crackers for dipping.
- Coconut allergy: This recipe centers on coconut, so if you must avoid it, make a different flavored cream cheese ball and coat with crushed toasted nuts or crushed cookies if no nut allergy.
Before You Start: Equipment
- Large mixing bowl — for combining cream cheese and other ingredients.
- Electric mixer or sturdy whisk — an electric mixer speeds the job and yields a smoother mixture.
- Plastic wrap — to shape and chill the ball neatly.
- Dry skillet — for toasting the coconut; a wide skillet works best for even browning.
- Spatula — for scraping the bowl and transferring the mixture.
- Serving platter and small plate — present the ball with dippers.
Learn from These Mistakes
- Using cold cream cheese: If the cream cheese is too cold, it won’t beat smooth and you’ll end up with lumps. Bring it to room temp first.
- Over-toasting coconut: Coconut goes from golden to burnt quickly. Toast in short bursts and stir constantly once it starts to color.
- Skipping refrigeration: If you don’t chill the ball, it will be too soft to roll and won’t keep its shape when coated.
- Pressing too hard when coating: Pushing firmly to adhere the coconut can squeeze the ball out of shape. Gently press to attach flakes.
Better Choices & Swaps
- Swap almond extract for vanilla if you prefer a milder scent.
- If you want a less sweet finish, reduce the amount of Dream Whip only if you’re comfortable slightly changing the texture; otherwise keep ingredients as written.
- For extra visual appeal, reserve a few toasted coconut flakes to sprinkle on top after coating.
- Use unsweetened coconut if you prefer less sweetness; be aware it will change the final sugar level and texture on the exterior.
Insider Tips
- Room-temperature cream cheese is non-negotiable for a silky result. Leave it on the counter for 30–60 minutes before starting.
- Toast coconut in a dry skillet rather than the oven for faster, more even results and better control.
- Chill the ball wrapped in plastic to keep a smooth exterior and make rolling easier.
- Prep the toasted coconut and dippers ahead; when guests arrive, assemble and serve within minutes.
Meal Prep & Storage Notes
Make the ball up to 24 hours ahead. Keep it wrapped in plastic wrap and refrigerated. Toasted coconut can be stored in an airtight container at room temperature for a few days; re-toast briefly if it softens before use.
Leftovers: Refrigerate any leftover ball in an airtight container for up to 3 days. The texture may firm further; let it sit at room temperature 10–15 minutes before serving to soften slightly.
Reader Questions
- Q: Can I freeze this? A: Freezing isn’t recommended. Freezing may change the texture of the cream cheese and the Dream Whip components.
- Q: Can I make mini balls? A: Yes — portion the mixture into small rounds, chill, and roll in toasted coconut for individual servings. Adjust chilling time if needed.
- Q: Is the Dream Whip necessary? A: It lightens and stabilizes the mixture. Omitting it will make a denser ball; keep expectations in mind.
Ready, Set, Cook
Gather your ingredients and make sure the cream cheese is softened. Mix the cream cheese, sour cream, Jell-O Coconut Cream pudding mix, Dream Whip mix, and almond extract until smooth. Shape, chill, toast the coconut, and roll the ball until well coated. Serve with graham cracker squares and sliced Granny Smith apples. Simple steps, big payoff.
Enjoy — and if you try a variation, I’d love to hear how you served it.

Coconut Cream Cheese Ball
Ingredients
- 16 oz cream cheese room temperature
- 2 tbsp sour cream
- 1 package Jell-O instant pudding mix Coconut Cream flavor
- 1 package Dream Whip mix
- 1 tsp almond extract
- 1 cup sweetened coconut flakes shaved
- graham cracker squares for serving
- Granny Smith apples sliced, for serving
Instructions
- In a large mixing bowl, combine the room-temperature cream cheese, sour cream, Jell-O Coconut Cream instant pudding mix, Dream Whip mix, and almond extract.
- Beat the mixture with an electric mixer or hand mixer until smooth and thoroughly combined, scraping down the sides as needed.
- Spoon the mixture onto a sheet of plastic wrap, gather the edges, and shape it into a tight ball. Wrap it well and refrigerate for 30 minutes to firm up.
- While the cheese ball chills, heat a dry skillet over medium heat. Add the shredded sweetened coconut and toast, stirring frequently, until golden brown and crisp (watch closely to prevent burning).
- Unwrap the chilled cream cheese ball and roll it in the toasted coconut until evenly coated; press coconut gently to adhere if needed.
- Transfer the finished coconut cream cheese ball to a serving plate and serve with graham cracker squares and sliced Granny Smith apples.
Equipment
- large mixing bowl
- electric mixer or hand mixer
- Plastic Wrap
- dry skillet
- Spatula
- plate or shallow bowl for coating
Notes
- Use full-fat cream cheese for best texture.
- Toast coconut over medium heat and stir constantly to avoid burning.
- Chill until firm so the ball holds its shape when coated.
- Bring cream cheese to room temperature before mixing to avoid lumps.