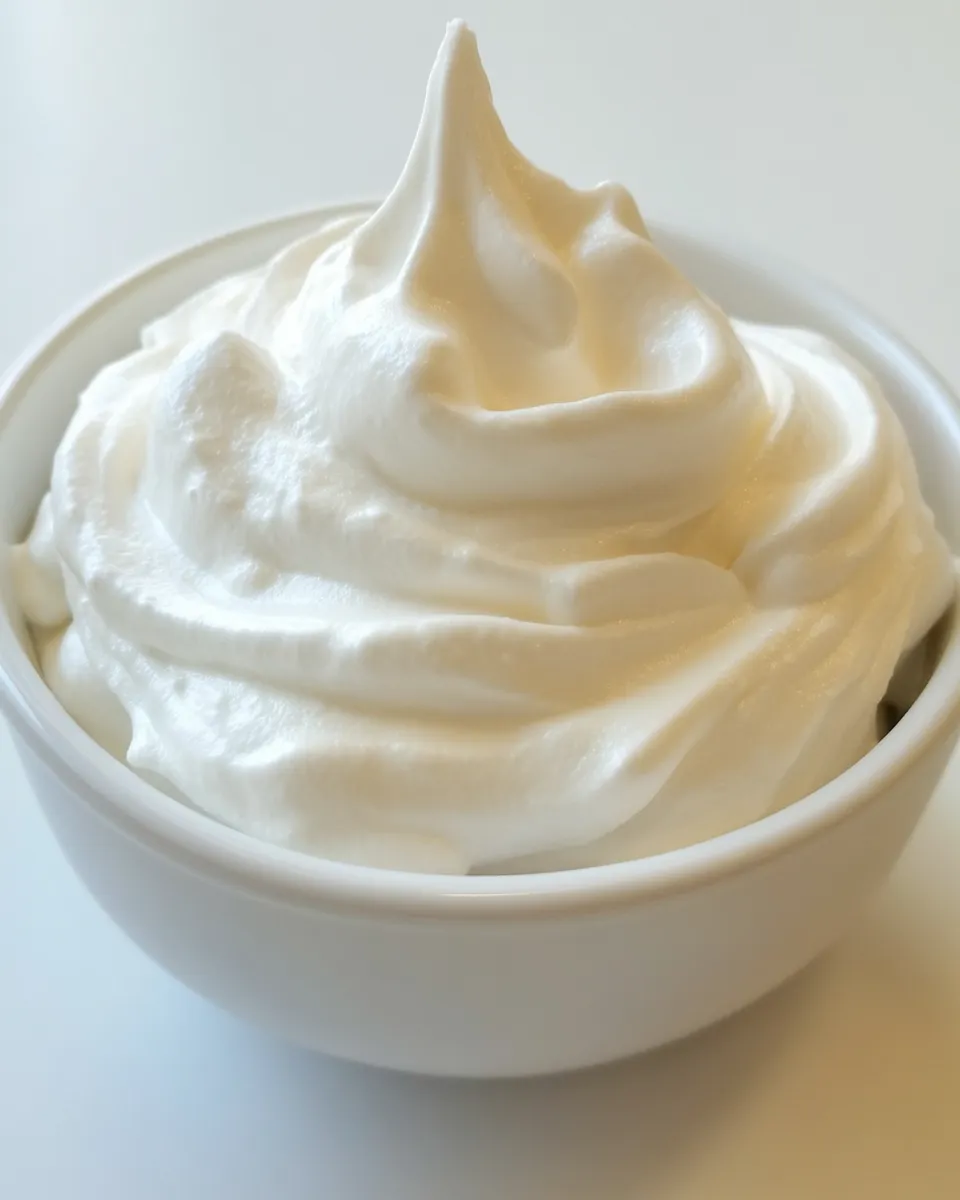
Clean Eating Whipped Topping
I make whipped topping nearly every week—it’s one of those simple recipes that lifts a dessert from good to special without fuss. This clean-eating version uses just three ingredients and relies on chilled full-fat coconut milk for a naturally creamy texture. It’s dairy-free, refined-sugar-free, and quick to pull together once the cans have chilled.
In this post I’ll walk you through the ingredient choices, the exact step-by-step method I use, smart swaps, common mistakes to avoid, storage tips, and a few seasonal variations. The goal: a reliable, stable whipped topping you can dollop on pies, smoothies, or cake without stabilizers or mystery additives.
No fluff—just practical notes from testing and what actually works in a home kitchen. Keep the cans cold, use the right coconut milk, and you’ll be rewarded with silky peaks and bright coconut flavor.
Ingredient Rundown
- 2 coconut milk cans — Use full-fat canned coconut milk; Native Forest is recommended. Chilling solidifies the cream so it whips properly.
- 1/2 teaspoon liquid stevia — Adds sweetness without sugar. Adjust more or less to taste; start small since it’s concentrated.
- 1 teaspoon pure vanilla extract — Rounds out flavor and masks any tinny notes from the can. Use pure vanilla for best aroma.
Clean Eating Whipped Topping: Step-by-Step Guide
- Refrigerate the coconut milk cans for 24 hours while they are still sealed. This chills the fat and lets the cream separate and solidify at the top of the can.
- After 24 hours, turn each can upside down and open the bottom with a can opener. Opening from the bottom helps you pour off the watery liquid without disturbing the thick cream at the top.
- Pour off the coconut water into a container and save it for smoothies, cooking, or another use. Do not discard it unless you don’t plan to use it.
- Spoon the solid coconut cream from both cans into a medium mixing bowl. Make sure you’re using only the firm cream and not the watery part you set aside.
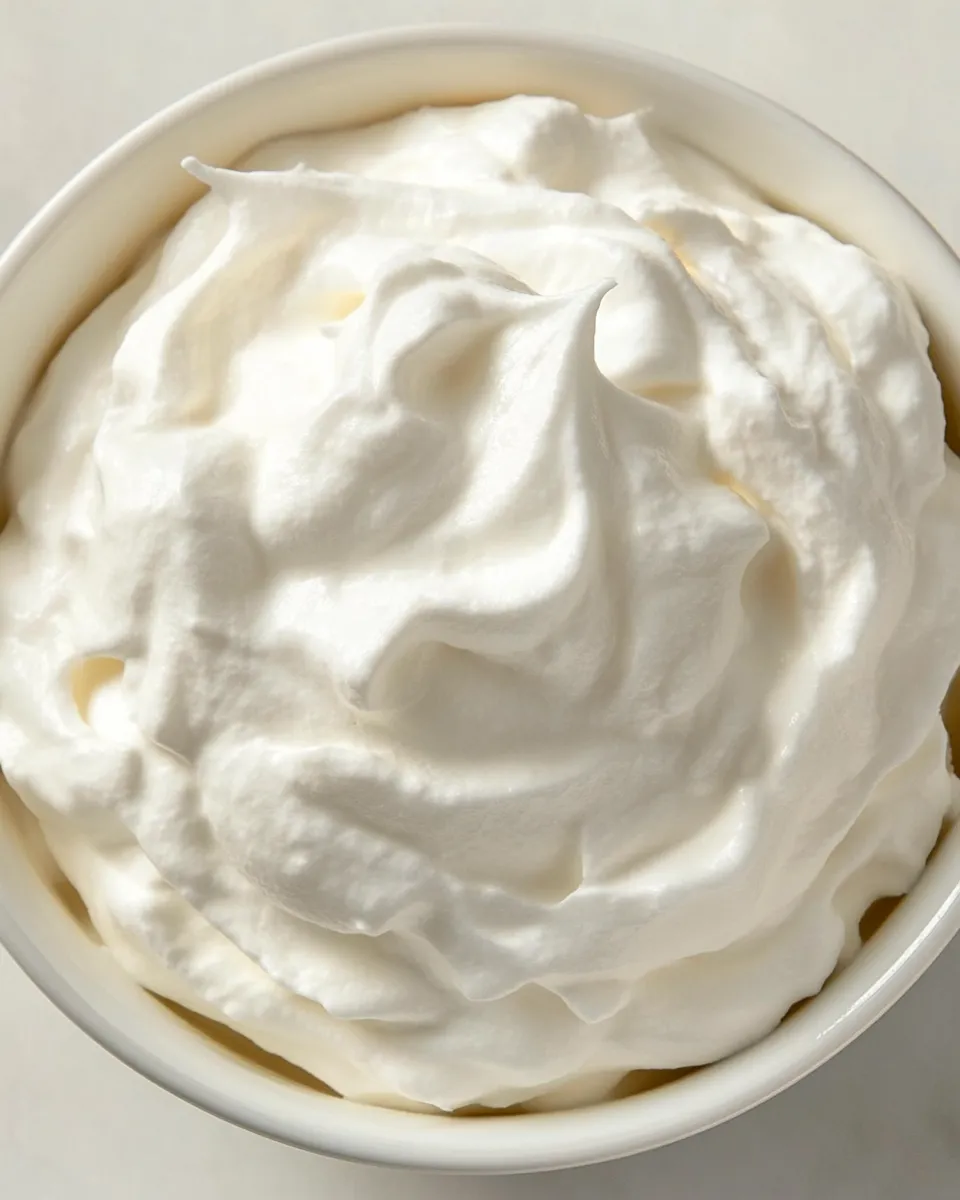
- Using an electric mixer on medium-high speed, beat the solid coconut cream until it becomes thick and creamy. This takes a couple of minutes; stop occasionally to scrape the bowl so everything is evenly whipped.
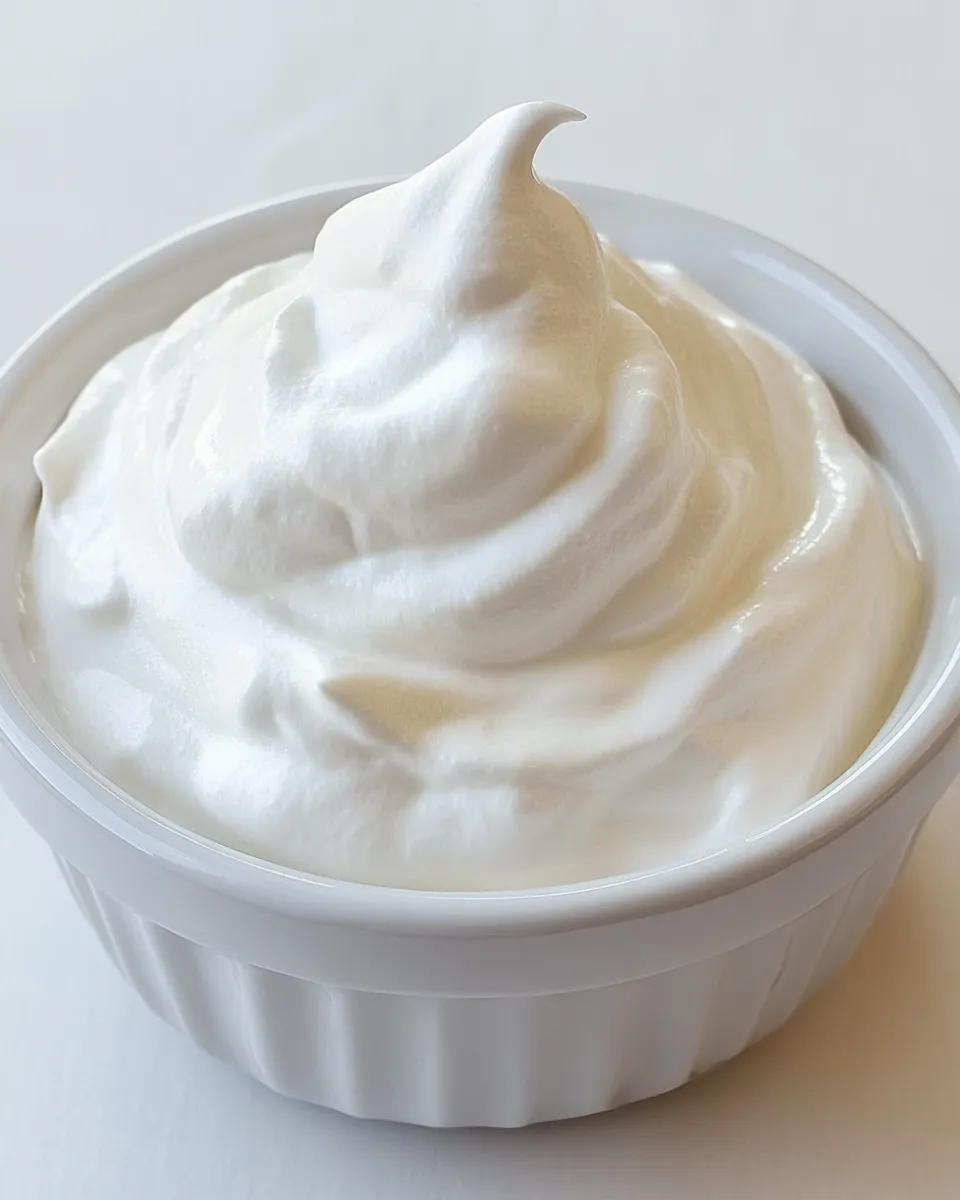
- With the mixer running, add 1/2 teaspoon liquid stevia and 1 teaspoon pure vanilla extract. Continue beating for about 2 minutes, until the topping is smooth, slightly lightened in texture, and the sweetener and vanilla are fully incorporated.
- Transfer the whipped topping to an airtight container and refrigerate until ready to use. It will firm up further as it chills.
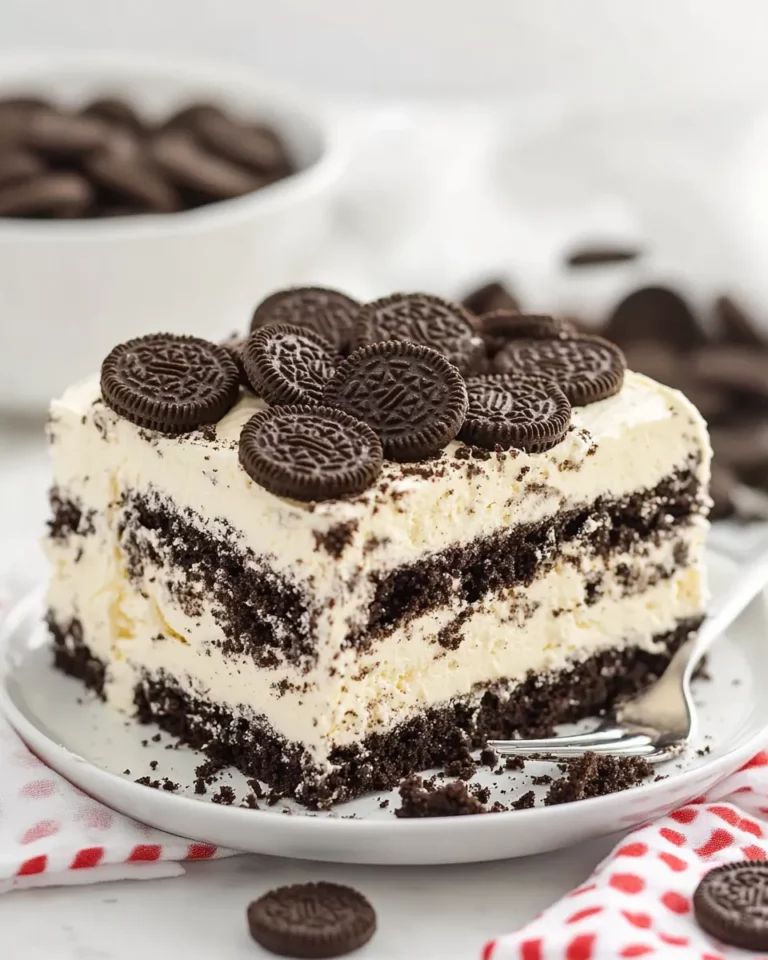
- Serve the whipped topping on smoothies, pies, cakes, or other desserts. If it softens too much at room temperature, briefly chill it again before serving.
Top Reasons to Make Clean Eating Whipped Topping
- Clean ingredients: only coconut milk, liquid stevia, and vanilla—no stabilizers, gums, or refined sugar.
- Dairy-free and vegan-friendly, suitable for lactose-intolerant or dairy-avoiding guests.
- Versatile—works on pies, cakes, smoothies, and fruit.
- Quick active time: once the cans are chilled, assembly takes under 10 minutes.
- Customizable sweetness and flavor with minimal effort.
Smart Substitutions
- Liquid sweetener — If you don’t have liquid stevia, use another liquid sweetener like maple syrup (note: will add more sugar and can slightly loosen texture) or omit entirely for an unsweetened topping.
- Vanilla — You can swap pure vanilla extract for other extracts like almond or coconut for a flavor twist, but keep quantity to 1 teaspoon to avoid overpowering.
- Coconut milk brand — Native Forest is recommended because it tends to separate reliably and is full-fat. If using another brand, check the label for high coconut cream content and no added stabilizers that prevent separation.
Essential Tools for Success
- Electric mixer — Hand or stand mixer makes whipping quick and consistent.
- Can opener — To open the bottom of the chilled cans cleanly.
- Medium mixing bowl — Metal or glass bowls work best; avoid plastic if possible, as it can retain oil.
- Spoon or spatula — For scraping bowl sides and transferring cream to containers.
- Refrigerator space — Keep the cans chilled and the finished topping cold until serving.
Avoid These Mistakes
- Using unchilled cans — If the coconut milk isn’t refrigerated for 24 hours, it won’t separate into solid cream and watery liquid, and you won’t be able to whip it.
- Mixing in the watery part — Pour off and set aside the coconut water. Including it will prevent the cream from whipping to peaks.
- Using low-fat coconut milk — Low-fat versions lack enough fat to form stable whipped cream.
- Overbeating — While coconut cream is forgiving, over-whipping can change the texture; stop when the cream is thick and smooth.
- Skipping vanilla or sweetener without tasting — A small amount of vanilla and sweetener balances the coconut flavor; taste and adjust to preference.
Variations by Season
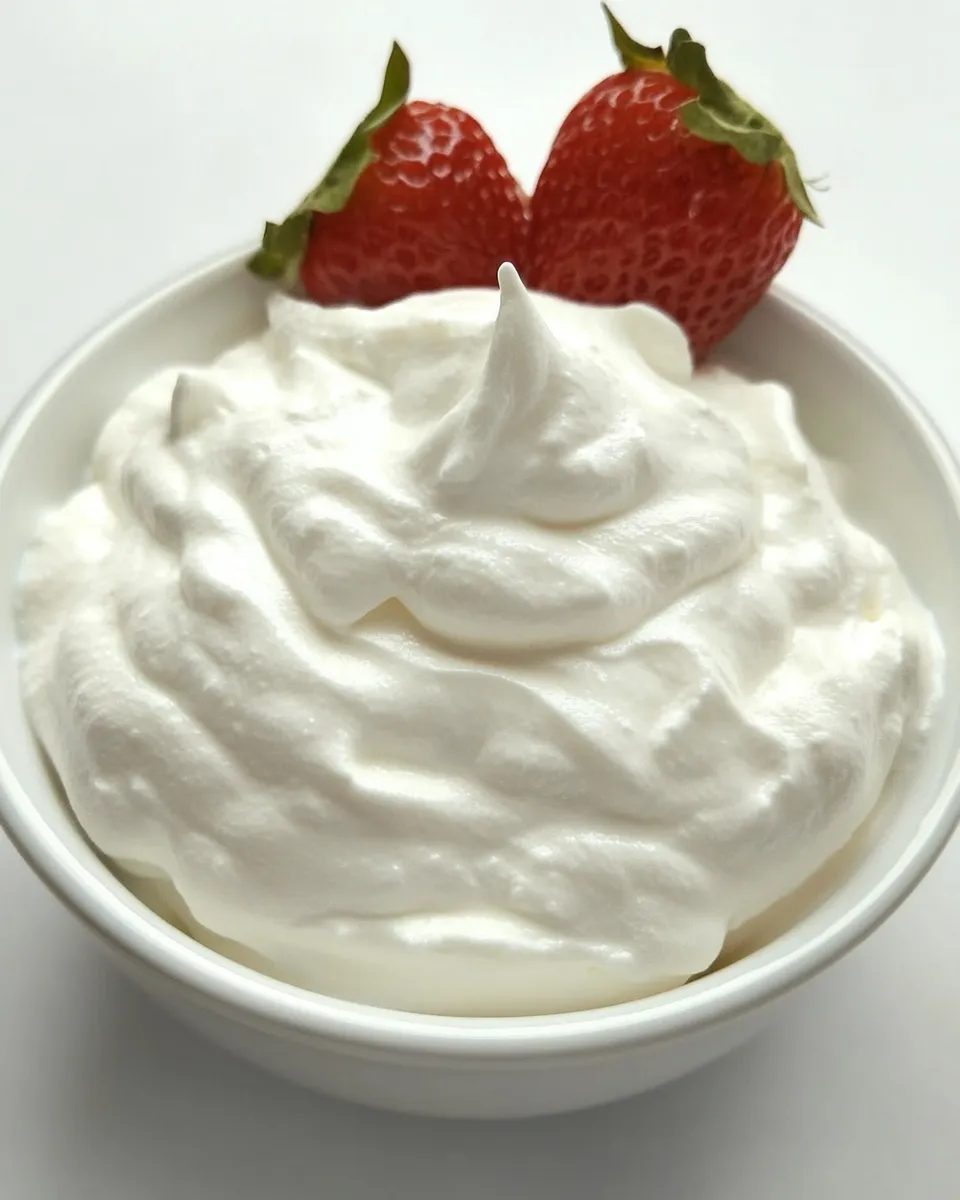
- Spring — Fold in chopped fresh strawberries or a spoonful of strawberry puree for a light fruity topping. Chill briefly before serving.
- Summer — Add a tablespoon of lime zest for brightness and serve over grilled peaches or berries.
- Autumn — Stir in a pinch of cinnamon and a drop of maple syrup (if you want more sweetness) to pair with pumpkin or apple desserts.
- Winter — Mix in a teaspoon of espresso powder or cocoa powder for a mocha or chocolate riff to top rich winter cakes.
What I Learned Testing
- Chill matters more than speed: cans must be fully chilled for the cream to separate. I learned to refrigerate for a full 24 hours every time.
- Brand consistency helps: Native Forest and similar full-fat brands gave the most reliable results. Some brands include emulsifiers that keep the milk homogeneous and won’t whip.
- Liquid stevia measurement is crucial: too much creates a bitter aftertaste. I settled on 1/2 teaspoon as a starting point and adjust by taste.
- Temperature during serving: The topping is best served slightly cold. If left out too long, it softens but can be firmed again with a short chill.
Cooling, Storing & Rewarming
- Store in an airtight container in the refrigerator for up to 4–5 days. The texture is best within the first 48 hours.
- If the topping becomes too soft after sitting at room temperature, chill it for 20–30 minutes to firm up before serving.
- Do not freeze the whipped topping for long-term storage; freezing changes the texture and can cause separation when thawed.
- Keep containers clean and cold—transfer topping to small serving dishes right before guests arrive to maintain peak texture.
Reader Q&A
- Q: Can I use this topping for piping decorations? A: It’s stable enough for simple dollops and soft piping, but it won’t hold intricate shapes like stabilized dairy-based frostings. Chill bowls and piping bags for firmer results.
- Q: What if my coconut milk didn’t separate? A: The brand may contain emulsifiers. Try a different brand with higher coconut cream content or refrigerate longer. As a last resort, place the cans in the freezer for 30–60 minutes—watch carefully so they don’t freeze solid.
- Q: How can I make it sweeter without liquid stevia? A: Use a small amount of maple syrup or honey (not vegan) but be aware this can loosen the texture slightly. Add 1 teaspoon at a time and whip to check consistency.
- Q: Can I flavor the topping with cocoa? A: Yes—add 1–2 teaspoons of sifted cocoa powder and beat briefly until just combined. Taste and add sweetener if needed.
Time to Try It
This whipped topping is one of those pantry-friendly staples that rewards a little advance planning. Chill two cans of full-fat coconut milk today, and tomorrow you’ll have a clean, creamy topping ready in under 10 minutes. Use it to finish pies, spoon it over smoothies, or serve it with fresh fruit. If you make it, drop a note with how you used it—I love hearing practical wins and tweaks that work in home kitchens.

Clean Eating Whipped Topping
Ingredients
- 2 cans full-fat coconut milk chilled 24 hours; Native Forest recommended
- 1/2 teaspoon liquid stevia more or less to taste
- 1 teaspoon pure vanilla extract
Instructions
- Place unopened cans of full-fat coconut milk in the refrigerator for 24 hours to chill and allow the solids to separate.
- Turn each can upside down and open from the bottom with a can opener. Pour off and reserve the liquid for another use; keep the thick solid coconut cream in the cans.
- Transfer the solid coconut cream to a medium mixing bowl.
- Using an electric mixer on medium-high speed, beat the coconut cream until thick and creamy, about 1–2 minutes.
- Add the liquid stevia and vanilla extract and continue beating for about 2 minutes until fully incorporated and fluffy.
- Transfer the whipped topping to the refrigerator until ready to serve.
Equipment
- Can opener
- Mixing Bowl
- Electric Mixer
- Spatula
Notes
- Other natural sweeteners like coconut sugar or turbinado can be used instead of stevia.
- Using granulated sweeteners may brown the topping slightly but will still taste good.