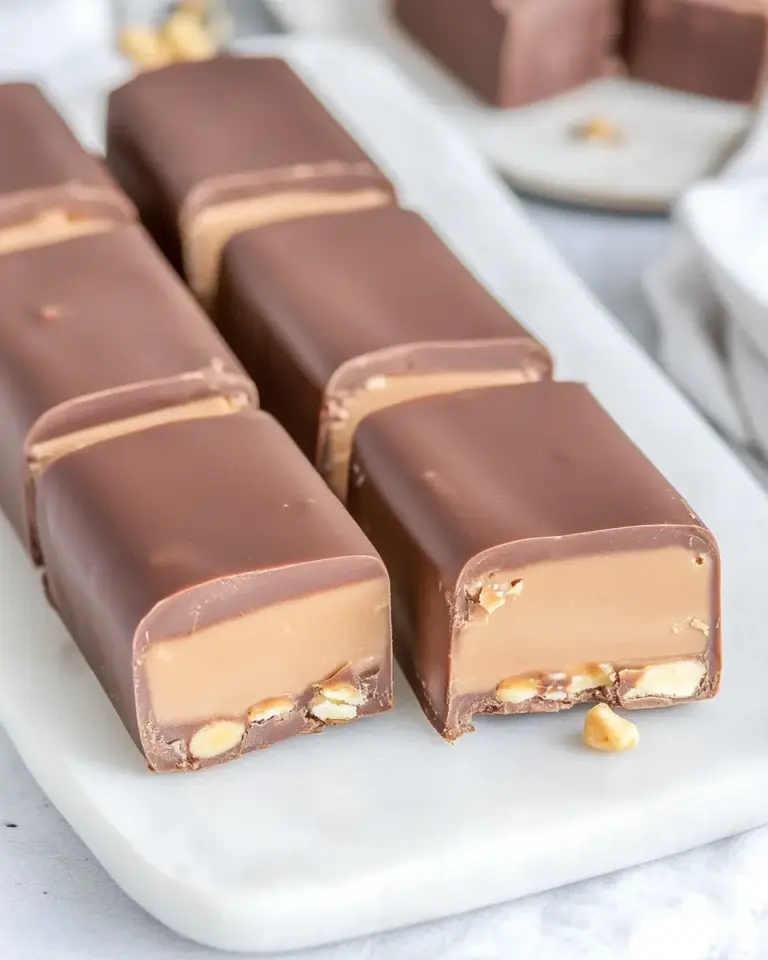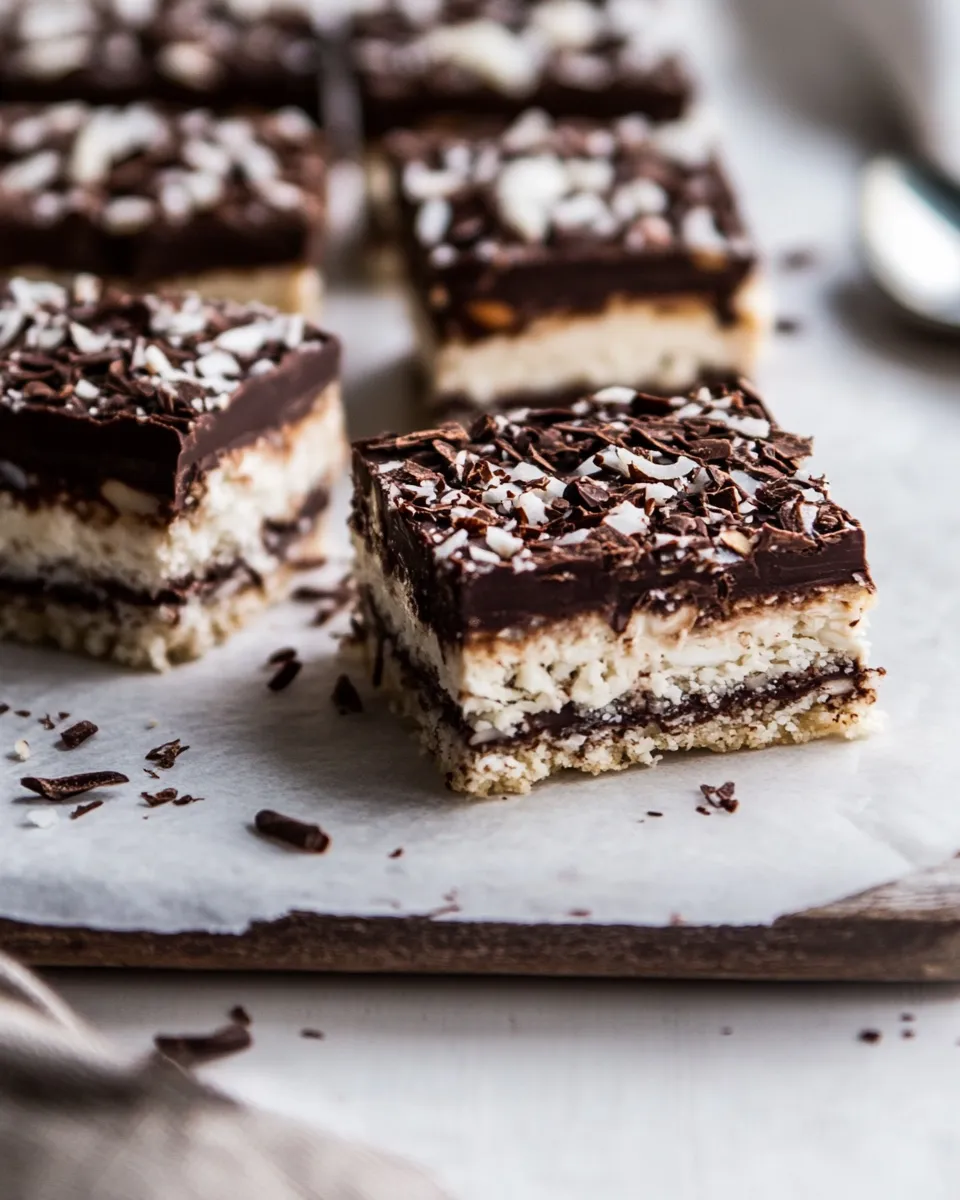
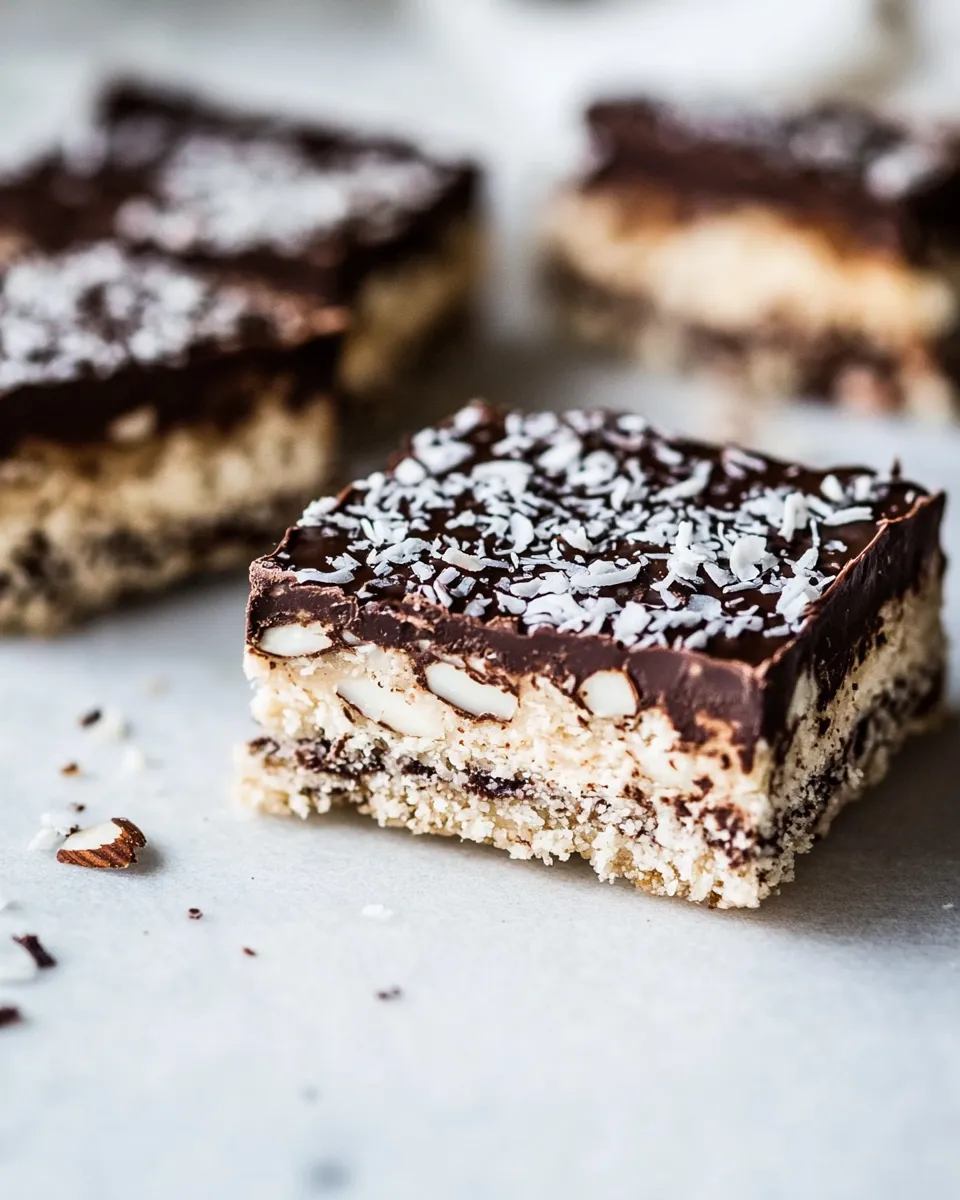
Chocolate Coconut Almond Bars.
These bars are one of those reliable recipes I turn to when I want something that tastes indulgent but still feels honest. Think chewy coconut, a nutty almond base, and a glossy chocolate top with a quick swirl of almond butter. They travel well, keep in the fridge, and are easy to make without any special skills.
The method is straightforward: a no-bake base pressed into a pan, a creamy coconut middle, and a chocolate finish. I’ll walk you through each step clearly, plus share practical tips so you don’t over-process the base, and how to slice neat bars without cracking the layers.
If you like texture and contrast—chewy coconut, little almond bites, and a snap of chocolate—these will be on heavy rotation. Below you’ll find the shopping list, ingredient notes, step-by-step directions, troubleshooting, and storage advice.
What to Buy
- 1/2 cup raw almonds — the backbone of the base; use raw for the best texture and flavor.
- 1 cup unsweetened flaked coconut — mixed into the base for chew and coconut flavor.
- 12 plump medjool dates, pitted — natural sweetener and binder; remove pits and use fresh, soft dates.
- 2 teaspoons vanilla — enhances sweetness and rounds flavors.
- 1/4 cup coconut oil — binds the base and firms when chilled; use refined if you prefer less coconut aroma.
- 2 cups unsweetened flaked coconut — for the middle layer; gives body and chew.
- 1/2 cup canned coconut milk — adds creaminess to the coconut layer; shake the can first for an even texture.
- 2 tablespoons honey — sweetens and helps set the coconut layer; substitute maple syrup if vegan.
- Pinch of salt — balances sweetness; don’t skip.
- 12 ounces dark chocolate, chopped (or semi-sweet) — melts into the top layer; choose good-quality chocolate for best results.
- 2 tablespoons rounded almond butter — for swirling into the chocolate; room temperature is easiest to work with.
- Cacao nibs + hemp seeds (for topping, optional) — add crunch and a pretty finish; optional but recommended.
Ingredients
- 1/2 cup raw almonds — provides texture and structure to the base; pulse, don’t pulverize.
- 1 cup unsweetened flaked coconut — adds chew and coconut flavor in the base.
- 12 plump medjool dates, pitted — natural binder and sweetener; use fresh, soft dates for best results.
- 2 teaspoons vanilla — brightens the flavor and rounds out the sweetness.
- 1/4 cup coconut oil — helps bind and firm the base when chilled; melt slightly if solid.
- 2 cups unsweetened flaked coconut — makes the thicker coconut middle layer; adds body.
- 1/2 cup canned coconut milk — gives the coconut layer a creamy, slightly dense texture; stir to combine.
- 2 tablespoons honey — sweetens and helps the middle layer set; use maple for a vegan option.
- Pinch of salt — enhances overall flavor and balances sweetness.
- 12 ounces dark chocolate, chopped (or semi-sweet) — melts into a glossy top; use good-quality chocolate for flavor and sheen.
- 2 tablespoons rounded almond butter — for swirling into the melted chocolate for flavor contrast and a marbled look.
- Cacao nibs + hemp seeds (for topping, optional) — optional garnish that adds texture and visual interest.
Directions: Chocolate Coconut Almond Bars.
1. Line an 8×8-inch square baking pan with parchment paper, leaving an overhang on two sides for easy removal. Set the pan nearby.
2. Make the base: In the bowl of a food processor, combine 1/2 cup raw almonds, 1 cup unsweetened flaked coconut, 12 pitted medjool dates, and 2 teaspoons vanilla. Pulse in short bursts until the mixture is finely chopped but still a little chunky—do not puree into a paste.
3. Add 1/4 cup coconut oil to the food processor. Pulse just until combined and the mixture holds together when pressed. Be careful not to over-process; you want texture, not a smooth paste.
4. Transfer the base mixture to the prepared pan. Use a spatula or the bottom of a flat measuring cup to press it evenly and firmly into the pan. Chill: place the pan in the freezer while you prepare the next layer.
5. Prepare the coconut layer: Without cleaning the food processor, add 2 cups unsweetened flaked coconut, 1/2 cup canned coconut milk, 2 tablespoons honey, and a pinch of salt. Pulse until the mixture is finely ground and comes together into a moist, slightly dense mixture.
6. Remove the pan from the freezer and spread the coconut layer evenly over the chilled base. Press lightly to even it out. Return the pan to the freezer to firm this layer while you melt the chocolate.
7. Melt the chocolate: Place 12 ounces chopped dark chocolate in a heatproof bowl. Melt over a double boiler (simmering water, bowl above, not touching the water) or microwave in 30-second intervals, stirring between each, until smooth and fully melted.
8. Remove the pan from the freezer and pour the melted chocolate over the coconut layer, spreading it into an even layer with an offset spatula or the back of a spoon.
9. Dollop 2 tablespoons rounded almond butter in small spoonfuls over the melted chocolate. Use a knife or skewer to gently swirl the almond butter into the chocolate to create a marbled pattern.
10. If using, sprinkle cacao nibs and hemp seeds evenly over the top.
11. Cover the pan loosely and place it in the refrigerator for 30 minutes to 1 hour, or until the chocolate is fully set.
12. To cut: Warm a sharp knife under hot water, wipe it dry, then slice the chilled block into about 16 squares, wiping the knife between cuts for clean edges. If the chocolate layer lifts slightly while cutting, press it back into place.
13. Store the bars in a sealed container in the refrigerator.
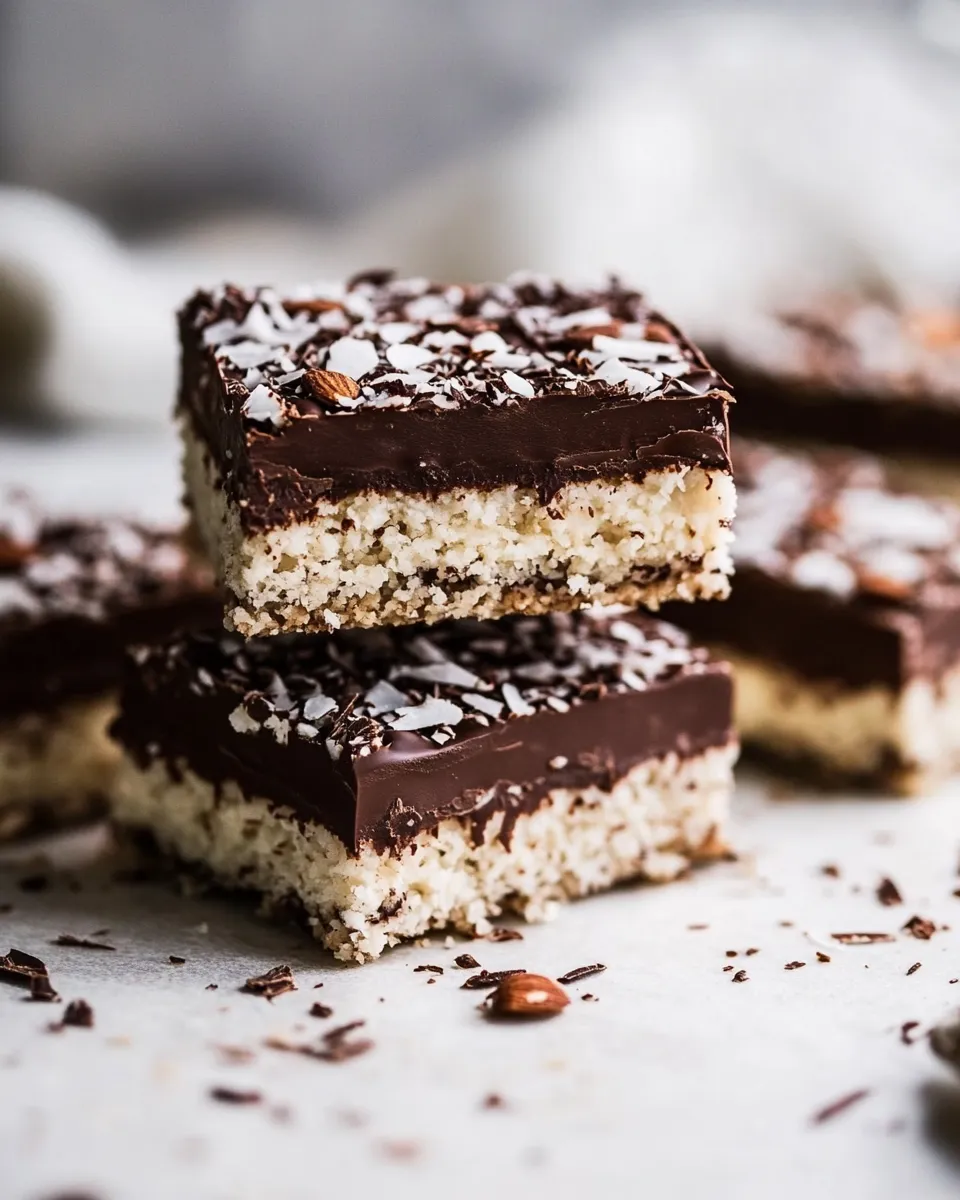
Why It’s My Go-To

These bars hit a lot of satisfying notes: nutty crunch from almonds, coconut chew in two textures, and a rich chocolate finish. They’re fast to assemble and require no baking, which is perfect for quick gift batches or last-minute guests. The flavors are familiar but layered, so they feel special without fuss.
They also hold up well for days in the fridge and travel better than many confections. The ingredients are pantry-friendly and simple—no obscure syrups or long resting times. If you want something that looks impressive with minimal effort, this is it.
Quick Replacement Ideas
- Almonds — swap for pecans or walnuts if you prefer a different nut flavor.
- Coconut oil — substitute melted butter for a less pronounced coconut aroma.
- Honey — use maple syrup to make it vegan (also works flavor-wise).
- Dark chocolate — semi-sweet or milk chocolate for a sweeter top; adjust to taste.
- Almond butter — peanut butter or cashew butter for a different swirl flavor.
Kitchen Gear Checklist
- 8×8-inch square baking pan — the correct size ensures the layers set properly.
- Parchment paper — for effortless removal and clean cuts.
- Food processor — needed to get the right texture for both layers.
- Heatproof bowl and double boiler setup or microwave-safe bowl — for melting chocolate.
- Offset spatula or flat-bottomed measuring cup — to press and smooth layers evenly.
- Sharp knife — warm and dry between cuts for neat squares.
Pitfalls & How to Prevent Them
- Over-processing the base — stop pulsing while the mixture is still a little chunky; you want bite, not paste.
- Base too loose to press — ensure dates are soft; if they’re stiff, soak in warm water for 10 minutes and drain well.
- Coconut layer too wet — use measured coconut milk (1/2 cup) and pulse to a moist but cohesive texture; don’t add extra liquid.
- Chocolate seizing — ensure the bowl and utensils are dry; melt chocolate slowly and stir frequently.
- Cracked chocolate when cutting — warm the knife under hot water and dry it before each cut, slicing while bars are chilled.
Year-Round Variations
- Summer: Use lighter chocolate (semi-sweet) and add a sprinkle of flaky sea salt for contrast.
- Fall/Winter: Stir 1/2 teaspoon ground cinnamon into the coconut layer for a warm spice note.
- Holiday: Fold 1/3 cup finely chopped dried cranberries into the base for color and tartness.
- Protein boost: Press a thin layer of toasted quinoa into the base (replace some almonds) for crunch and protein.
Little Things that Matter
- Line the pan with overhanging parchment for easy removal and cleaner edges.
- Use room-temperature almond butter for smoother swirls in the chocolate.
- When pressing layers, apply even pressure so bars slice cleanly and layers won’t separate.
- Let the chocolate set fully in the fridge; partially set chocolate is more likely to lift when cutting.
Refrigerate, Freeze, Reheat
- Refrigerate: Store in a sealed container for up to 10 days. Keep layers tight by stacking with parchment between layers.
- Freeze: Freeze in a single layer on a tray until solid, then transfer to a freezer bag for up to 3 months. Thaw in the fridge overnight before serving.
- Reheat: Serve chilled or at cool room temperature. If you want a softer texture, sit a bar out for 10–15 minutes before eating; avoid microwaving as it will melt the chocolate unevenly.
Helpful Q&A
- Q: Can I make these nut-free? A: The recipe relies on almonds in the base and almond butter for the swirl. You could try substituting toasted sunflower seeds in the base and sunflower seed butter for the swirl, but expect a different texture and flavor.
- Q: My dates are dry—what do I do? A: Soak them in hot water for 10 minutes, drain thoroughly, then proceed. Dry dates won’t bind properly.
- Q: How do I keep the chocolate from blooming? A: Chocolate bloom is usually from moisture or temperature swings. Store bars steadily in the fridge and avoid bringing them quickly to room temperature. Use good-quality chocolate and melt gently.
- Q: Can I halve or double the recipe? A: Yes. Keep the same proportions and use a different pan size for scaling: half in a loaf pan, double in a 9×13-inch pan.
Final Thoughts
These Chocolate Coconut Almond Bars are dependable, simple, and delicious. They balance texture and flavor with minimal fuss, and they’re easy to adapt to what you have on hand. Follow the step-by-step directions, mind the little tips about temperature and processing, and you’ll have a batch of bars that look and taste like you spent hours on them—without the work. Enjoy, and don’t forget to tuck a few into the fridge for unexpected guests.
Chocolate Coconut Almond Bars.
Ingredients
- 1/2 cup raw almonds
- 1 cup unsweetened flaked coconut for base
- 12 Medjool dates pitted
- 2 teaspoons vanilla extract
- 1/4 cup coconut oil
- 2 cups unsweetened flaked coconut for coconut layer
- 1/2 cup canned coconut milk
- 2 tablespoons honey
- salt pinch
- 12 ounces dark chocolate chopped, or semisweet
- 2 tablespoons almond butter rounded
- cacao nibs for topping (optional)
- hemp seeds for topping (optional)
Instructions
- Line an 8x8-inch baking pan with parchment paper and set aside.
- Combine the almonds, 1 cup flaked coconut, pitted dates, and vanilla in a food processor; pulse until the mixture is finely chopped but still slightly chunky.
- Add the coconut oil to the food processor and pulse briefly until the base holds together; avoid over-processing.
- Press the base mixture evenly into the prepared pan, then place the pan in the freezer while you make the coconut layer.
- Without cleaning the processor, combine 2 cups flaked coconut, coconut milk, honey, and a pinch of salt; pulse until finely ground and cohesive.
- Remove the pan from the freezer and spread the coconut layer evenly over the chilled base, then return the pan to the freezer.
- Melt the chopped chocolate either in a double boiler or in the microwave, stirring every 30 seconds until smooth.
- Take the pan from the freezer and pour the melted chocolate over the coconut layer, spreading to cover evenly.
- Drop the rounded tablespoons of almond butter on top of the chocolate and use a skewer or knife to swirl it into the chocolate.
- Sprinkle cacao nibs and hemp seeds over the top if using, then cover and refrigerate for 30–60 minutes until the chocolate is set.
- Run a sharp knife under hot water, dry it, and cut the set slab into about 16 squares; press any chocolate back into place if it separates.
Equipment
- 8x8-inch Baking Pan
- Parchment Paper
- Food Processor
- Microwave-safe bowl or double boiler
- Spatula
- Sharp Knife
- Measuring cups and spoons
Notes
- Use Medjool dates for best texture.
- Do not over-process the base; keep it slightly chunky.
- Chill between layers to make assembly easier.
- Warm the knife between cuts for cleaner slices.