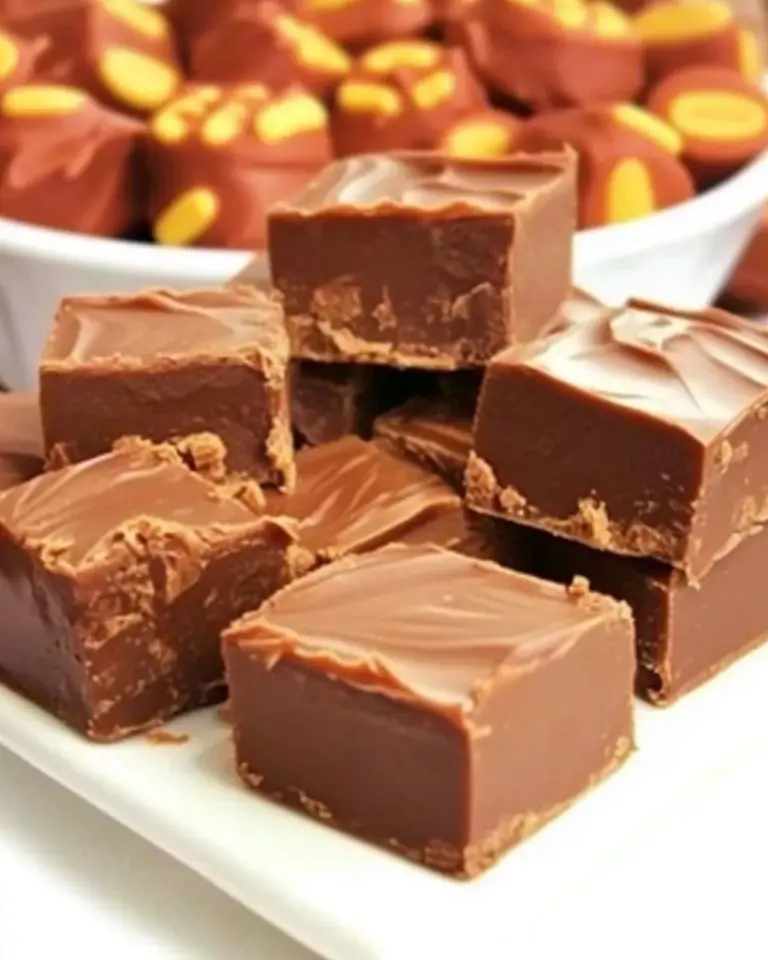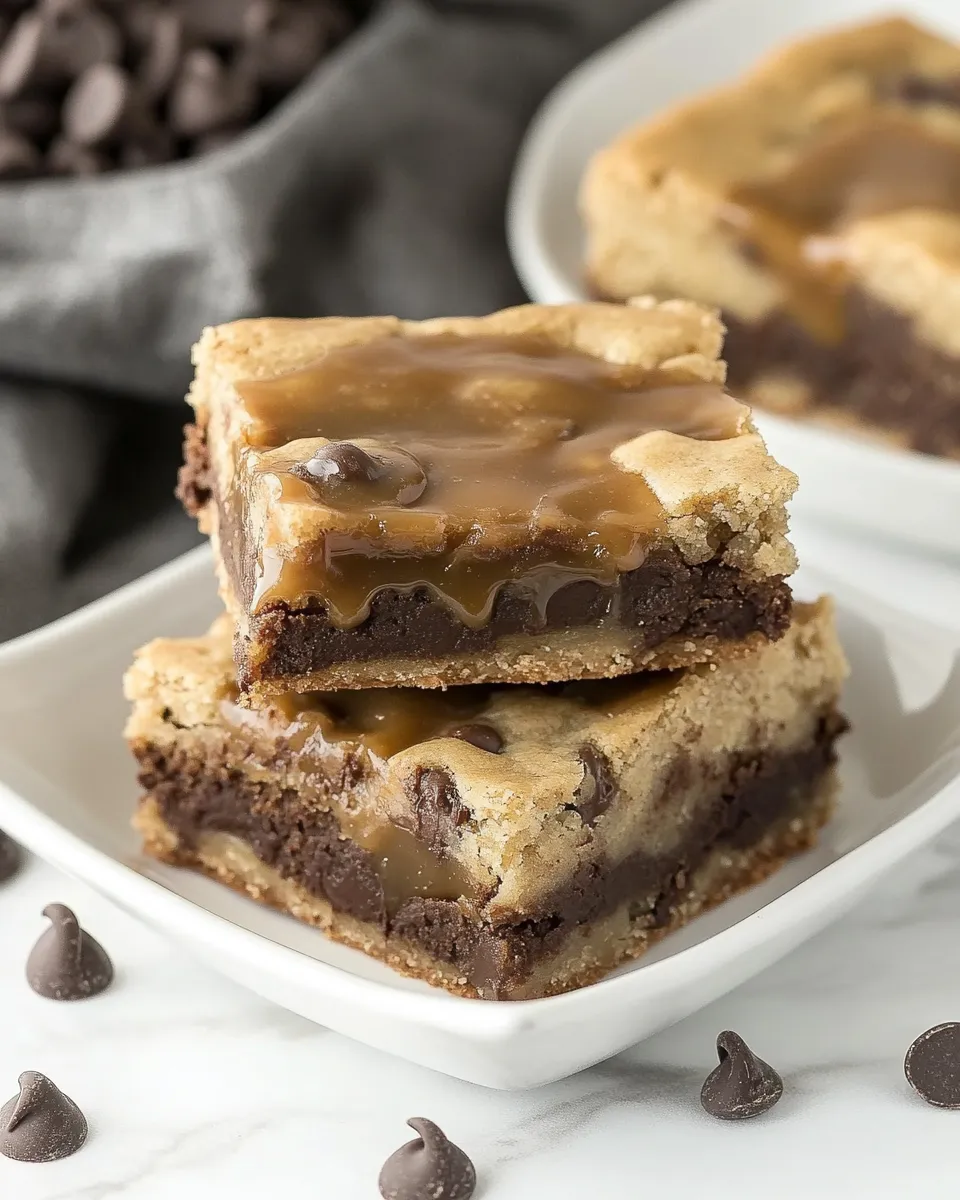
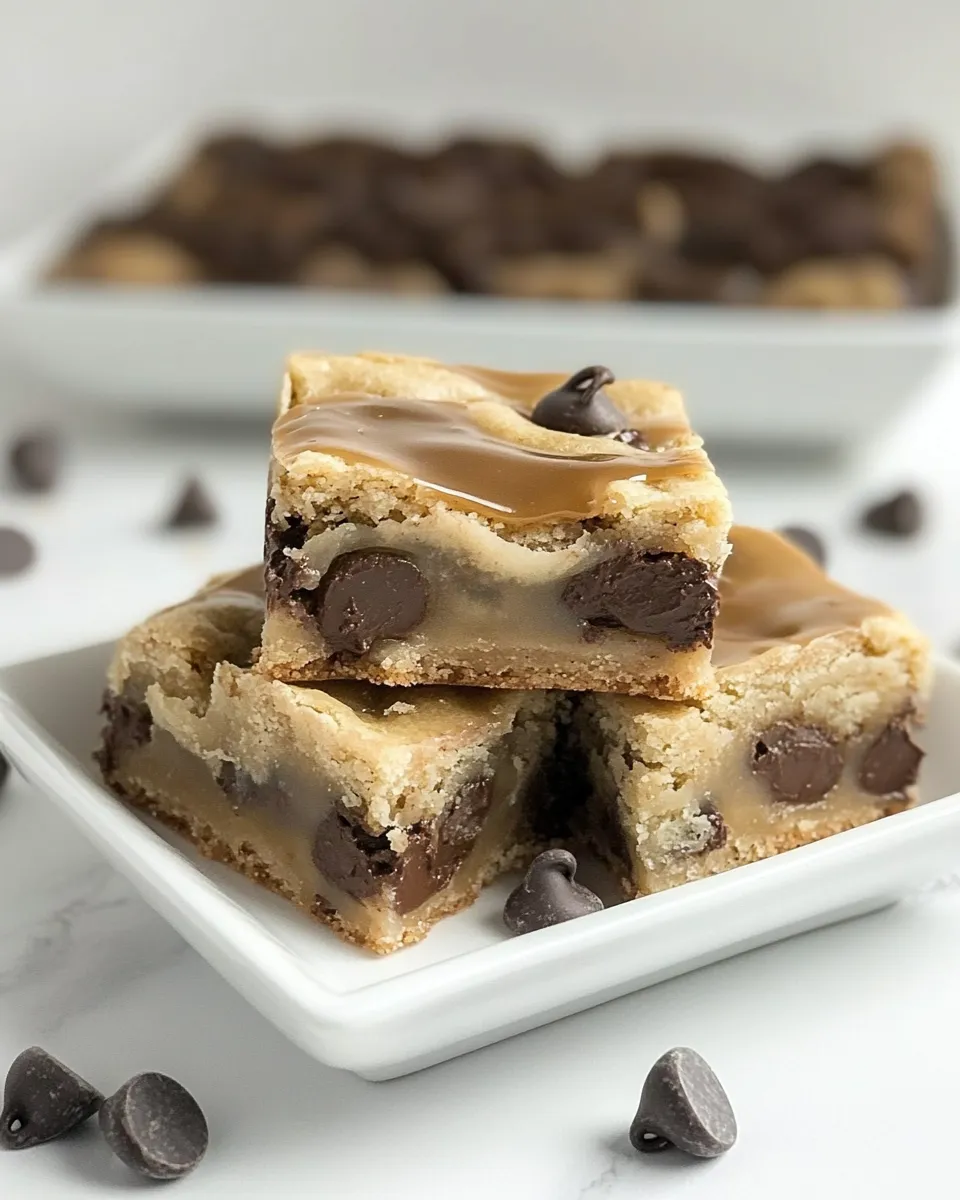
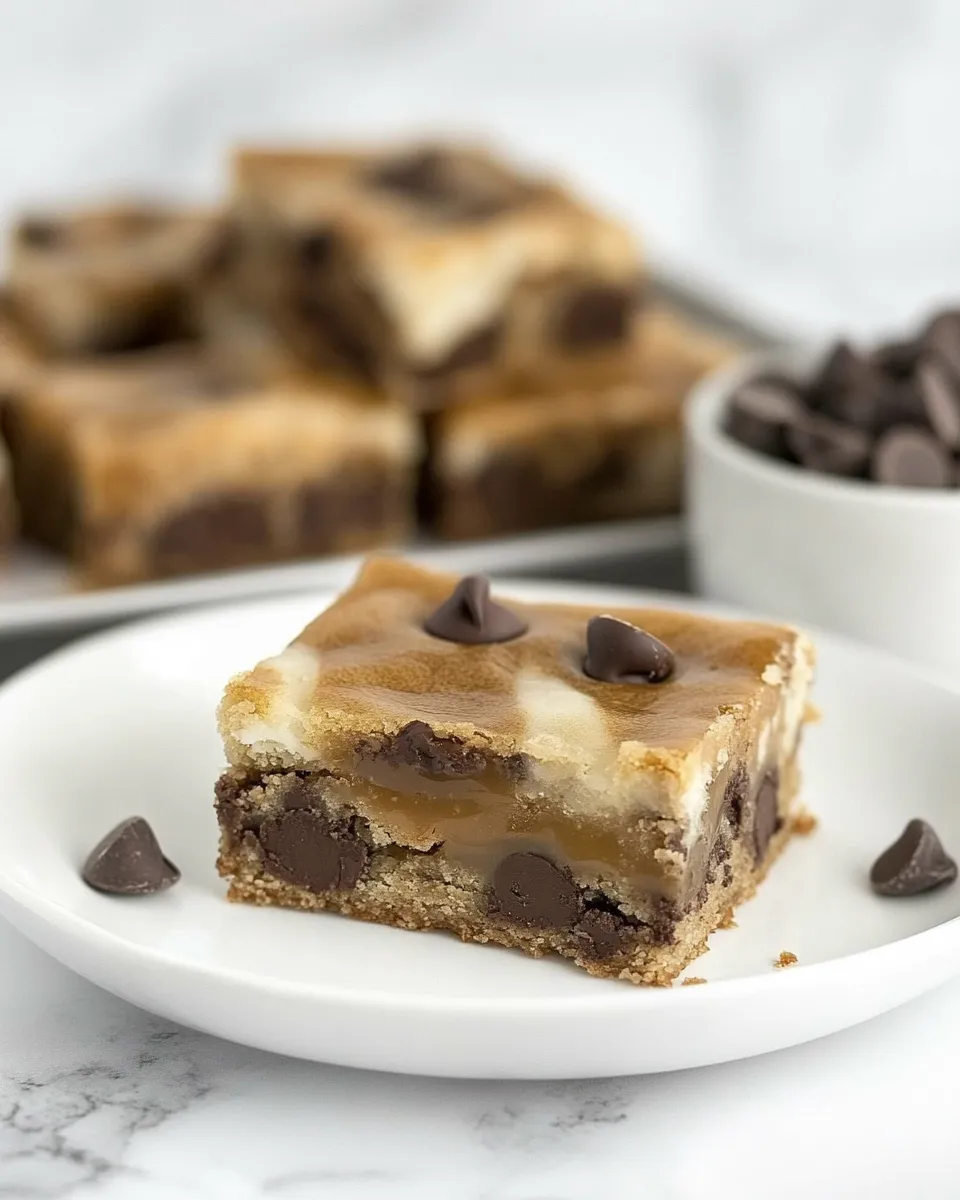
Chocolate Chip Cookie Bars with Caramel
These bars are exactly what they promise: a chewy cookie base loaded with chocolate chips, a ribbon of soft caramel, and a top that browns into a crisp, pocketed crust. They come together without temperamental techniques—no tempering chocolate, no laminating dough—just straightforward mixing, melting, and a careful bake. The result is dessert that travels well, holds its shape, and disappears fast at parties.
I test recipes until they hold up in real kitchens. This one is forgiving: the caramel layer helps keep the interior moist, and the bars firm up nicely after chilling. Read the ingredients, follow the step-by-step method, and don’t skip the cooling—those pauses make slicing clean and neat.
What to Buy
Chocolate Chip Cookie Bars with Caramel, Made Easy
1. Preheat the oven to 325°F (163°C). Line a 9 x 9-inch baking pan with non-stick aluminum foil or parchment, leaving an overhang to lift the finished bars out easily. Lightly grease the foil to prevent sticking.
2. Prepare the caramel sauce: place the unwrapped caramels and 3 tablespoons heavy cream in a microwave-safe bowl. Microwave in short bursts (15–20 seconds), stirring between intervals, until completely smooth. Set aside to cool slightly while you build the dough. The caramel should be pourable but not piping hot.
3. Whisk dry ingredients: in a medium bowl, whisk together 2 1/8 cups flour, 1/2 teaspoon baking soda, and 1/8 teaspoon salt. Set aside.
4. Combine sugars and butter: in a second bowl, stir the 12 tablespoons melted, cooled butter with 1 cup brown sugar and 1/2 cup granulated sugar until combined and mostly smooth. Cooling the butter slightly prevents scrambling the eggs in the next step.
5. Add eggs and vanilla: add 1 large egg, 1 large egg yolk, and 2 teaspoons vanilla extract to the butter–sugar mixture. Mix until fully incorporated and the batter is homogeneous.
6. Add dry to wet: add the dry ingredients to the wet mixture and mix until just combined. Do not overmix—stop as soon as there are no large streaks of flour.
7. Fold in chocolate chips: stir in 2 cups chocolate chips evenly through the dough.
8. Layer the pan: press roughly half of the cookie dough evenly into the bottom of the prepared 9 x 9-inch pan. Use floured fingertips or a piece of parchment to get an even layer; the dough will be thick and slightly sticky.
9. Add caramel: pour the caramel sauce over the cookie dough, leaving a small margin (about 1/4–1/2 inch) clear around the edges so the caramel doesn’t seal to the pan sides.
10. Top with remaining dough: drop dollops of the remaining cookie dough over the caramel. The dollops won’t cover the caramel perfectly—that’s fine. Gently press the dough with your fingertips to distribute and connect pieces; the goal is to mostly cover the caramel without completely pressing it out. Expect some caramel to peek through.
11. Bake: place the pan in the preheated oven and bake for 30 minutes, or until the top is golden brown and the bars are slightly firm to the touch. The center should be set but still tender; avoid overbaking to keep chewiness.
12. Cool and set: remove the pan to a wire rack and let the bars cool completely in the pan. For cleaner slices, chill the pan until the bars are firm, then lift out with the foil overhang and cut into squares. Bring slices to room temperature before serving if you chilled them—you want the caramel soft but not runny.
Why It’s Crowd-Pleasing
These bars combine familiar textures—cookies, caramel, and melty chocolate—in single, easy-to-eat pieces. Caramel adds a gooey, slightly salty counterpoint to the sweet dough and chocolate, which keeps people coming back for more. They’re portable, sliceable, and recognizable; those are huge advantages at potlucks and bake sales. Also, the recipe uses everyday pantry ingredients so you can make it on short notice.
Texture-Safe Substitutions

Equipment & Tools
Common Errors (and Fixes)
Spring–Summer–Fall–Winter Ideas
Chef’s Notes
– Measure flour by spooning into the measuring cup and leveling with a knife to avoid a dry, dense bar.
– Melt caramels slowly and stir often; hotspots in the microwave can scorch sugar. If you prefer, melt caramels over low heat in a small saucepan with the cream, stirring constantly.
– Cooling is critical: caramel sets as it cools. For tidy slices chill briefly, then return to room temperature before serving if you want softer centers.
– If your kitchen is very warm, chill the dough for 10–15 minutes before pressing into the pan—this reduces spreading and helps lift the top layer over the caramel.
Leftovers & Meal Prep
– Store airtight at room temperature for up to 3 days. The bars stay moist because of the caramel.
– For longer storage, refrigerate up to 7 days; bring to room temperature before serving to restore softness.
– Freeze cut bars in a single layer on a sheet until solid, then stack with parchment between layers in an airtight container for up to 3 months. Thaw overnight in the fridge, then come to room temp before serving.
Troubleshooting Q&A
Ready to Cook?
You’ve got the shopping list, a clear set of steps, and a handful of fixes for common problems. Gather the ingredients, preheat the oven to 325°F, and plan for a cooling window after baking—those 30–60 minutes make the difference between a messy tray and neatly sliced, shareable bars. Enjoy the process and the crowd-pleasing results.
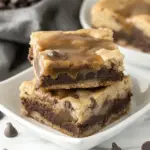
Chocolate Chip Cookie Bars with Caramel
Ingredients
- 10 ounces wrapped caramels (such as Werther's) unwrapped before melting
- 3 tablespoons heavy cream
- 2 1/8 cups all-purpose flour
- 1/2 teaspoon baking soda
- 1/8 teaspoon salt
- 12 tablespoons butter melted and cooled slightly
- 1 cup brown sugar
- 1/2 cup granulated sugar
- 1 large egg
- 1 large egg yolk
- 2 teaspoons vanilla extract
- 2 cups chocolate chips
Instructions
- Preheat the oven to 325°F (163°C). Line a 9 x 9-inch baking dish with non-stick aluminum foil, leaving an overhang to lift the bars out after baking.
- Unwrap the caramels and place them in a microwave-safe bowl with the heavy cream. Microwave briefly, stirring every 15–20 seconds, until smooth and pourable; set aside to cool slightly.
- In a medium bowl, whisk together the all-purpose flour, baking soda, and salt until evenly combined.
- In a separate large bowl, combine the melted, slightly cooled butter with the brown sugar and granulated sugar until uniform.
- Add the whole egg, egg yolk, and vanilla extract to the butter-sugar mixture and mix until fully incorporated.
- Stir the dry ingredients into the wet ingredients until just combined, then fold in the chocolate chips.
- Press half of the cookie dough evenly into the bottom of the prepared pan.
- Carefully pour the caramel sauce over the dough, leaving a small border around the edges.
- Dollop the remaining dough over the caramel in pieces. Gently pat the top with your fingertips to cover as much caramel as possible; it is okay if some caramel peeks through.
- Bake for about 30 minutes, or until the top is golden brown and the bars are slightly firm to the touch.
- Remove the pan to a wire rack and let cool completely. Use the foil overhang to lift the bars from the pan, then cut into squares. For cleaner slices, chill briefly before cutting and bring to room temperature to serve.
Equipment
- 9 x 9-inch baking dish
- Microwave-safe Bowl
- Mixing bowls
- Whisk
- Spatula
- Measuring cups and spoons
- Wire Rack
Notes
- Unwrap caramels before melting to ensure smooth sauce.
- Line the pan with foil for easy removal.
- Pat the top dough gently; don't overwork it.
- Chill before cutting for cleaner slices.