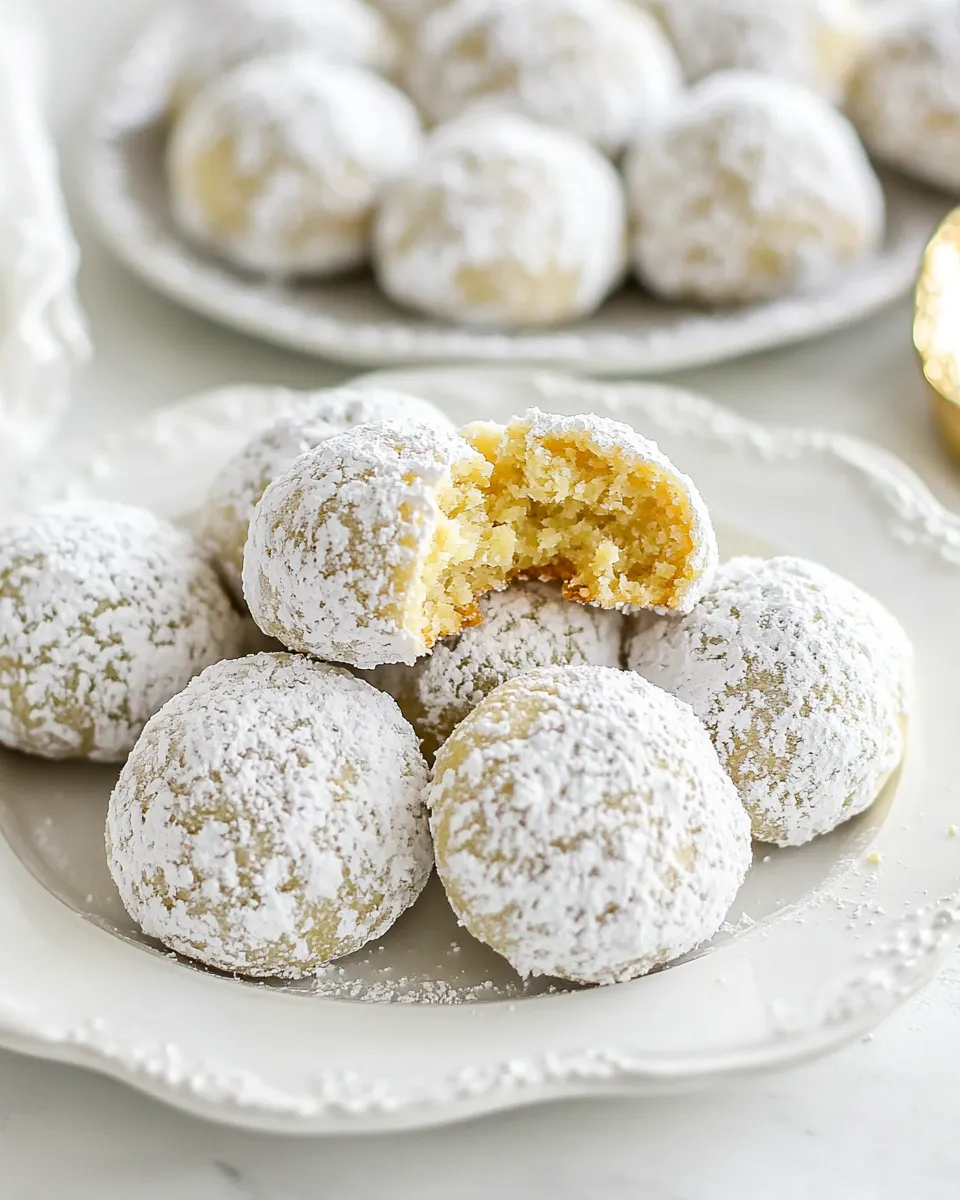
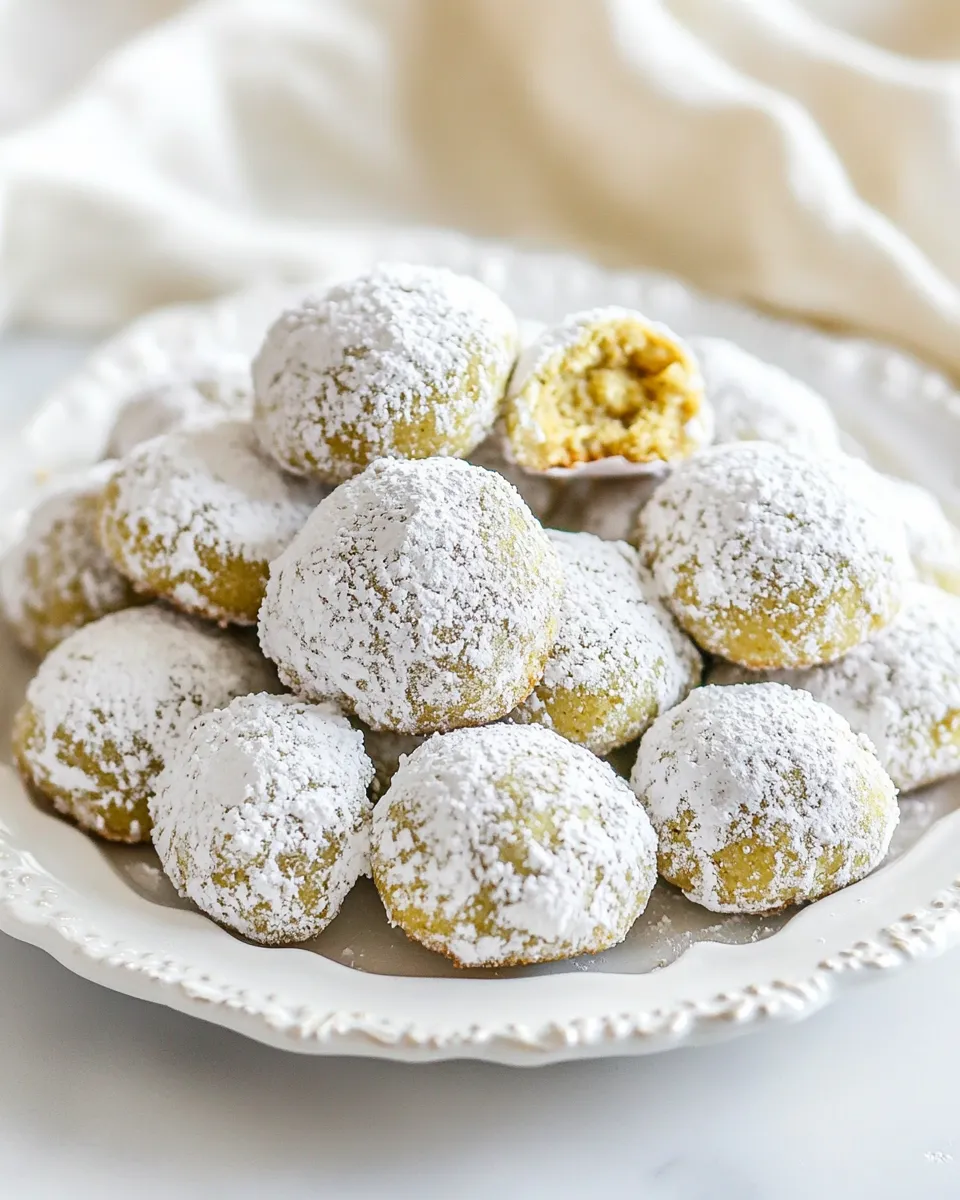
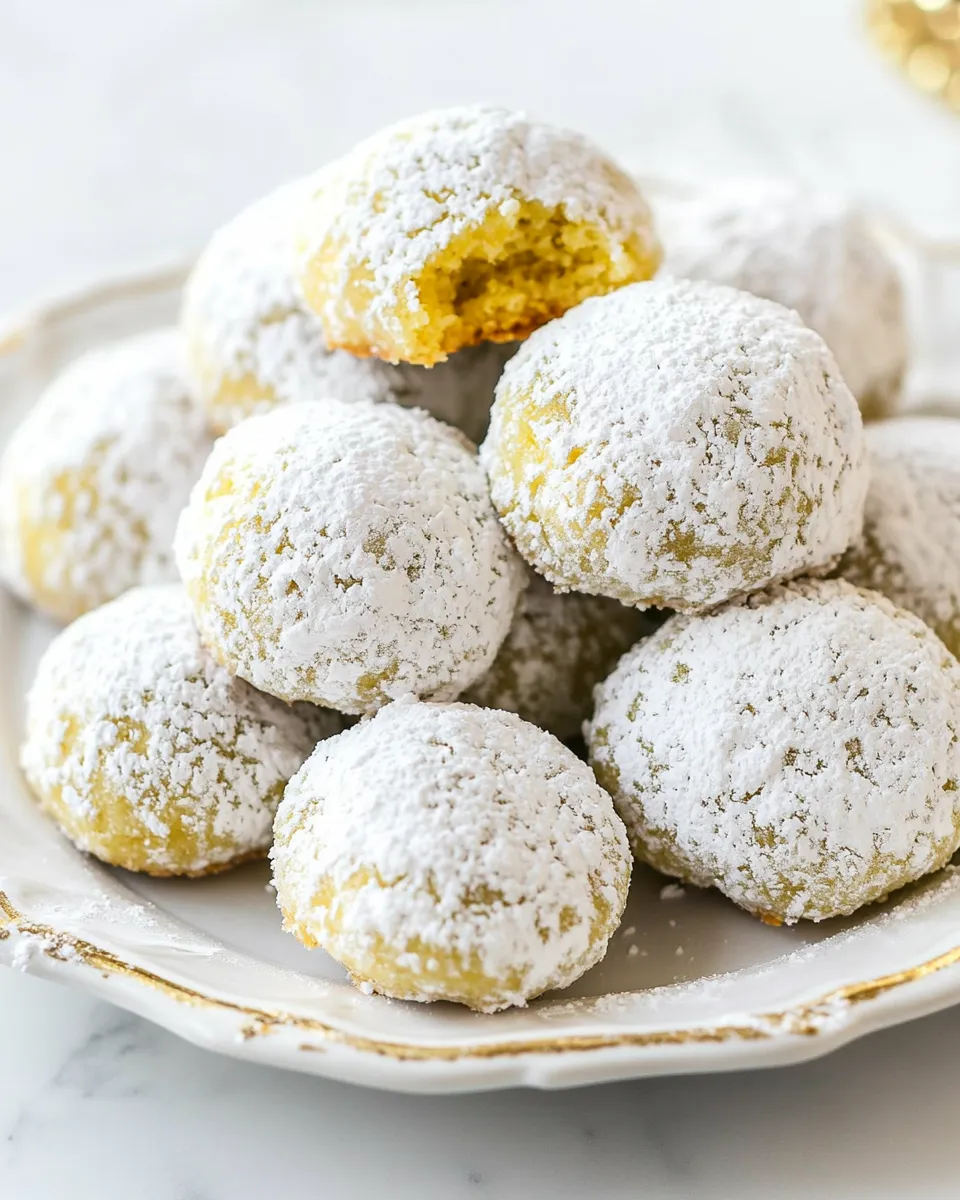
Italian Wedding Cookies
These little cookies are a family favorite for good reason: buttery, nutty, and dusted in powdered sugar so they melt on your tongue. They’re straightforward to make and hold up well for gifting, cookie plates, or a weekday treat with coffee. No complicated techniques—just simple steps and a reliable result.
I test recipes until the details feel natural to reproduce in a busy home kitchen. Below you’ll find a clear ingredient list with tips, step-by-step instructions, troubleshooting notes, and storage guidance so your batch turns out the same way every time.
Gather These Ingredients
- 3 cups all-purpose flour — The structure of the cookie. Measure by spooning into a cup and leveling for accuracy.
- 2 cups finely ground pistachios (or almonds) — Adds flavor and a tender, slightly gritty texture; finely ground so the dough holds together well.
- 2 cups powdered sugar, divided — Half goes in the dough to sweeten; the rest is for coating so the cookies finish with that classic snowy look.
- 1 tablespoon vanilla extract — For aroma and depth; use pure extract if you can.
- 1 teaspoon salt — Balances sweetness and enhances the nut flavor.
- 1 ½ cups unsalted butter, softened — The richness and tenderness of the cookie. Softened to room temperature for smooth mixing.
Italian Wedding Cookies: Step-by-Step Guide
1. Preheat the oven to 325°F (163°C). Line two baking sheets with parchment paper and set them aside.
2. Place 2 cups of shelled pistachios (or almonds) into a food processor. Pulse until the nuts are a fine crumb. Stop before the mixture becomes paste—pulse in short bursts and scrape down the sides as needed. You want a sandy texture, not nut butter.
3. In the bowl of a stand mixer (or a large mixing bowl if using a hand mixer), combine 3 cups all-purpose flour, the 2 cups of finely ground nuts, 1 cup powdered sugar (reserve the remaining cup for coating), 1 tablespoon vanilla extract, and 1 teaspoon salt. Mix briefly on low speed just to distribute the dry ingredients.
4. Add the 1 ½ cups softened unsalted butter to the bowl. Beat on low to start, then increase to medium until the dough comes together into a smooth, even mixture. Scrape the bowl once or twice so everything is incorporated. The dough will be soft but easy to shape.
5. Use a 1.5-tablespoon cookie scoop (or a small spoon) to portion dough into equal balls. Gently roll each portion between your palms to form smooth rounds. Place the dough balls onto the prepared baking sheets, leaving about 2 inches between each cookie to allow for slight spreading.
6. Bake in the preheated oven for 15–18 minutes. Look for a light golden edge—these cookies should not brown deeply. Rotating the pans once halfway through baking helps ensure even color.
7. While the cookies bake, pour the remaining 1 cup powdered sugar into a shallow bowl for rolling.
8. When the cookies come out of the oven, let them rest on the baking sheet for 2–3 minutes—warm enough to handle but not piping hot. Then transfer each cookie directly into the powdered sugar and roll to coat completely. Place the coated cookies back on the baking sheet to finish cooling. (If you prefer, you can dust them with a sifter of powdered sugar instead of rolling.)
9. Allow the cookies to cool completely on the sheet or a wire rack before storing in an airtight container. Cooling fully helps the powdered sugar set and prevents sticking.
Why This Recipe is a Keeper
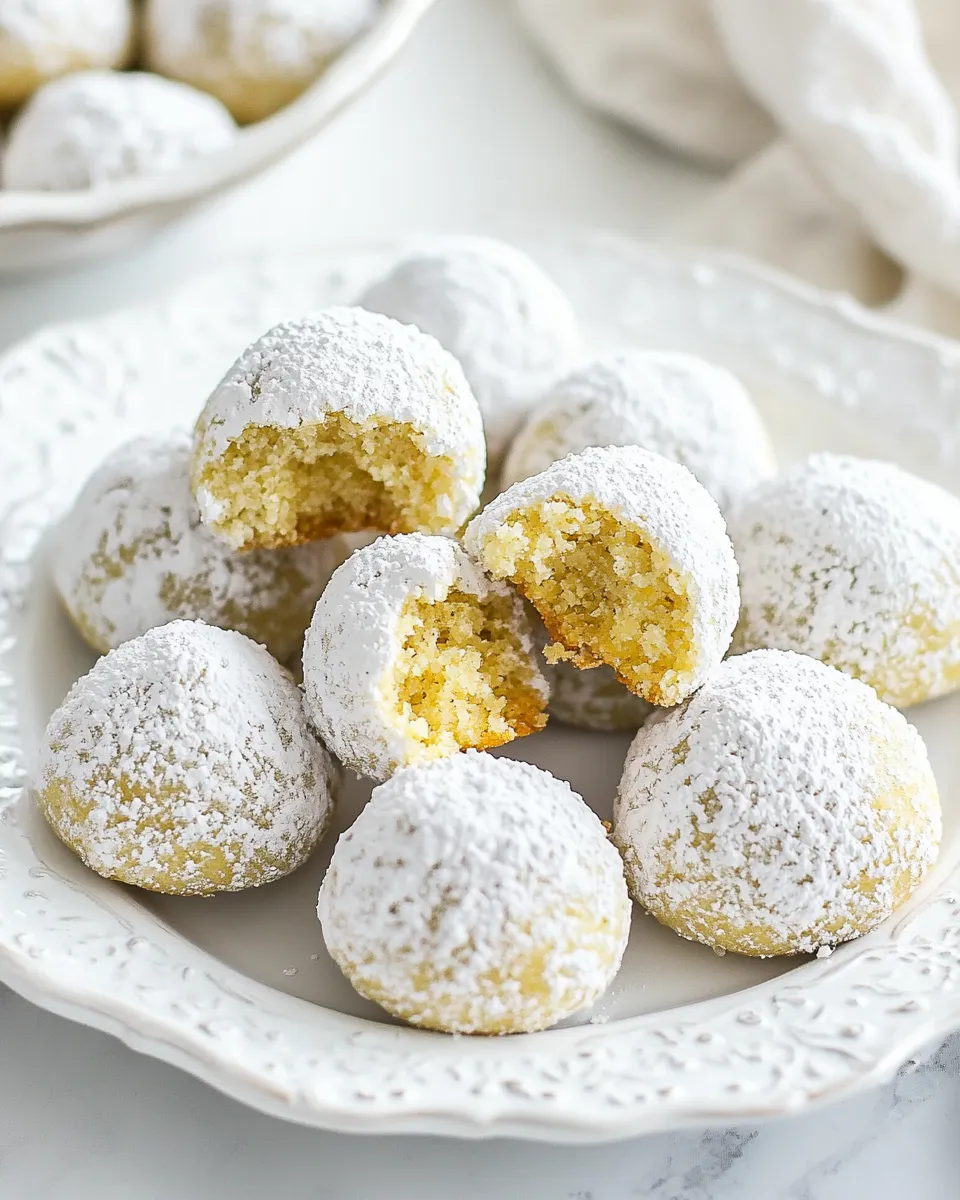
These cookies strike a lovely balance of buttery richness and nutty flavor. The finely ground pistachios (or almonds) make the crumb tender without weighing the cookies down. The powdered sugar coating gives them that signature snowy finish that’s irresistible at the holidays and elegant enough for a simple dessert plate.
They’re forgiving: the dough is straightforward to mix and portion, and the bake window is long enough to avoid overbaking if your oven runs slightly hot. They also travel and store well, which is why they’ve survived generations of cookie swaps.
No-Store Runs Needed
Most of these ingredients are pantry staples. If you don’t have pistachios, almonds work seamlessly as a substitute with no changes to quantities. Powdered sugar, flour, butter, vanilla, and salt are all common staples—so once you’ve got nuts, you’re ready to go.
If you only have salted butter, omit or reduce the added salt to taste. And if you don’t own a food processor, finely chop the nuts by hand, though expect a coarser texture and a little extra time.
Tools & Equipment Needed
- Food processor — For grinding the nuts to a fine crumb; essential for the right texture.
- Stand mixer or hand mixer — Makes creaming the butter and combining the dough effortless.
- 1.5-tablespoon cookie scoop — For uniform cookies; you can use spoons if needed.
- Baking sheets — Two, lined with parchment for easy cleanup and even baking.
- Shallow bowl — For the powdered sugar coating.
- Parchment paper and cooling rack — To bake and cool the cookies properly.
Common Errors (and Fixes)
- Overprocessed nuts — If you blend too long, you’ll get nut butter. Pulse in short bursts and stop when the texture is sandy.
- Dough too crumbly — Make sure the butter is properly softened. If dough won’t come together, add a teaspoon of milk or water at a time until it binds (use sparingly).
- Cookies browning too much — Your oven might be hot. Lower the temperature by 10–15°F and watch for the edges to turn light golden instead of deep brown.
- Powdered sugar melting or disappearing — Roll cookies when they are warm, not hot, and let them cool fully on a rack to let the coating set.
Spring to Winter: Ideas
- Spring — Swap pistachios for blanched almonds and add a teaspoon of lemon zest to the dough for a bright note.
- Summer — Fold in a tablespoon of finely chopped freeze-dried strawberries (very small amount) for a delicate color and flavor lift.
- Fall — Replace half the nuts with toasted walnuts and add a pinch of cinnamon for comforting warmth.
- Winter/Holidays — Use pistachios and add a drop of almond extract alongside vanilla for a festive aroma; roll in powdered sugar twice for an extra snowy look.
Cook’s Notes
- Measuring flour — Spoon flour into the measuring cup and level off; packed flour can make the dough dry.
- Nuts — Use raw nuts for best flavor. If using roasted nuts, reduce additional toasting to avoid bitterness.
- Butter temperature — Should be softened but not greasy. Press with a finger—there should be a slight give.
- Slicing or shaping — If you prefer a flattened round, gently press the dough balls before baking. Traditional small domes are classic.
Storage & Reheat Guide
Store cooled cookies in an airtight container at room temperature for up to 5 days. Layer with parchment between layers to prevent sticking. For longer storage, freeze in a single layer until firm, then move to a freezer-safe container for up to 3 months. Thaw at room temperature and, if needed, refresh the powdered sugar lightly with a sifter before serving. Reheating is unnecessary—these are best at room temperature; if you prefer them slightly warm, 5–8 seconds in the microwave brings back a fresh-baked feel.
Common Questions
- Can I use almond flour instead of grinding nuts? — No. Almond flour is finer and often contains less texture and different absorption; stick to finely ground whole nuts for the intended texture.
- Can I make the dough ahead? — Yes. Wrap the dough and chill up to 48 hours. Bring to room temperature before scooping and baking.
- Why are my cookies crumbly? — Likely the butter was too cold or flour measured too heavily. Soften butter properly and measure flour by spooning into the cup.
- Can I color the powdered sugar? — Yes, for festive events you can dust with colored sanding sugar or lightly tint a small portion of powdered sugar, but it changes the classic look.
Serve & Enjoy
Serve these cookies on a simple platter with coffee, tea, or after-dinner liqueur. They pair beautifully with espresso or a cup of black tea. For a gift, stack them in a tin lined with parchment and a ribbon—no assembly required. Enjoy the tender crumb and that first bite when the sugar dissolves into the buttery, nutty center.

Italian Wedding Cookies
Ingredients
- 3 cups all-purpose flour
- 2 cups finely ground pistachios or almonds (see directions: pulse in food processor)
- 2 cups powdered sugar divided (1 cup in dough, 1 cup for coating)
- 1 tablespoon vanilla extract
- 1 teaspoon salt
- 1 1/2 cups unsalted butter softened
Instructions
- Preheat the oven to 325°F (163°C). Line two baking sheets with parchment paper and set aside.
- Place 2 cups shelled pistachios or almonds in a food processor and pulse until finely ground into a crumb; avoid overprocessing into nut butter.
- In the bowl of a stand mixer, combine the 3 cups all-purpose flour, 2 cups ground nuts, 1 cup powdered sugar, vanilla, and salt; mix on low to combine.
- Add the softened unsalted butter and beat until the dough is smooth and evenly combined.
- Use a 1.5 tablespoon cookie scoop or a spoon to portion the dough into balls. Roll each portion between your palms to form smooth balls and place them about 2 inches apart on the prepared baking sheets.
- Bake for 15–18 minutes, until the cookies are lightly golden at the edges.
- While baking, place the remaining 1 cup powdered sugar in a shallow bowl.
- Let the cookies rest on the baking sheet for 2–3 minutes until warm but cool enough to handle, then roll each cookie in the powdered sugar to coat. Return to the baking sheet.
- Cool completely on a wire rack before storing in an airtight container.
Equipment
- Oven
- Baking Sheets
- Parchment Paper
- Food Processor
- stand mixer or hand mixer
- Measuring cups and spoons
- 1.5 tablespoon cookie scoop or spoon
Notes
- Cookies keep at room temperature in an airtight container for up to one week.
- You can freeze unbaked dough balls for up to 6 months.
- Flash-freeze dough balls on a sheet for 1 hour before transferring to a freezer bag.
- Bake frozen dough balls from frozen, adding 1–2 minutes to the bake time.
- Fully cooled baked cookies can be frozen for up to 3 months.