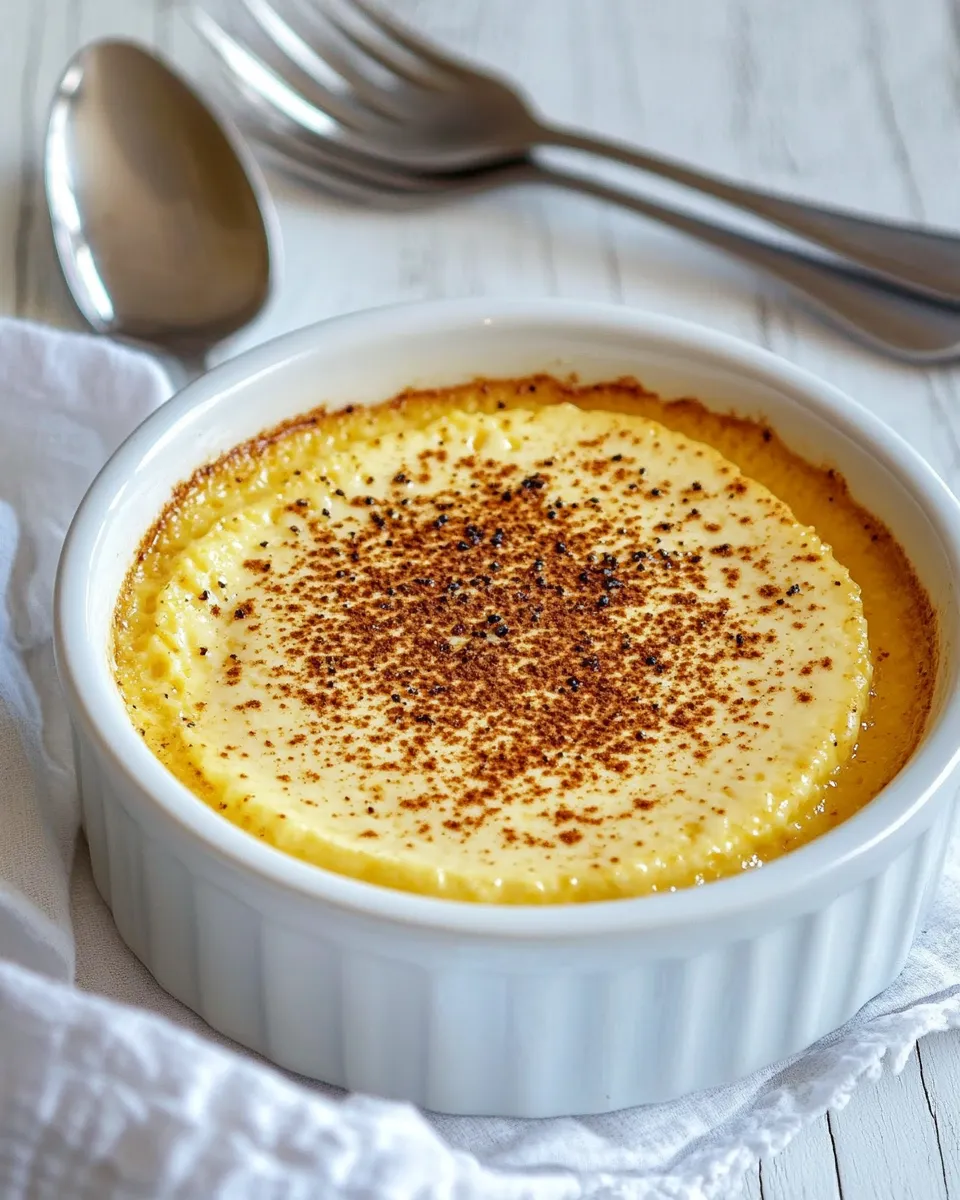
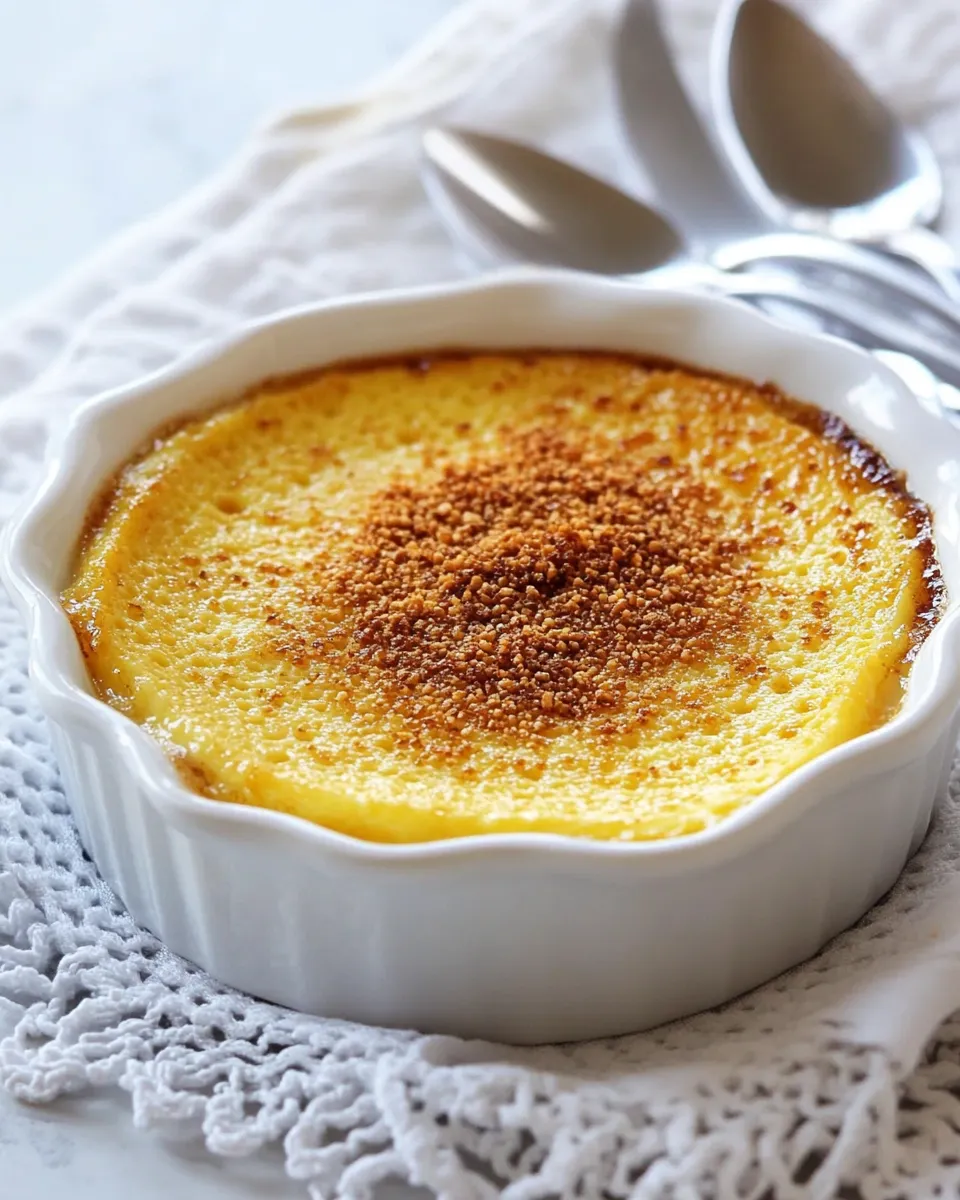
Gluten-Free Egg Custard with Honey
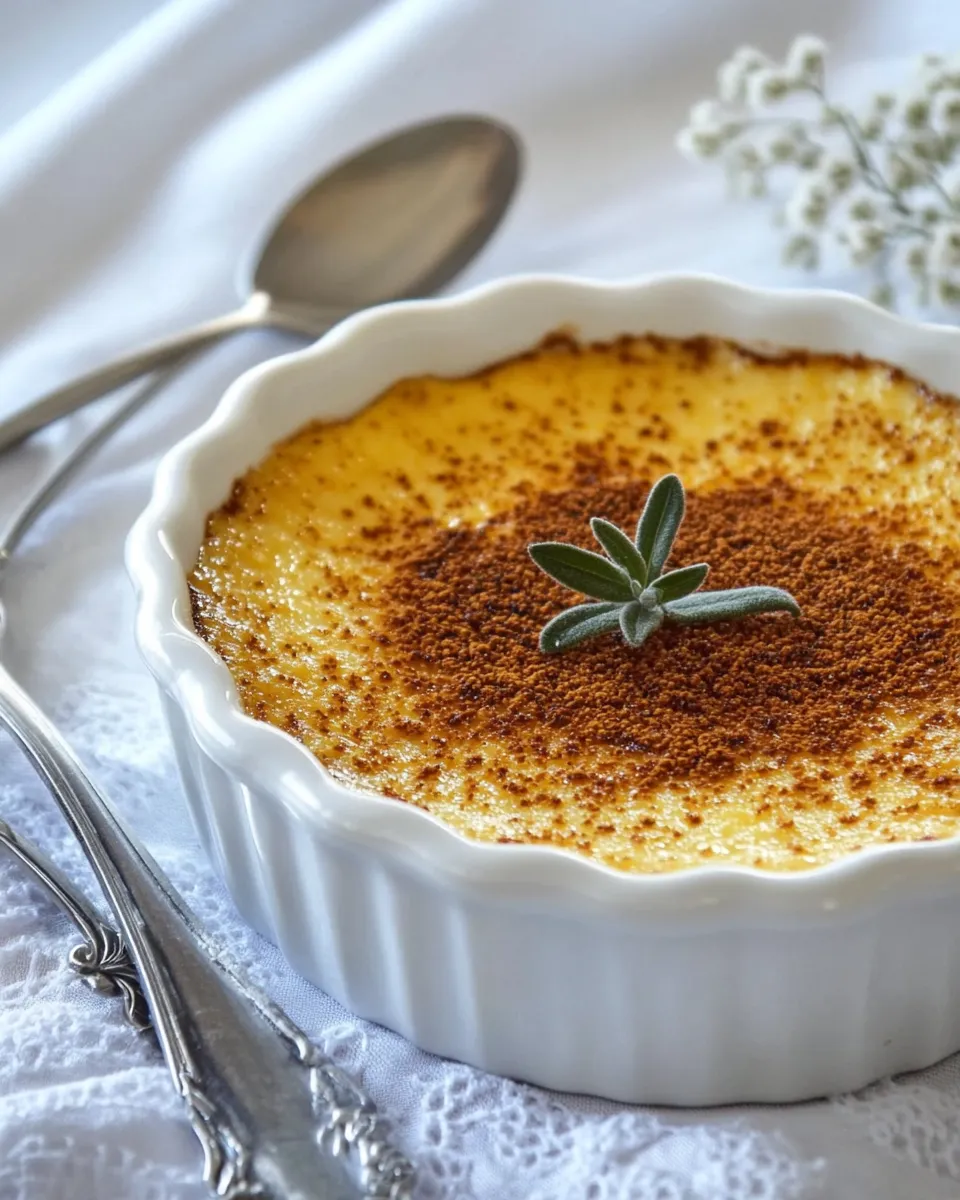
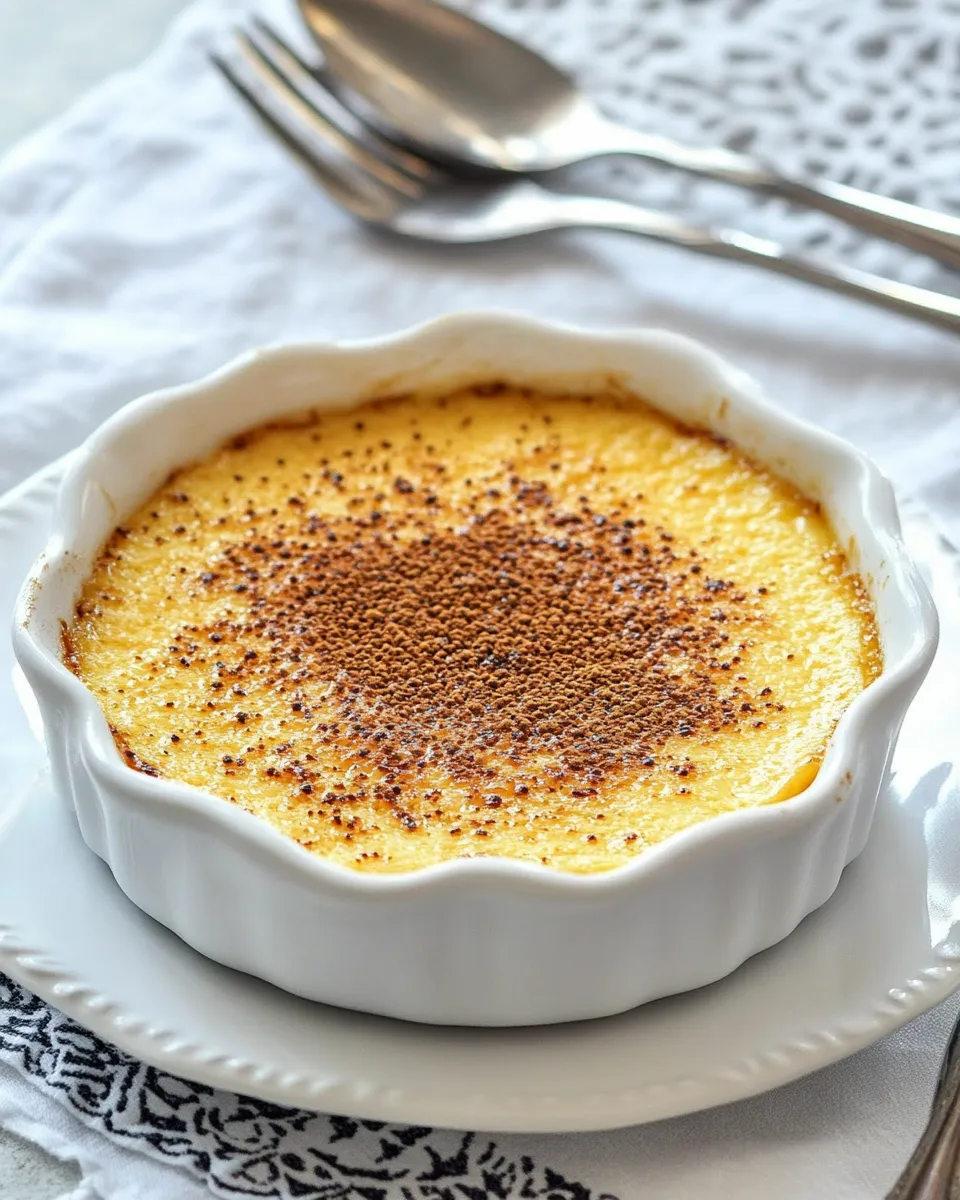
This custard is one of those small, dependable desserts I reach for when I want something elegant without drama. It feels special — silky, gently spiced, and lightly sweetened with honey — yet it comes together with everyday pantry items. The texture is smooth and comforting, and the quick broil at the end gives the tops a brûlée-like finish without the torch.
I love this version because it’s naturally gluten-free and uses simple swaps to keep sweetness in check (stevia or erythritol) while still allowing the honey to shine. A final touch of dark chocolate is optional but recommended for a slightly bitter contrast that plays beautifully with the custard’s warmth.
Below you’ll find everything you need: a concise ingredient list with tips, step-by-step instructions rewritten for clarity, troubleshooting advice, and serving and storage notes that make this recipe reliable whether you’re serving family or guests.
Ingredients at a Glance
- 4 large egg yolks — provide richness and create the custard’s creamy body.
- 1 large egg white — adds structure without making the custard overly firm.
- 1 cup unsweetened vanilla almond milk — dairy-free liquid base; the vanilla adds background flavor.
- 1/2 cup baking stevia or erythritol — sugar alternative for sweetness without granulated sugar; dissolves cleanly in the blender.
- 1/2 teaspoon vanilla extract — brightens and rounds the custard’s flavor.
- 1/8 teaspoon ground nutmeg — warm, aromatic note; use fresh ground if possible.
- 1/4 teaspoon ground cinnamon — complements the nutmeg and honey.
- 1/8 teaspoon sea salt — essential to balance sweetness and deepen flavor.
- 2 tablespoons honey — primary natural sweetener and signature flavor; drizzle or fold in as directed.
- 10 ounces high-quality dark chocolate — optional accompaniment or garnish; chop or shave for finishing or serve on the side.
Gluten-Free Egg Custard with Honey, Made Easy
1. Preheat and set up the water bath: Preheat your oven to 325°F. Place 4 ramekins (or your chosen oven-safe baking dishes) inside a larger oven-safe baking dish. Remove the ramekins, then fill the large baking dish with hot water until it reaches about three-quarters up the sides of where the ramekins will sit. Put the water-filled dish into the oven to warm while you prepare the custard. Warming the water helps keep the oven temperature stable when you add the cold custards.
2. Prepare ramekins: Lightly spray each ramekin with cooking spray to help with release and to prevent a film from forming on the edges. Set them aside on the counter until the custard mixture is ready.
3. Blend the custard base: In a blender or food processor, combine 4 large egg yolks, 1 large egg white, 1 cup unsweetened vanilla almond milk, 1/2 cup baking stevia or erythritol, 1/2 teaspoon vanilla extract, 1/8 teaspoon ground nutmeg, 1/4 teaspoon ground cinnamon, 1/8 teaspoon sea salt, and 2 tablespoons honey. Blend on high until the mixture is completely smooth and uniformly combined — about 20–30 seconds in most blenders. Scrape down the sides once if needed to ensure no pockets of unmixed egg or sweetener remain.
4. Portion into ramekins: Return the preheated water bath to the counter if needed and remove any steam source. Evenly divide the blended custard among the 4 prepared ramekins. Pour carefully so you don’t splash water into the custards.
5. Bake in the water bath: Carefully place the filled ramekins into the water-filled baking dish in the oven. Bake at 325°F for 35 to 38 minutes. The custards are done when the centers are just set — they should still have a slight wobble when you gently tap the ramekin but not be liquid. Overbaking will make them grainy.
6. Broil for color: After the baking time, switch the oven to the high broil setting. Return the ramekins to the oven on the same baking dish and broil for 2 to 3 minutes, watching very closely to avoid burning. You want a light golden-brown color on top, not dark patches.
7. Cool and chill: Remove the ramekins from the water bath with care and transfer them to a wire rack. Allow them to cool at room temperature until they’re no longer hot to the touch, then refrigerate for at least 2 hours to fully chill and set the texture.
8. Serve: Optionally, shave or chop portions of the 10 ounces high-quality dark chocolate to serve alongside or sprinkle on top for contrast. Serve chilled straight from the refrigerator.
Why Cooks Rave About It
This custard uses a classic method — a gentle water bath — that creates the smoothest texture most home cooks can achieve. The small amount of honey provides a natural, floral sweetness that pairs with warm spices without overpowering. Using egg yolks plus one egg white gives richness while keeping the custard tender. The broil step is a short, high-heat trick that adds color and a hint of caramelization, improving both flavor and presentation with very little effort.
It’s a forgiving recipe: the blender step ensures homogeneous texture, and the water bath prevents direct oven heat from curdling the eggs. Because there’s no wheat, it’s safe for guests avoiding gluten but still feels like a refined dessert.
No-Store Runs Needed
Most of these ingredients are pantry staples: eggs, almond milk, a sweetener, basic spices, salt, and honey. If you don’t keep dark chocolate on hand, it’s optional — the custard is delicious on its own. If you’re short one spice, the custard will still be lovely with just cinnamon or nutmeg alone. The only real must-haves are eggs, milk (dairy or nut-based), a sweetener, and honey.
What’s in the Gear List
- Oven — for baking and broiling.
- 4 ramekins or small oven-safe dishes — individual servings hold shape and chill evenly.
- Large oven-safe baking dish — to hold the water bath and ramekins.
- Blender or food processor — for a perfectly smooth custard base.
- Wire cooling rack — to cool the ramekins before chilling.
- Measuring cups and spoons — accuracy matters for custard texture.
- Cooking spray — to lightly grease ramekins for easier serving.
- Optional: a small spatula or spoon for portioning dark chocolate.
Missteps & Fixes
- Problem: Custard is runny after baking. Fix: It likely needed more time in the oven; continue baking in 3–5 minute increments until the centers are just set. Also confirm oven temperature with a thermometer — many ovens run cool.
- Problem: Custard is grainy. Fix: That’s usually from overbaking or from a too-hot oven. Reduce baking time next attempt and ensure the water bath is at oven temp before adding ramekins. Don’t let the custards boil in the water bath.
- Problem: Tops burn during broiling. Fix: Broil on a high rack and watch very closely; 2 minutes is often plenty. Move the tray lower if your broiler is particularly aggressive.
- Problem: Sweetener hasn’t dissolved. Fix: Use a blender long enough to fully incorporate stevia/erythritol, or warm the almond milk slightly before blending to help dissolution (but keep it cool enough to avoid cooking the eggs in the mixture).
How to Make It Lighter
- Swap almond milk for a lighter unsweetened plant milk if you want fewer calories; the recipe already uses 1 cup, which keeps it airy.
- Reduce the honey to 1 tablespoon if you prefer subtler floral notes; remember this will lower perceived sweetness so taste your blended base before filling ramekins.
- Serve smaller portions in espresso-sized cups to make the dessert feel lighter while keeping the indulgent texture.
Testing Timeline
- 0:00–0:10 — Prep: Preheat oven, set up water bath, spray ramekins, and assemble blender ingredients.
- 0:10–0:15 — Blend: Combine eggs, almond milk, sweetener, spices, salt, vanilla, and honey; blend until smooth.
- 0:15–0:20 — Fill ramekins and place them into the preheated water bath in the oven.
- 0:20–0:58 — Bake: 35–38 minutes at 325°F. Check for a slight wobble in the center at 35 minutes.
- 0:58–1:01 — Broil: Switch to high broil and brown tops for 2–3 minutes while watching closely.
- 1:01–1:15 — Cool: Remove ramekins from water bath and cool on a wire rack until lukewarm.
- 1:15–3:15+ — Chill: Refrigerate for at least 2 hours to fully set before serving.
Save for Later: Storage Tips
This custard keeps well in the refrigerator for up to 3 days when covered. Cover each ramekin tightly with plastic wrap or place them in an airtight container to prevent odor absorption and surface drying. If you want to freeze, transfer custard into a freezer-safe container — it can be frozen up to one month, but expect some texture change on thawing; defrost slowly in the refrigerator and stir gently before serving. Add any dark chocolate garnish just before serving to keep texture and appearance fresh.
Gluten-Free Egg Custard with Honey FAQs
- Can I use regular milk instead of almond milk? Yes. Use 1 cup of the milk you prefer; whole milk will yield a slightly richer custard.
- Is the dark chocolate necessary? No — it’s optional but recommended for contrast. Serve a few shavings on top or alongside for added richness.
- Can I make this without a blender? You can whisk thoroughly by hand, but use a fine mesh sieve to remove any unmixed bits for a smooth finish.
- How do I know when the custard is done? The center should wobble slightly, but not be liquid. It will continue to set as it cools.
- Can I use honey substitutes? You can—but honey contributes flavor. Maple syrup or a light agave could work in a pinch, though texture and taste will shift slightly.
Bring It to the Table
Serve these custards chilled with a few shavings of the high-quality dark chocolate or a thin drizzle of extra honey. For a café-style presentation, place a small mint leaf or a light dusting of cinnamon on top right before serving. They make a lovely finish to a dinner party because you can bake and chill them ahead of time; a brief broil just before guests arrive makes them look freshly finished. Keep extra ramekins in the fridge so you can scale up easily — this recipe multiplies cleanly for larger groups.
If you’d like a variation for kids or those who prefer less spice, omit the nutmeg and cinnamon and add a tiny pinch of citrus zest (lemon or orange) to brighten the flavor. Enjoy: this custard balances simplicity and sophistication, perfect for a weeknight treat or a small celebration.

Gluten-Free Egg Custard with Honey
Ingredients
- 4 large egg yolks
- 1 large egg white
- 1 cup unsweetened vanilla almond milk
- 1/2 cup baking stevia or erythritol
- 1/2 teaspoon vanilla extract
- 1/8 teaspoon ground nutmeg
- 1/4 teaspoon ground cinnamon
- 1/8 teaspoon sea salt
- 2 tablespoons honey
- 10 ounces high-quality dark chocolate
Instructions
- Preheat the oven to 325°F (163°C). Place four ramekins inside a large oven-safe baking dish and fill the dish with hot water until it reaches about three-quarters up the sides of the ramekins; remove the ramekins and leave the water-filled dish in the oven to preheat.
- Lightly spray the ramekins with cooking spray and set them aside.
- In a blender or food processor, combine 4 egg yolks, 1 egg white, 1 cup unsweetened vanilla almond milk, 1/2 cup baking stevia or erythritol, 1/2 teaspoon vanilla extract, 1/8 teaspoon ground nutmeg, 1/4 teaspoon ground cinnamon, 1/8 teaspoon sea salt, and 2 tablespoons honey. Blend on high until smooth and fully combined.
- Evenly divide the custard mixture among the prepared ramekins, then carefully place the ramekins back into the preheated water-filled baking dish.
- Bake for 35 to 38 minutes, or until the custard tops feel just set when lightly touched.
- Switch the oven to high broil and broil the custards for 2 to 3 minutes, watching very closely, until the tops develop a light golden-brown color.
- Remove the ramekins from the water bath and transfer them to a wire rack to cool slightly, then refrigerate for at least 2 hours to chill completely.
- Serve chilled and enjoy.
Equipment
- ramekins (4) or equivalent baking dishes
- large oven-safe baking dish (for water bath)
- blender or food processor
- Measuring cups and spoons
- cooking spray
- wire cooling rack
Notes
- Use high-quality dark chocolate for best flavor.
- Watch closely while broiling to prevent burning.
- Chill at least 2 hours for proper set.