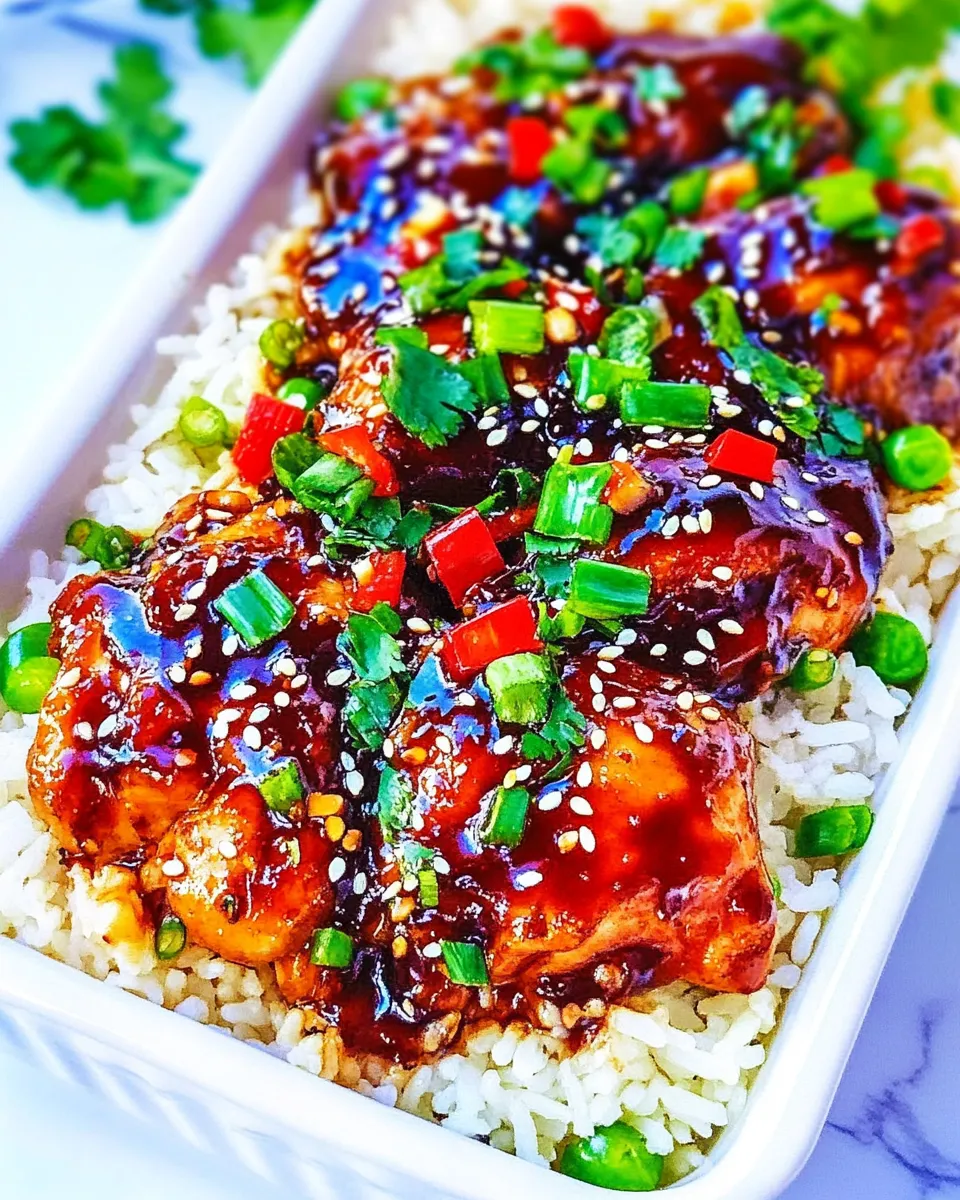
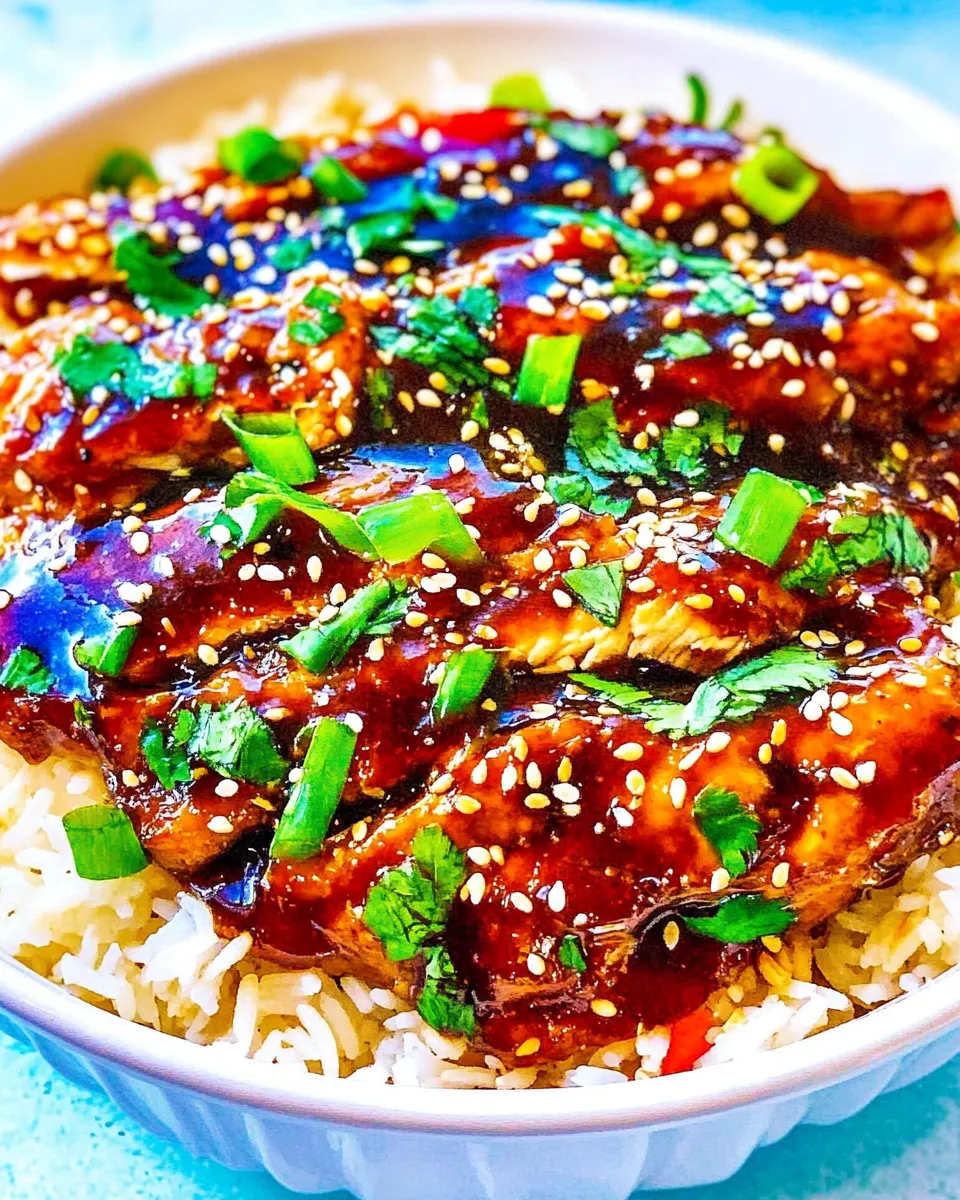
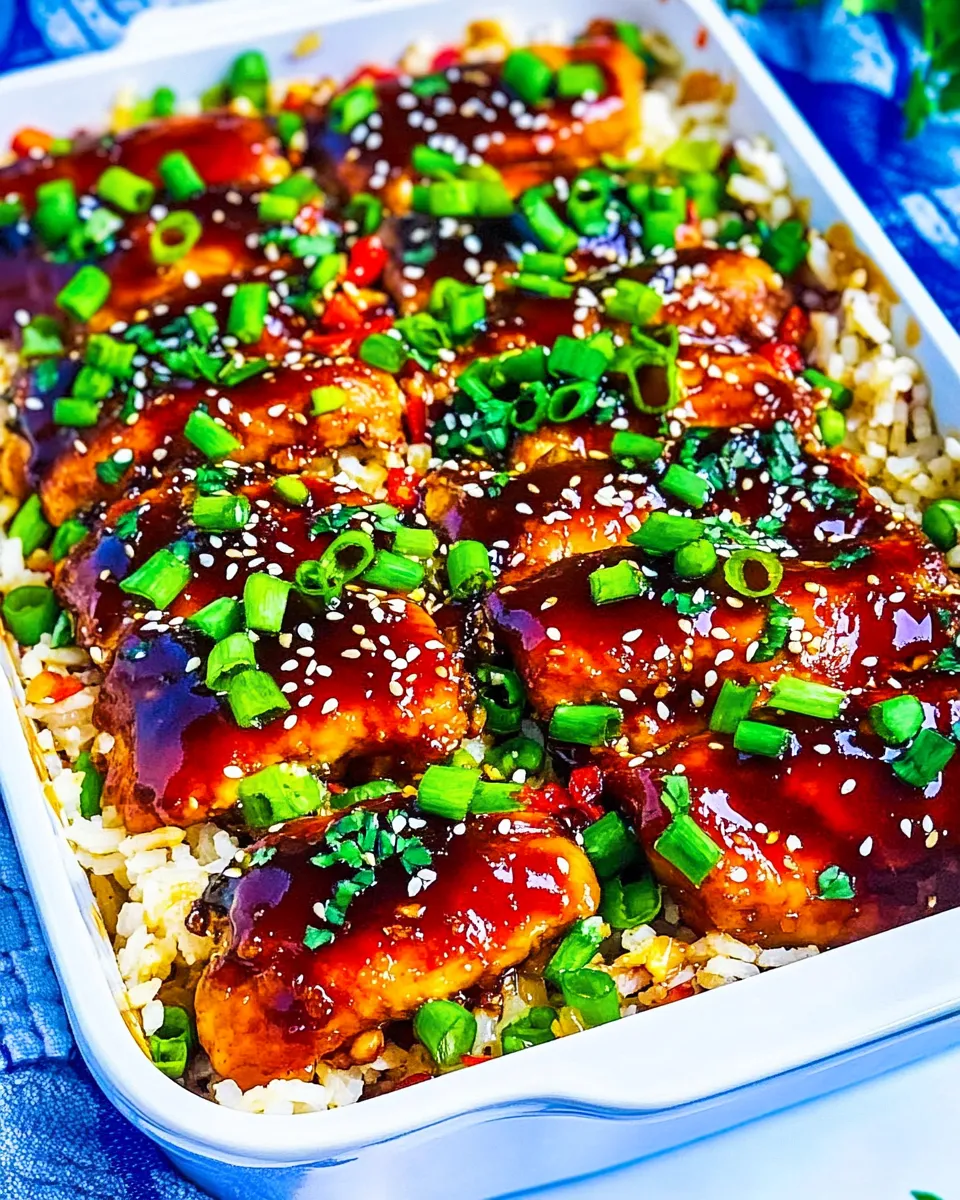
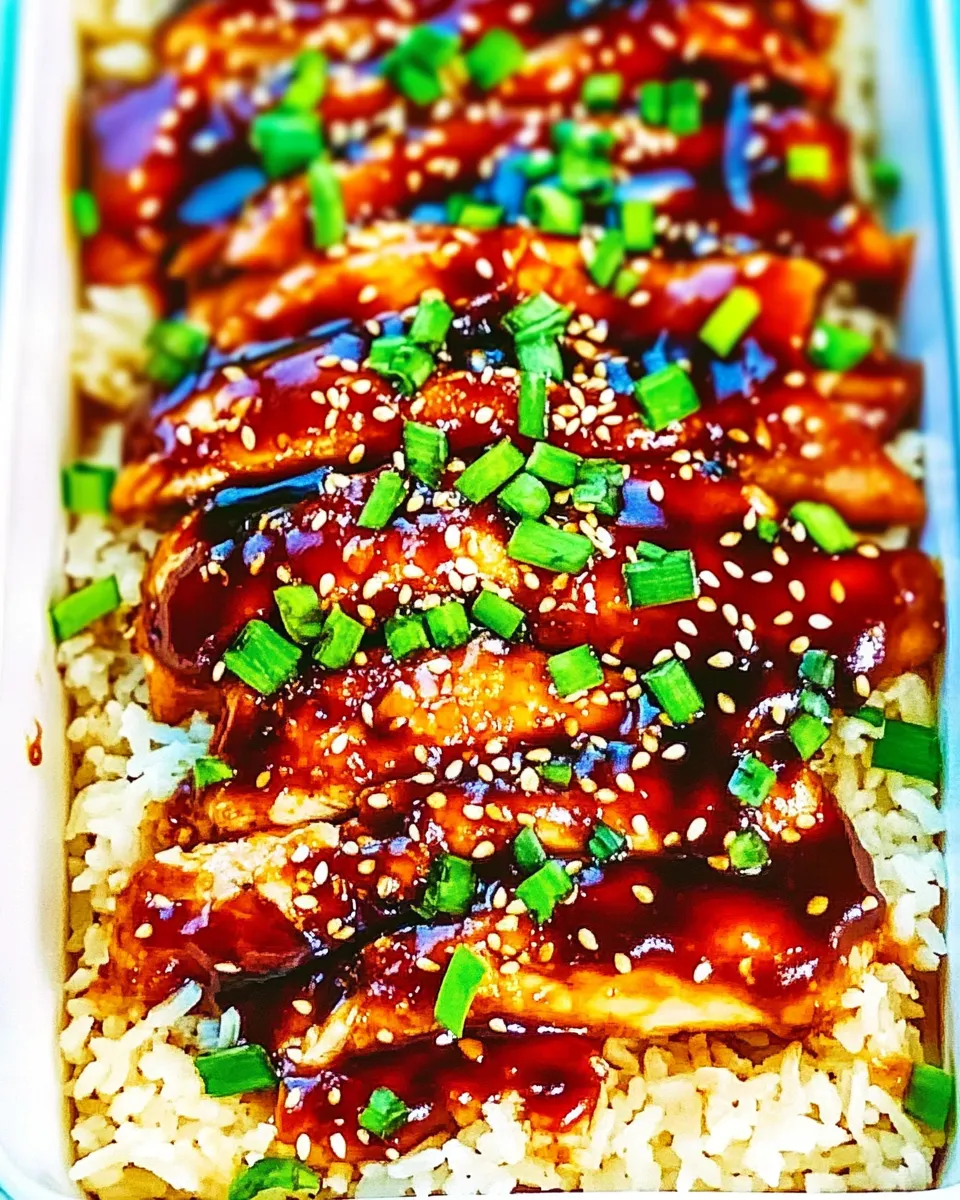
Baked Teriyaki Chicken and Rice
I love recipes that feel like a weeknight victory: fuss-free, comforting, and crowd-pleasing. This Baked Teriyaki Chicken and Rice is exactly that — a one-pan meal that roasts while you do everything else. The rice absorbs the pineapple juice and broth, the chicken stays tender, and the homemade teriyaki gives everything a glossy, sticky finish.
No complicated techniques, just a quick stovetop sauce and a covered bake. The flavors are balanced: sweet from brown sugar and pineapple, savory from soy and broth, with a little ginger- and garlic-forward backbone. You can make the sauce as spicy or mild as you like by adjusting the red pepper flakes and chili garlic sauce.
This version keeps things practical: minute rice for speed, a simple cornstarch slurry for thickening, and clear staging so you won’t wonder what to do next. I’ll walk you through ingredient notes, exact steps, tools, troubleshooting, and storage tips so this becomes a regular in your rotation.
What You’ll Gather
- ⅓ cup reduced-sodium soy sauce — the salty umami base of the teriyaki sauce; reduced-sodium keeps it from overpowering the dish.
- ⅓ cup light brown sugar, packed — provides sweetness and a hint of molasses to balance the soy.
- 3 to 5 cloves garlic, finely minced or pressed — brightens the sauce; adjust toward 3 if you prefer milder garlic.
- 2 teaspoons ground ginger — warm, aromatic ginger flavor; ground is what the recipe calls for.
- ¼ to ½ teaspoon red pepper flakes, or to taste — adds gentle heat; use less or none if sensitive to spice.
- ½ cup water — used to make the cornstarch slurry that thickens the sauce.
- 2 tablespoons corn starch — thickening agent for the teriyaki sauce; mix with water before adding to hot liquid.
- 1 ½ cups white minute rice — quick-cooking rice that bakes evenly under the chicken; do not rinse.
- 8 ounces canned pineapple chunks or tidbits in juice, do not drain — contributes sweet tang and liquid for the rice; use tidbits or chunks as labeled.
- 1 medium/large red bell pepper, diced into small pieces — color and crunch; dice small so it cooks through in the bake time.
- 1 ¼ cups low-sodium chicken broth — liquid for the rice; low-sodium keeps overall salt in check.
- 1 to 2 tablespoons chili garlic sauce, optional and to taste — optional for a garlicky heat; omit if you want no extra spice.
- 1 pound thin-sliced boneless skinless chicken breasts, about 4 breasts — the protein; thin slices cook quickly and evenly in the oven.
- 2 or 3 green onions, cut into small segments on the bias — fresh garnish that adds brightness at the end.
- Sesame seeds, optional for garnishing — adds a toasty crunch and visual finish.
How to Prepare Baked Teriyaki Chicken and Rice
- Preheat your oven to 375°F (190°C). Lightly spray a 9×13-inch baking dish with cooking spray and set it aside so it’s ready when you assemble the dish.
- Make the teriyaki sauce: In a medium saucepan combine ⅓ cup reduced-sodium soy sauce, ⅓ cup light brown sugar, 3 to 5 cloves minced garlic, 2 teaspoons ground ginger, and ¼ to ½ teaspoon red pepper flakes (use less or none if you prefer mild).
- Place the saucepan over medium-high heat and whisk almost constantly until the sugar dissolves and the mixture comes to a boil.
- While the sauce heats, whisk together the cornstarch slurry: in a small bowl mix 2 tablespoons corn starch with ½ cup water until fully dissolved and lump-free.
- When the soy mixture is boiling, pour the cornstarch slurry into the saucepan while stirring. Reduce the heat to maintain a low simmer and continue stirring frequently for 1 to 2 minutes, until the teriyaki sauce thickens to your desired consistency. Remove the pan from heat and set the sauce aside. Reserve some sauce for serving if you want extra at the table.
- Assemble the baking dish: Add 1 ½ cups white minute rice, 8 ounces canned pineapple with its juice (do not drain), the diced red bell pepper, 1 ¼ cups low-sodium chicken broth, and 1 to 2 tablespoons chili garlic sauce if using. Stir gently to combine so the rice and vegetables are evenly distributed and the liquid is spread across the dish.
- Evenly lay the 1 pound thin-sliced boneless skinless chicken breasts on top of the rice mixture. Arrange pieces so they don’t overlap too much for even cooking.
- Dollop a generous amount of the prepared teriyaki sauce on top of each chicken piece. Use a clean spoon for the sauce to avoid cross-contamination with raw chicken; reserve any extra sauce in a separate container for serving after baking.
- Tightly cover the baking dish with aluminum foil and place it in the preheated oven. Bake covered for 30 minutes; the steam will cook the rice and help the chicken stay juicy.
- After 30 minutes, remove the foil and continue baking for an additional 5 to 10 minutes, until the chicken is cooked through (internal temperature 165°F/74°C) and the rice is tender. If the chicken pieces vary in thickness, check the thickest piece first.
- When done, remove from the oven and evenly sprinkle 2 or 3 green onions cut on the bias and optional sesame seeds over the top. Serve immediately with the reserved teriyaki sauce on the side.
Why This Recipe is a Keeper
This dish combines hands-off baking with a made-from-scratch sauce, so you get a homey, layered flavor with minimal babysitting. Using minute rice and thin-sliced chicken speeds things up without sacrificing texture. The pineapple and brown sugar provide a natural sweetness that balances the soy, while ginger and garlic keep it bright. It’s adaptable: add heat, make it milder, or switch proteins, and it still delivers reliable results for busy weeknights or casual dinners.
Dairy-Free/Gluten-Free Swaps
- Dairy-free: The recipe is already dairy-free; no swaps needed.
- Gluten-free: Replace reduced-sodium soy sauce with tamari or a certified gluten-free soy sauce in the same ⅓ cup quantity.
Essential Tools for Success
- 9×13-inch baking dish — the recipe is calibrated for this size so rice and liquid cook evenly.
- Medium saucepan — to make the teriyaki sauce and properly reduce it.
- Whisk and small bowl — for combining and dissolving the cornstarch slurry.
- Instant-read thermometer — useful to confirm chicken reaches 165°F (74°C) without overbaking.
- Aluminum foil — to tightly cover the dish for the covered bake stage.
Mistakes That Ruin Baked Teriyaki Chicken and Rice
- Using plain soy sauce instead of reduced-sodium: The dish may become overly salty; always taste the sauce and adjust if needed.
- Not dissolving the cornstarch completely: Lumpy slurry leads to streaks or grainy sauce texture.
- Overcrowding thick chicken pieces: If the chicken is too thick or layered, cooking becomes uneven and the rice may not finish properly.
- Double-dipping the sauce spoon: Contaminating reserved sauce with raw chicken risks food safety.
Better-for-You Options
- Brown rice or cauliflower rice: For more fiber or lower carbs, use precooked brown rice or cauliflower rice, but adjust liquid and bake time — brown rice usually needs more liquid and time, so this requires staging (pre-cooked brown rice stirred in after baking).
- Reduce sugar: Cut the brown sugar slightly if you want less sweetness; note it will affect the glaze’s stickiness.
- Lean protein swaps: Use thin-sliced turkey breast or firm tofu slices (for vegetarian) — if using tofu, press and sear briefly first for texture before baking.
What Could Go Wrong
- Rice undercooked while chicken is done: This typically happens if the liquid ratio or oven temperature is off. Ensure the dish is covered tightly and oven is preheated to 375°F.
- Sauce too thin after baking: Either the cornstarch was insufficiently activated or the reserved sauce was thinned. Reheat reserved sauce in a saucepan and simmer briefly to reduce if needed.
- Chicken dry or overcooked: That happens if pieces are too thick or bake uncovered too long. Use thin-sliced chicken and stick to the covered 30-minute bake before uncovering briefly to finish.
- Dish too salty: Caused by regular soy sauce or overly reduced sauce. Use reduced-sodium soy sauce and taste the sauce while cooking; you can add a splash more pineapple juice or water to cut salt.
Storage & Reheat Guide
- Refrigeration: Cool leftovers to room temperature, then store in an airtight container for up to 3–4 days.
- Freezing: Not ideal because rice texture changes; you can freeze in an airtight container for up to 1 month. Thaw overnight in the fridge before reheating.
- Reheating: Microwave in short bursts, stirring between intervals, or reheat in a covered oven-safe dish at 325°F until warmed through. Add a splash of chicken broth or water if rice seems dry.
- Reheat sauce: Warm reserved teriyaki on the stovetop over low heat, stirring to reincorporate if it’s separated.
Troubleshooting Q&A
- Q: My sauce didn’t thicken. What went wrong? A: The cornstarch slurry may not have been fully dissolved or the sauce didn’t simmer long enough. Reheat the sauce and whisk in a fresh slurry (1 tsp cornstarch + 1 tsp water) and simmer until glossy.
- Q: Rice is mushy after baking. How can I prevent that? A: Check your rice measurement and avoid adding extra liquid. Minute rice absorbs liquid quickly; ensure the 1 ½ cups rice to combined liquid (pineapple juice + 1 ¼ cups broth) ratio is consistent.
- Q: Chicken isn’t cooked through after the time listed. Now what? A: Return the pan to the oven uncovered and bake in 5-minute increments until the internal temperature reads 165°F. Thicker pieces need more time.
- Q: Sauce tastes flat. How can I brighten it? A: Add a small splash (½ to 1 teaspoon) of rice vinegar or a squeeze of fresh lime at the end to lift flavors without changing the core profile.
Time to Try It
Ready to make this for dinner tonight? The whole process takes about 45 minutes from start to finish: 10–15 minutes to prepare the sauce and assemble, then 35–40 minutes in the oven (covered and uncovered stages). Put a simple vegetable or steamed greens on the side and you’ve got a balanced, comforting meal that’s easy to scale for guests or weekly meal prep. Enjoy — then bookmark this as one of those dependable recipes you’ll come back to again and again.

Baked Teriyaki Chicken and Rice
Ingredients
- 1/3 cup reduced-sodium soy sauce
- 1/3 cup light brown sugar packed
- 3 to 5 cloves garlic finely minced or pressed
- 2 teaspoons ground ginger
- 1/4 to 1/2 teaspoon red pepper flakes or to taste
- 1/2 cup water
- 2 tablespoons cornstarch
- 1 1/2 cups white minute rice
- 8 ounces canned pineapple chunks or tidbits in juice, do not drain
- 1 medium red bell pepper diced into small pieces
- 1 1/4 cups low-sodium chicken broth
- 1 to 2 tablespoons chili garlic sauce optional and to taste
- 1 pound thin-sliced boneless skinless chicken breasts about 4 breasts
- 2 or 3 green onions cut into small segments on the bias
- sesame seeds optional for garnishing
Instructions
- Preheat the oven to 375°F (190°C) and lightly spray a 9x13-inch baking dish with cooking spray.
- Make the teriyaki sauce: In a medium saucepan combine 1/3 cup soy sauce, 1/3 cup packed light brown sugar, minced garlic, ground ginger, and red pepper flakes; bring to a boil over medium-high heat, whisking frequently.
- In a small bowl stir 2 tablespoons cornstarch into 1/2 cup water until dissolved.
- Whisk the cornstarch mixture into the boiling soy mixture, reduce heat and simmer 1–2 minutes, stirring often, until the sauce thickens; remove from heat and set aside, reserving some for serving if desired.
- Assemble the casserole: In the prepared baking dish spread 1 1/2 cups white minute rice, then add the canned pineapple with its juice, diced red bell pepper, and 1 1/4 cups low-sodium chicken broth. Stir gently to combine and, if using, add 1–2 tablespoons chili garlic sauce to taste.
- Arrange the 1 pound thin-sliced chicken breasts evenly over the rice mixture.
- Spoon a generous amount of the prepared teriyaki sauce over each piece of chicken, keeping the reserved sauce separate to avoid cross-contamination with raw chicken.
- Cover the dish tightly with foil and bake for 30 minutes.
- Remove the foil and bake an additional 5–10 minutes, until the chicken is cooked through and rice is tender.
- Garnish with sliced green onions and optional sesame seeds, and serve immediately with the reserved teriyaki sauce if desired.
Equipment
- 9x13 inch Baking Dish
- Medium Saucepan
- small bowl
- Measuring cups and spoons
- Whisk
- foil
Notes
- Leftovers keep airtight in the fridge for up to 5 days.
- This recipe was adapted from Betty Crocker.