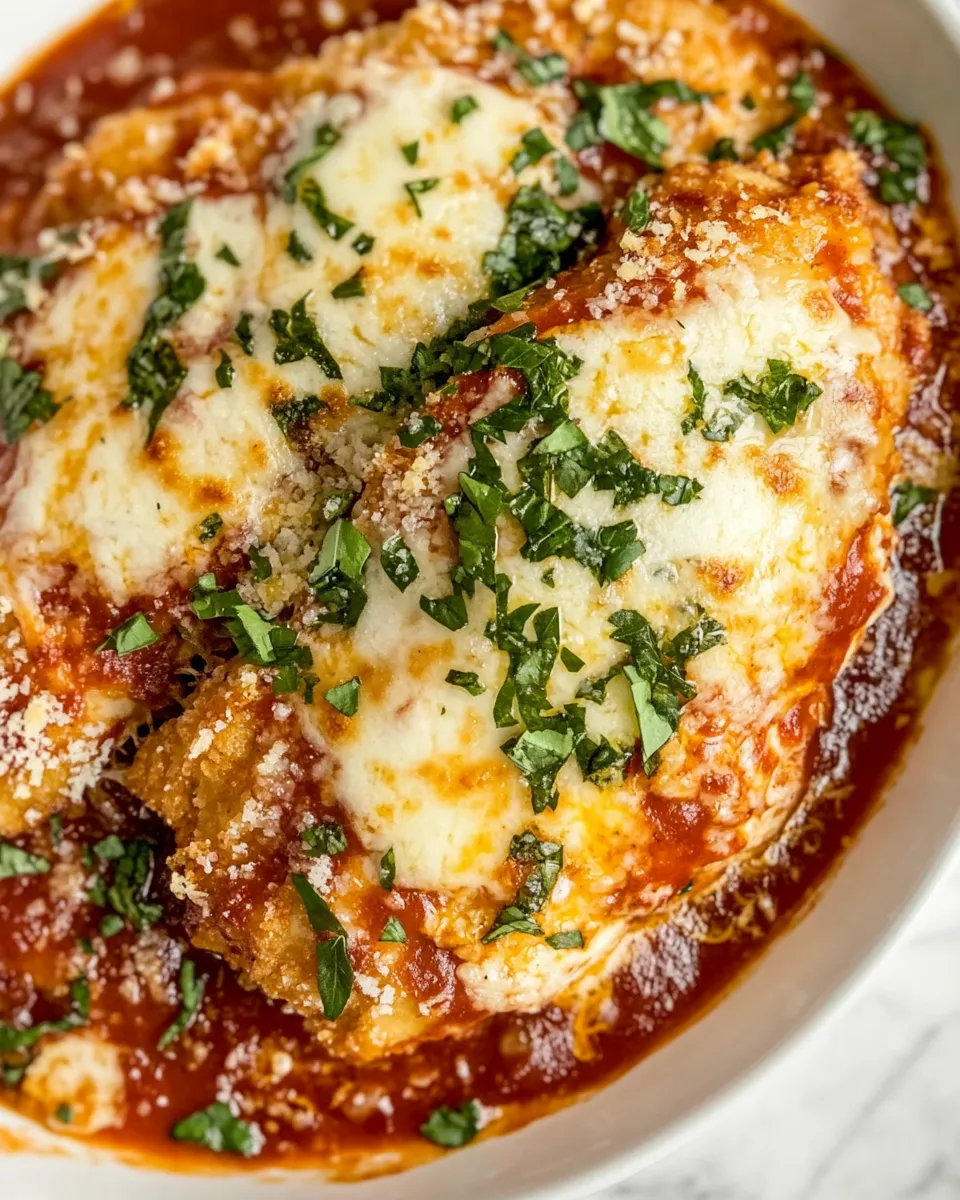
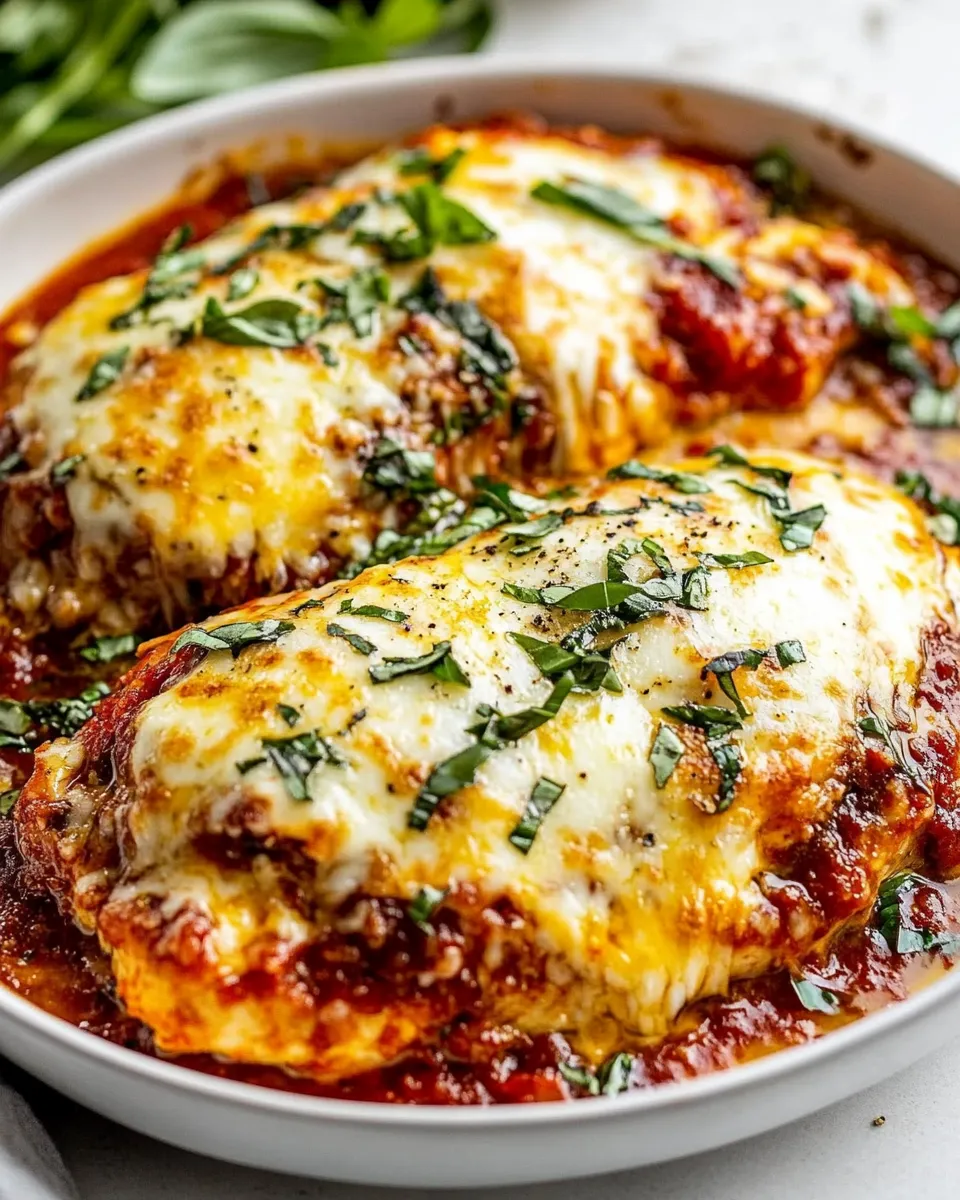
Crispy Chicken Parmesan
This Crispy Chicken Parmesan is the sort of weeknight dinner that looks like effort but comes together without drama. Crunchy, well-seasoned cutlets meet bright marinara and melted cheese — comforting, satisfying, and just the right side of special. I test this version constantly because texture matters: the crust needs to stay crisp under mozzarella and the chicken should be moist all the way through.
I’ll walk you through every step so you can get consistent results: how to pound the chicken evenly, the right order to dredge and brown, and a simple finish in the oven that gives you bubbly, lightly browned cheese. There are tiny tricks in equipment and timing that prevent the soggy edge or dry interior.
Read the ingredient notes, follow the stepwise method exactly, and you’ll have an impressive dinner on the table in about 35–45 minutes. Serve with spaghetti and crusty bread to catch every last drop of sauce — that’s non-negotiable in my book.
The Ingredient Lineup
- 2 large chicken breasts, butterflied — creates four thin cutlets for quick, even cooking.
- salt and pepper — basic seasoning for the meat; don’t skimp, it builds flavor.
- 2 eggs — binder for the breadcrumb coating; whisked for even coverage.
- ½ cup Italian breadcrumbs — adds seasoning and texture to the crust.
- ½ cup panko breadcrumbs — gives the crust extra crispiness and lightness.
- 1 cup freshly grated Parmesan cheese — folded into the crumbs for savory depth and browning.
- ¼ cup olive oil — for frying; choose a neutral, good-quality olive oil.
- 1 tbsp minced garlic — briefly cooks in the oil to flavor the pan and sauce base.
- 2 tbsp fresh basil leaves, thinly sliced — bright herb finish that complements cheese and tomato.
- 8 oz. mozzarella cheese, sliced — two slices per cutlet; melts into a gooey topping.
- spaghetti and crusty bread for serving — traditional, optional but highly recommended for the sauce.
- 26 oz. (1 jar) marinara sauce — the tomato base; half the jar goes under the chicken, more on top.
Stepwise Method: Crispy Chicken Parmesan
- Preheat your oven to 400°F so it’s ready when the skillet goes in.
- Prepare the chicken: slice each of the 2 large chicken breasts in half lengthwise to make 4 cutlets (butterfly then separate). Place a cutlet between two layers of plastic wrap on a firm surface and gently pound until the thickness is even, roughly ¼–½ inch. Repeat for each cutlet.
- Season both sides of each cutlet with salt and pepper. Do this right before dredging so the salt doesn’t draw out moisture prematurely.
- Set up your dredging station: whisk the 2 eggs in a shallow bowl until smooth. In a separate shallow bowl, combine ½ cup Italian breadcrumbs, ½ cup panko breadcrumbs, and 1 cup freshly grated Parmesan cheese; mix thoroughly.
- Heat a large oven-safe skillet over medium-high heat and add ¼ cup olive oil. When the oil shimmers, add 1 tbsp minced garlic and cook for 2–3 minutes, stirring, until fragrant and lightly golden but not burned. Keep the garlic moving so it doesn’t scorch.
- Dredge each seasoned chicken cutlet first in the whisked eggs, letting excess drip off, then press into the Parmesan-breadcrumb mixture, coating both sides evenly.
- Working in the hot skillet, add the breaded cutlets to the oil and garlic, spacing them with a little room between pieces. Cook for about 3–4 minutes per side until the crust is golden and the chicken is almost cooked through. If the pan looks dry, add a touch more olive oil. The goal is a deeply golden crust and mostly cooked meat before the oven finish.
- Remove the skillet from heat and transfer the cutlets briefly to a plate if you need to rearrange, but keep the skillet handy (it will be used for baking). Turn off the burner.
- Pour half the jar (about 13 oz.) of the 26 oz. marinara sauce into the bottom of the skillet, stirring gently to loosen the brown bits and garlic flavor from the pan. Spread the sauce into an even layer.
- Return the chicken cutlets to the skillet, placing them on top of the sauce. Spoon an additional spoonful of sauce over each cutlet to ensure good coverage.
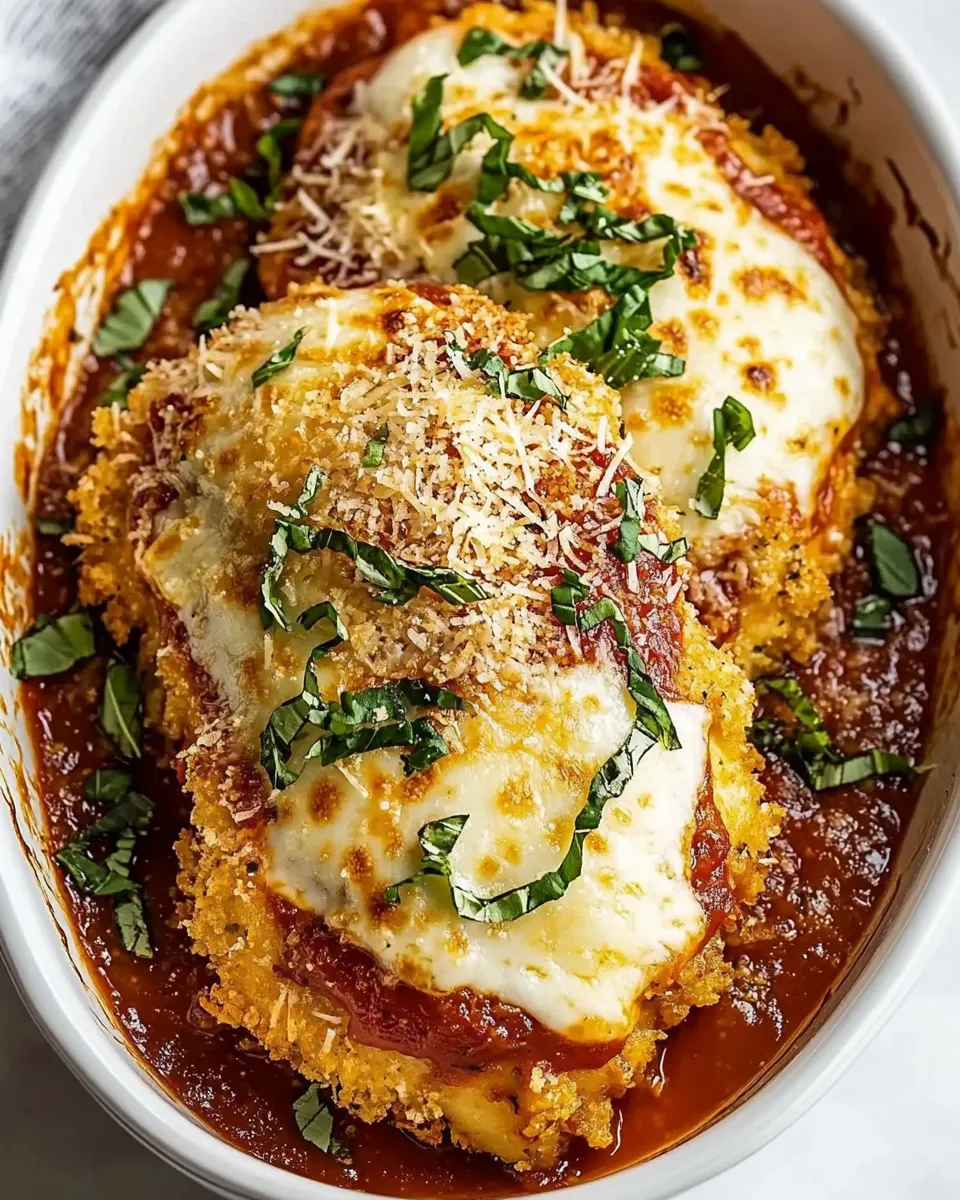
- Top each cutlet with two slices of 8 oz. mozzarella cheese divided across the cutlets (use two slices per original breast portion, so each of the four cutlets gets a portion of those slices), then sprinkle the remaining freshly grated Parmesan (from the 1 cup used in the dredge, any leftover should be used) and scatter 2 tbsp thinly sliced fresh basil over the cheese.
- Transfer the skillet to the preheated oven and bake for 10–12 minutes, until the cheese is lightly browned and beginning to bubble. Keep an eye on it — broil for 30–60 seconds at the end if you want a deeper brown, but watch closely.
- Remove from the oven and let rest for 2–3 minutes. Serve each cutlet over cooked spaghetti with additional sauce from the pan and crusty bread on the side.
Why I Love This Recipe
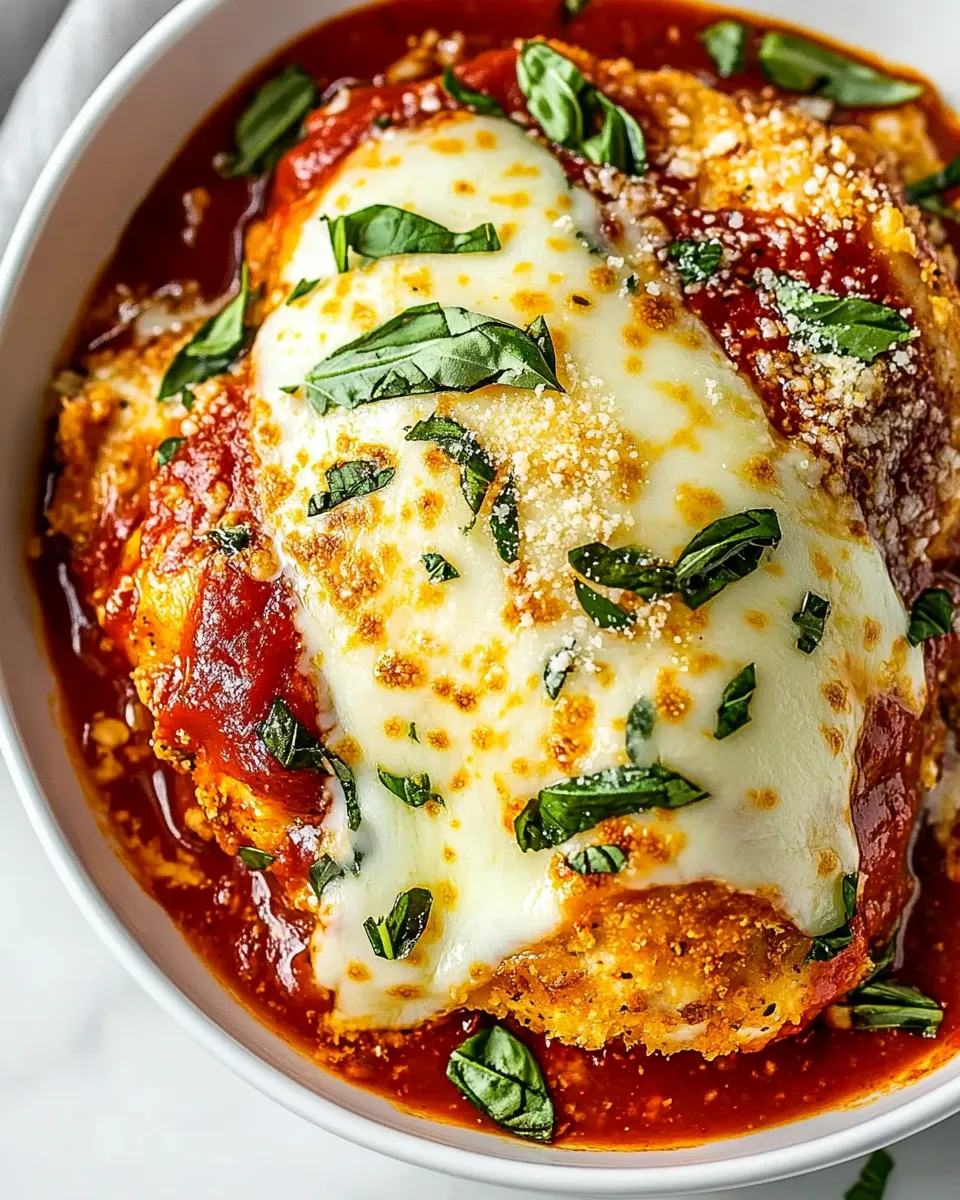
This version balances crispiness and juiciness—panko keeps the crust airy while the Parmesan provides instant savory flavor. Browning the cutlets in a skillet before finishing in the oven develops those caramelized bits that make the sauce taste better. The short oven time protects the chicken from drying out and gives the mozzarella time to melt into the crust without collapsing it.
It’s also forgiving: the butterflied breasts make uniform pieces that cook evenly, and the three-layer breadcrumb mix gives you texture without complicated steps. Finally, it’s a crowd-pleaser — simple ingredients, dramatic result.
Substitutions by Category
- Protein — If you prefer, use thin pork cutlets instead of chicken; cook times are similar.
- Breading — Swap all panko for more Italian breadcrumbs if you want a denser crust; increase crunch with crushed cornflakes (use equally by volume).
- Cheese — Fresh mozzarella or a blend of provolone and mozzarella works well; Parmesan can be replaced with Pecorino for a sharper edge.
- Sauce — Any good-quality jarred marinara is fine; use homemade if you have it — keep the half-jar under the chicken and spoon the rest on top.
- Oil — Use a neutral oil with a higher smoke point (grapeseed or avocado) if you plan to push the pan heat higher while browning.
Tools of the Trade
- Heavy oven-safe skillet — a 10–12 inch cast-iron or stainless skillet sears and goes straight to the oven.
- Meat mallet or rolling pin — evens out cutlets for consistent cooking.
- Shallow bowls — two are necessary for the egg wash and breadcrumb mix.
- Tongs and spatula — for turning cutlets without disturbing the crust.
- Grater — freshly grate Parmesan for better flavor and melt.
Troubles You Can Avoid
Common problems and quick fixes
- Soggy crust — don’t smother the cutlets with too much sauce before baking; add only a spoonful on top and put sauce under the chicken to protect the crust.
- Uneven cooking — pound the cutlets uniformly to ¼–½ inch; thinner spots will dry out while thick spots stay underdone.
- Burnt garlic — cook garlic briefly, stirring, and don’t let it sit in hot oil unattended; burnt garlic tastes acrid.
- Cheese doesn’t brown — finish briefly under the broiler for 30–60 seconds, watching closely so the crust doesn’t burn.
Fit It to Your Goals
- Lower fat — bake the breaded cutlets on a sheet instead of frying; brush lightly with oil for some browning.
- Make-ahead — bread the cutlets and refrigerate up to 24 hours; brown and finish with sauce when ready to serve.
- Meal prep — keep cooked cutlets and sauce separate; reheat in a 350°F oven until warmed through, then add cheese and bake briefly.
Little Things that Matter
- Salt timing — season the meat just before dredging to avoid drawing moisture out too early.
- Breadcrumb texture — mixing panko with finer breadcrumbs creates both crunch and adhesion; don’t skip the Parmesan in the mix.
- Rest before serving — a short 2–3 minute rest after baking lets juices redistribute and makes serving cleaner.
- Slicing basil thin — thin ribbons (chiffonade) distribute flavor without overpowering each bite.
How to Store & Reheat
- Refrigerate — cool to room temperature, then store in an airtight container for up to 3 days. Keep sauce and pasta separate if possible.
- Freeze — wrap individual cutlets tightly and freeze up to 2 months. Thaw overnight in the fridge before reheating.
- Reheat — for best texture, reheat in a 350°F oven on a baking sheet until warmed through, then broil 30–60 seconds to refresh the crust and melt cheese. Microwaving will wilt the crust and make it soft.
Ask the Chef
Q: Can I use thin-cut store-bought cutlets instead of butterflying and pounding? A: Yes. If they’re already uniform and about ¼–½ inch thick, you can skip pounding. Just adjust cooking time if they’re thinner.
Q: How do I make the crust stick better? A: Make sure the egg is well whisked and press the crumbs onto the cutlet firmly to compact them before frying.
Ready to Cook?
Gather the ingredients, preheat your oven to 400°F, and set up your dredging station. The process is straightforward: pound, season, egg, crumb, sear, sauce, cheese, and bake. Follow the stepwise method and you’ll have crisp, juicy Chicken Parmesan with bubbling cheese and a pan of sauce perfect for mopping with crusty bread. Enjoy — and if you try it, tell me how your crust turned out and whether you served it over spaghetti or on its own.

Crispy Chicken Parmesan
Ingredients
- 2 large chicken breasts, butterflied (about 4 cutlets total)
- salt and pepper to taste
- 2 eggs beaten
- 1/2 cup Italian breadcrumbs
- 1/2 cup panko breadcrumbs
- 1 cup freshly grated Parmesan cheese divided (3/4 cup for coating, remaining for topping)
- 1/4 cup olive oil
- 1 tbsp minced garlic
- 2 tbsp fresh basil leaves, thinly sliced
- 8 oz mozzarella cheese, sliced
- spaghetti and crusty bread for serving
- 26 oz marinara sauce (1 jar) use about half in skillet and additional spoonfuls for topping
Instructions
- Preheat the oven to 400°F (200°C).
- Butterfly each large chicken breast and cut so you have 4 cutlets total; place between two sheets of plastic wrap and pound to an even thickness of about 1/4–1/2 inch.
- Season both sides of each cutlet with salt and pepper.
- In one shallow bowl, beat the eggs. In a second shallow bowl, combine the Italian breadcrumbs, panko and 3/4 cup of the grated Parmesan.
- Heat the olive oil in a large oven-safe skillet over medium-high heat; add the minced garlic and cook 2–3 minutes until fragrant but not browned.
- Dredge each cutlet first in the beaten eggs, then press into the breadcrumb-Parmesan mixture to coat evenly.
- Working in the hot skillet, cook the breaded cutlets 3–4 minutes per side until golden and almost cooked through; add more oil if needed. Remove the cutlets from the skillet and turn off the heat.
- Pour half the jar of marinara sauce into the bottom of the skillet and stir to loosen any browned bits and garlic.
- Return the cutlets to the skillet on top of the sauce. Spoon a little extra sauce over each cutlet, then top each with two slices of mozzarella, the remaining grated Parmesan, and the sliced basil.
- Bake in the preheated oven 10–12 minutes, until the cheese is melted and beginning to brown and the chicken is cooked through.
- Serve the chicken Parmesan over spaghetti with crusty bread if desired.
Equipment
- large oven-safe skillet
- Plastic Wrap
- meat mallet or rolling pin
- two shallow bowls
- spatula or tongs
- Measuring cups and spoons
- Oven
Notes
- Pound cutlets evenly for uniform cooking.
- Use a large oven-safe skillet to brown and bake in one pan.
- Reserve some Parmesan for topping after baking.
- Watch garlic closely so it doesn’t burn when sautéing.