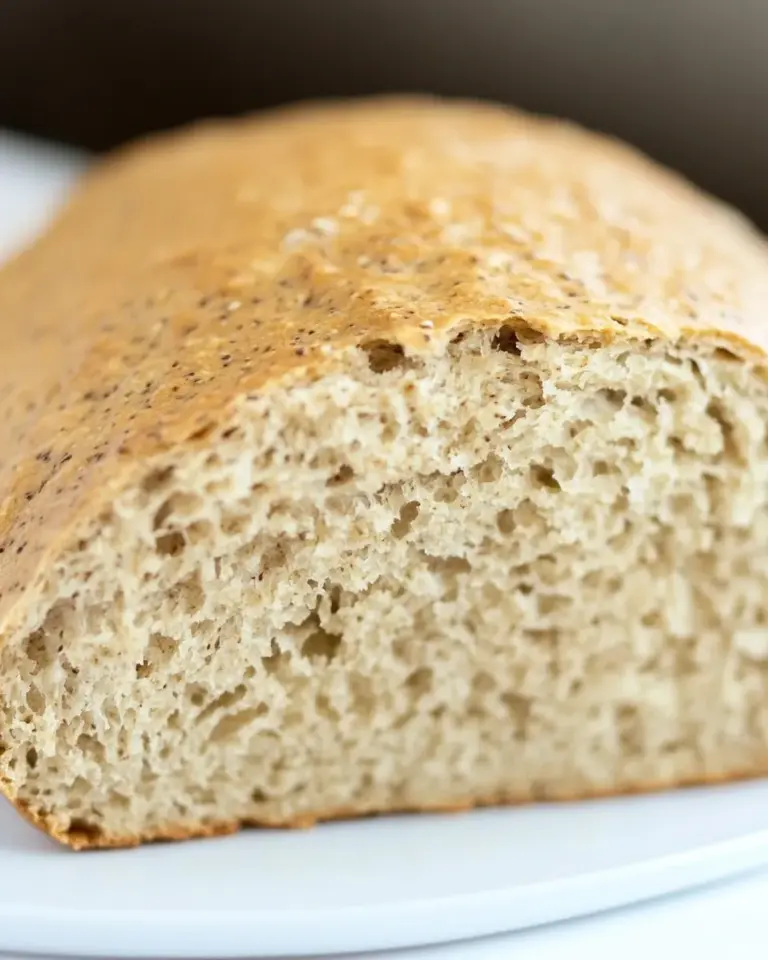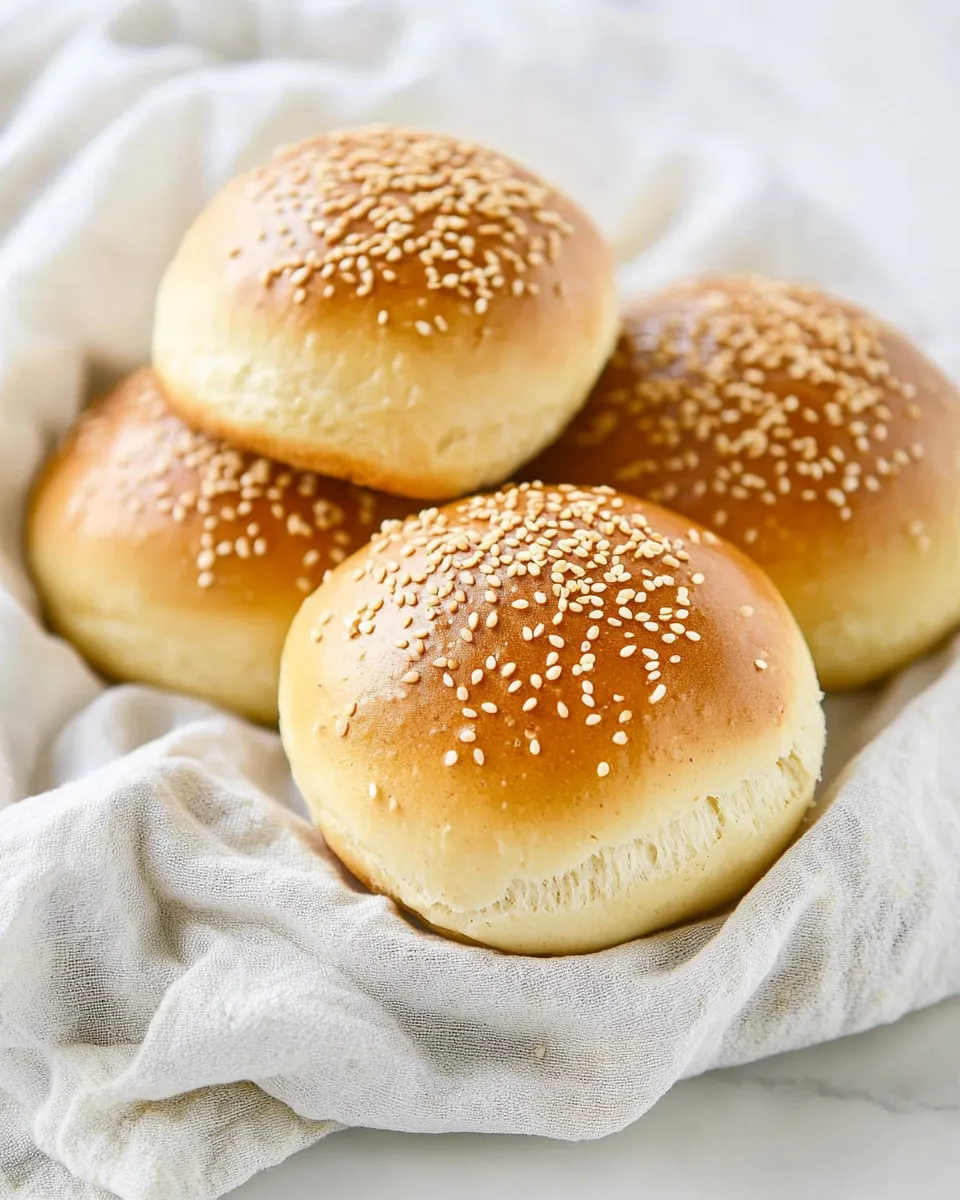
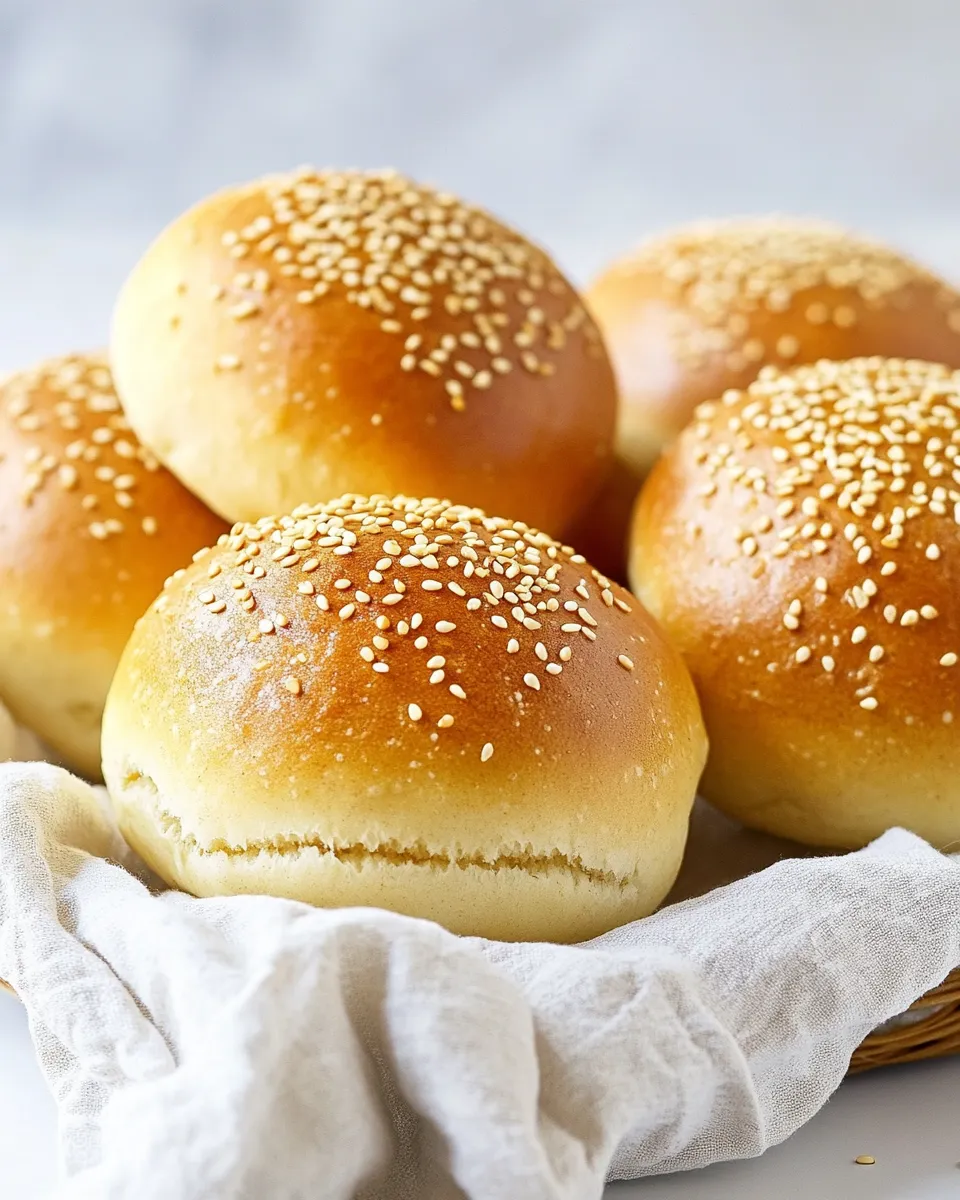
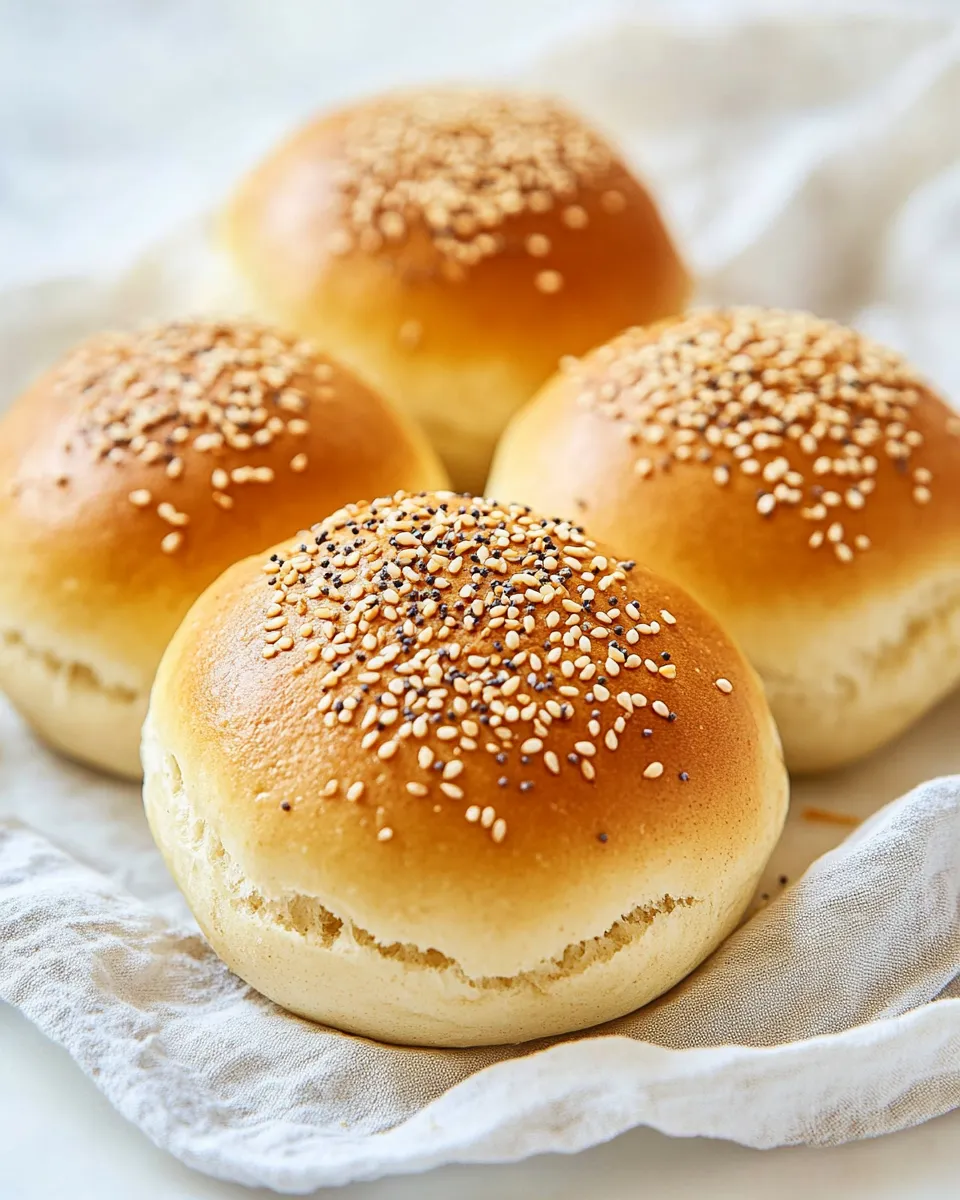
Gluten-Free Hamburger Buns
These gluten-free hamburger buns are the kind I make over and over because they actually behave like regular buns: light crumb, sturdy enough for juicy burgers, and tender enough to tear with your hands. No complicated flours or extra steps—just a straightforward method that uses a gluten-free flour blend and a few pantry staples. I developed this to solve the frustrating flop you get with some gluten-free rolls, and this version rises well and holds up under toppings.
Expect a slightly different texture than wheat buns—more tender and a touch more delicate—but the shape and function are exactly what you want for backyard burgers, weeknight sliders, or loaded chicken sandwiches. The recipe yields eight buns, and the dough is forgiving: a little stickiness is normal. Follow the steps and tips to get consistent results even if you’re new to gluten-free baking.
I’ll walk you through shopping notes, equipment, the step-by-step process, storage, and common mistakes so your first batch is close to perfect. There are practical alternatives and serving ideas too, because these buns are worth making in every season.
Your Shopping Guide

Buy a high-quality gluten-free flour blend labeled for baking (some blends contain xanthan gum already; check the label). Use active dry yeast and make sure your sugar and water are at the right temperature for proofing. Unsalted butter gives control over seasoning—if you only have salted, reduce any extra salt elsewhere. Room-temperature eggs incorporate more easily and give a better rise. If you want convenience, pre-measured sesame seeds and parchment paper save time.
Ingredients
- 1 1/2 cups warm water about 110°F — activates the yeast; too hot will kill it, too cold slows proofing.
- 2 1/4 teaspoons active dry yeast — the leavening agent; standard single packet amount.
- 1 1/2 tablespoons granulated sugar — feeds the yeast and helps browning.
- 2 large eggs at room temperature — add structure and richness; room temp helps them mix evenly.
- 3 tablespoons unsalted butter melted — adds tenderness and flavor; melted makes it easy to incorporate.
- 3 cups gluten-free flour yeast baking blend — the base; use a blend designed for yeast breads for best texture.
- 2 pinches kosher salt — balances flavor; measure lightly if using fine salt.
- 1 large egg for egg wash, beaten with 1 tablespoon of water — creates a shiny, golden crust.
- Sesame seeds for topping, optional — adds texture and visual appeal.
Cooking Gluten-Free Hamburger Buns: The Process
Follow these steps in order. I kept the ingredient amounts exactly as listed and clarified timing and handling so the dough performs predictably.
- Proof the yeast: In a small bowl combine 1 1/2 cups warm water (about 110°F), 2 1/4 teaspoons active dry yeast, and 1 1/2 tablespoons granulated sugar. Stir gently and let rest for 5 minutes until frothy. If it doesn’t foam, the yeast may be inactive—start over with fresh yeast.
- Mix eggs and butter: In a large mixing bowl whisk together 2 large eggs (room temperature) and 3 tablespoons melted unsalted butter until combined and slightly frothy.
- Add dry ingredients: Add 3 cups gluten-free flour yeast baking blend and 2 pinches kosher salt to the egg-butter mixture. Mix with a sturdy spatula or dough hook on low speed until a sticky dough forms.
- Incorporate yeast: Pour the proofed yeast mixture into the dough and mix until fully incorporated. The dough will be slightly sticky; if it feels excessively wet and unworkable, add a small extra tablespoon of flour at a time until manageable—do not add more than needed.
- Portion the dough: Divide the dough into 8 equal pieces. Wet your hands lightly (this prevents sticking) and shape each portion into a ball. Gently flatten each ball into a bun shape about 3–4 inches across and place them on a parchment-lined baking sheet, spaced evenly.
- First rise: Lightly drape plastic wrap over the baking sheet (don’t press it down) and place the tray in a warm, draft-free spot. Let the buns rise for around 45 minutes, or until approximately doubled in size. Rise time can vary slightly depending on room temperature.
- Preheat and egg wash: Preheat your oven to 400°F while the buns finish rising. Beat 1 large egg with 1 tablespoon water to make the egg wash. When the buns have risen, brush the tops lightly with the egg wash and sprinkle sesame seeds if using.
- Bake: Bake in the preheated 400°F oven until the buns are golden brown, about 20 minutes. Rotate the baking sheet halfway through if your oven has hot spots.
- Cool: Remove the buns from the oven and transfer them to a wire rack. Let cool 10–15 minutes before slicing—this resting time helps the crumb set and makes slicing easier.
Why You’ll Keep Making It
These buns are reliable: they rise predictably, hold up to juicy fillings, and keep well when stored properly. The method is simple and doesn’t call for multiple specialty flours or protein powders, so you can make them on a weeknight or for a gathering. They offer a familiar, satisfying bun experience for anyone avoiding gluten, and they adapt well—toast them, use them for sandwiches, or make sliders.
International Equivalents
Measurements here are U.S. cups and teaspoons. If you prefer metric, roughly convert 1 1/2 cups water = 355 ml, 3 cups flour = about 360–390 g depending on the blend’s density. Active dry yeast amounts are standard worldwide (2 1/4 tsp = one packet). Butter in tablespoons: 3 tablespoons ≈ 42 g. If you’re in a country where gluten-free flour blends are labeled differently, look for one marketed for yeast baking or “all-purpose” gluten-free blends that include a binder like xanthan gum.
Setup & Equipment
- Mixing bowls — one small for proofing, one large for the dough.
- Measuring cups and spoons — accurate measuring is more important in gluten-free baking.
- Whisk or fork — for eggs and egg wash.
- Spatula or dough hook — spatula works; dough hook on low speed reduces elbow grease.
- Parchment paper and a baking sheet — for easy release and cleanup.
- Plastic wrap or a clean kitchen towel — to cover dough while rising.
- Wire rack — cool buns properly to prevent sogginess.
Avoid These Mistakes
- Using water that’s too hot for proofing — above 120°F can kill yeast; stick to about 110°F.
- Skipping the proof test — if the yeast doesn’t foam after 5 minutes, replace it.
- Over-flouring the dough — the dough should be slightly sticky; adding too much flour will make dry, crumbly buns.
- Rushing the rise — insufficient rise makes dense buns; give the dough the 45 minutes in a warm spot.
- Baking at incorrect temperature — ovens vary; use an oven thermometer if your oven runs hot or cold.
Seasonal Serving Ideas
Spring/Summer: Toast the buns and top with grilled beef patties, ripe tomato, lettuce, and a light herb mayo. Add sliced pickles and a touch of Dijon for brightness.
Fall/Winter: Use the buns for a warm turkey burger with caramelized onions and melted Swiss, or for a sloppy joe-style sandwich—these buns hold up to saucy fillings when gently toasted.
All-year: Turn leftover buns into breakfast sandwiches with egg, cheese, and avocado; the tender crumb works beautifully with breakfast proteins.
Behind-the-Scenes Notes
Gluten-free dough behaves differently because it lacks gluten’s elastic network. This recipe relies on the flour blend and eggs for structure and on an adequate rise to produce lift. I recommend weighing ingredients when you can, especially the flour blend, for repeatability. Also, different blends absorb moisture differently; you might need a teaspoon or two more flour on humid days. If you bake often gluten-free, test a few commercial blends to find the one you like—the texture can vary noticeably.
Storage Pro Tips
- Short-term: Store cooled buns wrapped in plastic wrap or in an airtight container at room temperature for up to 2 days.
- Long-term: Slice and freeze buns in a sealed freezer bag for up to 3 months. Toast or warm from frozen—no need to thaw for most uses.
- Reviving: For day-old buns, slice and warm in a toaster or oven at 350°F for 5–7 minutes to regain a freshly-baked feel.
Helpful Q&A
Q: My buns stayed flat. What happened?
A: The likely causes are inactive yeast, water that was too cool, or not allowing enough rise time. Confirm the yeast foamed during the proof step; if not, replace it. Make sure the proofing spot is warm and draft-free.
Q: Can I substitute melted butter with oil or a dairy-free option?
A: You can try a neutral oil (like canola or avocado) in the same amount, but flavor and crumb may differ. I haven’t changed the recipe amounts here, so keep the 3 tablespoons measurement if you swap.
Q: My buns crumble when I slice them—how can I fix that?
A: Let them rest 10–15 minutes after baking before slicing. If they still crumble, your flour blend may need a binder like xanthan gum—choose a blend formulated for yeast baking or add a small amount according to the blend’s instructions next time.
That’s a Wrap
These Gluten-Free Hamburger Buns are practical, predictable, and versatile. Follow the ingredient list and the clarified step-by-step instructions, and you’ll end up with buns that make sandwiches and burgers feel like the main event again. Make a batch, freeze a few, and you’ll always have a sandwich-ready roll on hand. Happy baking—and let me know how you top yours!
Gluten-Free Hamburger Buns
Ingredients
- 1 1/2 cups warm water about 110°F
- 2 1/4 teaspoons active dry yeast
- 1 1/2 tablespoons granulated sugar
- 2 large eggs room temperature
- 3 tablespoons unsalted butter melted
- 3 cups gluten-free flour blend yeast baking blend
- 2 pinches kosher salt
- 1 large egg beaten with 1 tablespoon water for egg wash
- sesame seeds for topping, optional
Instructions
- Stir the warm water, active dry yeast, and sugar together in a small bowl and let sit 5 minutes until frothy.
- In a large bowl, whisk the 2 large eggs and melted butter until combined.
- Add the gluten-free flour blend and kosher salt to the egg mixture and mix until a sticky dough forms.
- Pour the proofed yeast mixture into the dough and blend until fully incorporated; the dough should remain slightly sticky—add a little more flour only if necessary.
- Divide the dough into 8 equal pieces. With wet hands, shape each piece into a ball then gently flatten into bun shapes and arrange on a parchment-lined baking sheet.
- Lightly cover the baking sheet with plastic wrap and let the buns rise in a warm, draft-free spot about 45 minutes, until doubled in size.
- Preheat the oven to 400°F. Brush the tops of the risen buns with the beaten egg wash and sprinkle sesame seeds on top if using.
- Bake the buns in the preheated oven about 20 minutes, until golden brown.
- Remove the buns from the oven and cool on a wire rack 10–15 minutes before slicing and serving.
Equipment
- Mixing bowls
- Measuring cups and spoons
- Whisk
- Baking Sheet
- Parchment Paper
- pastry brush
- Wire Rack
Notes
- Use warm water around 110°F to properly activate the yeast.
- Keep dough slightly sticky for best texture; avoid adding too much extra flour.
- Let buns cool before slicing to prevent crumbling.