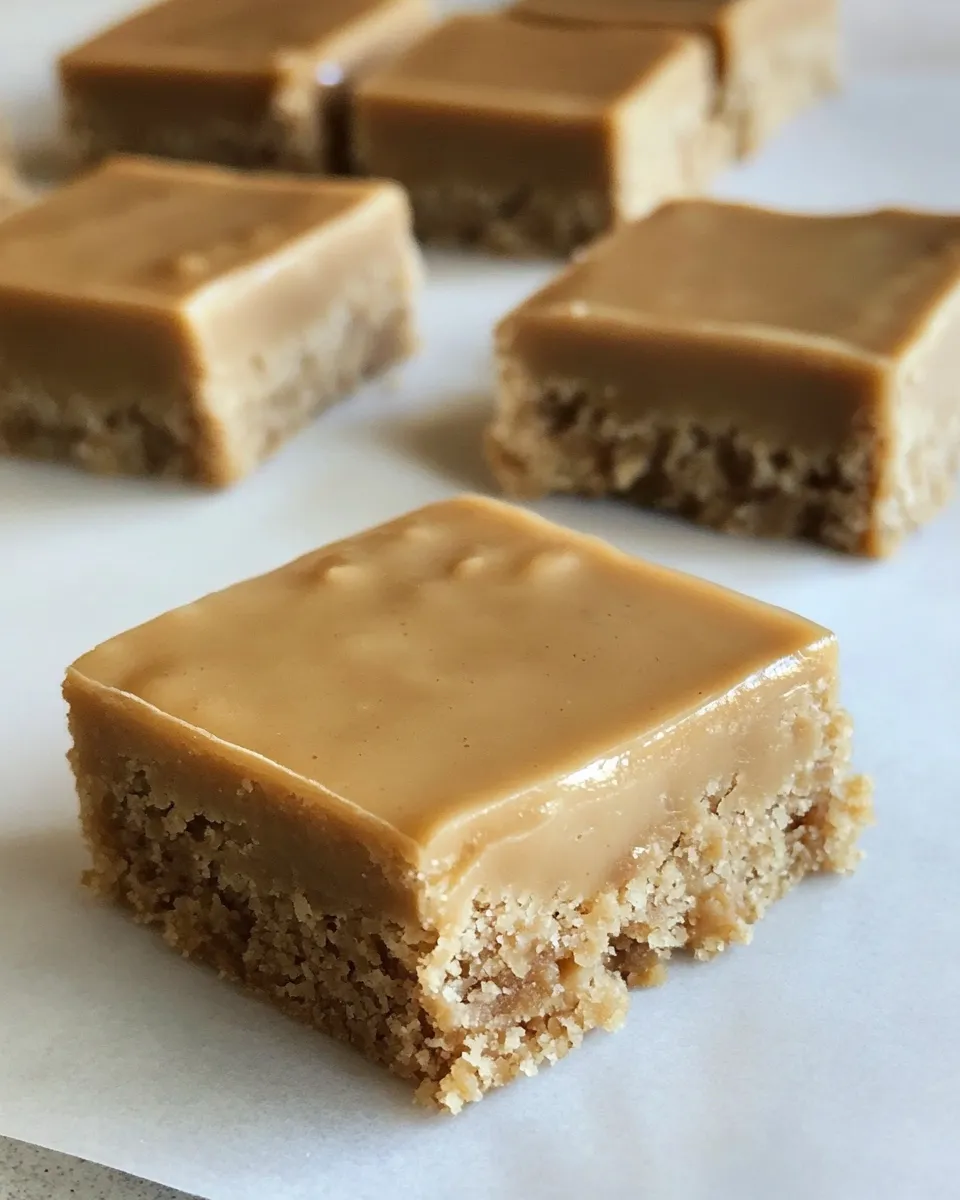
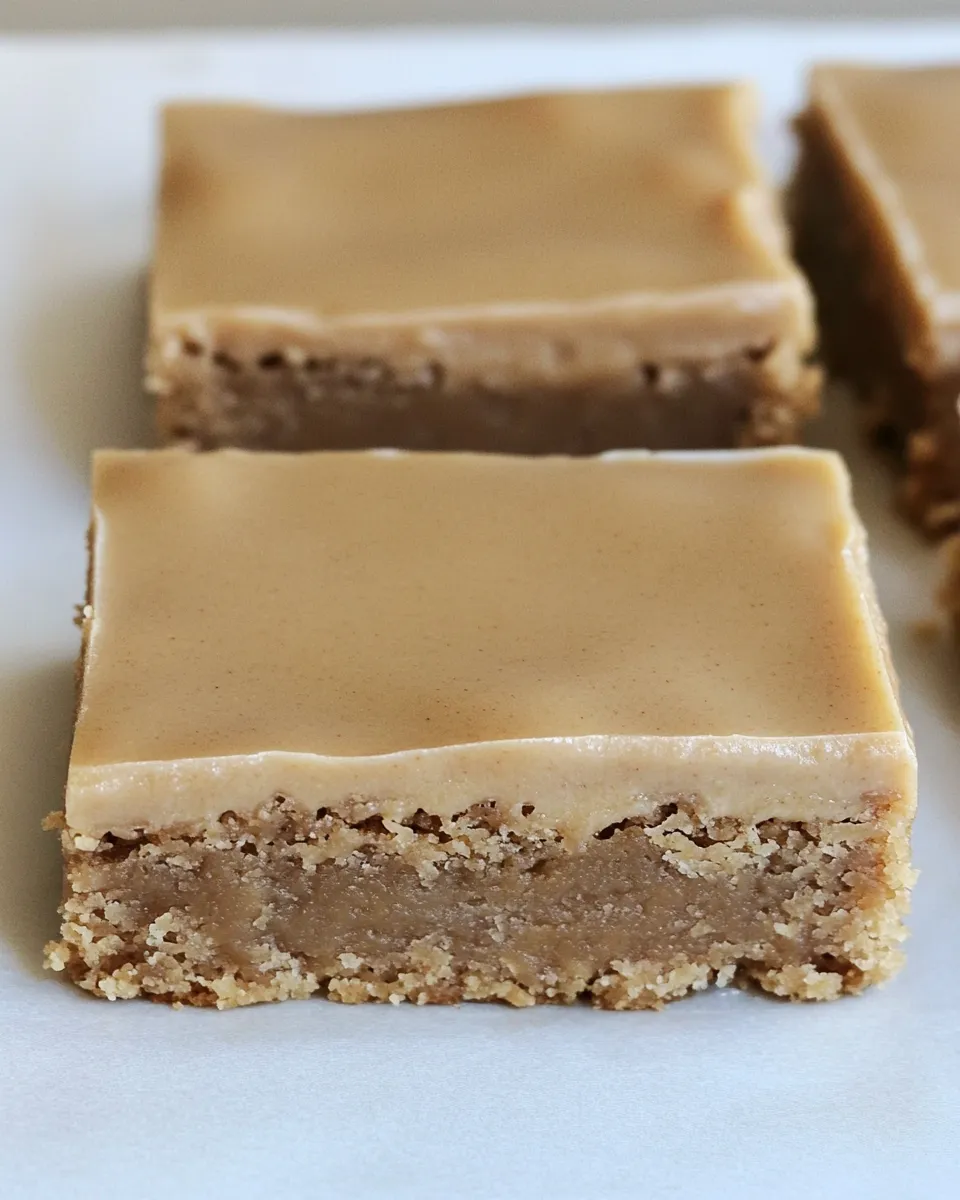
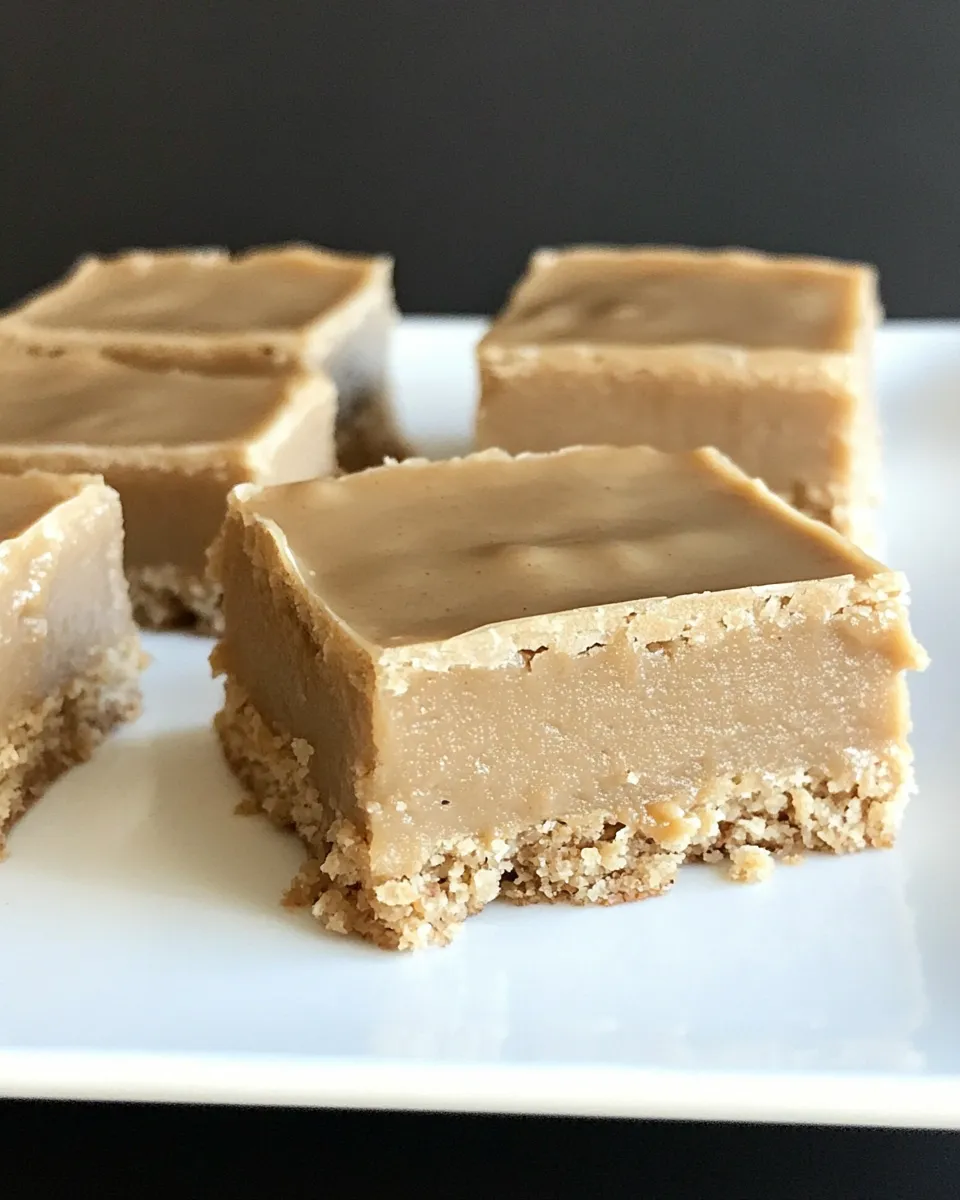
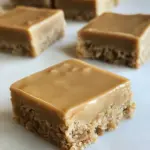
Glazed Peanut Butter Bars
I love desserts that are straightforward, reliable, and deliver big flavor without a long ingredient list. These Glazed Peanut Butter Bars are exactly that: peanut butter-forward, tender, and finished with a shiny sweet glaze that sets up firm enough to slice cleanly. They’re a weekday-bake champion and a potluck show-off in one.
The method is simple, forgiving, and fast. There’s a straightforward batter with pantry staples, and a two-ingredient-ish glaze that you melt and whisk to glossy, spreadable perfection. Below you’ll find a clear ingredient breakdown, step-by-step instructions, notes on swaps, gear you’ll need, and storage tips so every batch comes out the same way.
Ingredient Breakdown

Make Glazed Peanut Butter Bars: A Simple Method
1. Preheat your oven to 350°F (175°C) and grease an 8×8-inch baking pan or line it with parchment, leaving an overhang to lift the bars out later.
2. In a medium bowl, whisk together ½ cup granulated sugar, ½ cup brown sugar, and 2 large eggs until smooth and slightly glossy. Add the 1 teaspoon vanilla extract (or the equivalent cooled coffee) and whisk to combine.
3. In a separate bowl, whisk together 1 cup all-purpose flour, 1 teaspoon baking powder, and ½ teaspoon salt to distribute the leavening evenly.
4. Fold the dry ingredients into the wet mixture with a spatula or wooden spoon, mixing just until no streaks of flour remain. Do not overmix; you want a cohesive batter but not a tough texture.
5. Pour the batter into the prepared 8×8 pan and smooth the top with an offset spatula or the back of a spoon so it’s even.
6. Bake in the preheated oven until a toothpick inserted into the center comes out with a few moist crumbs — about 20–25 minutes depending on your oven. Start checking at 18 minutes to avoid overbaking. The edges will be set and the center slightly springy.
7. While the cake is still warm in the pan, prepare the glaze: in a microwave-safe measuring cup or small bowl, combine 2 tablespoons butter and 4 tablespoons peanut butter. Microwave in 15–20 second bursts, stirring in between, until fully melted and combined. Alternatively, warm gently on the stovetop over low heat in a small saucepan, stirring until smooth.
8. Transfer the melted butter–peanut butter mixture to a medium mixing bowl and whisk briefly to homogenize. Add ½ teaspoon vanilla extract (or cooled coffee) and whisk again.
9. Add 1 cup powdered sugar to the bowl and whisk until you get a smooth, spreadable glaze. If the glaze is too thick to spread, add a splash (about 1 teaspoon at a time) of milk or warm water until it reaches spreading consistency. If it becomes too thin, whisk in a little more powdered sugar.
10. Spread the glaze evenly over the warm cake in the pan using an offset spatula or the back of a spoon. The warmth of the cake helps the glaze level and set nicely.
11. Let the pan cool on a wire rack until the glaze is fully set and the bars are at room temperature — at least 1 hour. Once cooled and firm, lift the slab out with the parchment overhang and cut into bars. A sharp knife warmed under hot water and wiped dry will give cleaner edges.
The Upside of Glazed Peanut Butter Bars
These bars are quick to pull together and don’t require creaming or complicated techniques. They’re approachable for new bakers and offer reliable texture: tender, slightly cakey bars with a rich peanut glaze. The glaze sets firm enough to make tidy squares for lunchboxes or gatherings, and the recipe scales well if you want more — double into a 9×13 pan and extend bake time slightly.
Easy Ingredient Swaps
What You’ll Need (Gear)
Easy-to-Miss Gotchas
Dietary Swaps & Alternatives
Recipe Notes & Chef’s Commentary
– Use smooth peanut butter for the glaze for the cleanest texture. Chunky will create a toothier glaze and make spreading harder.
– The recipe separates butter amounts between batter and glaze; the 1 tablespoon unsalted butter listed early is for the batter if your batter needs a touch of fat — however, the source ingredient list includes two different butter entries: 1 tablespoon and 2 tablespoons. Treat the 2 tablespoons as the glaze butter per the glaze directions and the 1 tablespoon as part of the batter if you prefer slightly richer bars. If you prefer to keep things simple, follow the bake steps without adding the extra 1 tablespoon to the batter — batter will still set well.
– Using cooled coffee instead of vanilla in either the batter or glaze adds depth and complements peanut butter without adding a strong coffee flavor — it’s subtle but effective.
– For cleaner slices, chill the pan after the glaze sets for 20–30 minutes; it firms the glaze and yields neat edges when cutting.
Meal Prep & Storage Notes
– Store bars in an airtight container at room temperature for up to 3 days. If your kitchen is warm, refrigerate to keep the glaze firm; bars will keep in the fridge for up to 7 days.
– For longer storage, freeze individual bars on a baking sheet until solid, then transfer to a freezer-safe container with parchment between layers. Freeze up to 2 months. Thaw in the fridge overnight and bring to room temperature before serving.
– If you plan to pack these for lunches, wrap them individually in parchment or wax paper to prevent sticking.
Glazed Peanut Butter Bars FAQs
Q: Can I make this in a 9×13 pan?
A: You can, but the batter amount here is sized for an 8×8. If you spread the same batter in a 9×13, the bars will be much thinner and will require a shorter bake time; for best results double the recipe for a 9×13.
Q: My glaze cracked after setting. Why?
A: If the glaze was spread too thickly and chilled rapidly, minor cracking can occur. Allow the glaze to set at room temperature before refrigerating. Also avoid over-mixing air into the glaze.
Q: Can I use crunchy peanut butter?
A: Yes, but expect a chunkier texture in the glaze and slightly less sheen. Smooth peanut butter gives the most even, glossy finish.
Serve & Enjoy
Slice these Glazed Peanut Butter Bars into squares and serve at room temperature for the best texture and flavor. They pair nicely with a cold glass of milk, a cup of coffee, or a scoop of vanilla ice cream for an easy dessert. Pack them for lunches or bring to gatherings — they travel well and disappear fast. Enjoy.
Glazed Peanut Butter Bars
Ingredients
- 1 tablespoon unsalted butter
- 1/2 cup peanut butter
- 1/2 cup granulated sugar
- 1/2 cup brown sugar
- 2 large eggs
- 1 teaspoon vanilla extract or cooled coffee
- 1 cup all-purpose flour
- 1 teaspoon baking powder
- 1/2 teaspoon salt
- 2 tablespoons butter (for glaze)
- 4 tablespoons peanut butter (for glaze)
- 1/2 teaspoon vanilla extract (for glaze) or cooled coffee
- 1 cup powdered sugar (for glaze)
Instructions
- Preheat the oven to 350°F (175°C) and line or grease an 8x8-inch baking pan.
- In a mixing bowl, combine 1 tablespoon melted unsalted butter, 1/2 cup peanut butter, 1/2 cup granulated sugar, 1/2 cup brown sugar, and 2 large eggs; whisk until smooth.
- Stir in 1 teaspoon vanilla extract (or cooled coffee), then add 1 cup all-purpose flour, 1 teaspoon baking powder, and 1/2 teaspoon salt; mix until just combined.
- Pour the batter into the prepared pan and spread it evenly.
- Bake for about 25 minutes, until the top is set and a toothpick inserted near the center comes out mostly clean; remove from oven and let the bars cool slightly while you make the glaze.
- For the glaze, melt 2 tablespoons butter and 4 tablespoons peanut butter together in a microwave-safe measuring cup or small bowl; whisk until smooth.
- Add 1/2 teaspoon vanilla extract (or cooled coffee) and whisk, then add 1 cup powdered sugar and whisk until the glaze is smooth and spreadable.
- If the glaze is too thick, add a splash of milk and whisk to reach a spreadable consistency.
- Spread the glaze over the warm bars, then let the bars cool completely until the glaze sets before cutting into 15 bars.
Equipment
- microwave-safe measuring cup or small microwave-safe bowl
- medium mixing bowl
- Whisk
- Spatula
- 8x8-inch or similar baking pan
- Measuring cups and spoons
Notes
- Use cooled coffee instead of vanilla for a subtle coffee flavor.
- Thin glaze with a small amount of milk if needed.
- Allow bars to cool completely so the glaze sets properly.