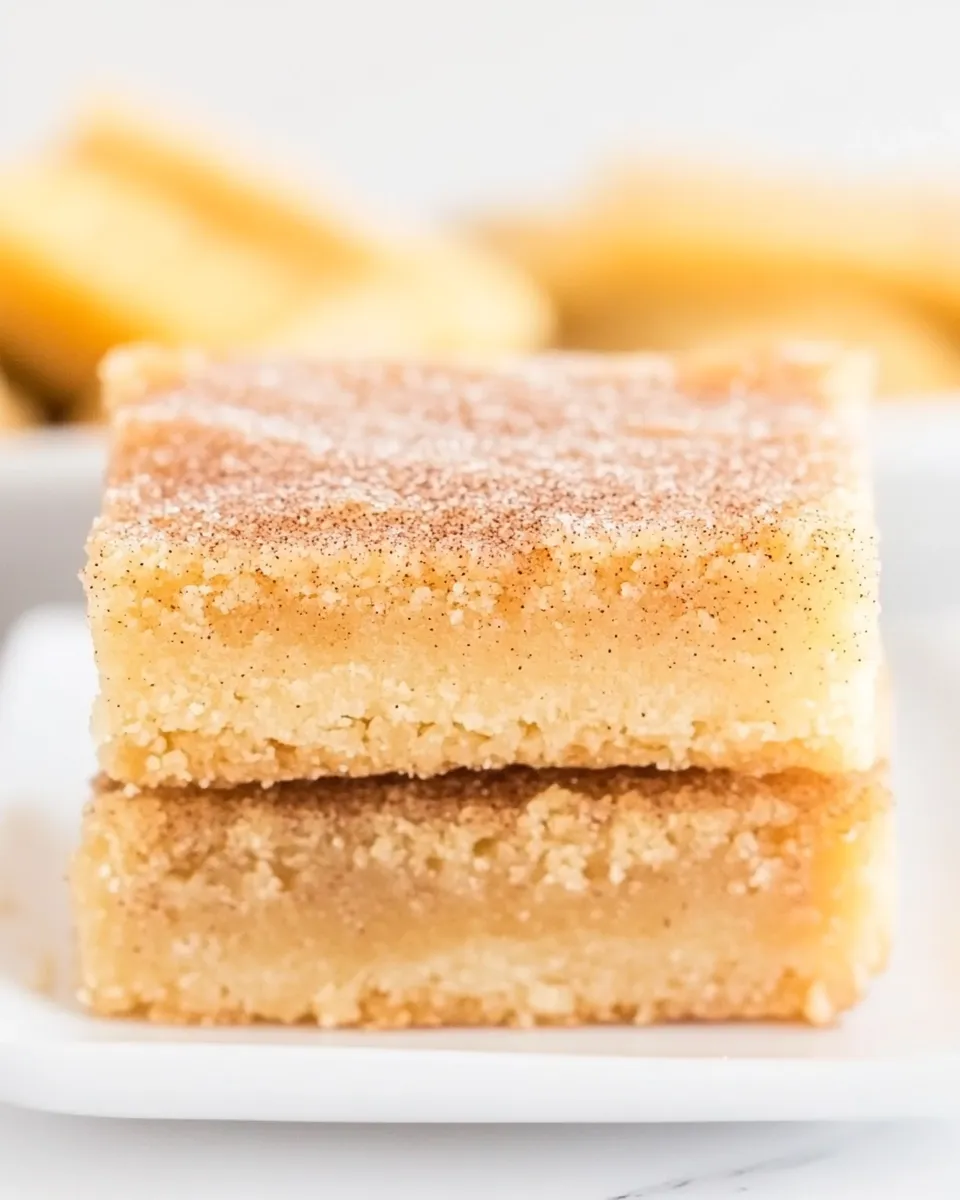
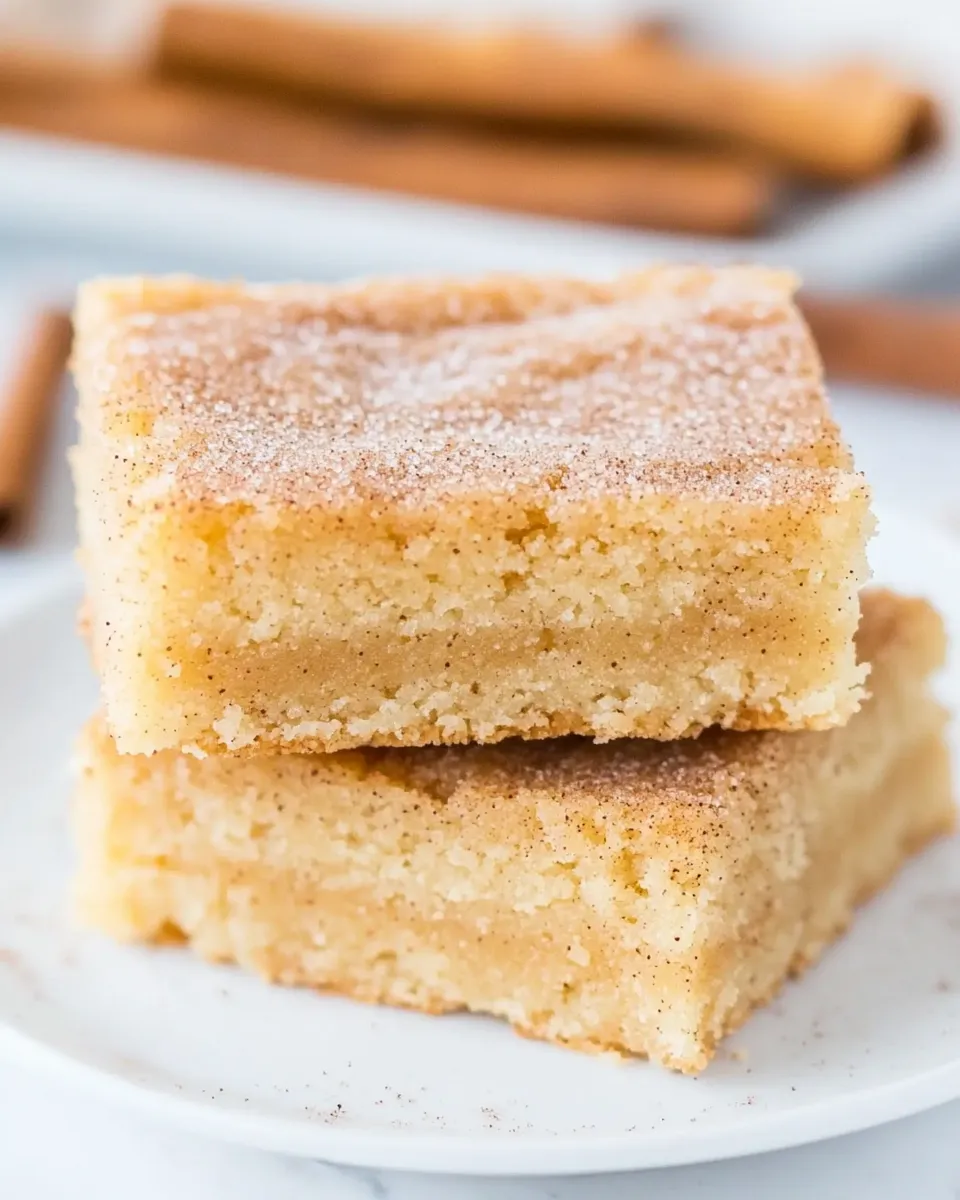
The Best Snickerdoodle Bars
These snickerdoodle bars take everything you love about a classic snickerdoodle cookie—the buttery chew, tang from cream of tartar, and that bright cinnamon-sugar finish—and turns it into an easy pan of squares. They bake up in an 8-by-8-inch pan, no rolling or scooping required, so they’re perfect for weekday treats, bake sales, or an after-dinner sweet that doesn’t overcomplicate your evening.
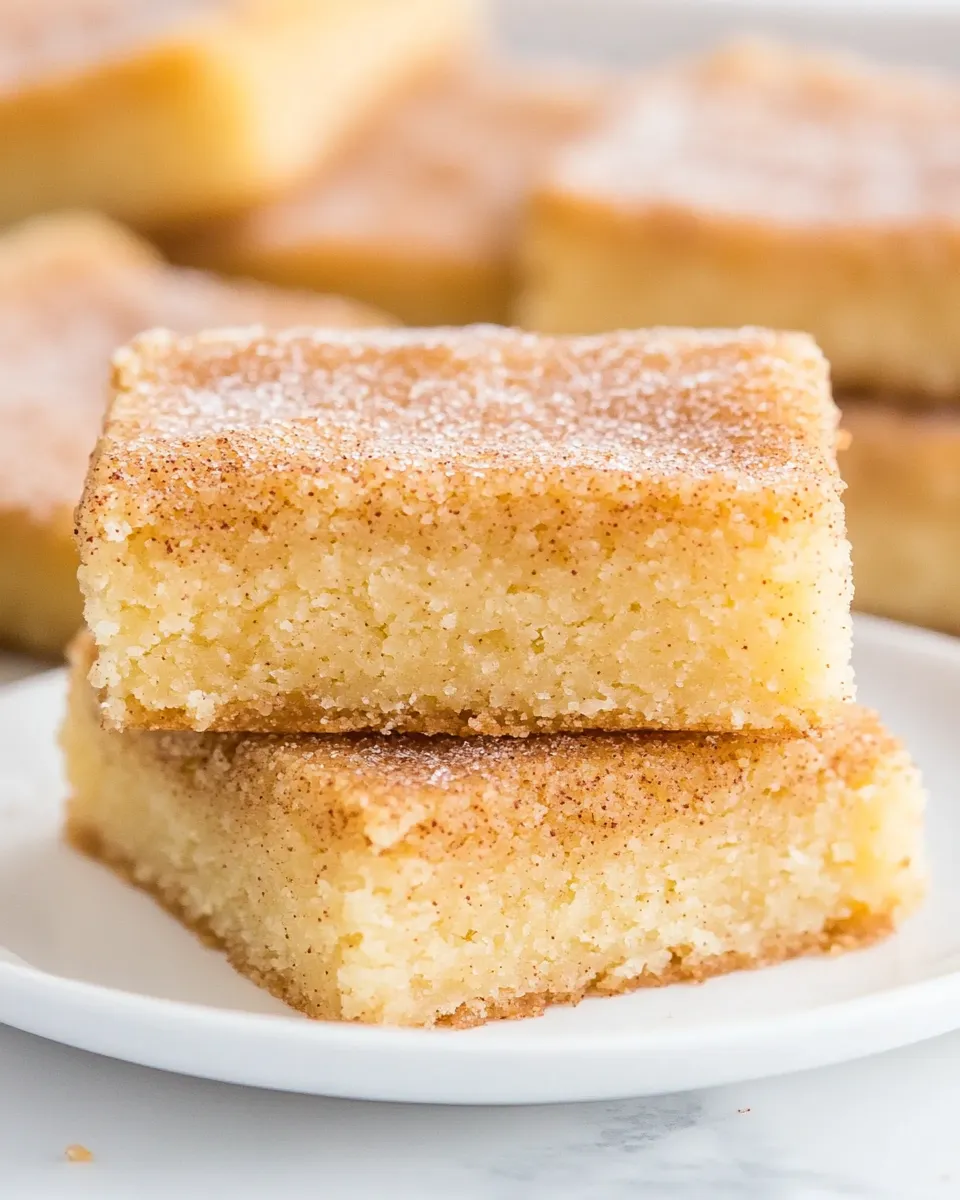
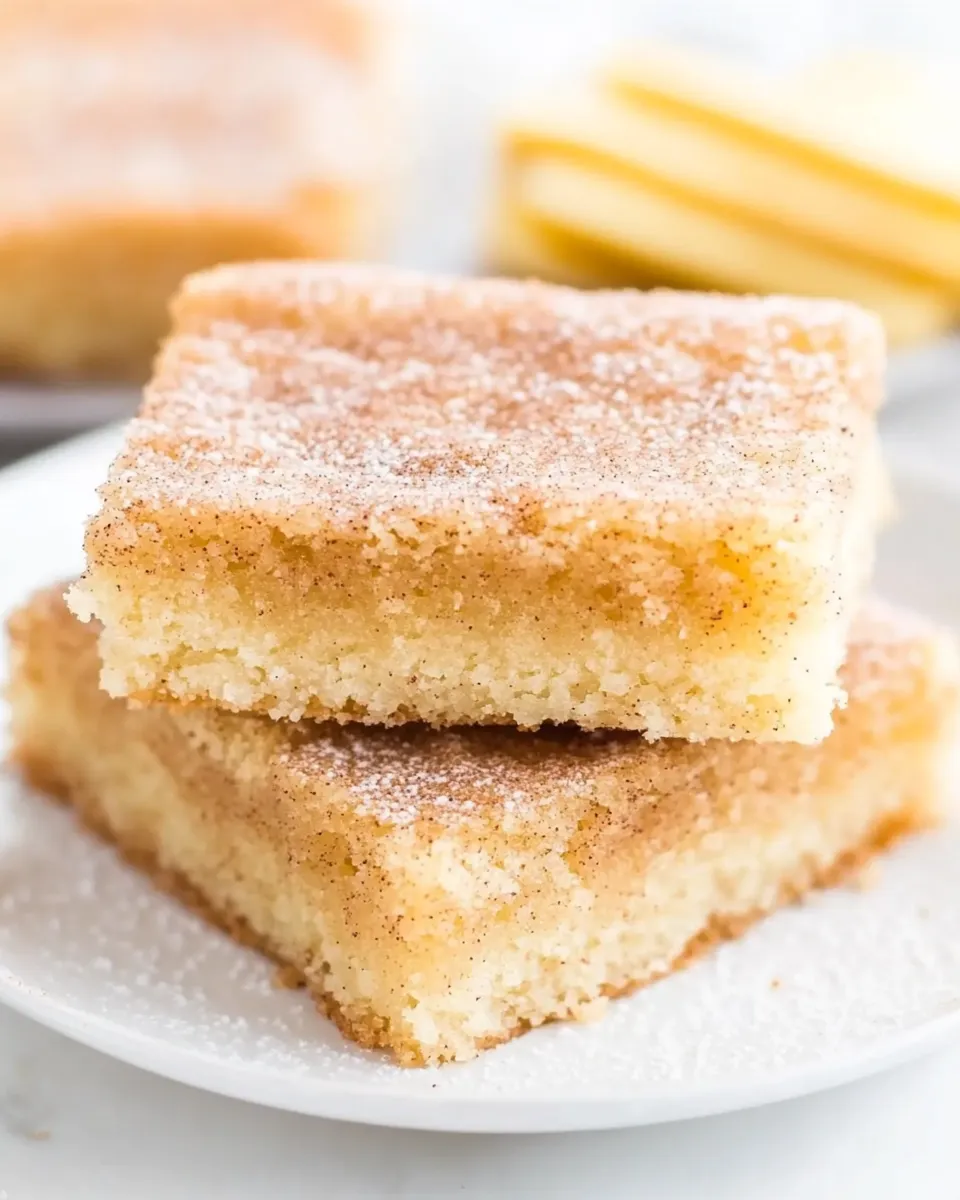
The texture is slightly soft in the middle with a tender edge, and the cinnamon-sugar top soaks in as the bars bake, creating pockets of warm spice. The recipe is straightforward and forgiving, making it a great go-to when you want reliable results without fuss.
Prep is minimal: melt butter, stir a few ingredients together, and bake. The recipe keeps well at room temperature and freezes beautifully, so you can make a batch ahead and pull out a slab whenever you need a quick dessert or snack.
What’s in the Bowl
- ½ cup unsalted butter, melted — provides the rich, tender fat that carries flavor and creates the bar’s chew.
- 1 large egg — binds the batter and adds moisture and structure.
- ½ cup granulated sugar — sweetens and helps with lightness.
- ⅓ cup light brown sugar, packed — adds moisture and a subtle caramel note.
- 1 teaspoon vanilla extract — rounds and deepens the flavor.
- 1 cup all-purpose flour — the structure of the bars; measure accurately for the right texture.
- ¼ teaspoon cream of tartar — the classic snickerdoodle ingredient that gives a slight tang and tender crumb.
- ¼ teaspoon salt, optional and to taste — enhances the flavors; omit only if you must.
- ¼ cup granulated sugar — for the cinnamon-sugar topping; adds surface crunch and sweetness.
- 2 teaspoons cinnamon — mixed with the topping sugar for that characteristic snickerdoodle spice.
Cooking The Best Snickerdoodle Bars: The Process
Follow these steps in order. Quantities are the same as the ingredient list above.
- Preheat the oven to 350°F (175°C). Line an 8-by-8-inch baking pan with aluminum foil and spray the foil lightly with cooking spray so the bars lift out easily when done. Set the pan aside.
- In a large, microwave-safe bowl, melt ½ cup unsalted butter by microwaving about 1 minute on high power. The time will vary by microwave—melt until fully liquid but not boiling.
- Let the melted butter sit briefly so it cools slightly. This prevents the egg from cooking when you add it. After a moment, add 1 large egg, ½ cup granulated sugar, ⅓ cup packed light brown sugar, and 1 teaspoon vanilla extract to the bowl. Whisk until the mixture is smooth and uniform.
- Add 1 cup all-purpose flour, ¼ teaspoon cream of tartar, and the optional ¼ teaspoon salt to the bowl. Stir gently until just combined; do not overmix. Stop when you no longer see streaks of flour.
- Turn the batter into the prepared pan and smooth the top lightly with a spatula so it’s even. It should spread easily but you can nudge it into the corners if needed.
- For the topping, use the same bowl to save dishes: combine ¼ cup granulated sugar with 2 teaspoons ground cinnamon and stir until evenly mixed.
- Using a small spoon, sprinkle the cinnamon-sugar mixture evenly over the top of the batter. It will look generous, but it sinks and soaks into the surface while baking, which is what gives the bars their signature flavor.
- Bake in the preheated oven for about 24 to 25 minutes. Test doneness by inserting a toothpick in the center: it should come out clean or with a few moist crumbs but no wet batter.
- Remove the pan from the oven and place it on a wire rack. Let the bars cool in the pan for at least 15 minutes before lifting them out using the foil. Cool a bit more on the rack before slicing into squares so they hold their shape.
Why It’s Crowd-Pleasing
These bars hit familiar, comforting flavors: brown sugar warmth, cinnamon spice, and that slight tang from cream of tartar. People respond to recognizable tastes; they’re both nostalgic and easy to love.
Because they’re baked in a pan, they’re perfect for sharing—one-bowl-ish prep and straightforward slicing make portioning easy at parties or for packing in lunches. The texture appeals to both cookie lovers and cake people: chewy and tender without being too cakey.
Quick Replacement Ideas
- Butter — stick with unsalted for control, but if you must use salted, reduce or omit the added salt.
- Light brown sugar — can’t find light? Dark brown sugar will work but will deepen the molasses flavor.
- All-purpose flour — for a slightly denser bar, you could try 90% AP flour + 10% whole wheat, but the texture will change.
- Cinnamon-sugar topping — if you prefer less surface sweetness, reduce the topping sugar slightly; the bars will still be well flavored.
Appliances & Accessories
- 8-by-8-inch baking pan — required for correct thickness and bake time.
- Aluminum foil — lining the pan makes removal easy and cleanup fast.
- Microwave-safe bowl — used to melt the butter and mix the batter.
- Spatula and whisk — whisk for the wet ingredients; spatula for folding and smoothing batter.
- Wire rack — important for cooling so bottoms don’t steam and get soggy.
Avoid These Traps
- Adding the egg too soon to hot butter — that can scramble the egg. Let the butter cool briefly before combining.
- Overmixing once flour is added — mix until just combined; overmixing gives tougher bars.
- Underbaking — bars should pass the toothpick test with only moist crumbs attached; underbaked bars will be too soft to slice.
- Skimping on the topping — it looks like a lot but it sinks in during baking; using less yields a milder cinnamon flavor.
Adaptations for Special Diets
Gluten-free: Substitute a 1-to-1 gluten-free flour blend with xanthan gum, but expect a slightly different crumb. Keep the same amount by volume and watch baking time; texture may be more delicate.
Dairy-free: Use a plant-based butter substitute that melts similarly (look for one labeled for baking). The flavor will shift slightly but the structure stays intact.
Egg-free: This recipe relies on one egg for structure; a direct swap will change texture. For an egg-free version, try a commercial egg replacer or 3 tablespoons of aquafaba (whisked) but results will vary—this is less reliable than the original.
Little Things that Matter
Measure flour properly: spoon it into the measuring cup and level it off rather than scooping, to avoid a dry, dense batter. Let melted butter cool a bit before adding egg to prevent scrambling. When sprinkling the cinnamon sugar, try to do it from a small spoon rather than dumping it; even coverage gives a consistent crust.
Shelf Life & Storage
Store the bars in an airtight container at room temperature for up to 1 week. If you need longer storage, wrap tightly and freeze for up to 6 months. Thaw in the fridge or at room temperature before serving. For best texture, bring frozen-thawed bars to room temperature before slicing.
FAQ
Q: Can I double the recipe? A: Yes—use a 9-by-13-inch pan and check baking time; it will likely need more time (start checking at 28–30 minutes).
Q: My topping sank completely—was that a problem? A: No. The recipe is designed for the cinnamon-sugar to soak into the top while baking; that’s how the flavor integrates.
Q: Why is cream of tartar used? A: It gives the subtle tang typical of snickerdoodles and helps with tender texture.
Q: Can I bake this in a metal pan vs. glass? A: Both work. Metal pans tend to brown edges a bit more; glass holds heat and may require an extra minute or two—watch the toothpick test.
Final Bite
These snickerdoodle bars are a simple, reliable dessert with the best parts of the classic cookie concentrated into easy squares. Minimal steps, pantry-friendly ingredients, and a cinnamon-sugar crown make them a weekend-baking winner. Make a pan, let them cool, and enjoy warm or room temperature—either way, they disappear fast.

The Best Snickerdoodle Bars
Ingredients
- 1/2 cup unsalted butter melted
- 1 large egg
- 1/2 cup granulated sugar
- 1/3 cup light brown sugar packed
- 1 teaspoon vanilla extract
- 1 cup all-purpose flour
- 1/4 teaspoon cream of tartar
- 1/4 teaspoon salt optional and to taste
- 1/4 cup granulated sugar for sprinkling
- 2 teaspoons ground cinnamon for sprinkling
Instructions
- Preheat the oven to 350°F (175°C). Line an 8×8-inch baking pan with aluminum foil and lightly spray the foil with cooking spray; set the pan aside.
- In a large microwave-safe bowl, melt the 1/2 cup melted butter in the microwave (about 1 minute). Let it cool briefly so it is warm but not hot.
- Add the large egg, 1/2 cup granulated sugar, 1/3 cup packed light brown sugar, and 1 teaspoon vanilla extract to the butter and whisk until smooth.
- Stir in 1 cup all-purpose flour, 1/4 teaspoon cream of tartar, and 1/4 teaspoon salt (if using) until just combined; do not overmix.
- Spread the batter evenly into the prepared pan and smooth the top with a spatula.
- In a small bowl, combine 1/4 cup granulated sugar and 2 teaspoons ground cinnamon and stir to blend.
- Evenly sprinkle the cinnamon-sugar mixture over the batter, using a small spoon to distribute it across the surface.
- Bake for 24 to 25 minutes, or until a toothpick inserted in the center comes out clean or with a few moist crumbs but no wet batter.
- Remove the pan from the oven and place it on a wire rack to cool for at least 15 minutes before lifting the foil and slicing into 9 to 12 generous squares.
Equipment
- 8x8-inch Baking Pan
- Aluminum Foil
- cooking spray
- large microwave-safe bowl
- Spatula
- small bowl
- Wire Rack
Notes
- Use an 8×8-inch pan for best results.
- Do not overmix the batter to keep bars tender.
- Let the pan cool at least 15 minutes before slicing.
- Salt is optional; add to taste.