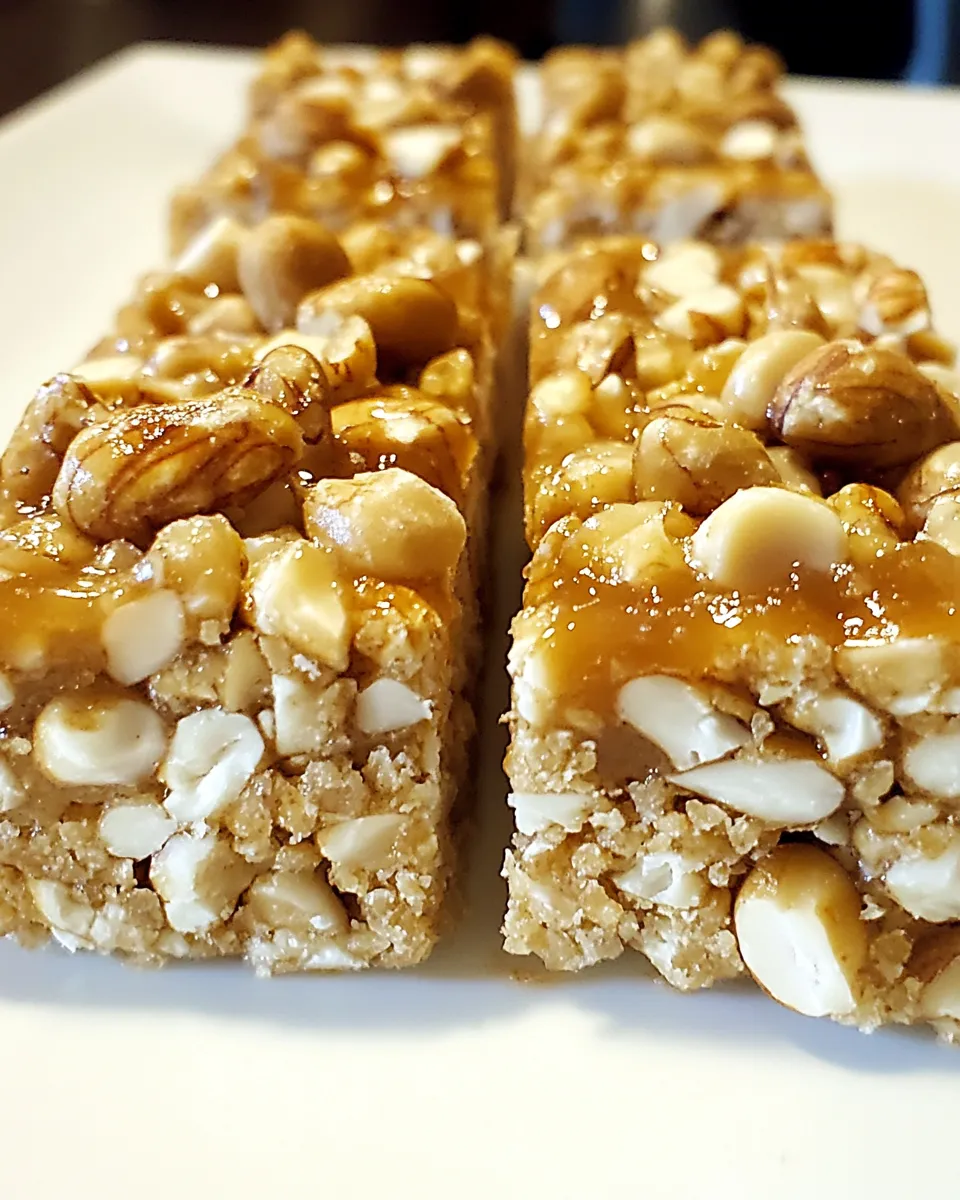
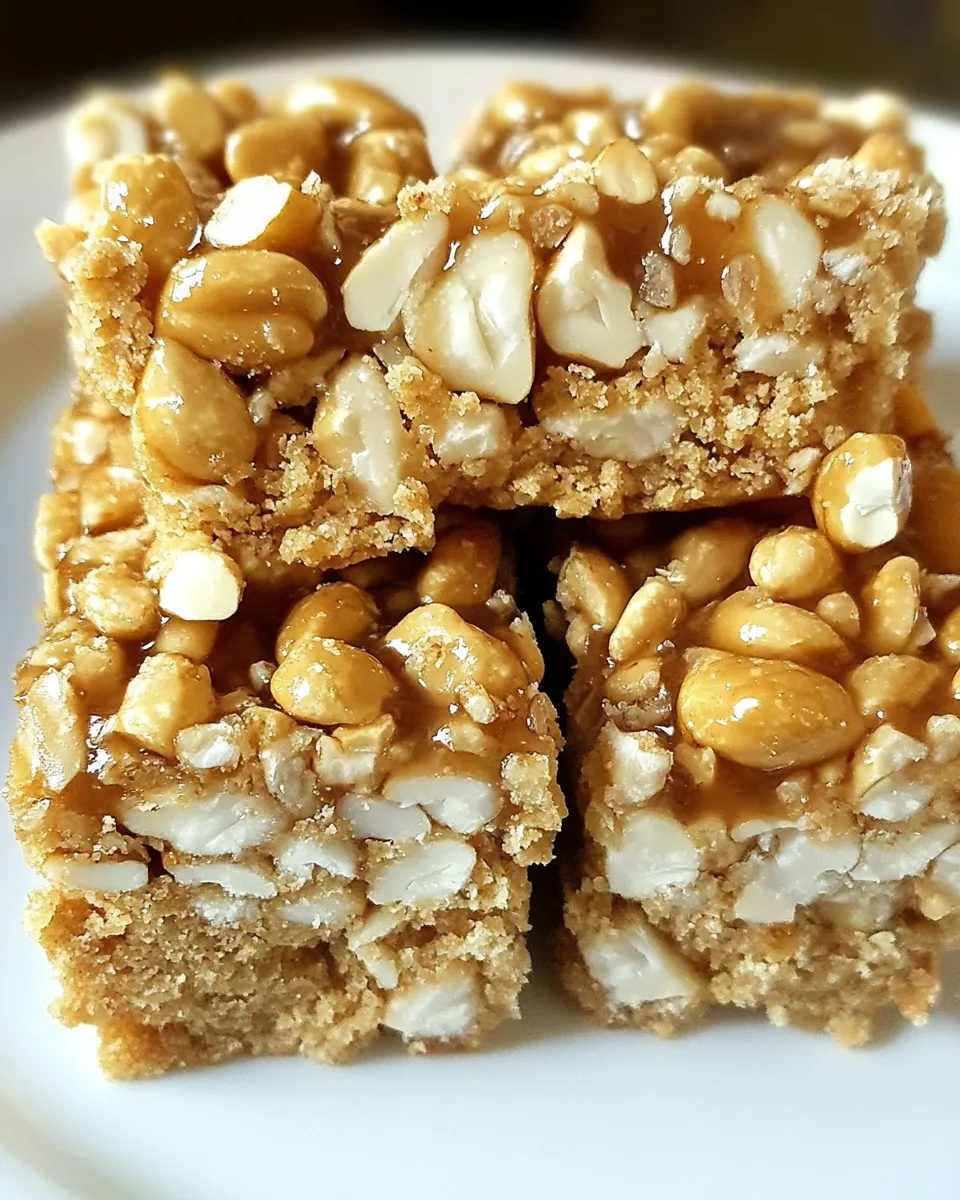
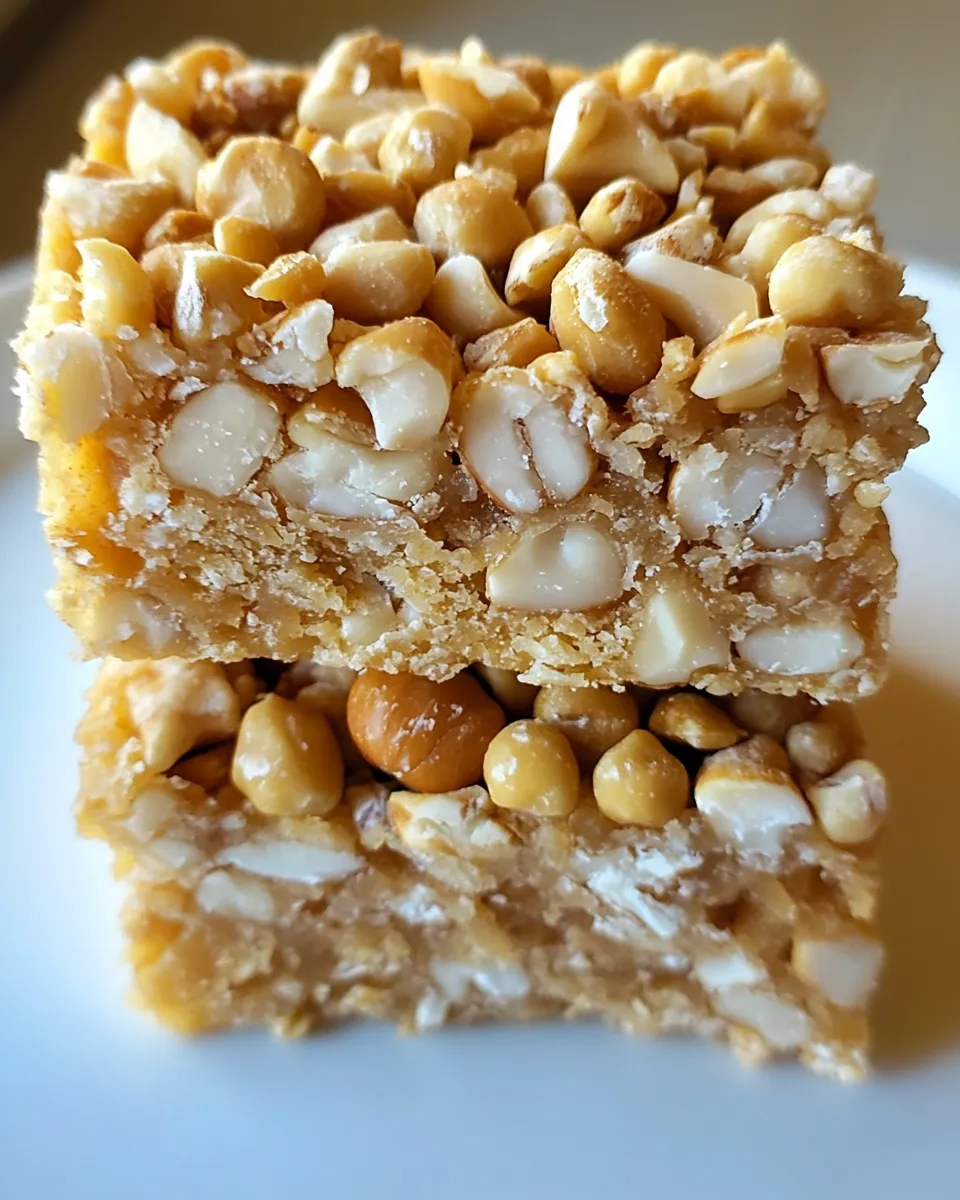
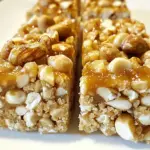
Salted Nut Roll Bars
These Salted Nut Roll Bars are a cheerful mash-up of chewy marshmallow, crunchy peanuts and Rice Krispies, and a buttery cookie-like base. They channel everything you love about classic candy bars into traybake form—easy to slice, shareable, and reliably indulgent. The flavors are straightforward: brown sugar and vanilla in the crust, gooey marshmallow, then a peanut butter-chip “caramel” studded with salty peanuts and cereal for snap.
They’re a great weekend project because most of the work happens in short, focused stages: make the crust, toast the marshmallows, melt and mix the topping, then assemble and cool. No tempering chocolate, no candy thermometer—just basic pantry ingredients and a bit of patience while the bars set.
Below you’ll find a clear ingredients list with quick tips for each item, step-by-step instructions that follow the original recipe order, troubleshooting notes, swap ideas, storage advice, and simple serving suggestions. Read through once, prep your mise en place, and these Salted Nut Roll Bars will come together smoothly.
The Essentials

- Yields — One 9×13 pan of bars; slice to desired size.
- Time — Active work: about 30 minutes. Oven time and cooling: roughly 1¼–1½ hours total.
- Skill level — Beginner-friendly; straightforward baking and stovetop melting.
- Taste profile — Sweet and salty, chewy and crunchy with vanilla and brown-sugar notes.
- Best for — Bake sales, potlucks, dessert tables, or an indulgent snack jar.
Stepwise Method: Salted Nut Roll Bars
Ingredients
- 2 cups all-purpose flour — Provides structure for the crust; measure by spooning into the cup and leveling.
- 1 cup packed light brown sugar — Adds moisture and caramel notes to the crust.
- 1 teaspoon baking powder — Lightens the crust slightly so it isn’t too dense.
- ½ teaspoon baking soda — Works with the brown sugar acid to give lift and flavor.
- 1 large egg — Binds the crust ingredients and adds richness.
- ½ cup unsalted butter (melted) — Fat for the crust; melted butter helps bind and create a tender crumb.
- 1 teaspoon vanilla extract — Flavor booster for the crust.
- 4 cups miniature marshmallows — The gooey middle layer; miniature size melts evenly and puffs nicely.
- 10 ounce bag peanut butter chips — Forms the sweet, peanut-forward topping when melted with syrup and butter.
- ⅔ cup light corn syrup — Keeps the topping glossy and cohesive; helps bind chips, peanuts, and cereal.
- ½ cup unsalted butter — Melted into the peanut butter-chip mixture for richness and spreadability.
- 2 to 3 cups salted peanuts — Adds crunch and salty contrast; 2 cups for milder salt, 3 for a bigger salty punch.
- 2 cups Rice Krispies cereal — Introduces an airy crisp texture to the topping; fold in gently to keep crunch.
- Flaky sea salt (optional) — A final sprinkle enhances contrast; add sparingly to taste.
The Upside of Salted Nut Roll Bars
- Make-ahead friendly — They hold up well at room temperature for several days when stored properly.
- Portable — Cut into squares or bars; easy to pack for lunches or picnics.
- No special equipment — Standard oven and a saucepan are all you need.
- Flexible salt level — You control how salty the final bar is by adjusting peanut quantity or adding flaky sea salt.
Swap Guide
- Peanut chips — If you can’t find peanut butter chips, milk or semi-sweet chocolate chips work, though the flavor will shift away from peanut-focused.
- Peanuts — Substitute roasted salted almonds or mixed nuts for different textures and flavors.
- Rice Krispies — Use other puffed rice or corn flakes for a similar crunch; note texture will vary.
- Corn syrup — Light corn syrup is recommended for texture; using honey will change flavor and stickiness.
Equipment at a Glance
- 9×13 baking pan — Lined with parchment for easy removal and clean cuts.
- Medium mixing bowl — For crust assembly.
- Medium saucepan — To melt chips, butter, and corn syrup together.
- Spatula or wooden spoon — For stirring and spreading layers.
- Measuring cups and spoons — Accurate measuring keeps texture consistent.
Problems & Prevention
- Crust too dry — Make sure butter is fully measured and melted; do not overmix the flour once liquid ingredients are added.
- Marshmallows don’t brown — Oven temperatures vary; leave them in until they visibly puff and start to turn golden—12–15 minutes as a guideline.
- Topping won’t spread — Ensure the peanut butter chips mixture is melted and warm; if it cools, gently reheat over low heat until spreadable.
- Bars fall apart — Press the crust firmly into the pan and let bars cool completely before slicing so the topping sets and binds.
Customize for Your Needs
- Less sweet — Reduce peanut butter chips slightly and increase peanuts to 3 cups for a more savory crunch.
- Nut-free — Replace peanuts with roasted pumpkin seeds and use chocolate chips if peanut chips aren’t allowed.
- Extra chew — Add ½ cup chopped soft caramel to the topping mix before pressing, but watch cooling time.
Method to the Madness
- Work in stages — Crust first, marshmallows second, topping last. This staging keeps each layer at the correct temperature and texture.
- Line the pan — Use parchment with overhang so you can lift the whole slab out to cool and cut cleanly.
- Spread while warm — The peanut-chip mixture should be warm when spread over the marshmallows for best adhesion.
Keep It Fresh: Storage Guide
- Room temperature — Store in an airtight container for up to 3 days; keep out of direct sunlight or heat so topping doesn’t soften.
- Refrigerator — Refrigerate up to 1 week; note the marshmallow layer will be slightly firmer and the topping more set—bring to room temp before serving for best texture.
- Freezing — Wrap tightly and freeze for up to 3 months. Thaw in the refrigerator overnight, then return to room temperature before slicing.
Frequently Asked Questions
- Can I make the crust ahead? — Yes. You can press and par-bake the crust, then store it wrapped until ready to finish. Add marshmallows and proceed when ready to assemble.
- Why do marshmallows need a second bake? — The second bake puffs and lightly browns the marshmallows so they form an even layer that bonds to both the crust and the topping.
- Can I skip the parchment? — You can, but slicing and removing the bars will be messier. Parchment makes lifting and cutting much cleaner.
- How thin should I spread the topping? — Aim for an even layer that just covers the puffed marshmallows; too thick makes cutting messy and too thin loses crunch balance.
Serve & Enjoy
When the bars are completely cooled and firm, lift the slab from the pan using the parchment overhang and transfer to a cutting board. Use a sharp knife—wiping it clean between cuts gives neater edges. If you like a finishing touch, sprinkle a few flakes of sea salt over the top immediately after spreading the warm topping; it elevates the sweet-salty contrast.
Serve these Salted Nut Roll Bars with coffee, milk, or a scoop of vanilla ice cream for a nostalgic dessert. They’re sturdy enough to pack for outings and sweet enough to disappear fast at gatherings. Store leftover bars in an airtight container, and enjoy every crunchy, gooey bite.
Instructions
- Preheat the oven to 350°F. Line a 9×13-inch baking pan with parchment paper, leaving an overhang for easy removal later.
- In a medium mixing bowl, combine 2 cups all-purpose flour, 1 cup packed light brown sugar, 1 teaspoon baking powder, and ½ teaspoon baking soda. Whisk briefly to distribute the leavening evenly.
- Add 1 large egg, ½ cup unsalted butter (melted), and 1 teaspoon vanilla extract to the dry ingredients. Stir until the mixture is well combined and forms a cohesive dough.
- Press the crust mixture evenly into the prepared 9×13 pan, packing it down so the surface is level.
- Bake the crust in the preheated oven for 12 minutes. Remove the pan from the oven when the time is up.
- Immediately spread 4 cups miniature marshmallows in an even layer over the hot crust. Return the pan to the oven and bake until the marshmallows puff and begin to turn golden, about 12 to 15 minutes. Watch closely during the last few minutes to avoid burning.
- While the marshmallows bake, prepare the topping: In a medium saucepan over medium heat, combine the contents of a 10-ounce bag peanut butter chips, ⅔ cup light corn syrup, and ½ cup unsalted butter. Stir continuously until the chips and butter are fully melted and the mixture is smooth and glossy. Keep the heat moderate to avoid scorching.
- Remove the saucepan from heat and stir in 2 to 3 cups salted peanuts and 2 cups Rice Krispies cereal until evenly distributed. Use 2 cups of peanuts for a milder saltiness or 3 cups for a stronger salty bite.
- When the marshmallows are puffed and golden, remove the pan from the oven. Immediately and carefully spread the warm peanut-chip, peanut, and Rice Krispies mixture over the marshmallow layer, working quickly so the topping adheres while still warm.
- Allow the assembled bars to cool completely in the pan at room temperature so the topping sets and the layers bind. This may take an hour or more depending on room temperature.
- Once completely cooled, use the parchment overhang to lift the slab from the pan. Place on a cutting board and cut into bars or squares with a sharp knife. If desired, sprinkle flaky sea salt on top right after spreading the topping for added contrast.
Salted Nut Roll Bars
Ingredients
- 2 cups all-purpose flour
- 1 cup packed light brown sugar
- 1 teaspoon baking powder
- 1/2 teaspoon baking soda
- 1 large egg
- 1/2 cup unsalted butter melted (for crust)
- 1 teaspoon vanilla extract
- 4 cups miniature marshmallows
- 10 ounce peanut butter chips
- 2/3 cup light corn syrup
- 1/2 cup unsalted butter for topping
- 2 to 3 cups salted peanuts
- 2 cups Rice Krispies cereal
- flaky sea salt optional, for sprinkling
Instructions
- Preheat the oven to 350°F (175°C). Line a 9x13-inch baking pan with parchment paper, leaving an overhang for easy removal.
- Make the crust: In a medium bowl, combine the flour, packed light brown sugar, baking powder, baking soda, egg, 1/2 cup melted unsalted butter, and vanilla until evenly mixed and combined.
- Press the crust mixture firmly and evenly into the prepared pan.
- Bake the crust for 12 minutes, then remove from the oven.
- Immediately sprinkle the 4 cups miniature marshmallows evenly over the hot crust.
- Return the pan to the oven and bake until the marshmallows puff and begin to turn golden, about 12 to 15 minutes. Watch closely to avoid overbrowning.
- While marshmallows bake, make the topping: In a medium saucepan over medium heat, combine the peanut butter chips, 2/3 cup light corn syrup, and 1/2 cup unsalted butter. Stir constantly until melted and smooth, about 1–3 minutes.
- Remove the pan from heat and stir in the salted peanuts (2 to 3 cups) and 2 cups Rice Krispies cereal until evenly coated.
- Spread the warm topping over the puffed, golden marshmallows. Use a lightly greased spatula to press and flatten the topping into the marshmallow layer.
- Let the bars cool completely in the pan. Once cool, lift them out using the parchment overhang and cut into bars. Sprinkle with flaky sea salt if desired.
Equipment
- 9x13 inch Baking Pan
- Parchment Paper
- Mixing bowls
- Measuring cups and spoons
- Saucepan
- Spatula
- Oven
Notes
- Don’t add more than about 3 cups of peanuts to keep the sweet-salty balance.
- Keep an eye on the crust as oven temperatures vary.
- Start the topping about 5 minutes after the marshmallow-topped base returns to the oven.
- Use a lightly greased spatula to press the topping into the marshmallows for a flat top.