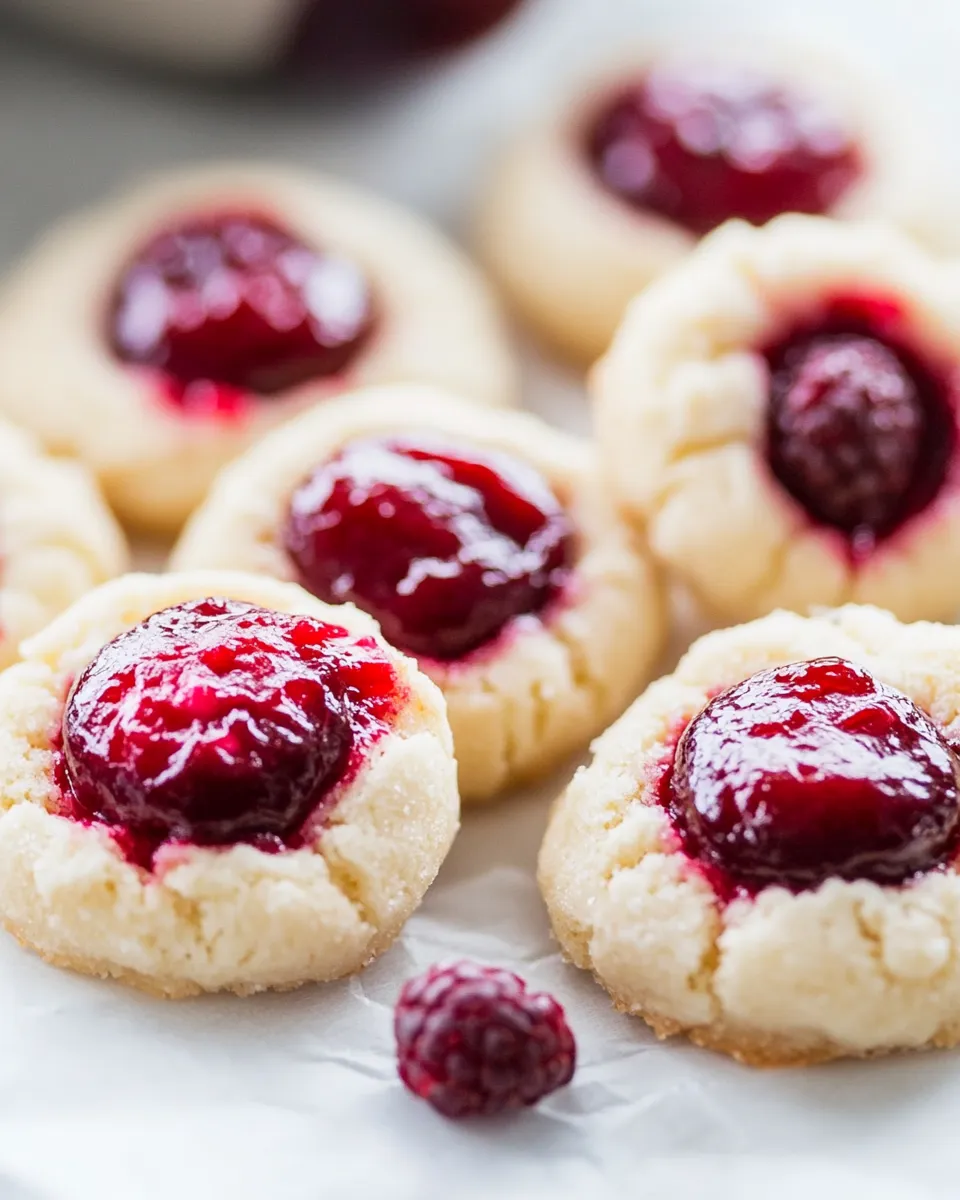
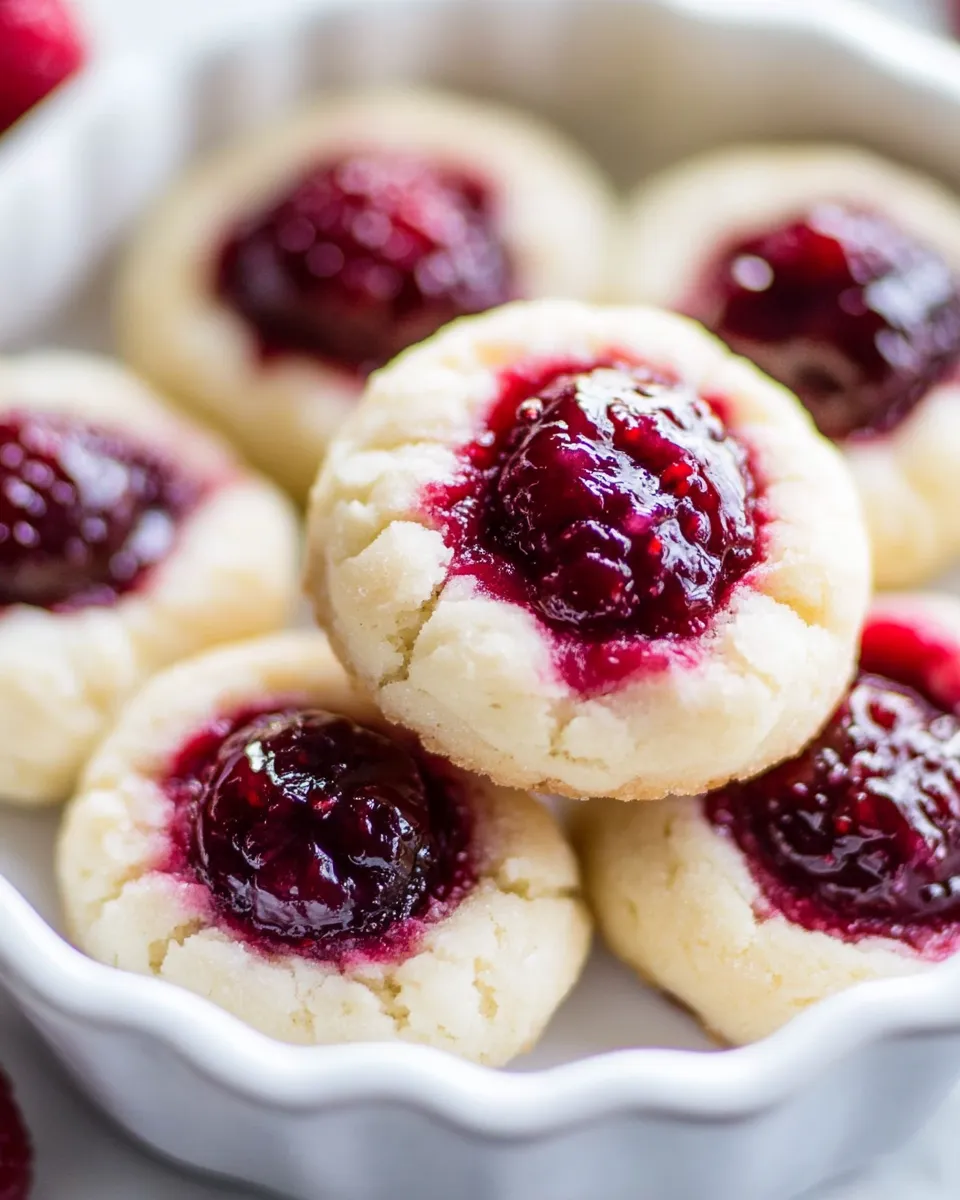
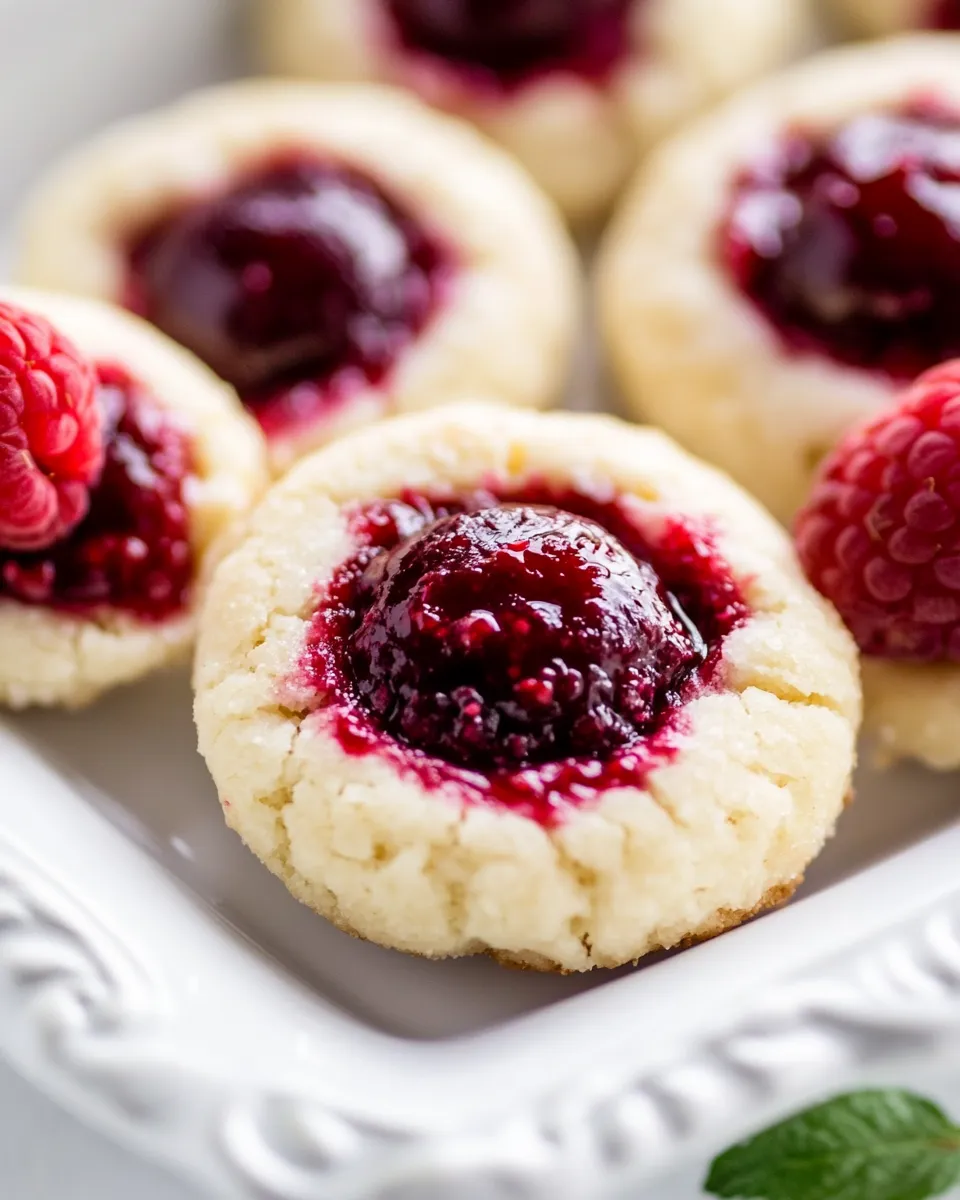
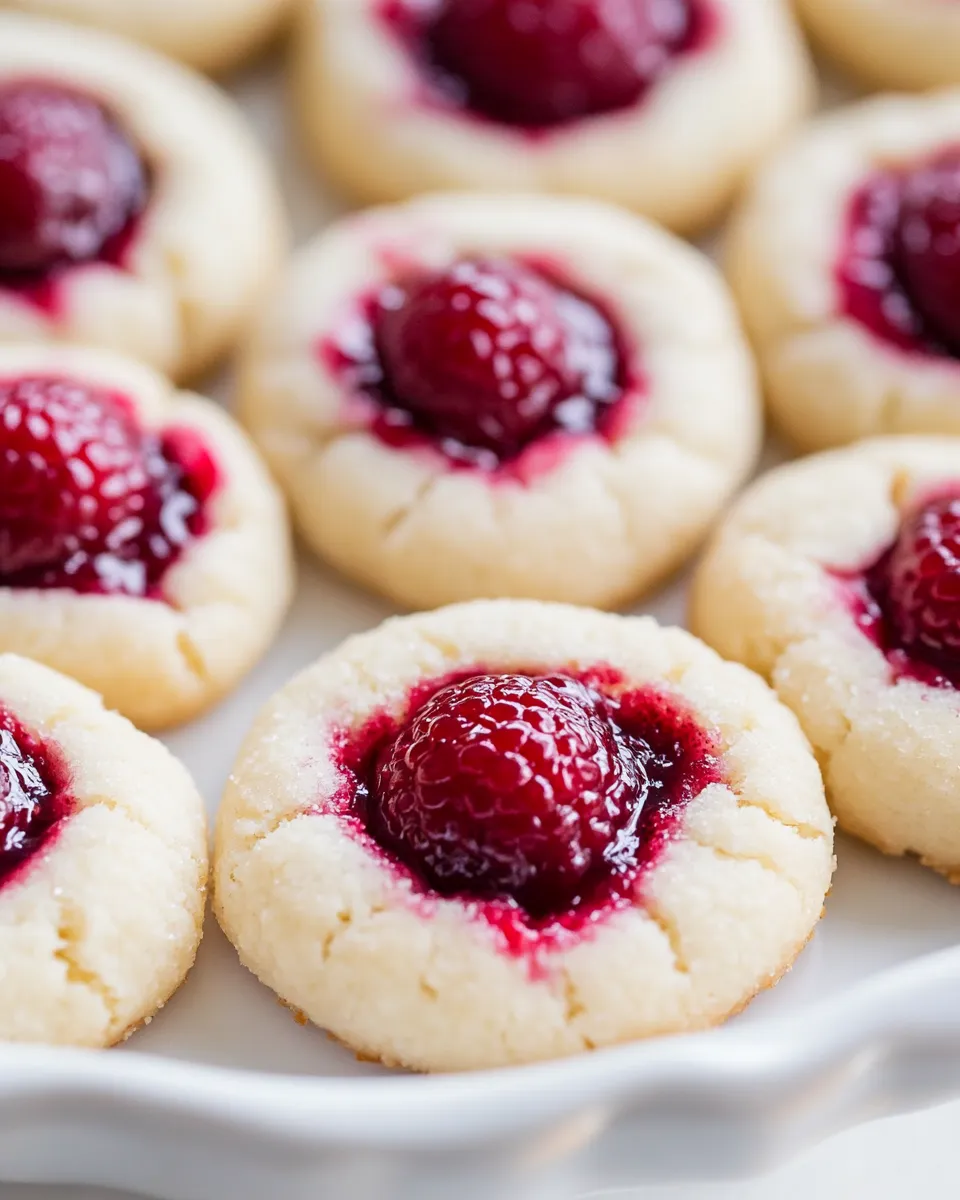
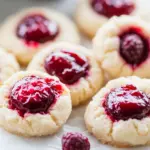
Raspberry Thumbprint Cookies
These raspberry thumbprint cookies are the kind you make when you want something classic, buttery, and just a little bit special. They come together with pantry-stable ingredients and a single jar of raspberry preserves. The result is crisp edges, tender centers, and jam that holds its place without running.
I test small tweaks so you don’t have to—chilling the dough, using powdered sugar for a delicate texture, and making the jam well deep enough so each bite has fruit. The recipe below is straightforward and forgiving, which makes it great for a weekday baking session or a cookie swap.
The Ingredient Lineup
- 1 cup unsalted butter, softened — provides richness and structure; use room-temperature butter for smooth creaming.
- 1/2 cup powdered sugar — sweetens and keeps the cookie tender; sift if lumpy.
- 2 teaspoons pure vanilla extract — aromatic backbone; almond extract is an optional swap (keeps same amount).
- 1/8 teaspoon salt — balances sweetness and enhances flavor.
- 2 cups all-purpose flour — the bulk of the cookie; measure by spooning into the cup and leveling for accuracy.
- 1/2 cup thick raspberry preserves — the filling; use a seedless or seeded preserve depending on texture preference.
Make Raspberry Thumbprint Cookies: A Simple Method
- Prepare your baking sheets by lining them with parchment paper or silicone baking mats; set aside.
- In a large bowl, add the softened unsalted butter and powdered sugar. Using a hand mixer or stand mixer, beat on high speed for about 2–3 minutes until the mixture is light and fluffy. Stop once the butter mixture has noticeably lightened in color and texture.
- Scrape down the sides and bottom of the bowl with a spatula. Add the vanilla extract and salt, then switch the mixer to medium speed and briefly mix to incorporate.
- With the mixer on low, add the all-purpose flour gradually and mix just until the dough comes together. The dough should be fairly sticky but still hold shape—avoid overmixing, which can toughen the cookies.
- Gather the dough into a ball, wrap it or cover the bowl, and chill in the refrigerator for 30–60 minutes. Chilling firms the dough and prevents excessive spreading during baking.
- When the dough has chilled, preheat the oven to 325°F (163°C) and position a rack in the middle of the oven.
- Scoop the dough using a tablespoon or small ice cream scoop to get portions of about a few tablespoons each. Roll each portion into approximately 1-inch balls and place them on the prepared baking sheets, spacing them evenly to allow a little puffing.
- Using the handle end of a wooden spatula, a small spoon, or your finger, press a well into the center of each dough ball. Make the indentation deep enough to hold jam without breaking through the bottom, and keep it reasonably narrow so the jam stays contained.
- Fill each well with a generous amount of raspberry preserves—use about a teaspoon per cookie or adjust to your preference. A small spoon or a piping bag makes this neater.
- Bake the cookies in the preheated oven for 20–25 minutes, until they are golden brown and puffed. Watch the first batch closely; oven times can vary.
- Remove the tray from the oven and let the cookies rest on the baking sheet for 5 minutes to set. Then transfer them to a wire rack to cool completely.
- Once cooled, dust with a light sprinkle of powdered sugar if desired. Serve and enjoy.
Why Raspberry Thumbprint Cookies is Worth Your Time
These cookies reward a little patience. Chilling the dough and using powdered sugar create a tender crumb that feels more refined than a standard drop cookie. The jam center gives a bright, fruity contrast to the buttery base, and because the preserves are thick, they hold up well through baking.
They’re easy to scale up for gifts or slices of life—holiday platters, bake sales, or afternoon tea. Plus, the method is forgiving: slight variations in oven heat or dough firmness won’t ruin the batch, so they’re perfect for bakers who want consistent, attractive results without fuss.
Substitutions by Category
- Butter — Keep unsalted if possible. If you must use salted butter, omit the 1/8 teaspoon salt in the recipe.
- Sugar — Powdered sugar is integral to the texture; substituting granulated will change the cookie’s tenderness and isn’t recommended.
- Extracts — Vanilla is standard. Swap with almond extract for a nuttier note, using the same quantity (2 tsp).
- Flour — All-purpose flour gives the intended structure. Whole wheat will make denser cookies—swap up to half and expect a heartier texture.
- Filling — Raspberry preserves are written here, but any thick jam or curd will work. Avoid watery fillings that will spread.
Setup & Equipment
- Stand mixer or hand mixer — for creaming butter and sugar smoothly.
- Large mixing bowl — roomy enough to mix without spills.
- Spatula — for scraping the bowl and gathering dough.
- Measuring cups and spoons — accurate dry measurements matter for consistent cookies.
- Parchment paper or silicone baking mats — prevents sticking and promotes even browning.
- Baking sheets — two or three depending on batch size.
- Small spoon, piping bag, or piping tip — for filling the wells with preserves.
- Wire cooling rack — for complete cooling after a short rest on the sheet.
Pitfalls & How to Prevent Them
Dough too sticky to handle
Chill the dough for the full 30–60 minutes. If still too soft, return to fridge in 10–15 minute increments until scoopable.
Jam running or thinning
Use thick preserves. If your jam is loose, gently simmer it to reduce moisture, or strain to remove excess liquid before filling cookies.
Wells collapse or holes through the bottom
Press gently and stop before breaking through. If a hole forms, pinch the dough around it to seal, then refill.
Cookies spreading too much
Ensure butter is softened but not melted; over-softened butter causes spread. Also, chill the dough long enough and bake on a middle rack to avoid uneven heat.
Fit It to Your Goals
- Want prettier cookies? Use a small piping bag to fill jam neatly and dust lightly with powdered sugar when cooled.
- Make-ahead: Bake, cool, then freeze cookies in a single layer with parchment between them. Thaw at room temperature before serving.
- Gift-ready: Package in a tin with parchment paper and include a note about keeping them in a cool place for up to 3 days.
- Increase yield: Double the recipe and bake in consecutive batches. Dough can chill for up to 24 hours covered in the fridge.
Chef’s Rationale
I use powdered sugar and a relatively low oven temperature to preserve a tender interior while developing a light golden edge. The 1/8 teaspoon salt is small but essential to lift the flavor without making the cookies savory. Chilling concentrates the butter and makes shaping reliable—thumbprint cookies hinge on a well-formed well that holds jam, so temperature control matters.
Raspberry preserves are chosen for their bright acidity and concentrated flavor, which complements the buttery base. The proportions aim for balance: enough jam for a noticeable burst without overwhelming the cookie’s delicate texture.
Save for Later: Storage Tips
- Room temperature: Store in an airtight container for up to 3 days. Place parchment between layers to prevent sticking.
- Refrigerator: Keeps for up to 1 week in an airtight container; jam may firm slightly when chilled.
- Freezer: Freeze baked cookies in a single layer on a tray, then transfer to a freezer-safe container. They keep well for up to 3 months. Thaw at room temperature before serving.
- Make-ahead dough: Shape into balls and freeze on a tray, then transfer to a bag. Bake from frozen, adding a few minutes to the bake time.
Common Questions
- Can I use granulated sugar? Powdered sugar is key for texture here—granulated will produce a firmer, crumblier cookie. Not recommended.
- How big should each cookie be? Roll into roughly 1-inch balls; use a tablespoon or small scoop for consistency.
- What if my preserves have seeds? Seeded preserves add texture; if you prefer smooth centers, use seedless jam.
- Can I make these without chilling? Chilling is important to prevent spreading and to make shaping easier. A short chill is strongly advised.
- Why bake at 325°F? Lower temperature allows the cookie to cook through without overbrowning the jam or edges.
In Closing
This Raspberry Thumbprint Cookies recipe is straightforward, reliable, and forgiving—perfect when you want a homemade cookie that feels a little special. Follow the steps, keep the ingredients simple, and don’t skip the chill. The payoff is crisp-edged, tender cookies with a jewel-like raspberry center that always goes fast.
Bake a batch, share a few, and keep the rest for sneaking with your afternoon tea. Happy baking!
Raspberry Thumbprint Cookies
Ingredients
- 1 cup unsalted butter softened
- 1/2 cup powdered sugar
- 2 teaspoons pure vanilla extract or almond extract
- 1/8 teaspoon salt
- 2 cups all-purpose flour
- 1/2 cup thick raspberry preserves
Instructions
- Line two baking sheets with parchment paper or silicone baking mats and set aside.
- In a large bowl, beat the softened butter and powdered sugar on high with a hand or stand mixer until light and fluffy, about 2–3 minutes.
- Scrape down the bowl, add the vanilla extract and salt, and mix briefly on medium speed to combine.
- With the mixer on low, add the all-purpose flour and mix until the dough just comes together; it should be slightly sticky but firm.
- Form the dough into a ball, cover, and chill in the refrigerator for 30–60 minutes.
- Preheat the oven to 325°F (165°C) and position a rack in the middle of the oven.
- Scoop about 1 tablespoon (a few tablespoons per recipe note) of dough and roll into 1-inch balls; place them on the prepared baking sheets, spaced evenly.
- Using the handle of a wooden spoon or your fingertip, press a deep well into the center of each ball without creating a hole through to the baking sheet.
- Fill each well with a generous amount of raspberry preserves using a small spoon or a piping bag.
- Bake the cookies for 20–25 minutes, until they are puffed and lightly golden around the edges.
- Let the cookies cool on the baking sheet for 5 minutes, then transfer to a cooling rack to cool completely.
- Optional: once cooled, dust with a little powdered sugar if desired.
Equipment
- Mixing Bowl
- Hand mixer or stand mixer
- Spatula
- Baking Sheet
- parchment paper or silicone baking mat
- cooling rack
- Measuring cups and spoons
Notes
- Chill the dough for at least 30 minutes for easier shaping.
- Use thick preserves to prevent runny centers.
- Do not press the well all the way through the dough.
- Space cookies evenly to allow for slight spreading.
- Allow cookies to cool completely before dusting with powdered sugar.