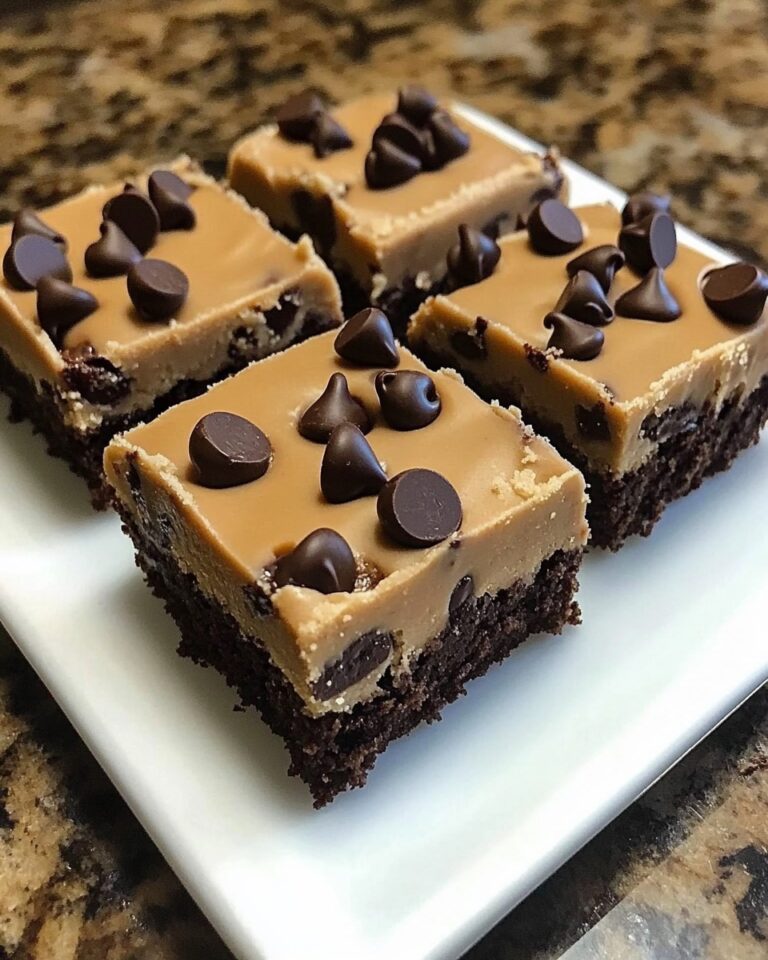
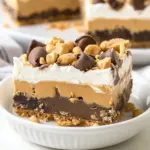
Peanut Butter Dream Bars
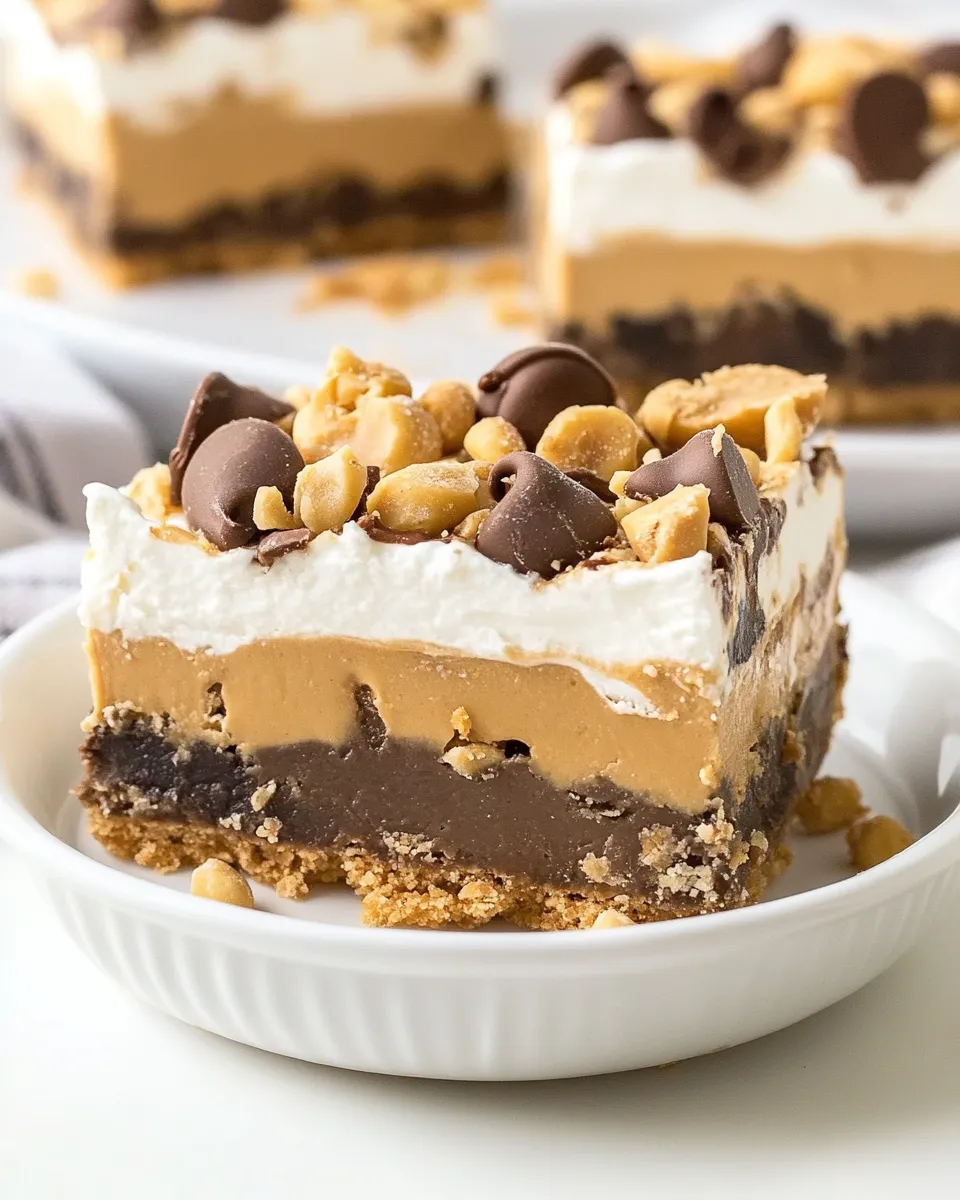
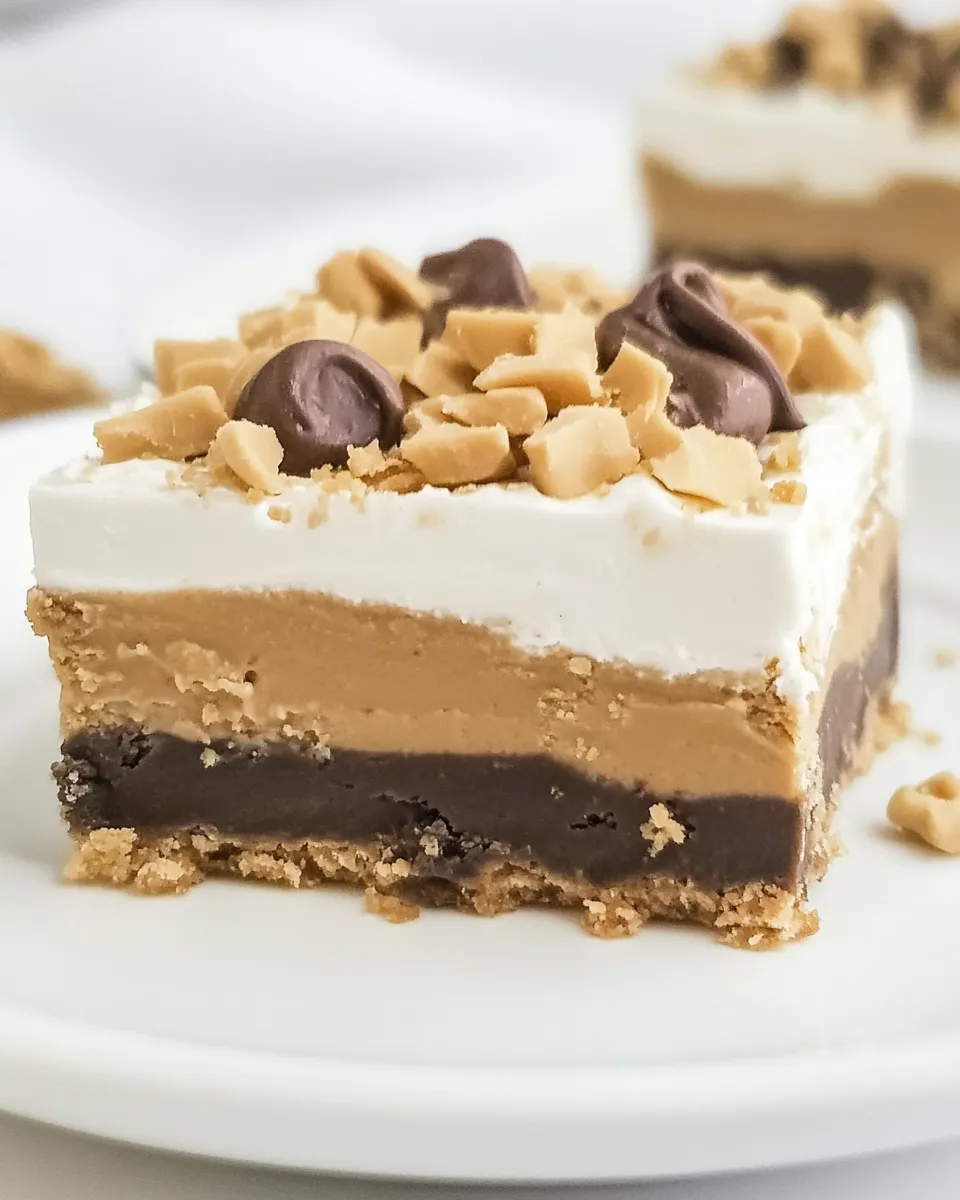
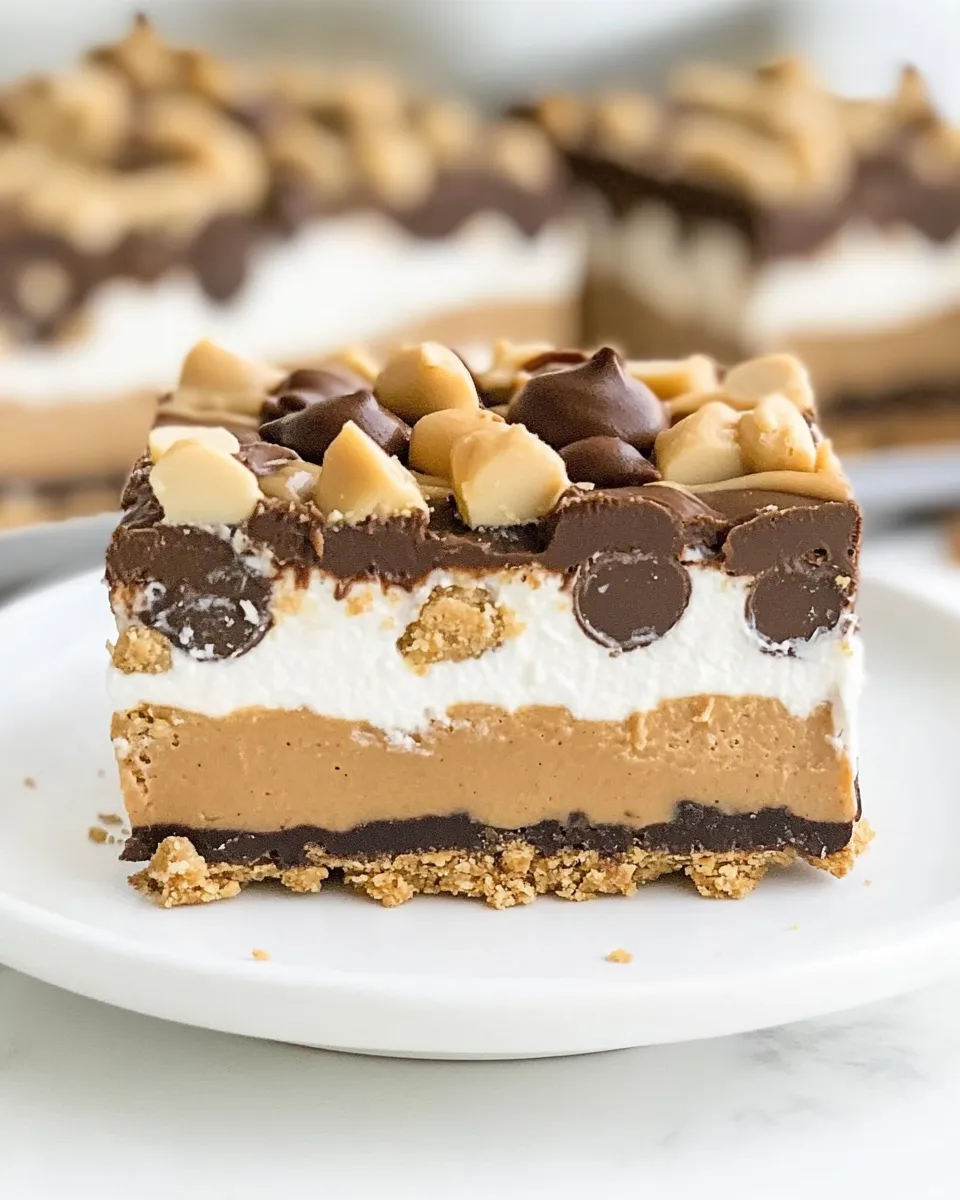
These Peanut Butter Dream Bars are one of those no-nonsense, crowd-pleasing desserts that show up at bake sales, potlucks, and weeknight dessert emergencies. Crunchy cookie crust, a creamy chocolate pudding layer, and a dreamy peanut butter-cream topping finished with whipped topping and chips—simple building blocks that come together with minimal fuss.
I test recipes that fit into real life: limited time, straightforward equipment, and ingredients you can find at any grocery store. This recipe follows that principle. Follow the steps as written and you’ll have clean slices that hold together well for serving and transport.
Below you’ll find a clear ingredient list with notes, step-by-step instructions, storage advice, troubleshooting tips, and a few easy swaps to adapt the bars for different tastes or dietary needs. Let’s get baking.
What You’ll Need
Ingredients
- 16 ounce package of peanut butter sandwich cookies (crushed, reserve 8–9 cookies to crush for topping) — Forms the crunchy base and extra texture on top; save a few to crush for garnish.
- 8 tablespoons unsalted butter (melted (½ cup)) — Binds the cookie crumbs into a firm crust; melt and cool slightly before mixing.
- 1½ cups milk — Cold milk for the instant pudding mix so it sets properly and creates a thick chocolate layer.
- 3.9 ounce box instant chocolate pudding — Provides the smooth chocolate layer that sits over the baked crust.
- 4 ounces cream cheese, softened — Adds tang and structure to the peanut butter layer; room temperature is important for smooth mixing.
- ½ cup powdered sugar — Sweetens and stabilizes the peanut butter-cream filling; sift if lumpy.
- ½ cup creamy peanut butter — The star of the topping; use a smooth, spreadable peanut butter for best texture.
- 8 ounce tub cool whip — Lightly sweetened whipped topping to cap the bars and make them pillowy.
- ½ cup milk chocolate chips — Melty, sweet garnish that contrasts the peanut butter.
- ½ cup peanut butter chips — Adds concentrated peanut flavor and small pockets of texture.
- Reserved peanut butter sandwich cookies crushed — Sprinkle over the top for crunch and presentation.
Peanut Butter Dream Bars, Made Easy
Follow these steps in order. I keep the amounts exactly as listed so the layers set properly and the bars slice cleanly.
- Preheat your oven to 350°F. Lightly spray an 8×8-inch square baking pan with nonstick cooking spray.
- In a small mixing bowl, combine the crushed peanut butter sandwich cookies (use the main package, reserving 8–9 whole cookies) with the melted unsalted butter. Stir until every crumb is coated and the mixture looks evenly moistened.
- Press the crumb mixture firmly into the bottom of the prepared 8×8 pan to form an even layer. Use the bottom of a measuring cup to compact the crumbs for a sturdier crust.
- Bake the crust at 350°F for 10 minutes. Remove the pan from the oven and allow the baked crust to cool completely at room temperature before adding the next layer.
- While the crust cools, make the chocolate pudding layer. In a small bowl combine the 3.9 ounce box of instant chocolate pudding mix with 1½ cups cold milk. Using a handheld electric mixer on medium speed or a wire whisk, beat until the pudding thickens—about the texture of soft-set pudding. Do not overmix until grainy; it should be smooth and spreadable.
- Once the crust is fully cooled, spread the prepared chocolate pudding evenly over the crust using a silicone spatula or offset spatula. Smooth the surface and then set the pan in the refrigerator while you prepare the peanut butter layer.
- In a medium bowl, beat the 4 ounces softened cream cheese with a hand mixer on medium-high speed for about 1 minute until smooth and free of lumps.
- Add the ½ cup creamy peanut butter to the softened cream cheese and continue mixing on medium-high speed for 30 seconds to 1 minute, until the mixture is uniform and creamy.
- Lower the mixer speed to low and slowly add the ½ cup powdered sugar. Continue mixing until the sugar is completely incorporated and the peanut butter mixture is smooth. Scrape down the sides as needed to avoid pockets of sugar or cream cheese.
- Remove the pan from the refrigerator and evenly spread the peanut butter mixture over the chilled chocolate pudding layer. Aim for an even thickness to help the bars slice evenly.
- Spread the 8 ounce tub of Cool Whip evenly over the peanut butter layer to form a light, airy top layer.
- Scatter ½ cup milk chocolate chips and ½ cup peanut butter chips evenly over the whipped topping.
- Finish by sprinkling the reserved crushed peanut butter sandwich cookies over the chips for texture and visual contrast.
- Return the baking dish to the refrigerator and chill for at least 2 hours to let all layers set firmly.
- After chilling, cut the dessert into 2-inch x 2-inch squares for serving. Use a sharp knife and wipe between cuts for the cleanest edges.
Why It’s Crowd-Pleasing
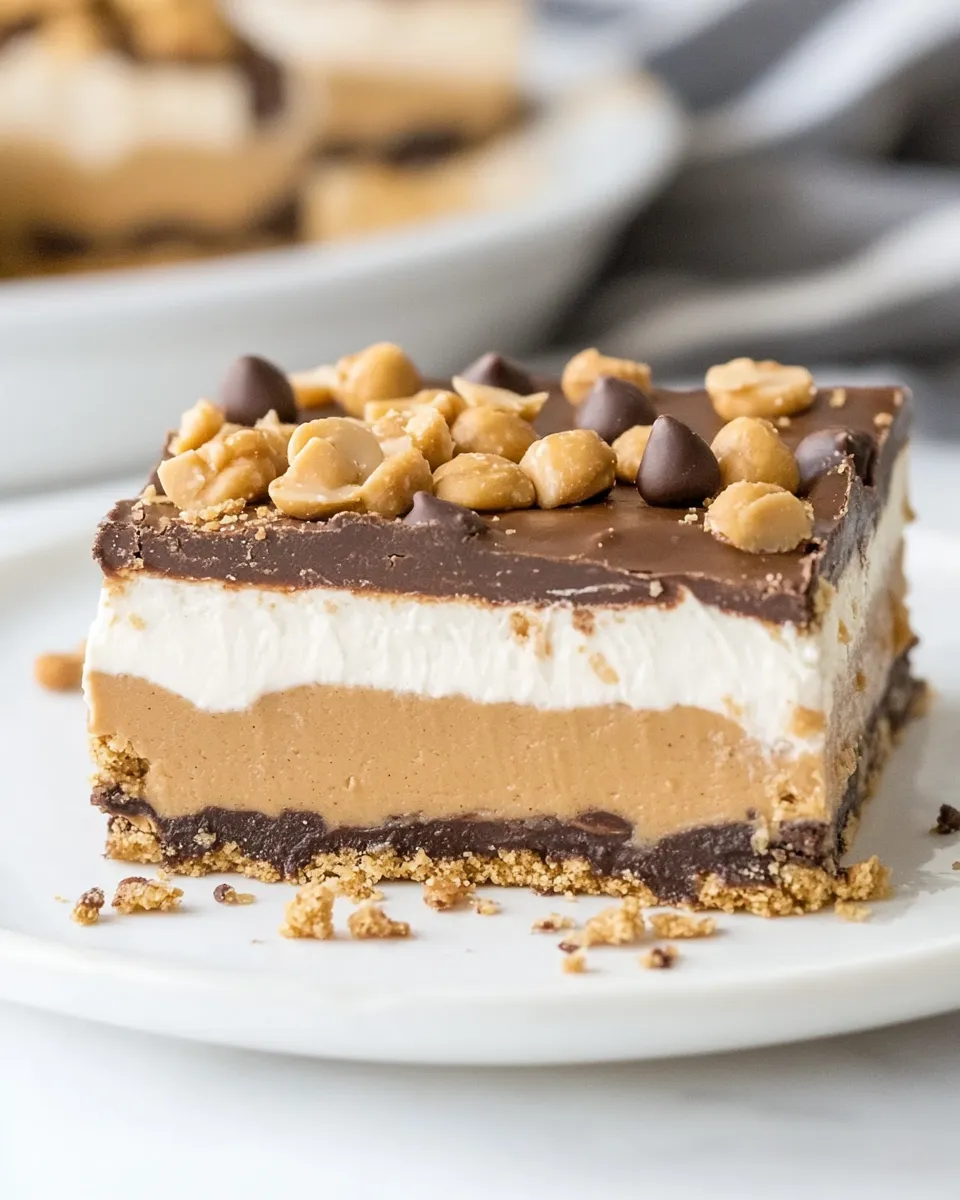
Textural contrast: crisp cookie base, silky chocolate, dense peanut butter layer, and cloudlike whipped topping. Everyone recognizes peanut butter plus chocolate as a fail-safe combination, and these bars deliver it in biteable, shareable squares.
They’re easy to transport and don’t require piping or fancy assembly. The recipe relies on instant pudding and a whipped topping for speed, so you get big dessert impact with minimal active hands-on time.
International Equivalents
- Butter: 8 tablespoons = 113 grams.
- Milk: 1½ cups = 360 milliliters.
- Instant chocolate pudding mix: 3.9 oz ≈ 110 grams (one standard single-serve box in the U.S.).
- Cream cheese: 4 ounces = 113 grams.
- Powdered sugar: ½ cup ≈ 60 grams.
- Cool Whip tub: 8 ounces ≈ 226 grams.
Recommended Tools
- 8×8-inch square baking pan — keeps bars the right size and thickness.
- Handheld electric mixer — speeds up mixing and ensures smooth fillings.
- Small and medium mixing bowls — for separate layers and easy cleanup.
- Silicone or offset spatula — for smooth, even layers.
- Measuring cups and spoons — accurate measurements help layers set properly.
- Sharp knife and paper towel — for clean slices (wipe the blade between cuts).
Slip-Ups to Skip
- Don’t skip cooling the crust: spreading pudding on a warm crust can cause the layers to melt together and become soggy.
- Avoid using warm or cold-broken cream cheese: it should be softened to room temperature for a lump-free peanut butter layer.
- Don’t overmix the instant pudding. Mix until thickened and smooth; over-whipping can change the texture.
- Don’t try to cut the bars immediately after assembly. The 2-hour chill is necessary for clean squares.
Make It Year-Round
These bars work for summer parties (keep chilled until serving) and winter gatherings (they pair well with coffee or cocoa). For holidays, swap chocolate chips for white chocolate or add a sprinkle of flaky sea salt on top for a festive finish.
Pro Tips & Notes
Layering and texture
- Press the crust firmly and evenly; it’s the foundation for everything that follows.
- Chill between major layers if your kitchen is warm. A quick 15–20 minute chill after the pudding can help the peanut butter layer sit neater on top.
Presentation
- For cleaner edges, freeze the pan 20–30 minutes after chilling, then use a hot knife (dip in hot water and wipe dry) to slice precise squares.
- Make ahead: these bars keep their texture well and actually slice easier after a full day in the fridge.
Best Ways to Store
Cover the pan tightly with plastic wrap or transfer slices to an airtight container. Store in the refrigerator for up to 4–5 days. For longer storage, freeze individual squares in a single layer on a baking sheet until firm, then stack with parchment between layers in a freezer-safe container for up to 2 months. Thaw in the fridge before serving.
Quick Questions
- Can I use low-fat milk? — Yes, low-fat milk will work for the pudding; the set may be slightly softer but still fine.
- Can I make the crust with a different cookie? — You can swap to vanilla sandwich cookies if you prefer, but the recipe’s ingredient amounts assume the same crumb weight and texture.
- Can I substitute homemade whipped cream for Cool Whip? — Yes, but stabilize it with a little powdered sugar or gelatin if you need the topping to hold up for several hours.
Next Steps
If you loved how easy and crowd-pleasing these bars are, try swapping the chocolate pudding for vanilla and adding chopped bananas between the pudding and peanut butter layers for a banana-peanut butter twist. Or scale to a 9×13 pan—double all ingredients and increase chilling time so the thicker mass sets fully.
Now: gather ingredients, line up your bowls, and make the crust. These bars come together quickly and reward patience at the chilling step. Enjoy.
Peanut Butter Dream Bars
Ingredients
- 16 ounce peanut butter sandwich cookies crushed; reserve 8–9 cookies (about 8 ounces) to crush for topping
- 8 tablespoon unsalted butter melted (½ cup)
- 1.5 cup cold milk divided (1½ cups listed for pudding—use as directed)
- 3.9 ounce instant chocolate pudding mix one small box
- 4 ounce cream cheese softened
- 0.5 cup powdered sugar confectioners' sugar
- 0.5 cup creamy peanut butter
- 8 ounce whipped topping cool whip (one tub)
- 0.5 cup milk chocolate chips for topping
- 0.5 cup peanut butter chips for topping
- reserved peanut butter sandwich cookies crushed for topping
Instructions
- Preheat the oven to 350°F (175°C). Lightly spray an 8×8-inch baking pan with nonstick spray.
- In a bowl, mix the crushed peanut butter sandwich cookies (reserve 8–9 cookies for topping) with the melted unsalted butter until all crumbs are evenly moistened.
- Press the crumb mixture firmly into the bottom of the prepared pan to form an even crust.
- Bake the crust for 10 minutes, then remove and let it cool completely in the pan.
- In a small bowl, whisk or beat the instant chocolate pudding mix with 1½ cups cold milk until thickened according to package directions.
- Spread the thickened chocolate pudding evenly over the cooled crust using a spatula, then refrigerate while you prepare the peanut butter layer.
- In a medium bowl, beat the softened cream cheese on medium speed until smooth (about 1 minute).
- Add the creamy peanut butter and beat on medium-high until smooth, about 30–60 seconds.
- Reduce mixer speed to low and slowly add the powdered sugar, mixing until fully incorporated and the filling is smooth.
- Remove the pan from the refrigerator and evenly spread the peanut butter mixture over the chocolate pudding layer.
- Spread the 8-ounce tub of whipped topping evenly over the peanut butter layer.
- Sprinkle the milk chocolate chips and peanut butter chips evenly over the whipped topping, then sprinkle the reserved crushed sandwich cookies on top.
- Refrigerate the assembled bars for at least 2 hours to set before cutting into 2-inch x 2-inch squares.
Equipment
- 8x8-inch Baking Pan
- Mixing bowls
- Measuring cups and spoons
- handheld electric mixer
- spatula or offset spatula
- Oven
- Refrigerator
Notes
- You don’t have to bake the crust, but baking helps it firm up and slice cleanly.
- Beat the cream cheese until fluffy for best texture.