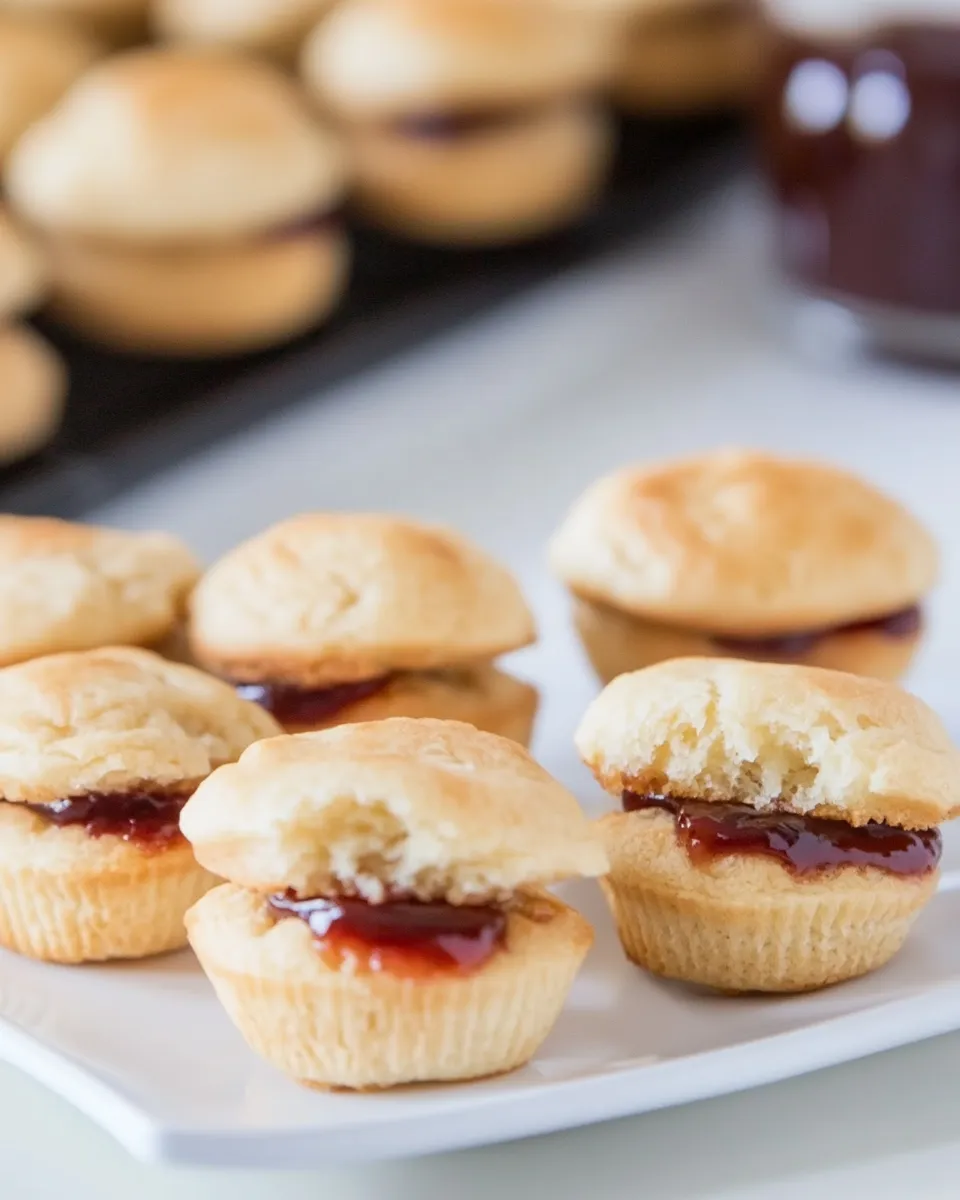
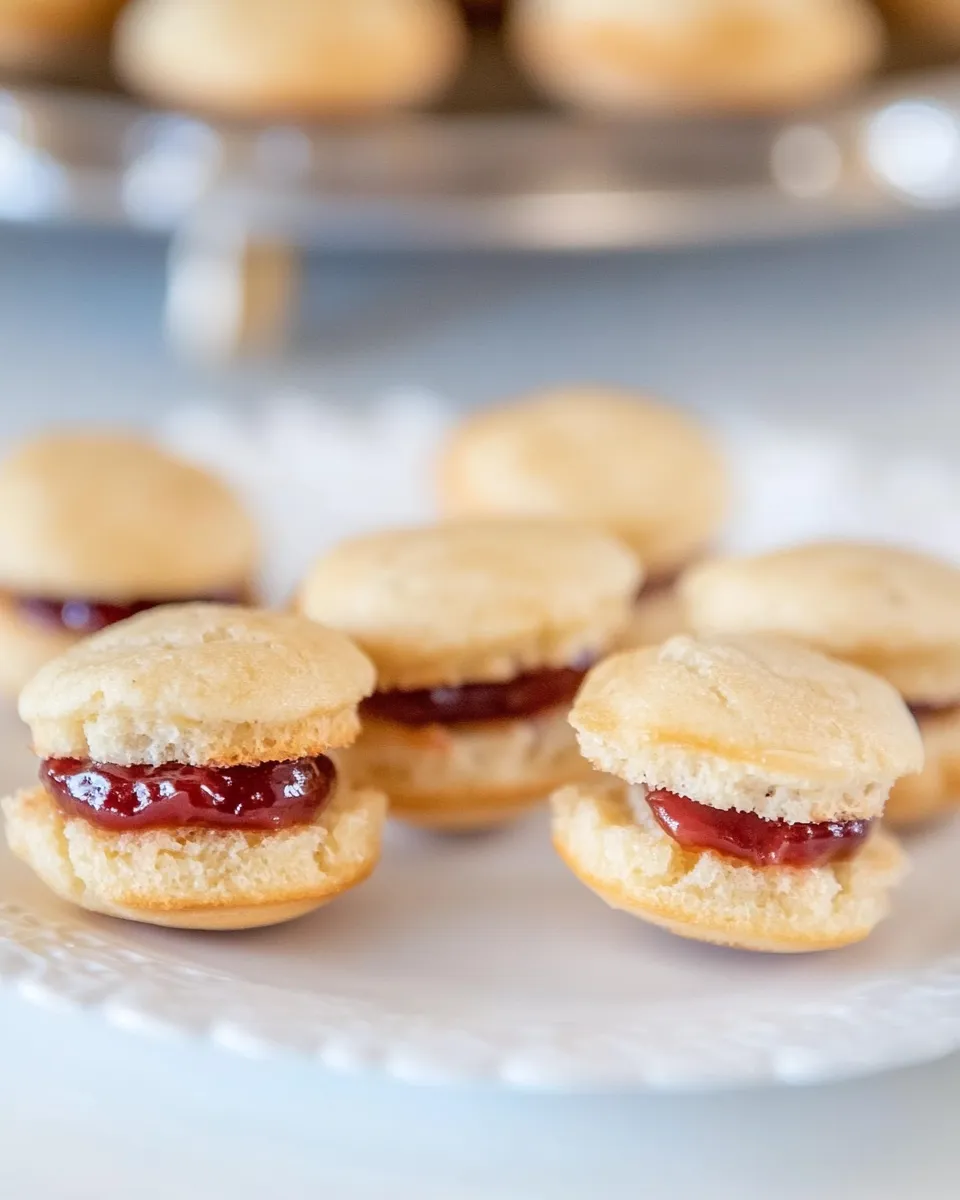
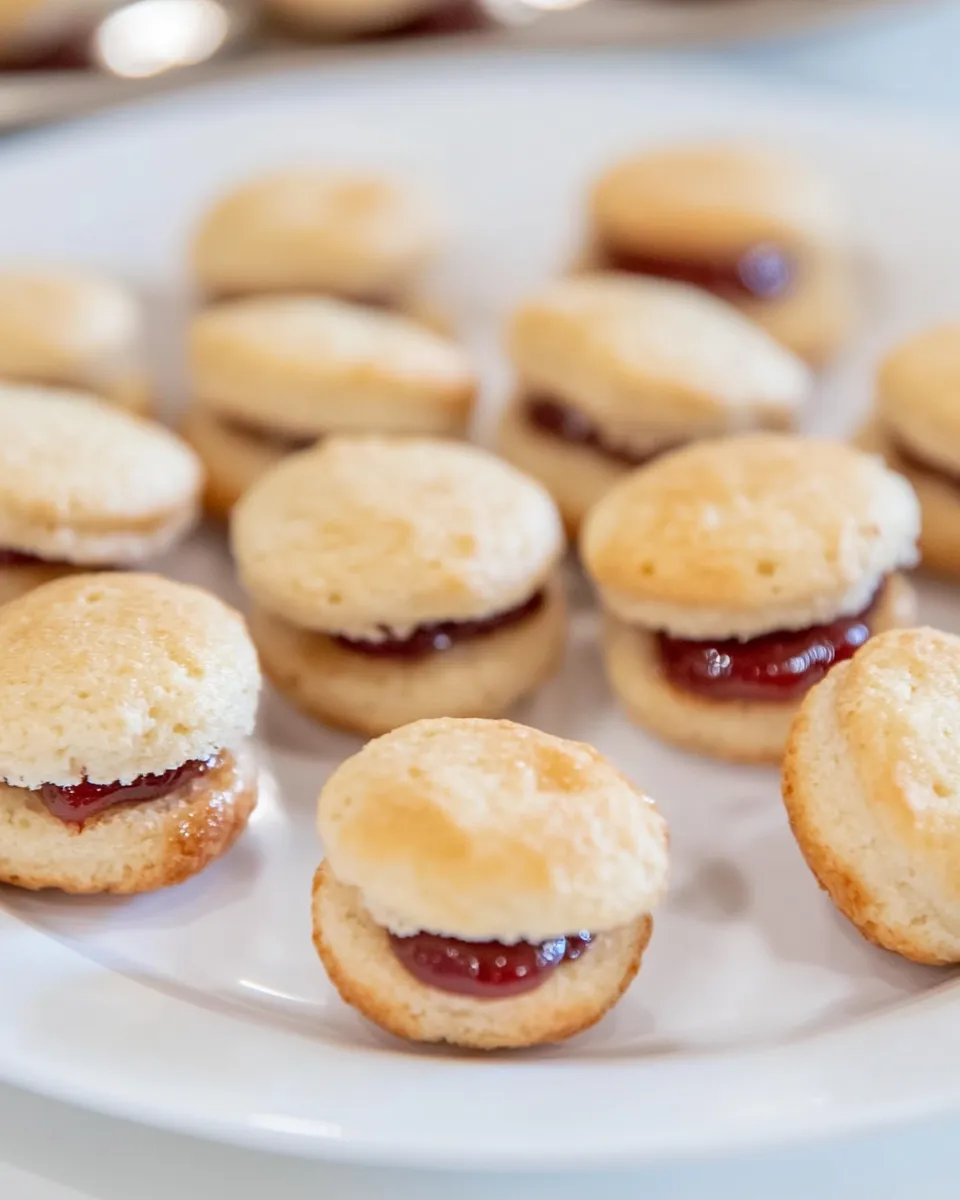
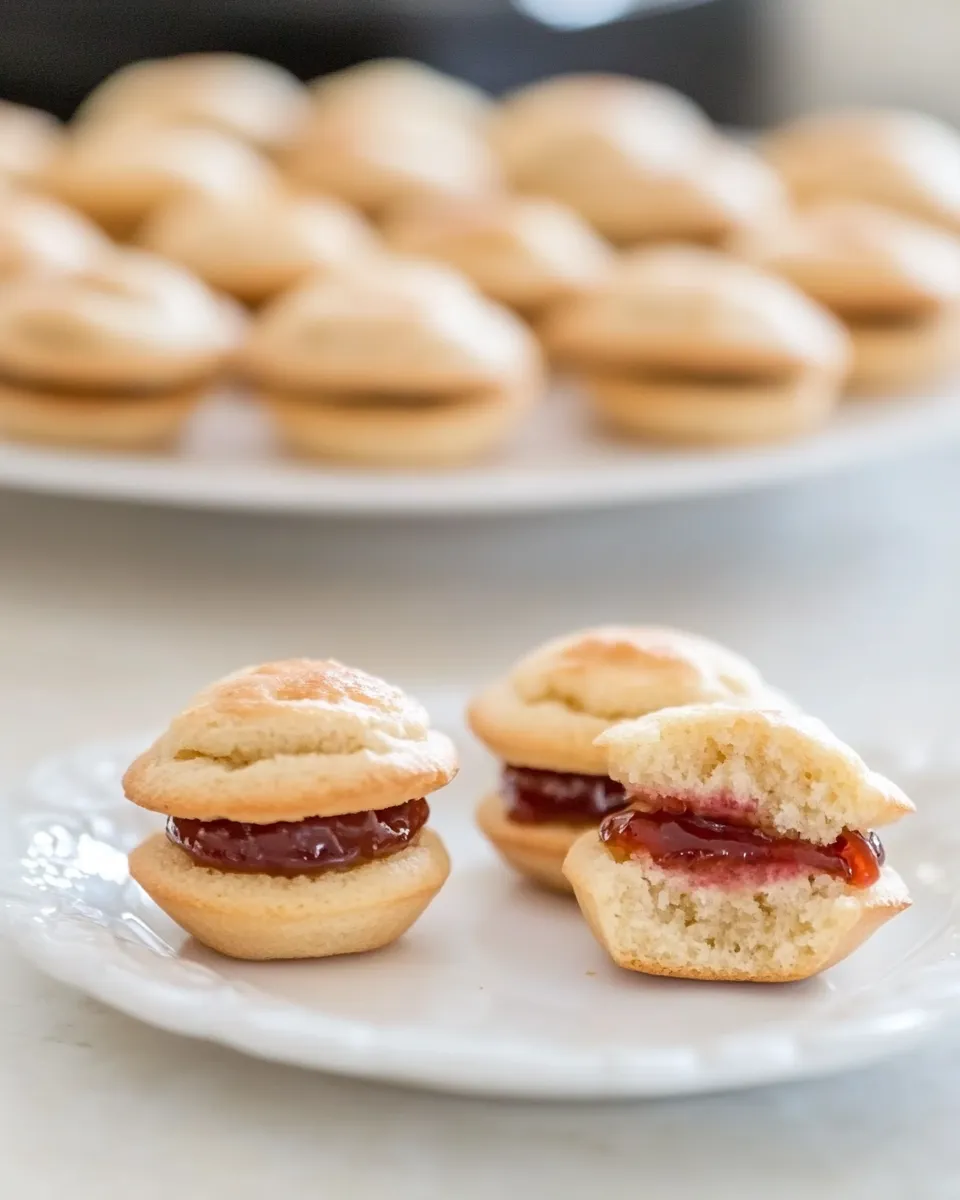
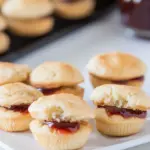
PB&J Mini Muffin Sandwiches
These PB&J Mini Muffin Sandwiches are the kind of recipe I reach for when I want something playful, portable, and quick. They’re essentially soft peanut-butter muffins that become tiny sandwich canvases for jam—perfect for lunchboxes, snack plates, or a casual brunch spread. No elaborate techniques, just straightforward mixing and a 10-minute bake time.
They make a lot: one batch fills a 24-cup mini muffin pan. That means plenty to share, freeze, or tuck away for easy snacks. The texture is tender and slightly springy, and the peanut butter keeps the muffins moist so they don’t dry out even after being cut and filled.
Below you’ll find a precise ingredient list with tips, a clear step-by-step cooking guide, troubleshooting, and smart swaps for allergies or different diets. Read through once, gather your small bowls, and you’ll be set to bake.
Ingredient List
- 1 cup all-purpose flour — the structure for the muffins; scoop and level for accurate measurement.
- 2 teaspoons baking powder — leavening agent to give the muffins lift.
- 1/2 teaspoon fine-grain salt or sea salt — balances sweetness and enhances flavor.
- 1/4 cup peanut butter (can substitute sunflower seed butter) — provides moisture, flavor, and richness; creamy works best for easy mixing.
- 1 large egg — binds ingredients and adds tenderness.
- 3 tablespoons granulated sugar — sweetens the muffin batter; adjust slightly if using an especially sweet jam.
- 1 cup unsweetened almond milk or whole milk — thins the batter; use what you have or prefer.
- 1 teaspoon pure vanilla extract — lifts and rounds the flavor.
- 1/4 cup jam or jelly — the classic PB&J filling; chop or warm very slightly if thick to make spreading easier.
PB&J Mini Muffin Sandwiches Cooking Guide
Follow these steps in order. Read through once before you start so everything is ready.
- Preheat your oven to 350°F (175°C). Spray the cups of a 24-cup mini muffin pan with nonstick spray or grease them well with a little oil.
- In a large bowl, whisk together the 1 cup all-purpose flour, 2 teaspoons baking powder, and 1/2 teaspoon fine-grain salt until evenly combined.
- In a medium bowl, combine 1/4 cup peanut butter, 1 large egg, and 3 tablespoons granulated sugar. Whisk until smooth and uniform in texture.
- Add 1 cup unsweetened almond milk or whole milk and 1 teaspoon pure vanilla extract to the peanut-butter mixture. Whisk again until the liquid ingredients are fully incorporated and smooth.
- Pour the wet mixture over the dry ingredients. Stir gently with a whisk or spatula just until smooth and no streaks of flour remain. Stop mixing as soon as the batter is combined to avoid tough muffins.
- Divide the batter among the prepared mini muffin cups, filling each cup about three-quarters full so there’s a small dome when they bake.
- Bake in the preheated oven for 8–10 minutes. They’re done when the tops spring back lightly to the touch and a toothpick inserted into the center comes out clean or with a few moist crumbs.
- Remove the pan from the oven and let the muffins rest in the pan for about 5 minutes. This helps them set and makes removal easier.
- Use a butter knife to carefully pry each muffin from its cup, then transfer them to a wire rack to cool completely, about 20 minutes. Cooling fully prevents the jam from melting into the muffin when you assemble.
- Once cool, cut each muffin in half horizontally. Spread about 1/2 teaspoon of jam or jelly onto the cut side of each bottom half, then replace the top half to make a tiny sandwich.
- Store filled muffins in an airtight container at room temperature for 2–3 days.
What You’ll Love About This Recipe
- Snack-size and portable—perfect for kids’ lunches and parties.
- Fast to prepare with minimal equipment and pantry-friendly ingredients.
- Tender crumb and satisfying peanut-butter flavor without being overly sweet.
- Flexible: make allergy-friendly swaps or change the jam to suit your mood.
Easy Ingredient Swaps
- Peanut butter — swap with sunflower seed butter for nut-free households.
- Almond milk or whole milk — use oat milk or soy milk if you prefer a dairy-free alternative.
- All-purpose flour — for a denser result, try a 1:1 gluten-free flour blend (note: texture may change).
- Jam — use preserves, curd, or a thin layer of Nutella for variation.
Setup & Equipment
- 24-cup mini muffin pan — essential for the yield and even baking.
- Nonstick spray or neutral oil — for greasing the cups so muffins release cleanly.
- Large mixing bowl and medium mixing bowl — keep dry and wet ingredients separate until combining.
- Whisk and rubber spatula — a whisk for dry ingredients and a spatula for folding batter gently.
- Wire cooling rack — cools muffins evenly and prevents sogginess.
- Butter knife — useful for loosening muffins from the pan and for spreading jam.
Troubles You Can Avoid
- Overmixing the batter — stir only until combined. Overmixing develops gluten and makes muffins tough.
- Not greasing the pan well — mini cups need good greasing to release; use spray or a thin oil coating.
- Cutting too soon — wait until muffins are completely cool before slicing and filling so jam doesn’t liquefy the crumb.
- Overfilling cups — fill about three-quarters full to avoid overflow and uneven domes.
Better-for-You Options
- Reduce sugar — you can lower granulated sugar from 3 tablespoons to 2 tablespoons if your jam is very sweet.
- Whole-grain flour — replace half the all-purpose flour with whole-wheat pastry flour for more fiber (crumb will be slightly heartier).
- Lower-fat option — use a low-fat milk or a lighter nut butter, keeping in mind texture will be slightly different.
Notes on Ingredients
- All-purpose flour — provides the standard tender crumb; measure by spooning into the cup and leveling for accuracy.
- Baking powder — check it’s fresh for proper rise; old baking powder can yield flat muffins.
- Peanut butter — creamy gives the smoothest batter; natural peanut butter may separate—stir well before measuring.
- Milk choices — whole milk creates a richer muffin; unsweetened almond milk keeps it dairy-free while maintaining moisture.
- Jam — a slightly runnier jam is easier to spread; if your jam is very thick, warm it briefly to loosen before spreading.
Leftovers & Meal Prep
- Room temperature — filled muffins stay fresh in an airtight container for 2–3 days.
- Refrigeration — if your kitchen is warm or you used a perishable jam, store in the fridge; they’ll keep 4–5 days but may firm up slightly—bring to room temperature before serving.
- Freezing — unfilled muffins freeze well. Cool, then wrap tightly and freeze up to 2 months. Thaw and then fill with jam prior to serving for best texture.
- Make-ahead assembly — you can bake and halve muffins ahead of time, keeping halves separated by parchment in an airtight container; fill on the day you serve.
Troubleshooting Q&A
- Q: My muffins are dry. A: Don’t overbake and avoid overmixing. Make sure you measure flour correctly—too much flour dries the batter.
- Q: Muffins stuck in pan. A: Grease the mini cups thoroughly or use a nonstick spray. Let muffins cool 5 minutes in pan before removing and use a thin knife to loosen edges.
- Q: Tops are uneven or cracked. A: That’s normal with mini muffins; it doesn’t affect flavor. Fill cups about three-quarters full to get a consistent dome.
- Q: Jam melts into muffins. A: Cool muffins completely before cutting and filling to prevent the jam from soaking in.
Let’s Eat
Serve these PB&J Mini Muffin Sandwiches at room temperature for the best texture. They’re perfect alongside a cup of milk, a bowl of fresh fruit, or as part of a casual brunch spread. For kids’ lunches, pop them in a small container with an ice pack if you won’t be eating them right away.
They’re quick to make, forgiving to tweak, and delightfully nostalgic. Enjoy the tiny sandwiches warm after baking or packed cool for later—either way, they’re an easy win.
PB&J Mini Muffin Sandwiches
Ingredients
- 1 cup all-purpose flour
- 2 teaspoons baking powder
- 1/2 teaspoon fine-grain salt or sea salt
- 1/4 cup peanut butter can substitute sunflower seed butter
- 1 large egg
- 3 tablespoons granulated sugar
- 1 cup unsweetened almond milk or whole milk
- 1 teaspoon pure vanilla extract
- 1/4 cup jam or jelly
Instructions
- Preheat the oven to 350°F (175°C). Grease a 24-cup mini muffin pan well with nonstick spray or a little oil.
- In a large bowl, whisk together the all-purpose flour, baking powder, and salt until evenly combined.
- In a medium bowl, whisk the peanut butter, egg, and granulated sugar until smooth. Stir in the milk and vanilla until combined.
- Pour the wet mixture into the dry ingredients and stir with a whisk just until the batter is smooth; do not overmix.
- Spoon the batter into the prepared mini muffin cups, filling each about three-quarters full.
- Bake for 8–10 minutes, until the tops spring back when lightly pressed and a toothpick inserted into the center comes out clean.
- Let muffins cool in the pan on a rack for about 5 minutes, then use a butter knife to gently loosen and transfer them to the rack to cool completely, about 20 minutes.
- Slice each muffin in half horizontally, spread about 1/2 teaspoon jam on the inside of each bottom half, and replace the top to make mini sandwich muffins.
Equipment
- 24-cup mini muffin pan
- Mixing bowls
- Whisk
- Measuring cups and spoons
- cooling rack
- butter knife
Notes
- Muffins are done when a toothpick comes out clean.
- Do not overmix the batter to keep muffins tender.
- Use sunflower seed butter for a nut-free option.
- Cool completely before filling to prevent jam from melting.