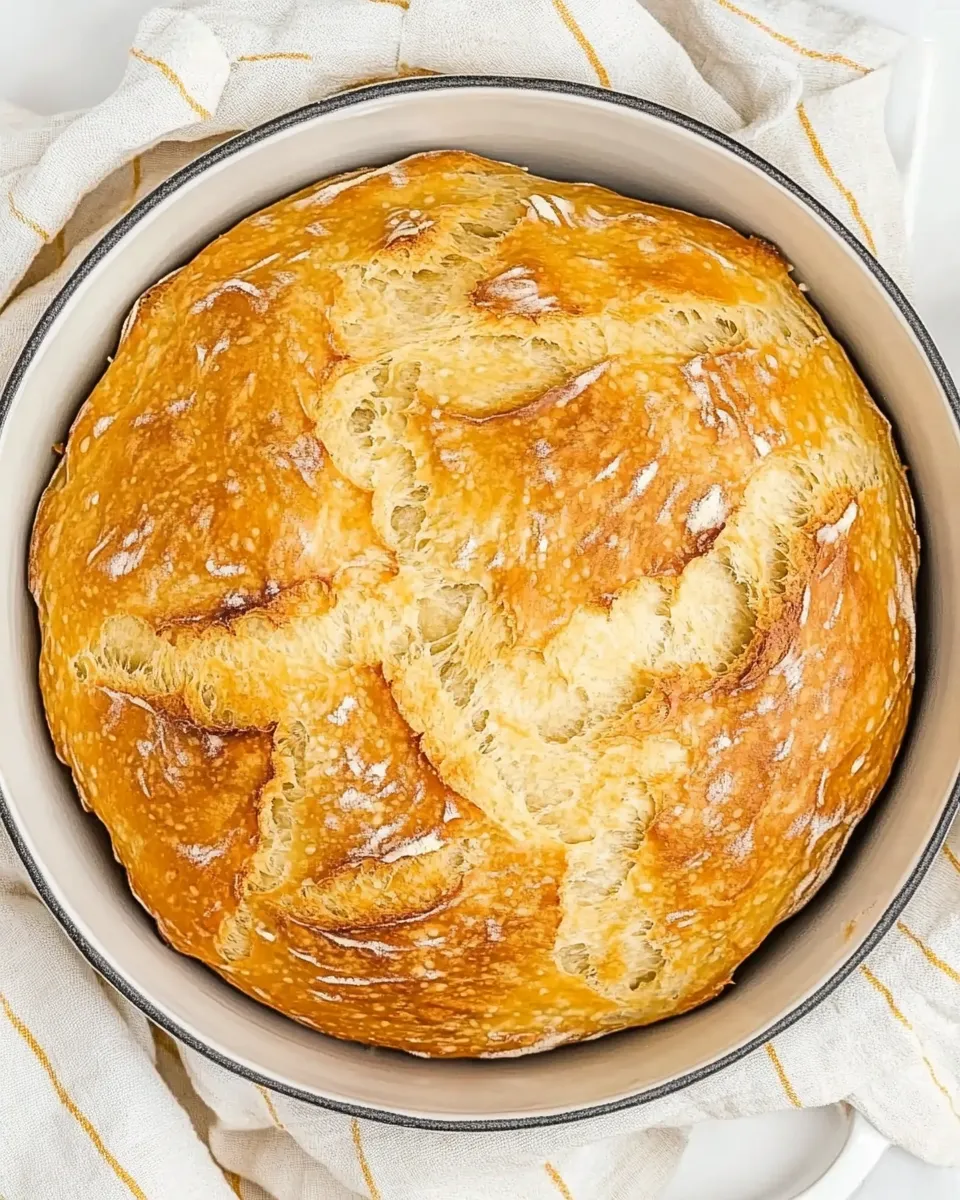
Molasses No Knead Bread
This molasses-sweetened no-knead loaf is one of those practical, reliable recipes I return to when I want good bread with minimal fuss. It yields a soft, slightly sweet crumb and a crisp, golden crust thanks to the long, slow fermentation and a quick bake in a hot Dutch oven. The molasses gives the loaf a warm color and complexity without overpowering the natural wheat flavor.
Timing is simple: mix in the evening, let it rest overnight, shape in the morning, and bake by midday. There’s no kneading, just a few folds and a patient rise. I’ll walk you through the exact steps, highlight helpful equipment and substitutions, and flag common mistakes so you get consistent results.
Ingredient Checklist
- 4 ½ cups all-purpose flour — spooned and leveled; provides structure and crumb.
- 1 ¾ cup water — at room temperature; hydrates the flour and activates fermentation.
- 3 tablespoons honey — pasteurized; adds gentle sweetness and feeds the yeast (agave or maple syrup may substitute).
- 2 tablespoons molasses — adds depth, color, and a hint of caramel flavor.
- 1 teaspoon salt — balances flavor and strengthens gluten.
- ¾ teaspoon instant yeast — fast-acting; keeps the rise simple and reliable.
Molasses No Knead Bread: From Prep to Plate
These instructions follow the original order but are clarified and broken into explicit steps so you can work confidently. Quantities and the sequence match the ingredient checklist exactly.
- Combine the dry and wet ingredients: In a large mixing bowl add 4 ½ cups all-purpose flour, 1 ¾ cup room-temperature water, 3 tablespoons honey, 2 tablespoons molasses, 1 teaspoon salt, and ¾ teaspoon instant yeast. Stir with a spoon until the mixture comes together into a sticky dough and no large pockets of dry flour remain.
- Add some initial aeration: After the dough has come together, stir it ten more times with the spoon. Those extra strokes introduce a bit of movement and help trap air for a lighter crumb.
- Bulk ferment (first rise): Cover the bowl tightly with plastic wrap and leave it on the counter at room temperature. Let it rise for 12 to 18 hours. You’re looking for a bubbly surface and a slightly stringy underside when you lift the dough—signs of good fermentation and flavor development.
- Prepare a work surface and the dough: Lay a large piece of parchment paper on the counter and dust the top of the paper lightly with flour. Turn the dough out of the bowl onto the floured parchment. The dough will be sticky—use lightly floured fingers or a spoon to fold it over itself twice. These gentle folds shape the dough and create some tension on the surface. Do what you can; it does not need to be perfect.
- Second rise in a bowl: Keeping the dough on the parchment, lift the edges of the parchment and place both dough and paper into a large bowl. Cover the bowl with a kitchen towel and let the dough rise for another 2 hours. It’s ready when it has roughly doubled and feels springy when pressed gently.
- Preheat your Dutch oven: Thirty minutes before the end of the second rise, place a large Dutch oven (lid on) into the oven and preheat to 450°F (232°C). Heating the pot creates the hot, steamy environment the loaf needs for a good crust and oven spring.
- Transfer to the hot pot: When the 2-hour rise is complete, carefully remove the hot Dutch oven from the oven. Lift the parchment with the dough and lower both into the pot. Center the dough and keep the parchment intact—this makes transferring much safer and cleaner.
- Score the loaf: Using a very sharp knife or a lame, make a light score across the top of the dough. This controls where the bread expands as it bakes.
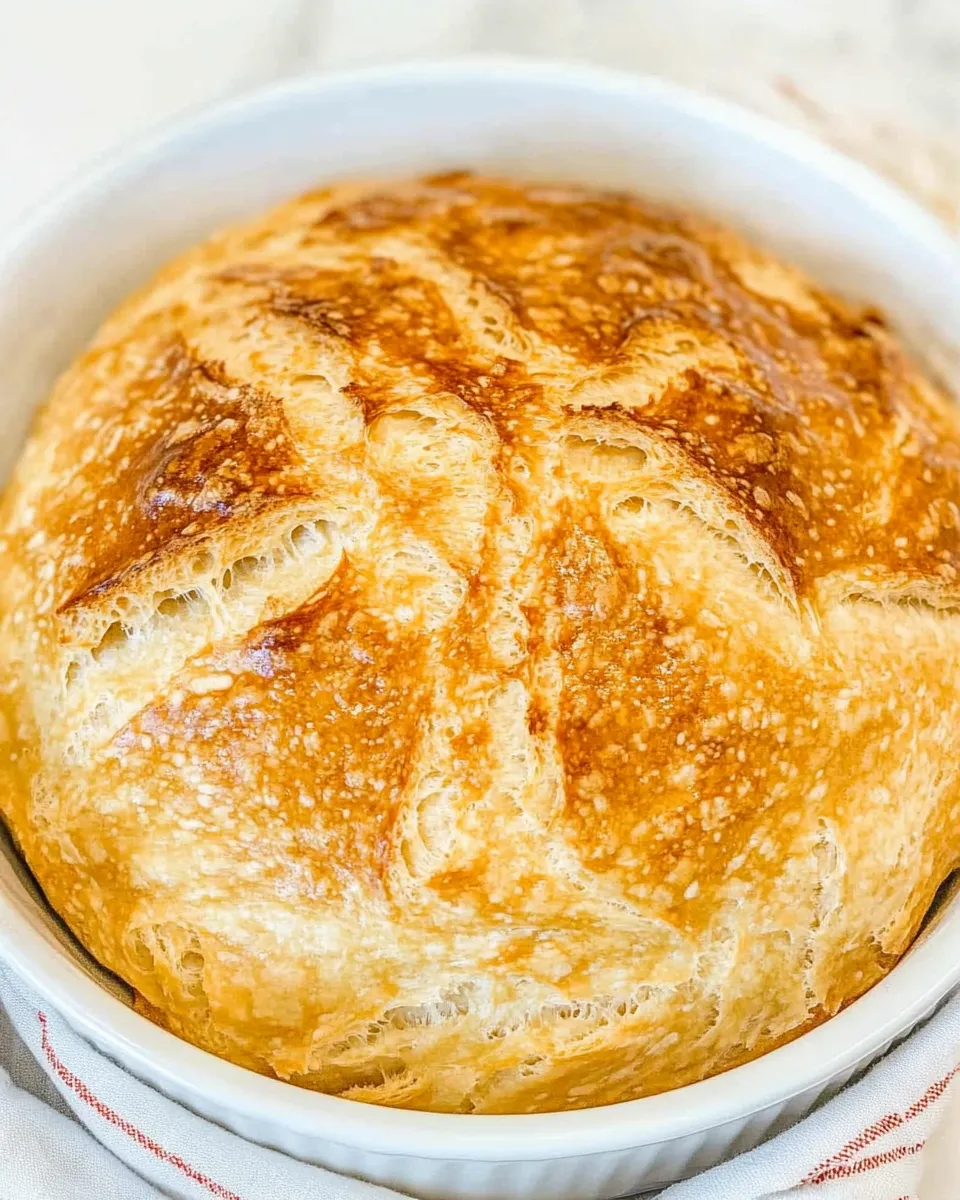
- Bake covered, then uncovered: Replace the lid and bake at 450°F for 25 to 30 minutes. After that time, remove the lid and continue baking for another 10 to 15 minutes, or until the top is a deep golden brown and crusty.
- Cool before slicing: Remove the bread from the Dutch oven and let it cool at least 5 minutes before cutting. Warm or room-temperature slices both work; the crumb sets a bit as it cools, so brief rest helps you get cleaner slices.
Reasons to Love Molasses No Knead Bread
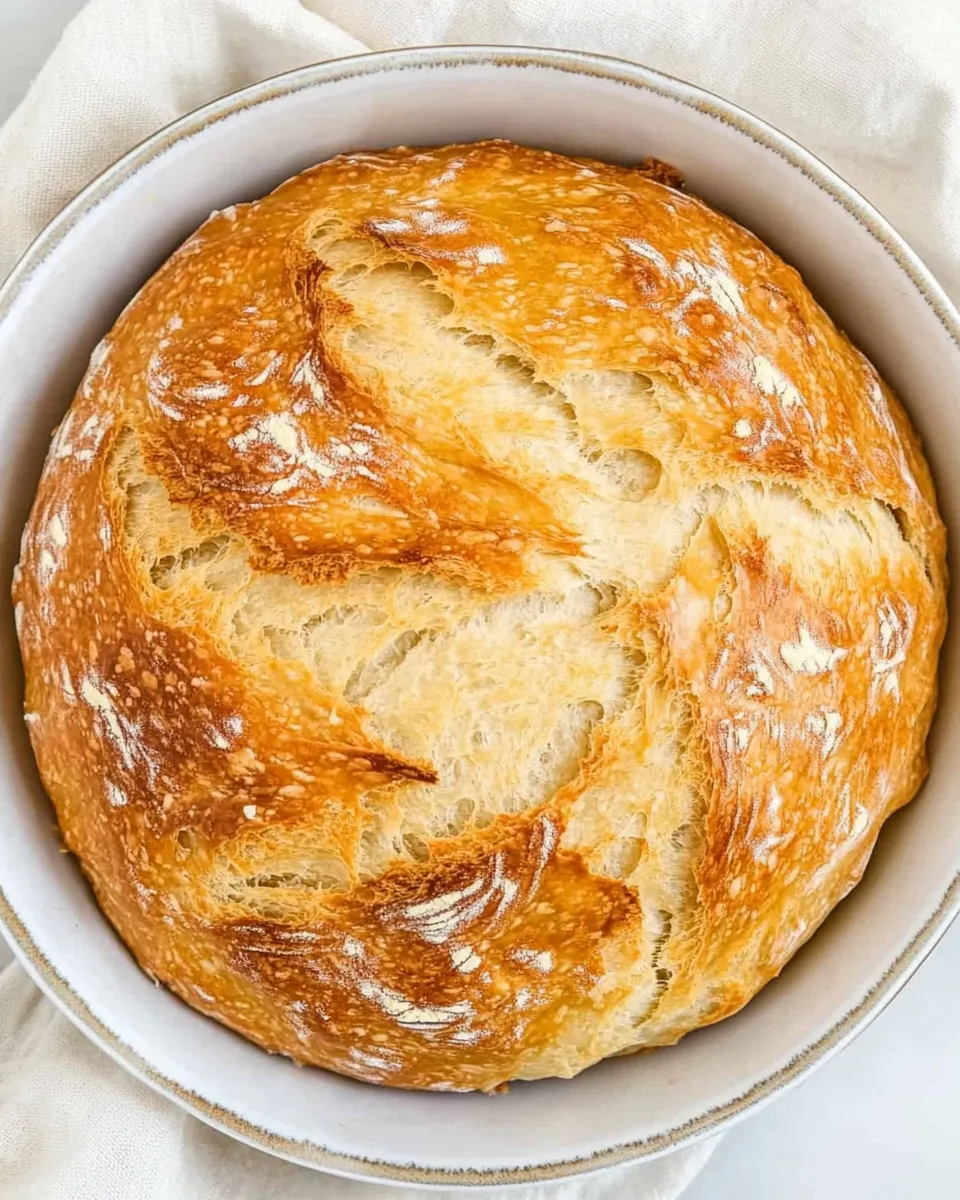
This loaf is forgiving and flavorful. The no-knead method minimizes hands-on time but yields texture and crust you’d expect from more labor-intensive breads. Molasses and honey add depth without making the bread sweet, so it pairs as well with butter and jam as it does with savory toppings.
The long, slow fermentation develops flavor and improves digestibility. You also get excellent crust from a hot, lidded-bake in a Dutch oven; that steam is what gives the exterior that crackly bite.
No-Store Runs Needed
- All-purpose flour — pantry staple in most kitchens.
- Water — room temperature tap is fine.
- Honey and molasses — small jars last a long time; molasses is optional if you want a less robust flavor, but keep it if you like depth.
- Salt and instant yeast — yeast keeps well in the fridge; instant yeast simplifies mixing (no proofing required).
Equipment Breakdown
- Large mixing bowl — big enough for a long rise and easy stirring.
- Spoon for mixing — a sturdy wooden or heatproof spoon works best for this sticky dough.
- Plastic wrap and kitchen towel — for covered rises.
- Parchment paper — makes transferring to the Dutch oven simple and safe.
- Large Dutch oven with lid — required for the steam burst and even baking. If you don’t have one, a heavy pot with a tight-fitting lid is the closest substitute.
- Sharp knife or lame — for scoring so the loaf expands predictably in the oven.
Learn from These Mistakes
- Too little flour when measuring — spoon and level your flour. Packing the cup will make dough too dense and can affect rise.
- Skipping the parchment transfer — trying to move sticky dough by hand usually deflates it; use parchment for an easy lift-and-drop into the hot pot.
- Opening the oven during the covered bake — you need that trapped steam. Only remove the lid when directed.
- Undercooking the loaf — if the top isn’t deeply golden after the uncovered bake, give it the extra 5–10 minutes. Undercooked bread can be gummy inside.
Smart Substitutions
Ingredient swaps that work
- Honey — use agave or real maple syrup if needed; flavor will be slightly different but still pleasant.
- Molasses — you can reduce to 1 tablespoon for a milder flavor, but don’t omit both sweeteners or the flavor balance changes.
- Instant yeast — if you only have active dry yeast, use it but dissolve it in a little of the recipe water first and let it sit 5–10 minutes until foamy; keep quantities the same.
Chef’s Notes
Room temperature matters. The recipe relies on a long, cool-ish room fermentation; a very warm kitchen will speed things up and can overproof the dough. If your kitchen is hot, check for bubbles and stringiness after 10–12 hours instead of waiting the full 18.
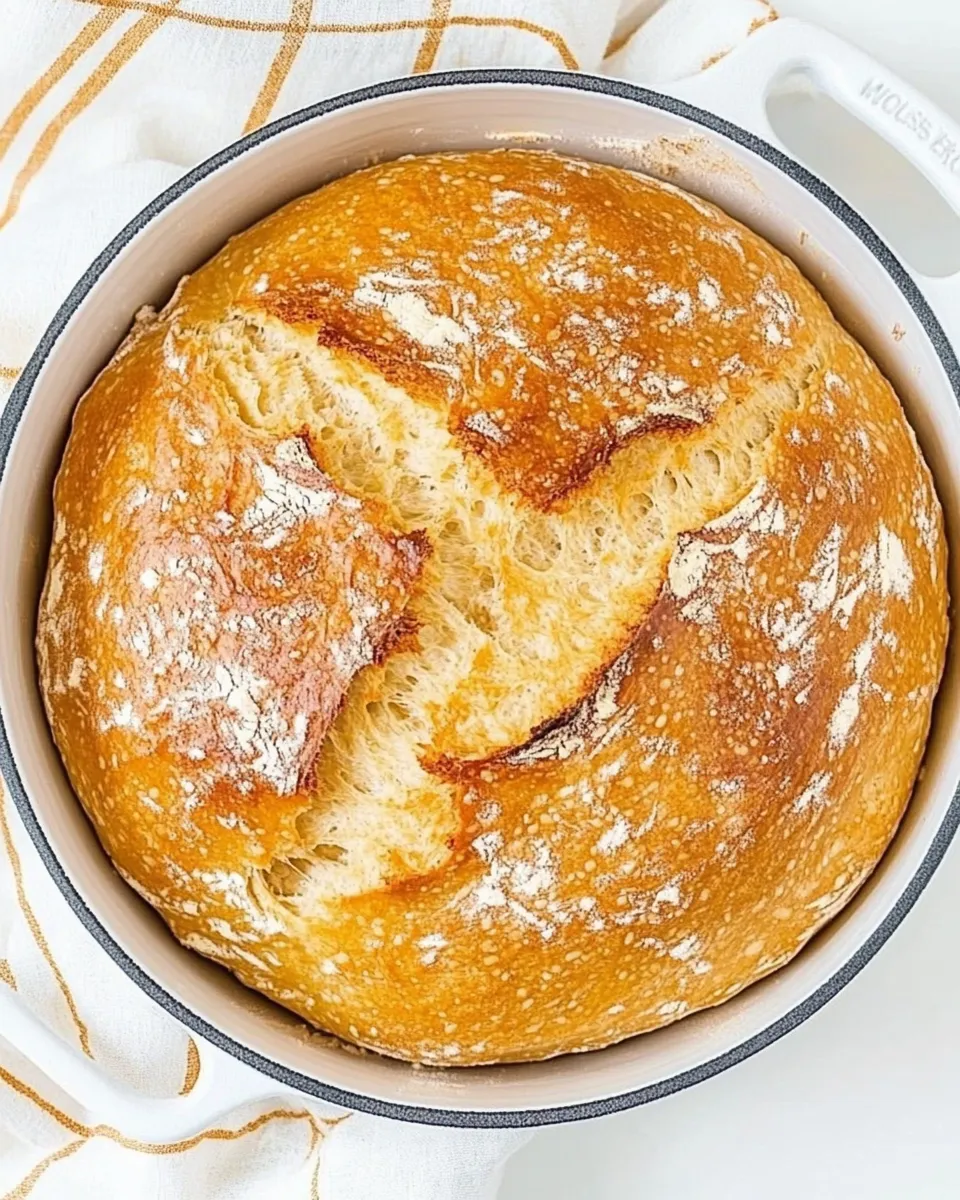
For a darker crust and even more flavor, brush the loaf lightly with water right before scoring. You can also add a dusting of flour to the top for a rustic look.
Prep Ahead & Store
You can mix the dough in the evening and let it ferment 12–18 hours in the bowl as directed. If you need more flexibility, after the initial mixing let the bowl sit at room temperature for 2 hours, then cover and refrigerate for up to 24 hours to slow fermentation. Bring the bowl back to room temp and continue with the folding and second rise.
Store leftover bread wrapped at room temperature for 2 days or in the fridge up to 5 days. For longer storage, slice and freeze; toast straight from frozen or thaw at room temperature.
Popular Questions
- Can I use whole wheat flour? — You can substitute up to half the flour with whole wheat, but expect a denser crumb and adjust hydration if the dough feels too stiff.
- Why is my dough sticky? — This recipe is meant to be sticky. Use lightly floured hands for folding and rely on parchment for transfers.
- How do I know when the first rise is done? — Look for bubbles across the surface and a stringy underside when you lift the dough—signs of active fermentation.
- Can I bake this without a Dutch oven? — Yes: place dough on a preheated baking stone or sheet, and add steam to the oven (a tray of hot water) for the first 10–12 minutes, though crust and oven spring will be less dramatic.
Ready to Cook?
Gather your ingredients, set a timer for an effortless overnight rise, and you’ll have a flavorful molasses loaf with crisp crust and soft crumb by tomorrow. Follow the steps above for reliable results, and don’t be afraid to tweak small things like molasses level to suit your taste. Happy baking—this one’s built to fit into a busy life while still delivering great bread.

Molasses No Knead Bread
Ingredients
- 4 1/2 cups all-purpose flour spooned and leveled
- 1 3/4 cup water room temperature
- 3 tablespoons honey pasteurized (agave or real maple syrup can be substituted)
- 2 tablespoons molasses
- 1 teaspoon salt
- 3/4 teaspoon instant yeast
Instructions
- In a large bowl, combine the all-purpose flour, water, honey, molasses, salt, and instant yeast; stir until a sticky, shaggy dough forms.
- Stir the dough about ten more strokes with the spoon to introduce a little air.
- Cover the bowl with plastic wrap and let the dough rise at room temperature for 12 to 18 hours, until the surface is bubbly and the dough looks aerated.
- When ready, lay a large piece of parchment paper on the counter and dust it lightly with flour.
- Turn the sticky dough out onto the floured parchment; with lightly floured fingers or a spoon, fold it over itself twice to form a loose round.
- Lift the parchment edges to place the dough (on the parchment) into a large bowl, cover with a kitchen towel, and let rise another 2 hours until doubled and springy.
- About 30 minutes before the second rise is done, place a Dutch oven with its lid in the oven and preheat to 450°F (232°C).
- Carefully remove the hot Dutch oven from the oven, lift the parchment with the dough, and place both into the pot.
- Lightly score the top of the dough with a sharp knife, cover with the lid, and bake for 25 to 30 minutes.
- Remove the lid and bake an additional 10 to 15 minutes until the crust is golden brown.
- Transfer the bread to a rack and let cool at least 5 minutes before slicing.
Equipment
- large mixing bowl
- wooden spoon or spatula
- plastic wrap or kitchen towel
- Parchment Paper
- Dutch oven (or heavy ovenproof pot) with lid
- sharp knife or lame
- Measuring cups and spoons
Notes
- Do not add extra flour while folding; a sticky dough is normal.
- Rise times vary with room temperature.
- Use parchment to make transferring the dough easy and safe.
- Preheating the Dutch oven ensures a crisp crust.
- Allow bread to cool slightly before cutting to avoid crushing the crumb.