Instant Pot Cold Start Yogurt
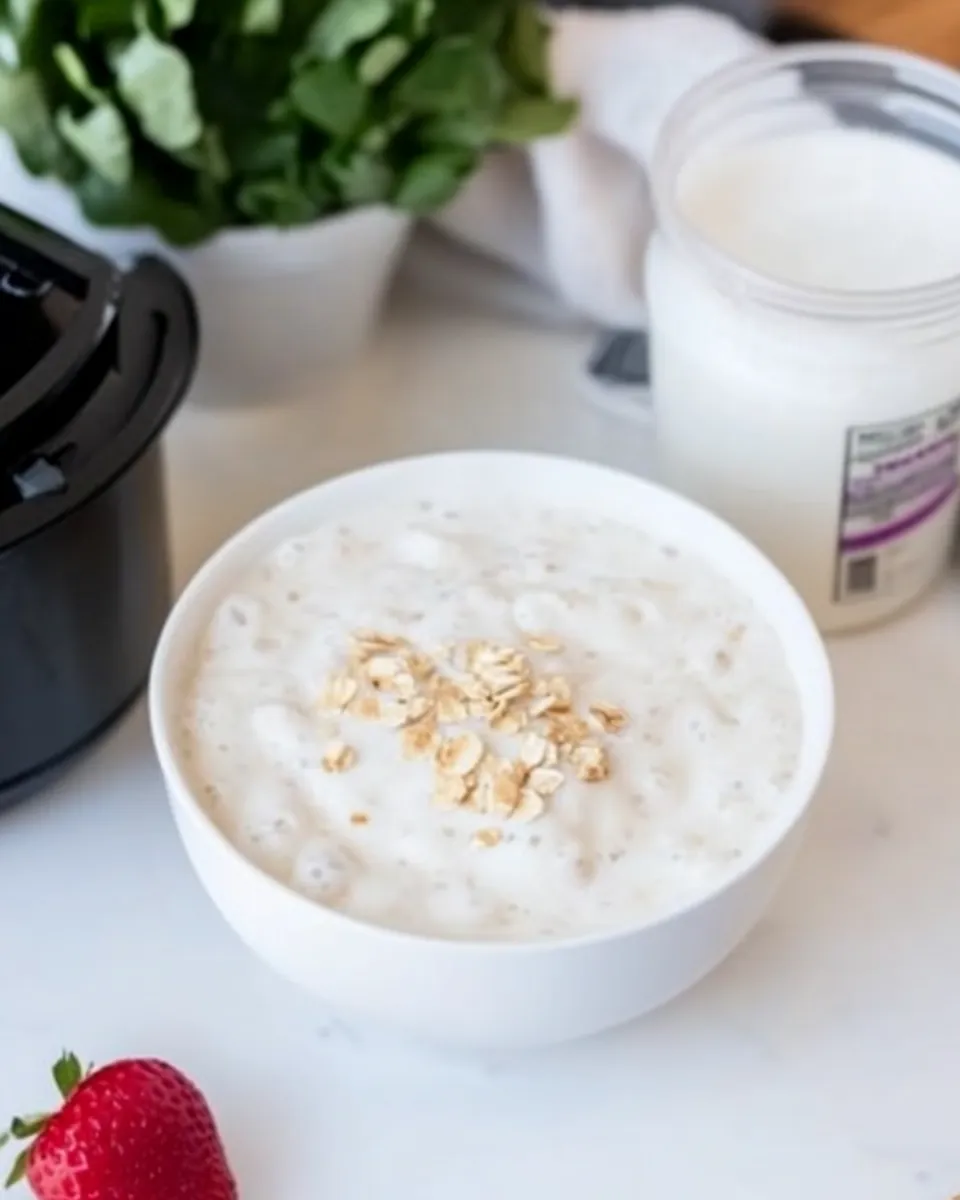
I love a no-fuss yogurt that tastes homemade without the fuss. This cold-start Instant Pot method is one of my favorite routines: minimal hands-on time, reliable texture, and a clean tang that plays well with fruit, granola, or savory bowls. If you use ultra-pasteurized, ultra-filtered milk and a good live-culture starter, the results are consistently smooth and slightly thick.
The technique is straightforward: you make a concentrated starter, whisk it into cold milk, and let the Instant Pot’s yogurt setting incubate the culture for a long, slow period. No scorching, no babysitting the pot, and no complicated temperature juggling. The fridge finishes the set and chills the yogurt so it’s ready to spoon into jars.
This post gives practical step-by-step instructions, ingredient notes, troubleshooting tips, and smart variations so you can adapt the method to your pantry and schedule. I’ll also cover tools, storage, and common mistakes so your first batch turns out well.
Ingredient Breakdown
- 52 ounces Ultra Pasteurized Milk — The milk base; ultra-pasteurized and ultra-filtered is best for a thicker, more consistent yogurt. Keep it cold.
- 2 tablespoons prepared yogurt with live cultures — Acts as the starter; must contain live active cultures. Plain store-bought or leftover homemade yogurt both work.
Make Instant Pot Cold Start Yogurt: A Simple Method
- Measure 1 cup of the milk from your 52-ounce container into a mixing bowl or measuring cup.
- Whisk 2 tablespoons of prepared yogurt (with live cultures) into that 1 cup of milk until smooth and fully combined. This is your starter mixture.
- Pour the remaining milk (the rest of the 52 ounces) into the Instant Pot inner pot.
- Whisk the starter mixture into the inner pot so the starter disperses evenly through the cold milk.
- Place the Instant Pot lid on the cooker. Do not seal the valve; sealing is not needed for yogurt incubation.
- Press the “Yogurt” function. If necessary, press “Yogurt” again or use the adjust button until the display reads 8:00 for an eight-hour incubation. Ensure the pressure indicator reads at the normal (not low) setting—if it shows low, press “Yogurt” again to correct it. (See notes if you have a Duo Plus model; settings can vary slightly by model.)
- Allow the milk to incubate undisturbed for 8 hours. The Instant Pot will maintain a steady warm temperature suitable for culture growth.
- After the eight-hour incubation, carefully remove the inner pot from the Instant Pot.
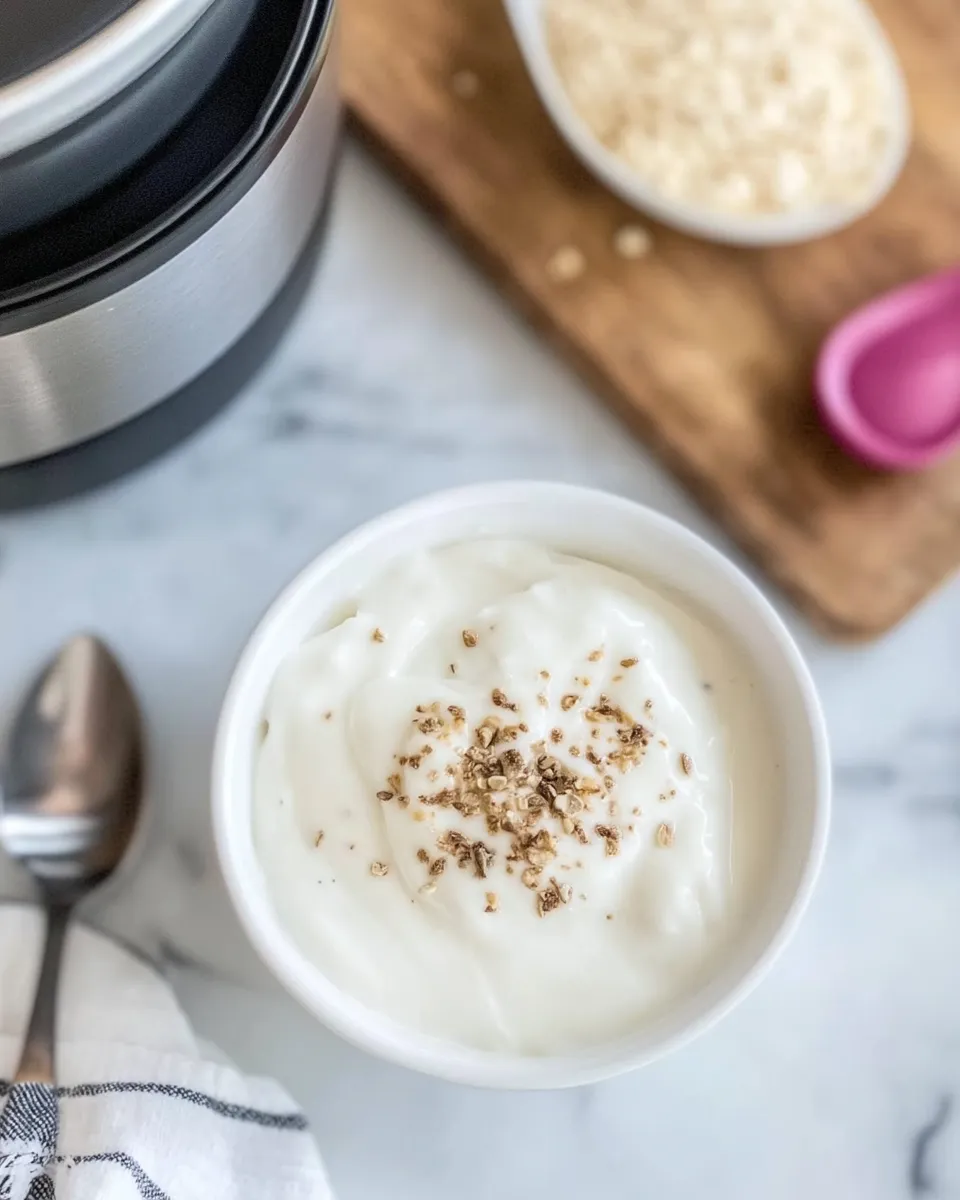
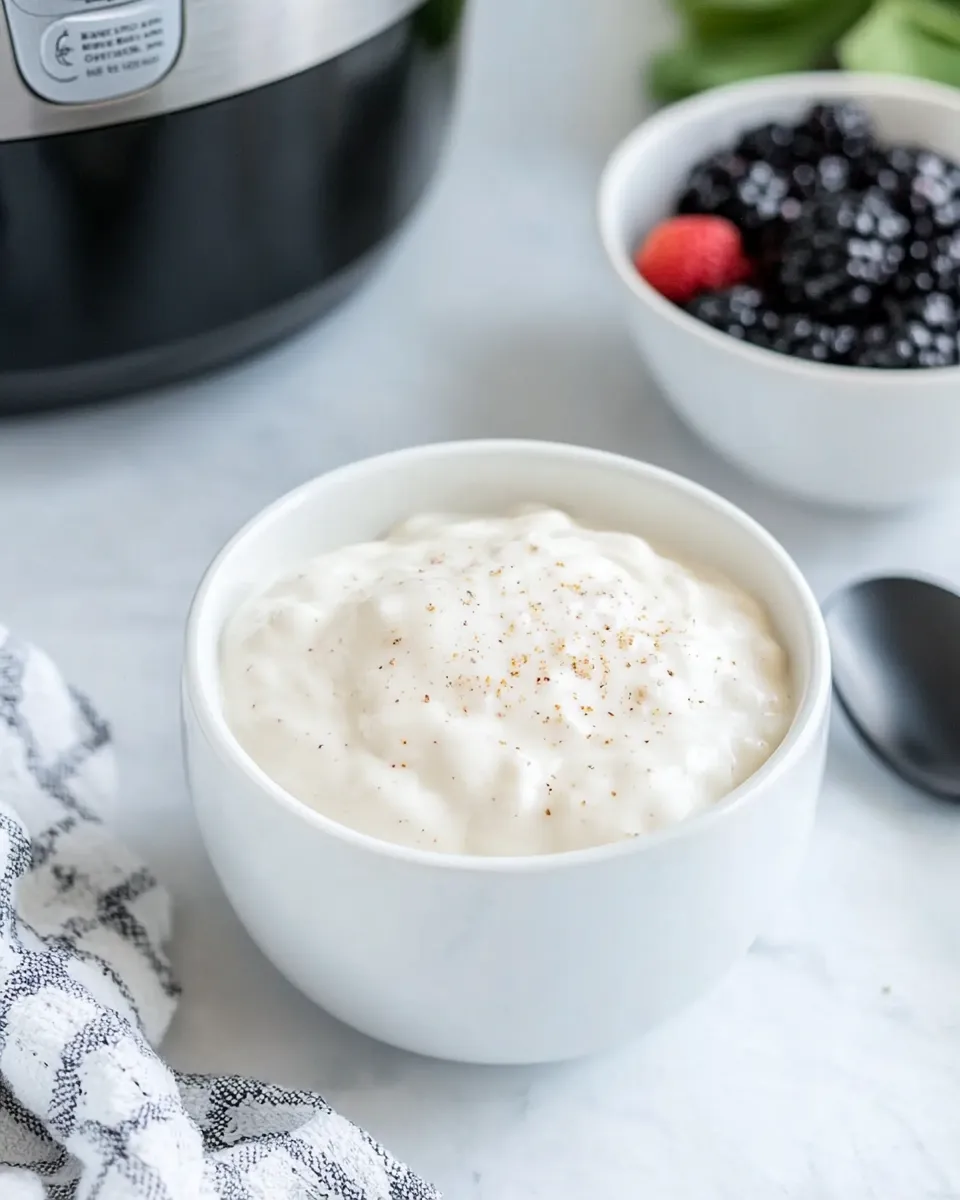
- Cover the inner pot tightly with plastic wrap or a lid and refrigerate it for 8 hours. Cooling overnight helps the yogurt finish setting and thicken.
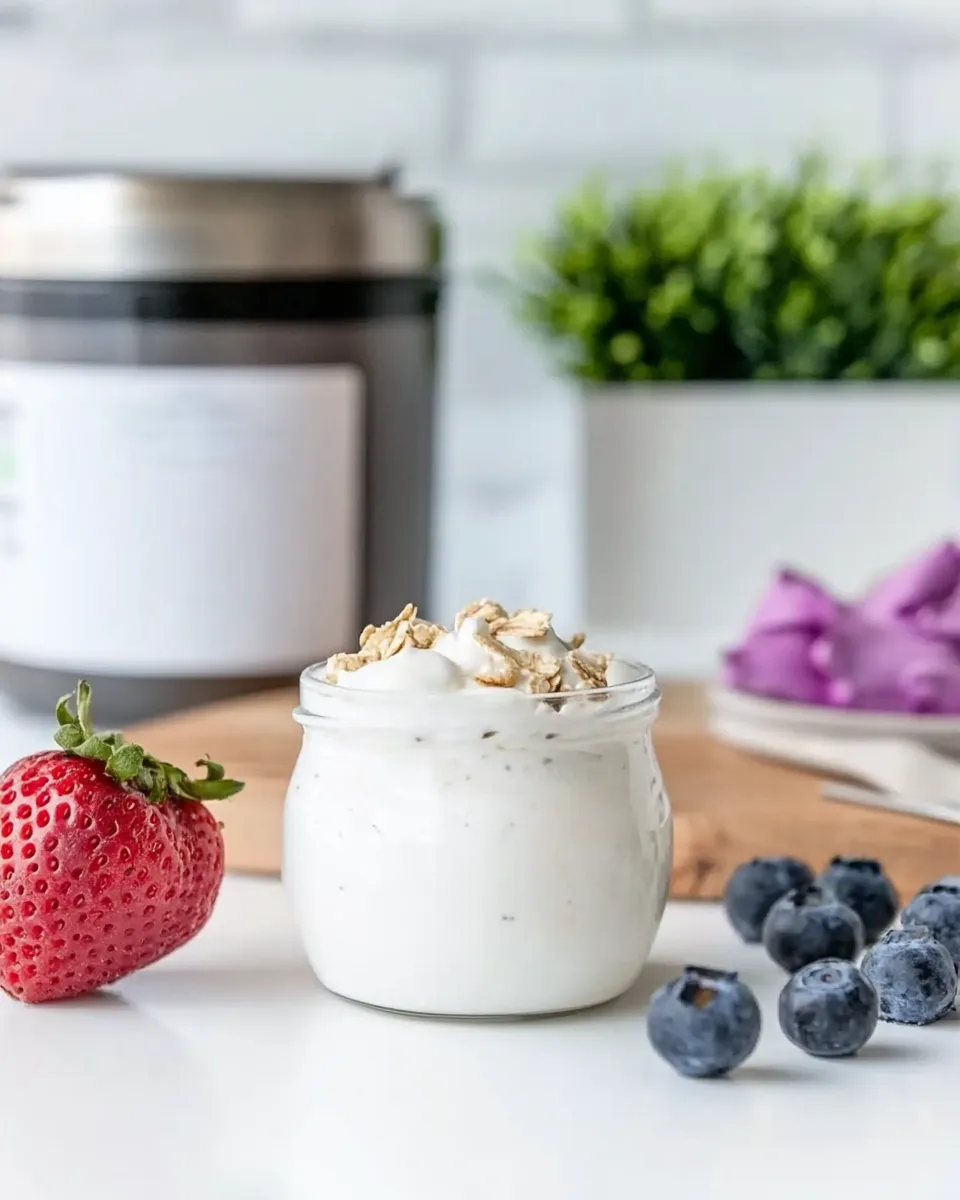
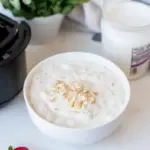
- Once chilled, transfer the finished yogurt into glass containers. Store in the refrigerator and consume within 10–14 days.
Reasons to Love Instant Pot Cold Start Yogurt
- Hands-off: Mix, set, and forget for eight hours of incubation plus chilling.
- Consistent results: The Instant Pot holds a steady temperature for reliable culturing.
- Cleaner flavor: Using ultra-filtered milk gives a creamier mouthfeel without additives.
- Versatile: Start plain, then flavor jars individually for breakfasts, snacks, and sauces.
- Cost-effective: Homemade yogurt is cheaper than many specialty store brands and you control the ingredients.
Flavor-Forward Alternatives
- Vanilla + honey: Stir in a teaspoon of pure vanilla extract and a tablespoon of honey per cup just before serving.
- Fruit purée swirl: Spoon in cooled cooked berry compote or blended peach purée after the yogurt chills for a natural fruit yogurt.
- Savory herb yogurt: Mix in lemon zest, minced garlic, chopped dill, and a pinch of salt to use as a sauce for roasted vegetables or grilled meats.
- Thicker Greek-style: Strain the finished yogurt through a cheesecloth-lined sieve for 1–3 hours to concentrate and thicken it into Greek-style yogurt.
Tools & Equipment Needed
- Instant Pot with a “Yogurt” function — required for temperature-controlled incubation.
- Measuring cup and spoon — for accurate starter and milk amounts.
- Whisk — to incorporate the starter smoothly into the milk.
- Plastic wrap or a tight-fitting lid — to cover the inner pot during refrigeration.
- Glass storage jars — for storing finished yogurt in the fridge.
Avoid These Mistakes
- Using a starter without live cultures — the yogurt won’t set properly. Always check the label for “live active cultures.”
- Heating the milk first when following a cold-start method — this recipe assumes you are not heating; adding a hot step can change timing and texture.
- Sealing the Instant Pot or switching pressure settings — the yogurt function should run without creating pressure; don’t force sealing.
- Shortening incubation time — fewer than eight hours will yield a milder, thinner yogurt; stick to the full time for best results.
- Skipping refrigeration after incubation — chilling for about 8 hours is necessary to finish setting and to develop proper texture.
Seasonal Spins
- Spring: Stir in a spoonful of local honey and top with fresh berries for a bright, floral finish.
- Summer: Blend in ripe mango purée and a squeeze of lime for a tropical yogurt cup.
- Fall: Fold in cooked spiced apple purée with cinnamon and a little maple syrup.
- Winter: Mix in roasted pear purée with a pinch of cardamom or ginger for warmth and depth.
Insider Tips
- Use ultra-filtered milk if you want a naturally creamier result without added thickeners.
- If your Instant Pot model shows different yogurt controls, consult your manual for how to set an eight-hour incubation; the goal is steady warm incubation, not pressure cooking.
- Save 2 tablespoons of this batch to use as starter for the next batch; fresher starters often give faster, tangier results.
- For consistent thickness, make sure the starter is well dispersed by whisking thoroughly but gently so you don’t incorporate excessive air.
- If your kitchen is cool, the yogurt setting in the Instant Pot usually compensates, but avoid drafts or very cold basements during incubation.
Make-Ahead & Storage
- After incubation and refrigeration, transfer yogurt into clean glass containers. Properly stored, it will keep 10–14 days in the fridge.
- Label jars with the date you made the batch so you can track freshness.
- You can freeze yogurt in portioned containers for up to 2 months; thaw overnight in the fridge and stir before using. Texture may be slightly grainier after freezing.
- Reserve 2 tablespoons from each batch to use as the starter for your next batch; this keeps the culture line going without buying new starter each time.
Reader Questions
- Q: Can I use whole milk, 2%, or nonfat milk? A: Yes. This recipe calls for 52 ounces of ultra-pasteurized milk; ultra-filtered whole milk gives the creamiest result, but 2% and nonfat will also culture—expect thinner texture with lower fat.
- Q: My Instant Pot has a Duo Plus model—any differences? A: Duo Plus may show “low” or “normal” yogurt pressure indicators. Make sure the unit is on the normal yogurt setting (press “Yogurt” again if it displays “low”). The critical part is choosing an eight-hour incubation.
- Q: Can I use a powdered starter instead of prepared yogurt? A: This recipe’s ingredient list names prepared yogurt with live cultures. If you use powdered starter, follow its package instructions for equivalent amounts; note that you would then be deviating from the exact ingredients listed here.
- Q: What if my yogurt is too runny? A: Make sure you incubate the full eight hours and chill for about eight hours afterward. For thicker results, strain through cheesecloth to make Greek-style yogurt or use ultra-filtered milk next time.
Bring It to the Table
Serve your homemade Instant Pot yogurt with a drizzle of honey, a handful of toasted nuts, and seasonal fruit for a quick breakfast or elegant brunch component. For savory use, mix yogurt with lemon juice, chopped herbs, and garlic to dress roasted vegetables, dollop on chili, or thin into a cooling sauce for spicy dishes.
This cold-start method is low-lift and reliable. Once you get the habit of saving a bit for the next starter and keeping a steady eight-hour incubation, you’ll have fresh yogurt on hand that’s economical and customizable. Happy culturing—spoon, swirl, and enjoy.
Instant Pot Cold Start Yogurt
Ingredients
- 52 ounces ultra-pasteurized milk (ultra-filtered is best)
- 2 tablespoons prepared yogurt with live cultures or yogurt starter
Instructions
- Whisk 1 cup of the milk with the 2 tablespoons of prepared yogurt (or starter) until smooth and well combined.
- Pour the remaining milk (about 51 ounces) into the Instant Pot inner pot, then whisk in the starter mixture until evenly distributed.
- Place the inner pot into the pressure cooker and put the lid on; do not seal the vent.
- Select the Yogurt function and adjust the time to 8:00 (8 hours). Ensure the pressure setting is on normal, not low; if it shows low, press Yogurt again to correct it.
- After the 8-hour incubation, remove the inner pot, cover it with plastic wrap (or a lid), and refrigerate for 8 hours to set and chill.
- After refrigeration, transfer the yogurt to glass containers and store in the refrigerator; it will keep for 10–14 days.
Equipment
- Electric pressure cooker with yogurt function
- Whisk
- Measuring cups and spoons
- Plastic wrap or lid for inner pot
- Refrigerator-safe storage containers
Notes
- Fairlife is an example of ultra-filtered milk that yields thicker yogurt.
- If using ultra-pasteurized (not ultra-filtered) milk, you may want to strain the yogurt for extra thickness.
- Ultra-filtered milk is generally more reliable for setting than some ultra-pasteurized brands.
- For Instant Pot Duo Plus models, use the custom temperature on the Yogurt function and set to 110°F if skipping the boil.
- Nutrition in the original recipe was calculated using 2% milk and a 4-ounce serving size.