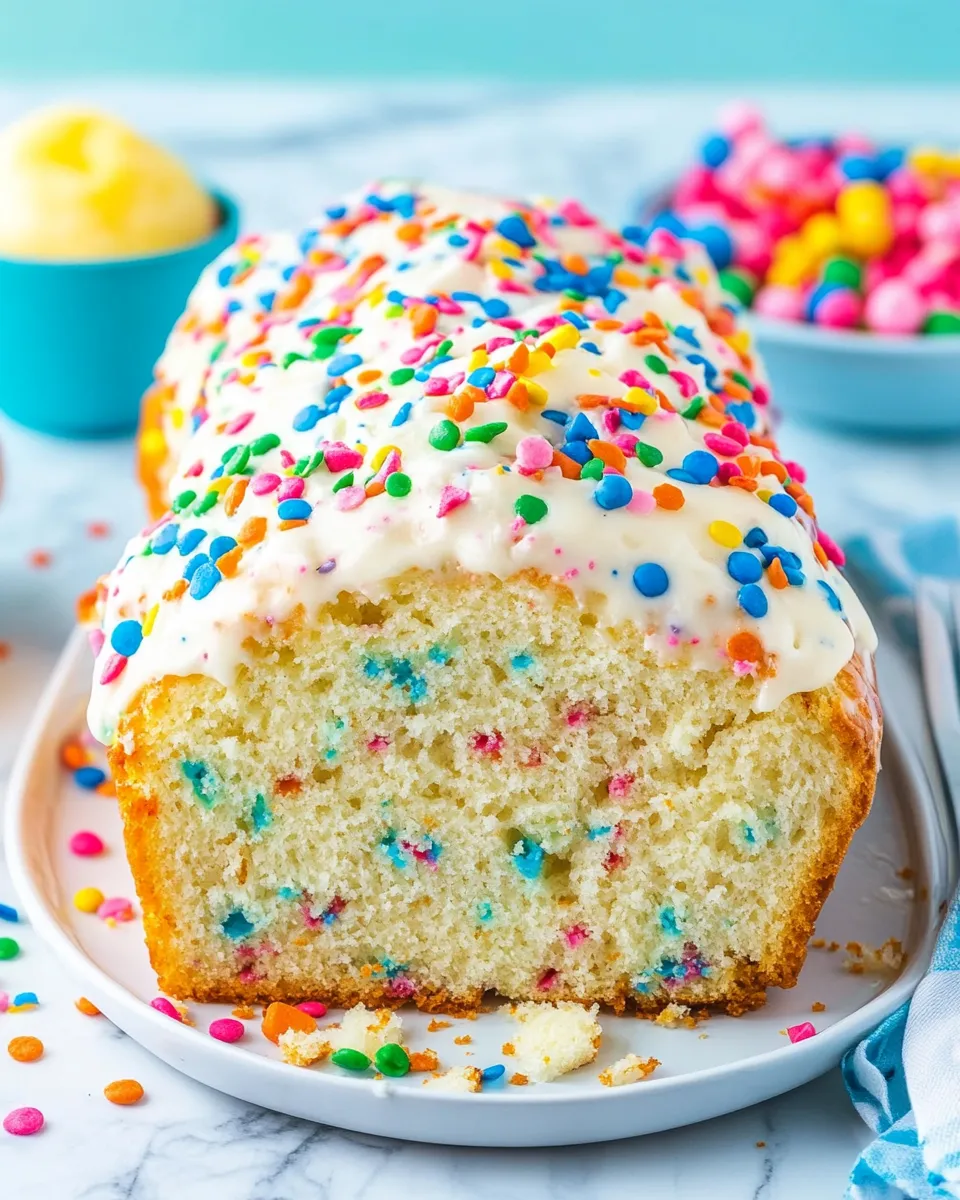
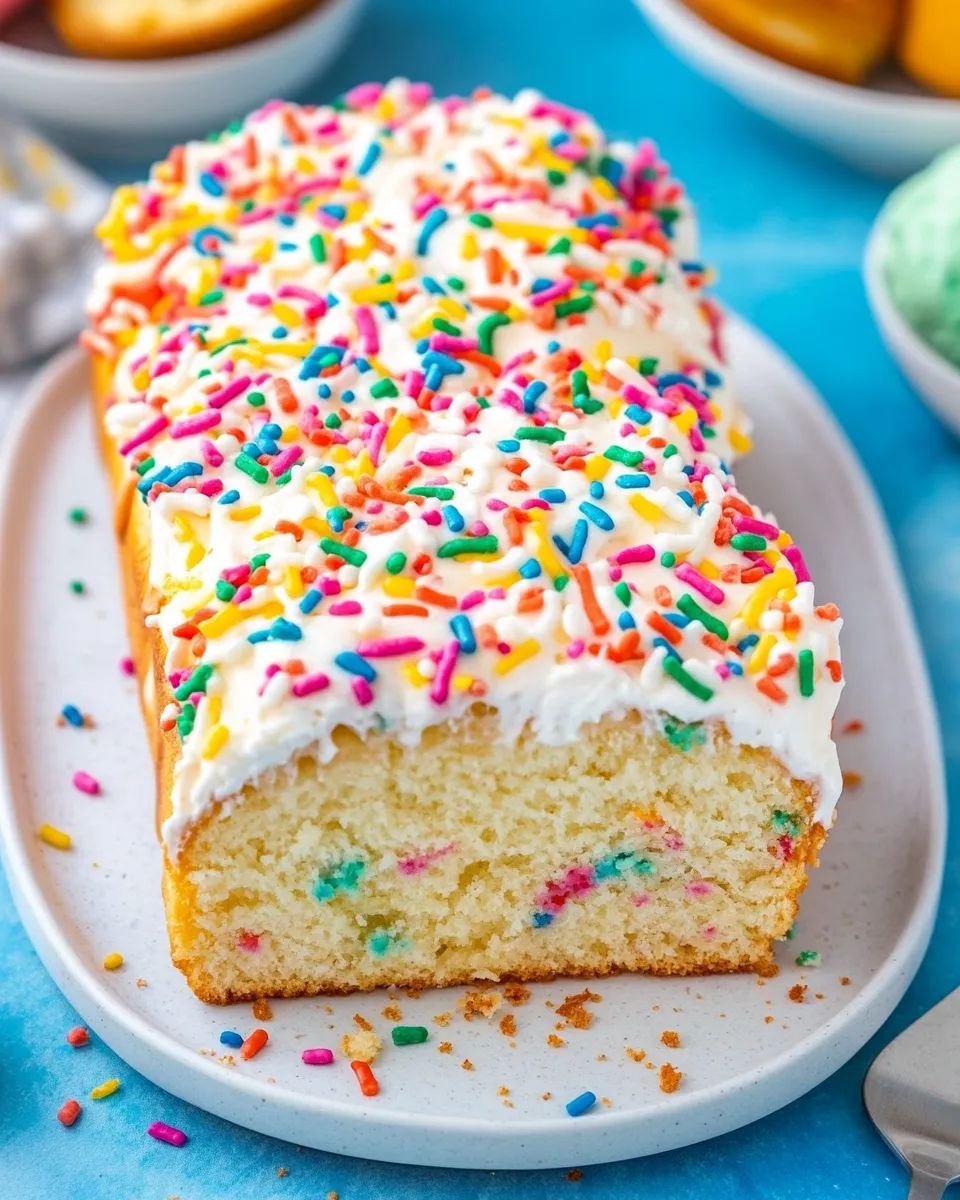
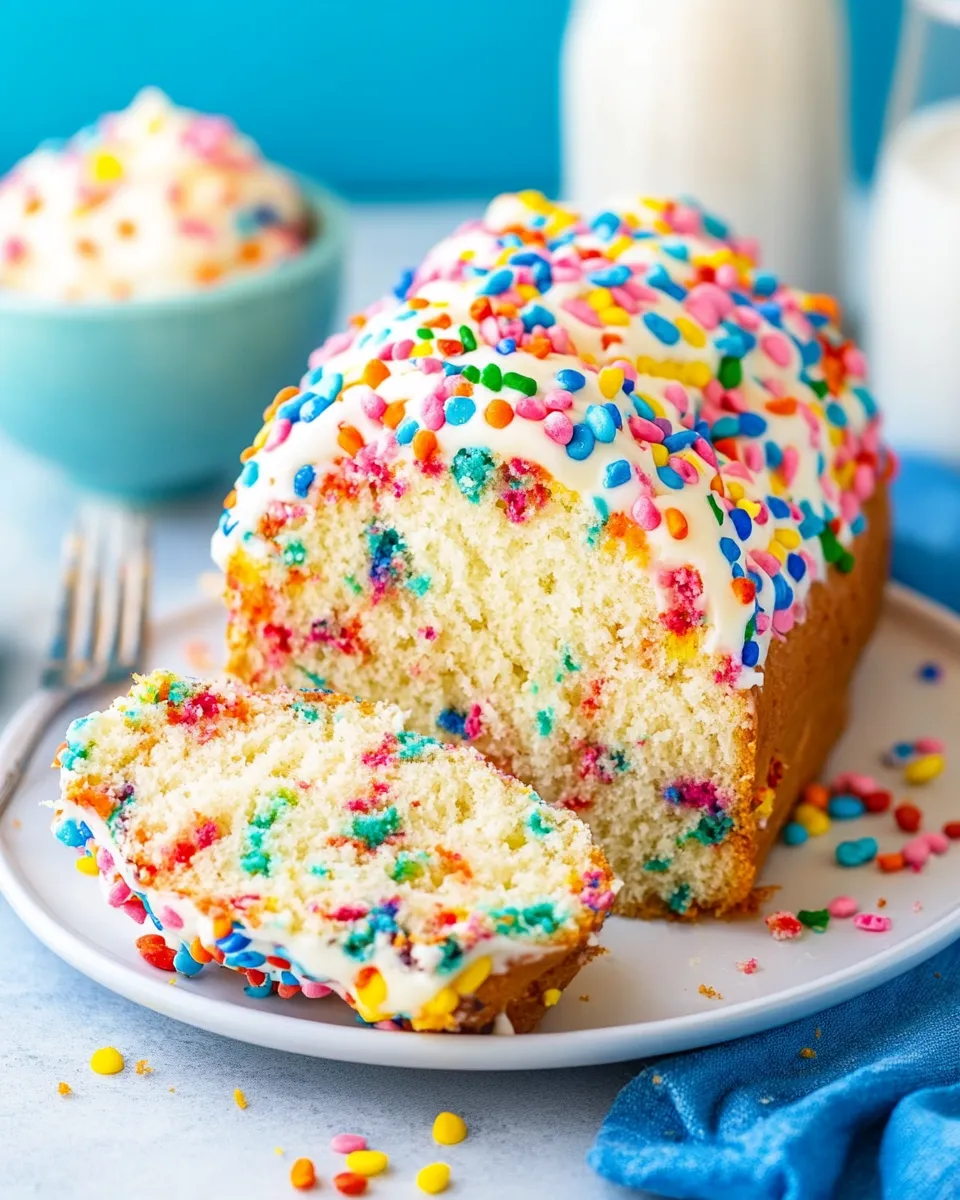
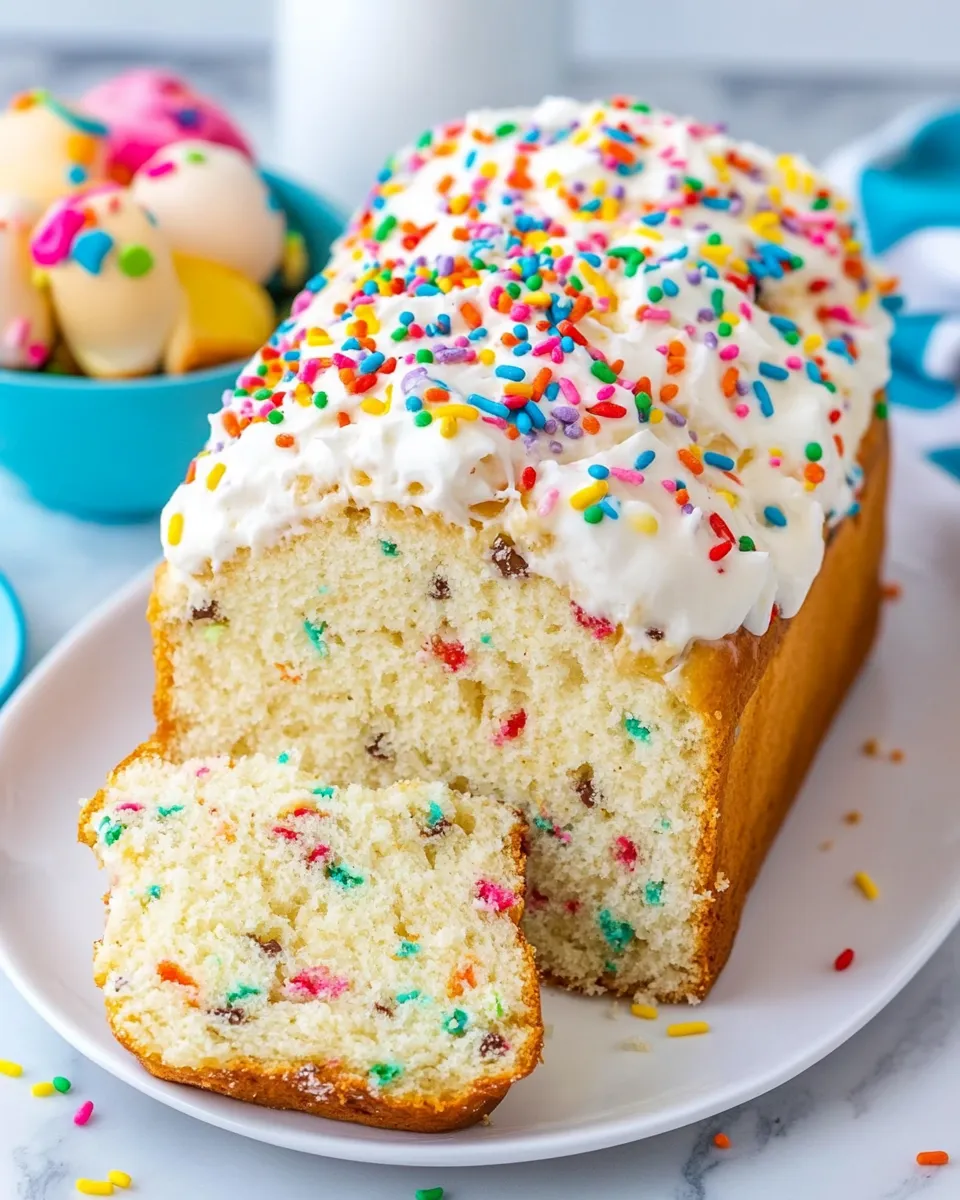
Ice Cream Bread
Have you ever found yourself with a tub of ice cream lounging in your freezer, and you just don’t know what to do with it? Maybe it’s been lingering there for a while, or perhaps you simply want to try something new. Well, let me introduce you to the wonderful world of ice cream bread! This delightful, easy-to-make treat combines the magic of ice cream with the simple joy of baking. With just a few ingredients, you can whip up a moist, sweet bread that’s perfect for breakfast, dessert, or a snack.
Imagine the comforting aroma wafting through your kitchen as the bread bakes, reminiscent of your favorite bakery. Not only is it incredibly simple, but it’s customizable, so you can let your creativity shine! Let’s get started on this tasty journey.
Why This Recipe Is a Must-Try
Ice cream bread is the epitome of simplicity meets scrumptiousness. It’s a one-bowl recipe, which means less cleanup and more time enjoying your creation. The combination of ice cream and self-rising flour results in a surprisingly fluffy and tender loaf that you won’t believe is made with just two main ingredients.
What’s more, this recipe allows for a fun twist! You can incorporate your favorite flavors and mix-ins, making each loaf uniquely yours. And let’s not forget the sprinkles! They add a joyful splash of color that makes this bread look as delightful as it tastes. Whether you’re serving it at a family gathering or enjoying it all to yourself, ice cream bread is bound to impress.
Ingredients
To embark on this sweet adventure, gather the following ingredients:
- 2 cups of softened ice cream (I used vanilla, but feel free to choose your favorite flavor)
- 1 ½ cups of self-rising flour
- 2 tablespoons of rainbow sprinkles (plus extra for decoration)
- 1 cup of powdered sugar
- 1 tablespoon of milk
- ½ teaspoon of vanilla extract
Before you get started, make sure your ice cream is thoroughly softened so that it can be easily mixed with the flour. This will ensure a smooth batter and a beautifully baked loaf.
How To Make Ice Cream Bread
Now let’s dive into the baking process! Follow these simple steps to create your very own ice cream bread.
Step 1: Preheat Your Oven
Start by preheating your oven to 350°F (175°C). This ensures that when your batter goes in, the heat is perfectly distributed for optimal baking.
Step 2: Prepare the Loaf Pan
Grease a standard loaf pan lightly with cooking spray or butter to prevent sticking. You can also line it with parchment paper for easy removal after baking.
Step 3: Mix the Ingredients
In a large mixing bowl, add the 2 cups of softened ice cream. Use a spatula to stir it until it’s creamy. Next, incorporate the 1 ½ cups of self-rising flour into the bowl. Mix until just combined; it’s okay if there are a few lumps as you don’t want to overmix. Fold in the 2 tablespoons of rainbow sprinkles gently, ensuring they’re evenly distributed throughout the batter.
Step 4: Pour the Batter Into the Loaf Pan
Transfer the batter into the prepared loaf pan, smoothing the top with your spatula. Sprinkle a few extra rainbow sprinkles on top for added cheer.
Step 5: Bake the Bread
Place the loaf pan in the preheated oven and bake for about 40-50 minutes. Keep an eye on it; you’ll know it’s done when the top is golden and a toothpick inserted in the center comes out clean.
Step 6: Cool and Prepare the Glaze
Once baked, remove the bread from the oven. Allow it to cool in the pan for about 10 minutes before transferring it to a wire rack to cool completely. While the bread cools, you can prepare the glaze. In a small bowl, whisk together the 1 cup of powdered sugar, 1 tablespoon of milk, and ½ teaspoon of vanilla extract until smooth.
Step 7: Drizzle the Glaze
Once the bread has cooled completely, place it on a serving platter and drizzle the prepared glaze over the top. Finish with a few additional rainbow sprinkles for that extra festive touch.
Expert Tips
- Make sure your ice cream is softened properly to blend easily with the flour.
- Feel free to experiment with different flavors of ice cream, such as chocolate, mint, or even coffee!
- Store any leftovers in an airtight container to maintain freshness.
- To avoid overmixing, mix the batter just until the flour is incorporated.
Variations and Customizations
One of the best things about ice cream bread is how versatile it is. Here are some fun variations you might consider trying:
- Use chocolate or cookie dough ice cream for a decadent twist.
- Add in chocolate chips or nuts for extra texture.
- Incorporate a swirl of your favorite jam or nut butter for added flavor.
- Substitute the sprinkles with crushed cookies or candies to match the season or occasion.
How to Store Leftovers
If you happen to have any leftover ice cream bread (which is unlikely, but just in case!), it’s best to store it in an airtight container at room temperature for up to 2-3 days. If you want to keep it longer, you can slice the bread and wrap individual slices in plastic wrap before placing them in the freezer. This way, you can enjoy a slice whenever the craving hits!
FAQ
Can I use any flavor of ice cream for this recipe?
Absolutely! Feel free to use your favorite flavor of ice cream. Vanilla is classic, but chocolate, strawberry, or even mint chocolate chip can give you a delicious and unique bread.
What if I don’t have self-rising flour?
No worries! If you don’t have self-rising flour, you can make your own by combining 1 ½ cups of all-purpose flour with 2 ¼ teaspoons of baking powder and a ½ teaspoon of salt.
Can I add mix-ins to the batter?
Yes! Adding mix-ins like chocolate chips, nuts, or dried fruit can customize your ice cream bread. Just make sure not to overload it, as too many additions may affect the texture.
How do I know when the ice cream bread is done baking?
The bread is done when the top is golden brown and a toothpick inserted into the center comes out clean. Keep an eye on it during the last few minutes of baking to prevent overcooking.
Conclusion
Ice cream bread is a delightful and whimsical creation that’s sure to become a favorite in your baking repertoire. It’s incredibly simple to make and allows for endless variations, so you’ll never get bored! Whether you’re in the mood for a sweet treat with your morning coffee or a fun dessert to share with friends, this recipe is perfect for any occasion. So grab that tub of ice cream and start mixing; your new favorite loaf awaits! Enjoy every bite of this sweet, fluffy goodness, and let the sprinkles add a touch of joy to your day. Happy baking!
Ice Cream Bread
Ingredients
Ingredients
- 2 cups Softened Ice Cream Any flavor, vanilla recommended.
- 1.5 cups Self-Rising Flour Can substitute with all-purpose flour mixed with baking powder and salt.
- 2 tablespoons Rainbow Sprinkles Plus extra for decoration.
- 1 cup Powdered Sugar
- 1 tablespoon Milk
- 0.5 teaspoon Vanilla Extract
Instructions
- Step 1: Preheat your oven to 350°F (175°C).
- Step 2: Grease a standard loaf pan lightly with cooking spray or butter.
- Step 3: In a large mixing bowl, stir the softened ice cream until creamy. Add the self-rising flour and mix until just combined. Fold in the rainbow sprinkles.
- Step 4: Pour the batter into the prepared loaf pan and smooth the top. Sprinkle extra rainbow sprinkles on top.
- Step 5: Bake for 40-50 minutes until the top is golden and a toothpick comes out clean.
- Step 6: Allow the bread to cool in the pan for 10 minutes, then transfer to a wire rack. Prepare the glaze by whisking together powdered sugar, milk, and vanilla extract.
- Step 7: Once cooled, drizzle the glaze over the bread and top with additional sprinkles.
Equipment
- Mixing Bowl
- Loaf Pan
- Spatula