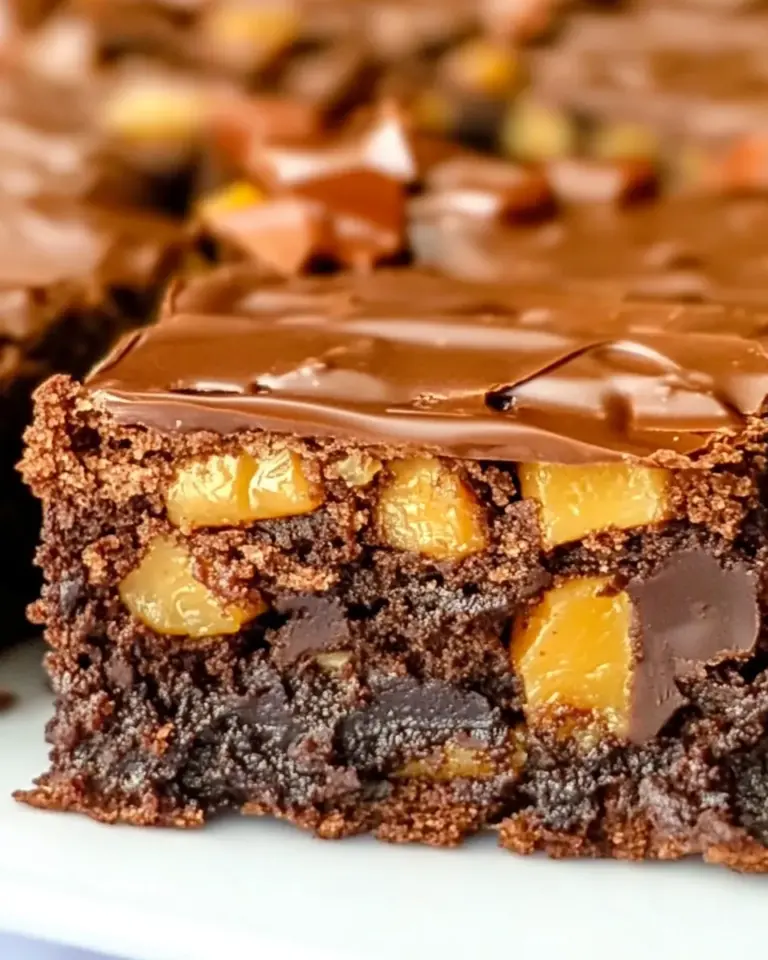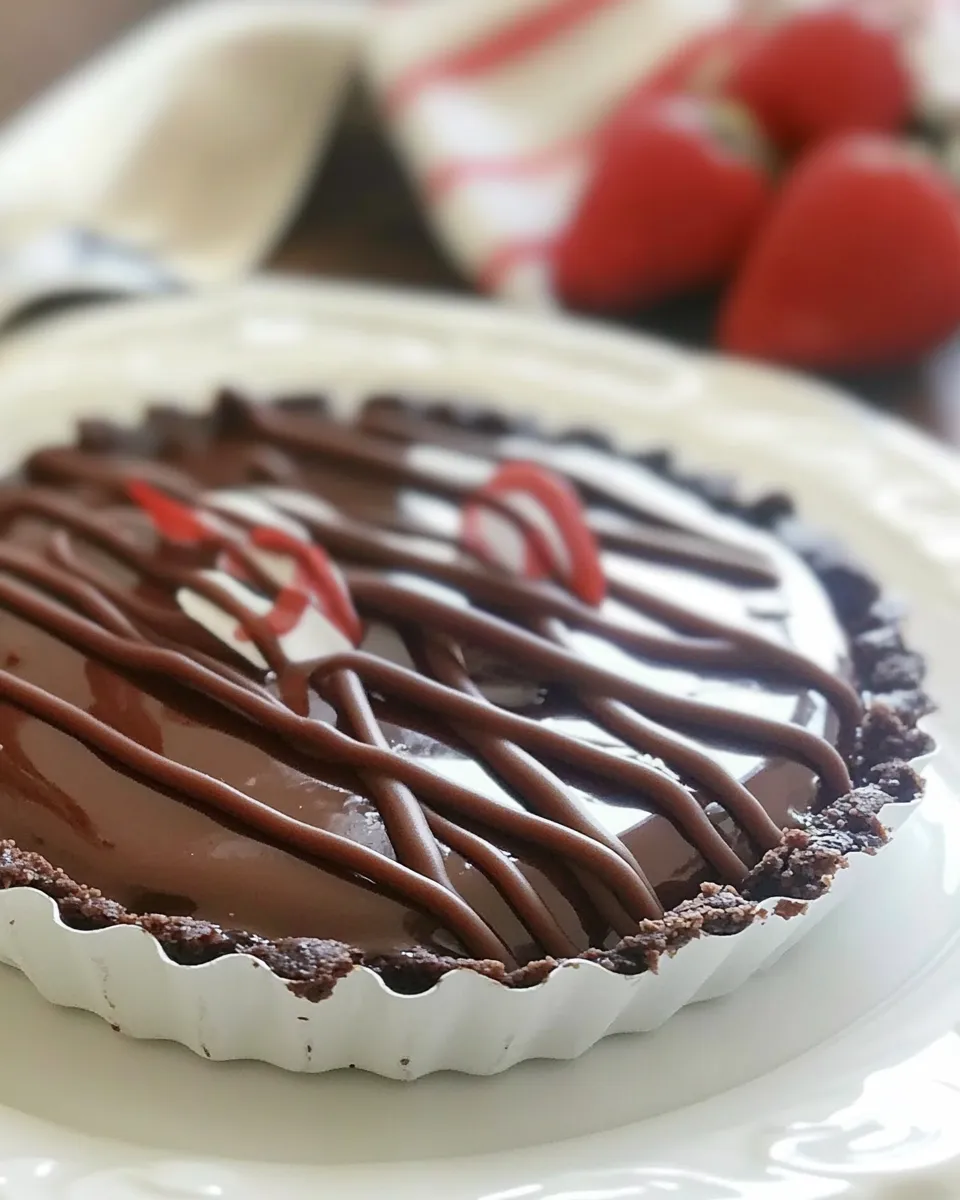
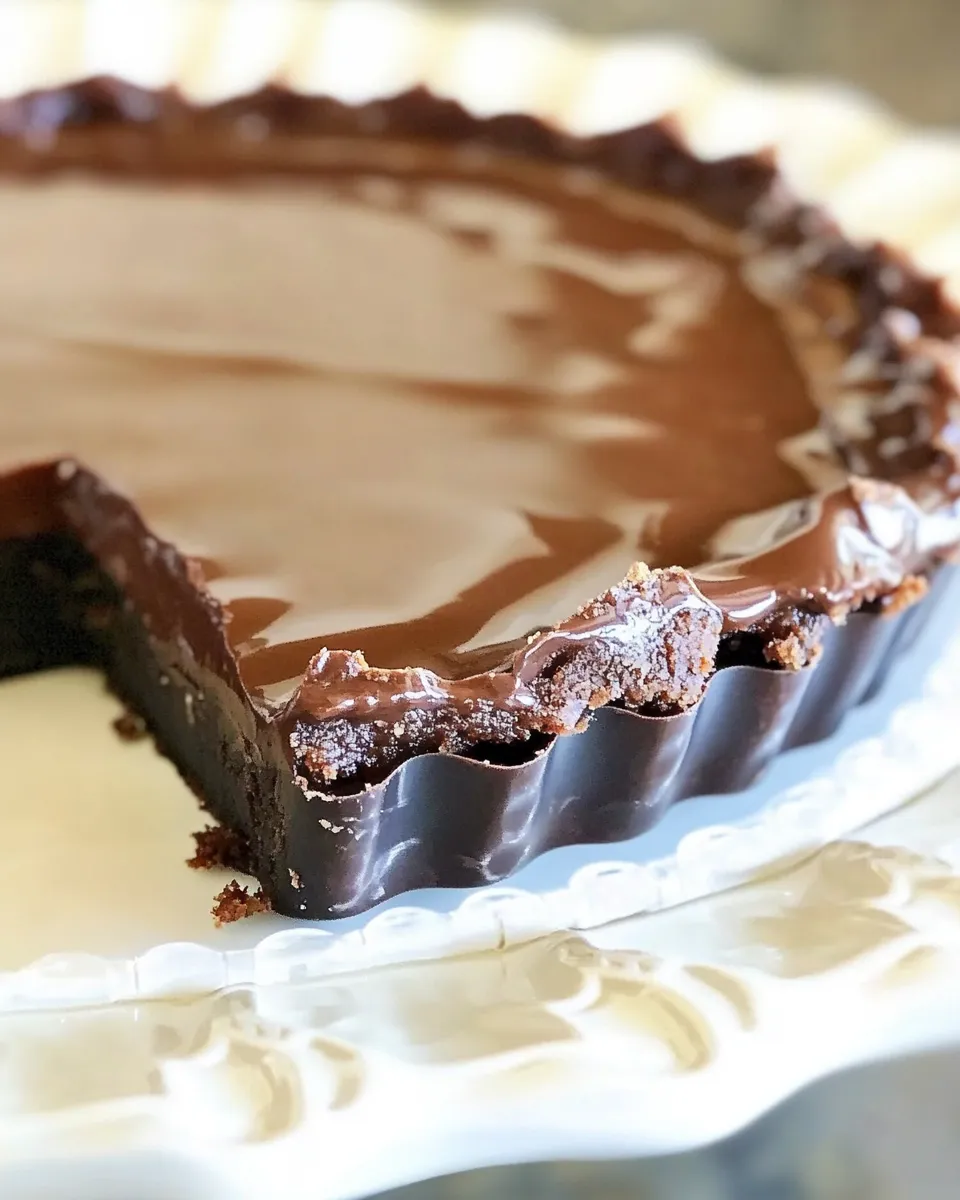
Glazed Chocolate Tart
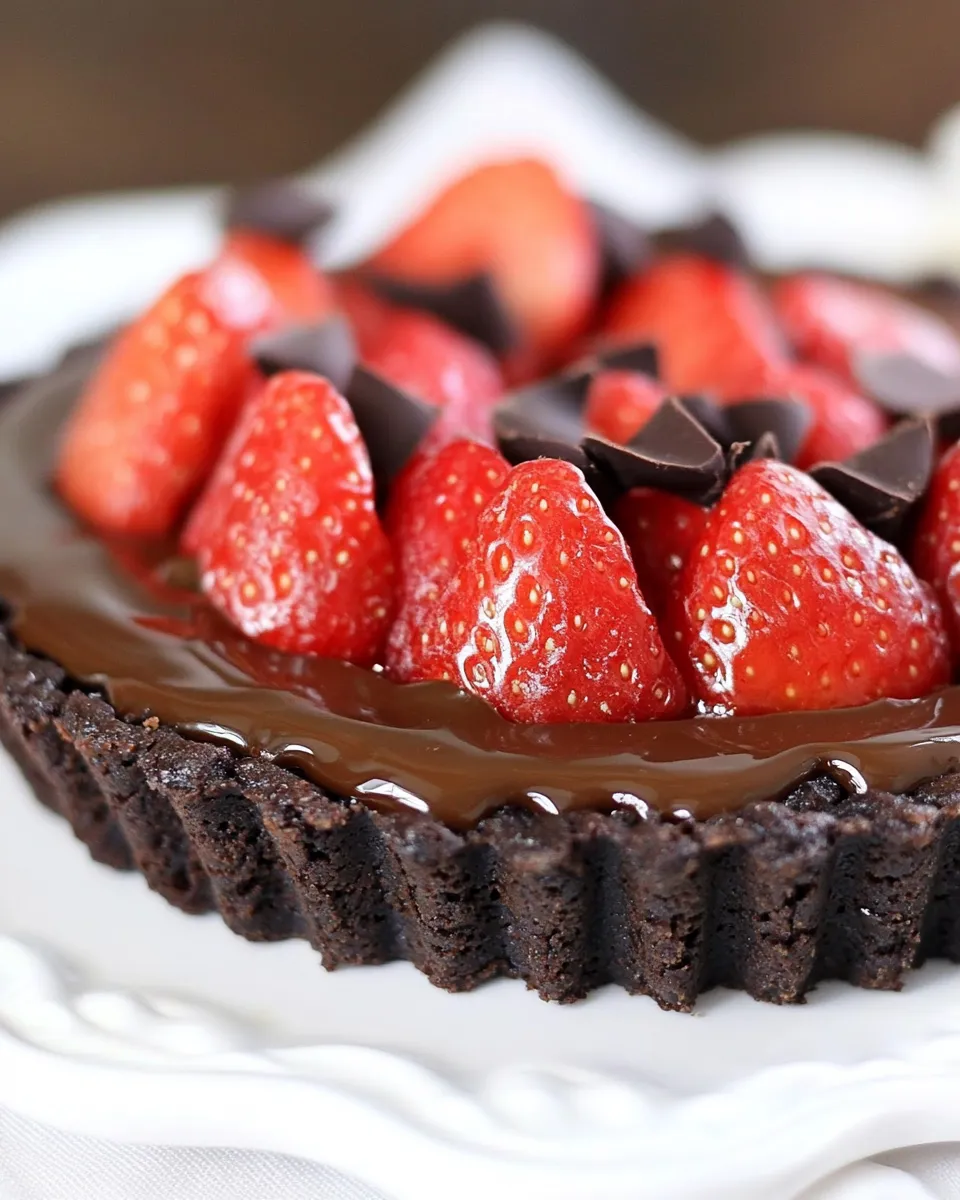
I adore recipes that look impressive but come together without drama. This Glazed Chocolate Tart is one of those desserts: a crisp chocolate-graham crust, a silky chocolate custard, and a glossy chocolate glaze that makes the whole thing feel special. It’s elegant enough for guests and forgiving enough for a weeknight baking session.
Temperatures and timing matter, but the technique is straightforward. Press the crust, gently temper the chocolate filling, and finish with a shiny glaze that sets quickly. I’ll walk you through clear steps, common pitfalls, and easy variations so you can get a perfect tart on your first try.
This recipe serves about 8 and requires simple pantry ingredients. Read through the equipment and timing notes before you start so the assembly flows smoothly.
Ingredients at a Glance
- 9 chocolate graham crackers, finely ground (1 cup of crumbs) — the base of the crust; grind to fine crumbs so the crust presses and holds together.
- 5 tablespoons butter, melted — binds the crumbs and adds richness; melt and cool slightly before mixing.
- ¼ cup sugar — sweetens the crust and balances the chocolate.
- 1 cup heavy cream — used twice: once for the filling and once for the glaze to melt chocolate and create a silky texture.
- 8 ounces chocolate, finely chopped — primary flavor for filling and glaze; use good-quality semi-sweet or bittersweet chocolate.
- 3 large eggs — provide structure and create a custard-like filling when mixed with chocolate.
- 1 teaspoon vanilla extract — rounds and lifts the chocolate flavor in the filling.
- ¼ teaspoon fine salt — enhances sweetness and deepens chocolate notes.
- 1 tablespoon light corn syrup — added to the glaze for shine and to help it set with a glossy finish.
- 1 tablespoon warm water — loosens the glaze to make it pourable and spreadable.
Method: Glazed Chocolate Tart
- Preheat the oven to 350°F (175°C).
- Make the crust: Combine 1 cup finely ground chocolate graham cracker crumbs, 5 tablespoons melted butter, and ¼ cup sugar in a bowl. Stir until evenly moistened.
- Press the crumb mixture evenly into the bottom and up the sides of a greased 9-inch tart pan. Use the bottom of a measuring cup or a flat glass to compact the crust tightly and create an even edge.
- Bake the crust for 10 minutes. Remove from the oven and transfer the tart pan to a wire rack. Let the crust cool for about 20 minutes while you prepare the filling.
- Prepare the filling: Heat 1 cup heavy cream in a small saucepan over medium heat just until it reaches a boil. Immediately remove from the heat.
- Place 8 ounces finely chopped chocolate in a heatproof bowl. Pour the hot cream over the chocolate and let it sit undisturbed for 5 minutes to soften the chocolate.
- After 5 minutes, gently stir the chocolate-and-cream mixture until it becomes smooth and homogenous. Avoid vigorous stirring; a gentle motion reduces incorporating air.
- In a separate bowl, whisk together 3 large eggs, 1 teaspoon vanilla extract, and ¼ teaspoon fine salt until blended.
- Stir the egg mixture into the melted chocolate mixture until fully combined and smooth.
- Pour the chocolate filling into the cooled crust, smoothing the top with a spatula if needed.
- Bake the tart: Place the tart in the preheated oven and bake until the filling has set about 3 inches from the edge but the center still jiggles slightly, about 25 minutes. The center will finish cooking as the tart cools.
- While the tart bakes or just after removing it, make the glaze: Heat 1 cup heavy cream until it reaches a boil, then remove from heat. Place 8 ounces finely chopped chocolate in a bowl and pour the hot cream over it. Let sit briefly, then stir until smooth.
- Stir 1 tablespoon light corn syrup into the warm chocolate glaze, followed by 1 tablespoon warm water to loosen the glaze so it will pour easily.
- Pour the warm glaze onto the tart surface, then gently tilt and rotate the tart so the glaze spreads to cover the entire filling evenly. Work quickly before the glaze begins to set.
- Let the tart stand at room temperature until the glaze is set. This may take 30–60 minutes depending on room temperature.
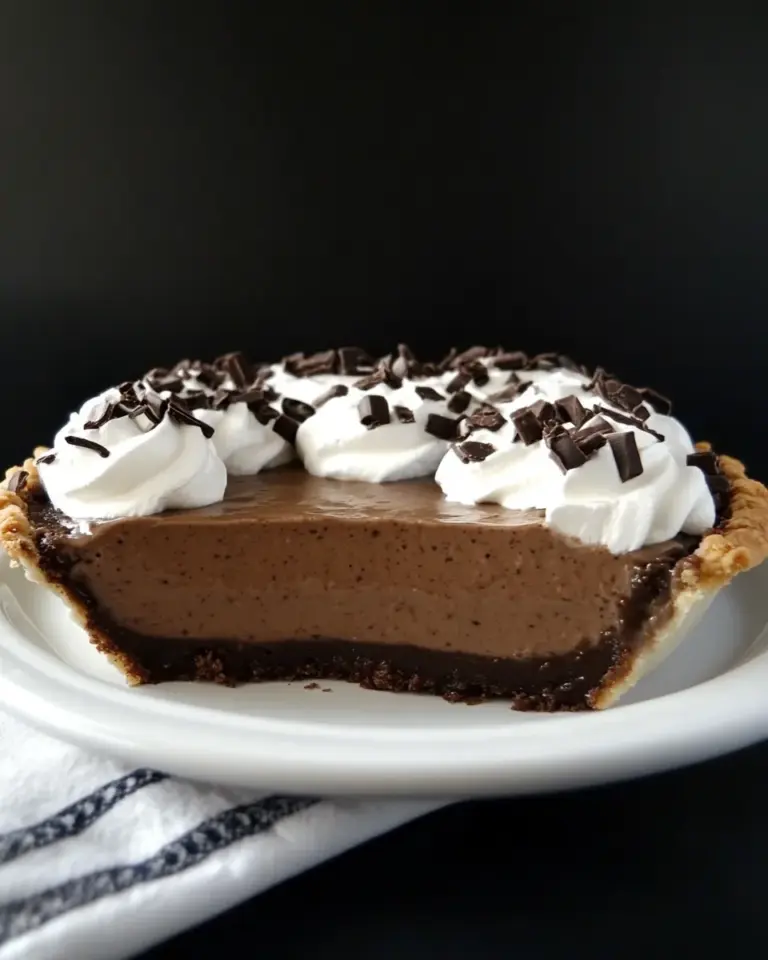
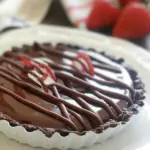
- To serve, carefully remove the tart from the pan and transfer it to a serving platter. Cut into wedges and serve with berries and lightly sweetened whipped cream, if desired.
Reasons to Love Glazed Chocolate Tart
- Striking presentation: the mirror-like glaze gives a bakery finish with minimal effort.
- Textural contrast: crisp graham-graham crust against a silky chocolate custard is irresistible.
- Simple ingredient list: no exotic items, just chocolates, cream, eggs, and pantry staples.
- Versatile: serve warm, at room temperature, or chilled—each yields a slightly different experience.
- Make-ahead friendly: components come together ahead of time, and the tart can rest overnight for cleaner slices.
International Equivalents
- United Kingdom: Use chocolate digestive biscuits in place of chocolate graham crackers for a similar crumb base.
- France: Serve a slice alongside lightly sweetened crème fraîche instead of whipped cream for a tangy contrast.
- Italy: Replace the corn syrup in the glaze with an equal amount of golden syrup, or omit if unavailable—glaze will be slightly less glossy.
- Australia: Chocolate biscuit crumbs (like Arnott’s) can replace graham crumbs without changing texture much.
Equipment at a Glance
- 9-inch tart pan with removable bottom — makes unmolding cleaner and easier.
- Food processor or a sturdy plastic bag and rolling pin — to finely grind chocolate graham crackers into crumbs.
- Small saucepan — to heat cream for filling and glaze.
- Heatproof mixing bowls — for melting chocolate with hot cream.
- Wire rack — cools the crust and whole tart evenly.
- Offset spatula or flexible spatula — helpful for smoothing filling and spreading glaze.
- Measuring cups and spoons — accurate measurements matter for custard consistency.
Learn from These Mistakes
- Overheating the cream: boiling aggressively or leaving it boiling will risk scorching; bring to a boil then remove from heat immediately.
- Not letting the chocolate sit with hot cream: skipping the 5-minute rest makes melting clumpy and requires unnecessary stirring.
- Pressing a loose crust: if the crust isn’t compacted firmly, the filling will leak and slices will crumble. Press firmly and evenly.
- Baking until completely firm: the center should still jiggle slightly—overbaking yields a dry, grainy texture.
- Pouring a cold glaze: if the glaze is too cool it will set before spreading. Warm it so it pours smoothly.
Customize for Your Needs
Flavor and texture options
- Nutty crust: fold 2–3 tablespoons finely chopped toasted nuts into the graham crumbs for crunch.
- Richer filling: use a higher-percentage chocolate (70%+) for deeper flavor; reduce added salt if chocolate is already salty.
- Alcohol lift: stir 1–2 teaspoons of coffee liqueur or dark rum into the filling after it’s mixed for an adult touch.
- Less sweet glaze: reduce corn syrup to 1 teaspoon or omit; glaze will be slightly less shiny but still tasty.
What I Learned Testing
- Chilling between stages isn’t necessary, but patience improves results: cooling the crust before pouring keeps filling from seeping into crumbs.
- Using finely chopped chocolate melts more evenly than chocolate chips, which often contain stabilizers.
- A thin glaze sets faster and looks cleaner. Aim for smooth pouring and minimal back-and-forth spreading.
- Room temperature eggs blend more smoothly into warm chocolate; cold eggs can cause slight seizing or cold streaks if added directly.
Leftovers & Meal Prep
- Store chilled: wrap the tart or cover with a cake dome and keep in the refrigerator for up to 3 days. Bring to room temperature before serving for the best texture.
- Freezing: slice and freeze individual wedges on a parchment-lined sheet. Transfer frozen slices to an airtight container and keep for up to 1 month. Thaw in the fridge overnight.
- Advance prep: make the crust and filling a day ahead, store separately (filling chilled in a covered bowl). Bake and glaze on the day you plan to serve for peak shine.
Glazed Chocolate Tart Q&A
- Q: Can I use chocolate chips instead of chopped chocolate?
A: You can, but finely chopped baking chocolate melts more evenly and gives a smoother filling and glaze. - Q: My glaze looks dull—what went wrong?
A: The corn syrup helps shine; omitting it or cooling the glaze too quickly reduces glossiness. Also avoid agitation that incorporates air. - Q: The center sank after cooling—why?
A: The tart was likely underbaked in the center or removed from heat too abruptly. Bake until the filling is set about 3 inches from the edge but still jiggles in the center; it will finish as it cools. - Q: Can I make a gluten-free version?
A: Substitute gluten-free chocolate graham-style crumbs or finely ground gluten-free chocolate cookies for the crust, using the same quantity.
Final Thoughts
This Glazed Chocolate Tart is a reliable showstopper: simple pantry ingredients, clear technique, and a glossy finish that looks professional. Read through the steps, prep your ingredients, and follow the timing cues for the filling’s set. With a little patience you’ll get clean slices, silky texture, and a shiny glaze that makes every slice feel like a celebration.
If you bake it, come back and tell me what chocolate you used and whether you served it with berries or whipped cream. Small tweaks make it your signature tart.
Glazed Chocolate Tart
Ingredients
- 9 chocolate graham crackers, finely ground (about 1 cup crumbs)
- 5 tablespoons butter melted
- 1/4 cup sugar
- heavy cream for filling and glaze; see directions for amounts
- chocolate for filling and glaze; see directions for amounts
- eggs whisked with vanilla and salt for filling; see directions
- vanilla used with eggs in filling
- salt pinch, used in filling
- corn syrup for glaze
- warm water for glaze
Instructions
- Preheat the oven to 350°F (175°C).
- Make the crust: combine the finely ground chocolate graham crackers (about 1 cup crumbs), melted butter (5 tablespoons), and 1/4 cup sugar in a bowl until evenly moistened.
- Press the crumb mixture evenly into the bottom and up the sides of a greased 9-inch tart pan to form the crust.
- Bake the crust for 10 minutes, then transfer to a cooling rack and cool about 20 minutes.
- For the filling: bring the cream to a boil in a saucepan, then pour it over chopped chocolate in a heatproof bowl; let sit 5 minutes.
- Gently stir the chocolate and cream until smooth. In a separate bowl, whisk together the eggs, vanilla, and salt, then fold the egg mixture into the melted chocolate until combined.
- Pour the filling into the cooled crust and bake until the filling is set about 3 inches from the edge but the center still jiggles, about 25 minutes.
- Let the tart cool; it will finish setting as it cools.
- Make the glaze: bring cream to a boil, remove from heat, and stir in chopped chocolate until smooth. Stir in corn syrup, then stir in the warm water.
- Pour the warm glaze onto the cooled tart and tilt or rotate the tart so the glaze spreads to cover the filling; let stand until the glaze is set.
- Remove the tart from the pan, place on a serving platter, and cut into wedges to serve.
Equipment
- 9-inch tart pan (removable bottom)
- Mixing bowls
- Measuring cups and spoons
- Saucepan
- Spatula or whisk
- cooling rack
- Knife
Notes
- Allow the tart to cool fully so the filling and glaze set properly.
- Use finely chopped chocolate for quicker melting.
- Press crumbs firmly into the tart pan for a sturdy crust.
- Let the filling rest a few minutes before slicing for cleaner slices.