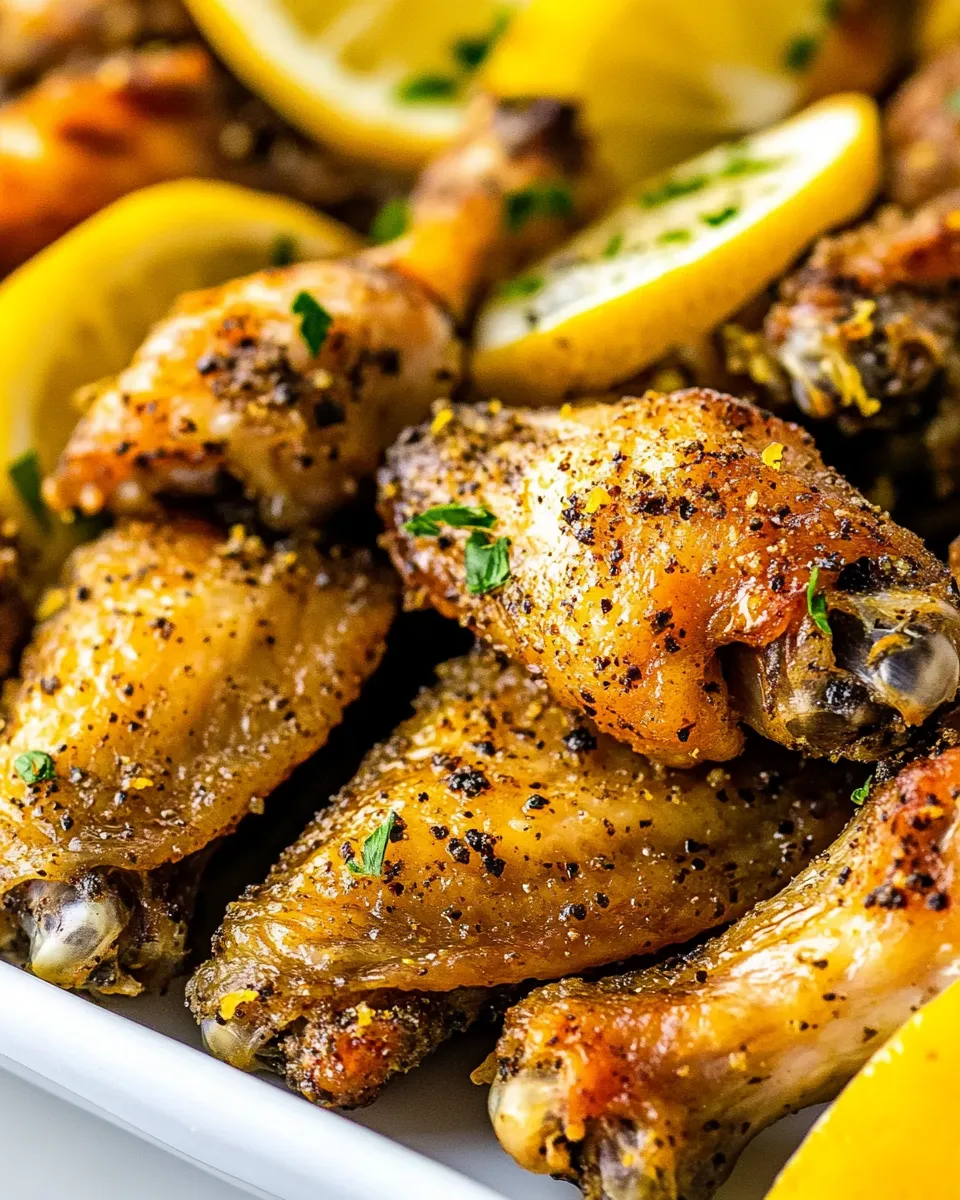
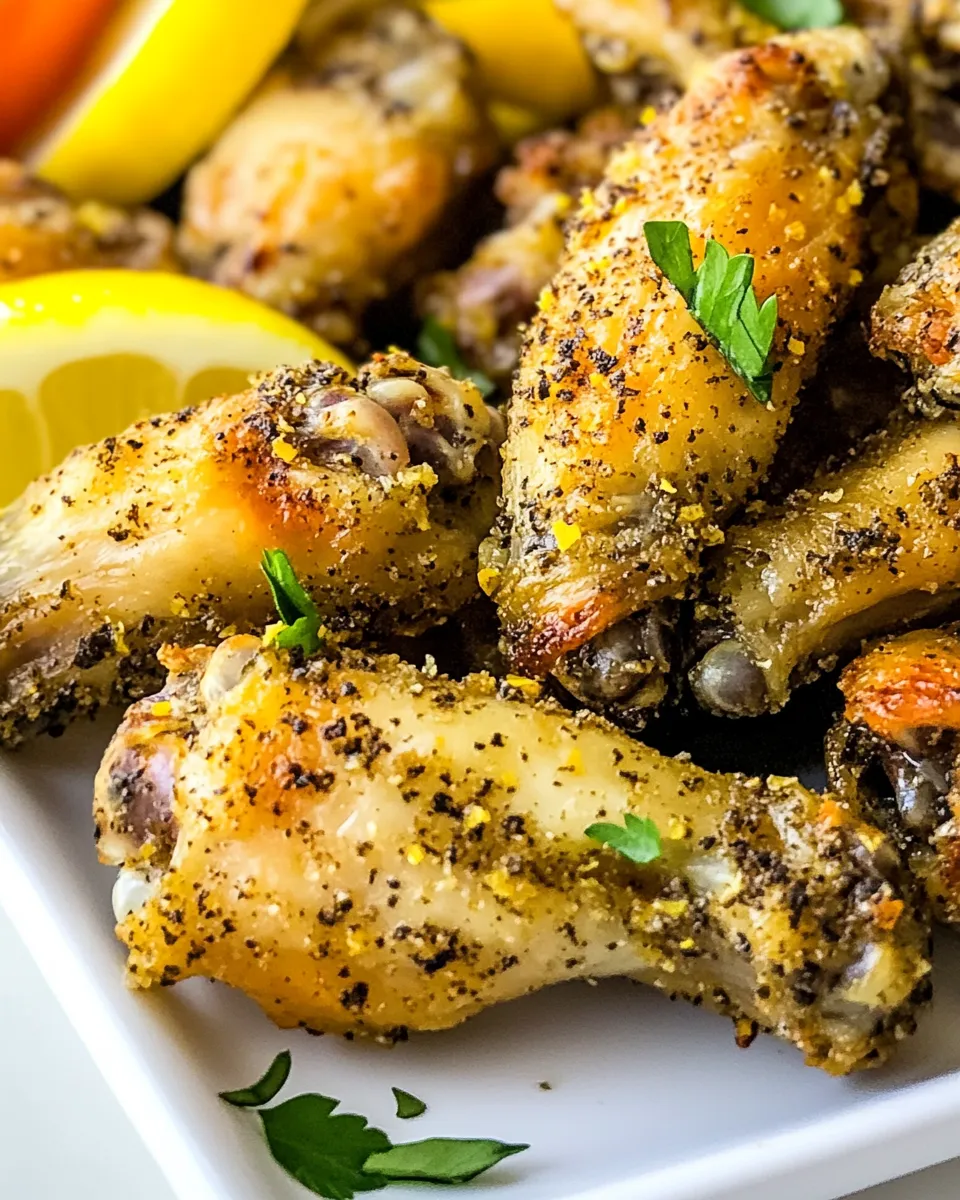
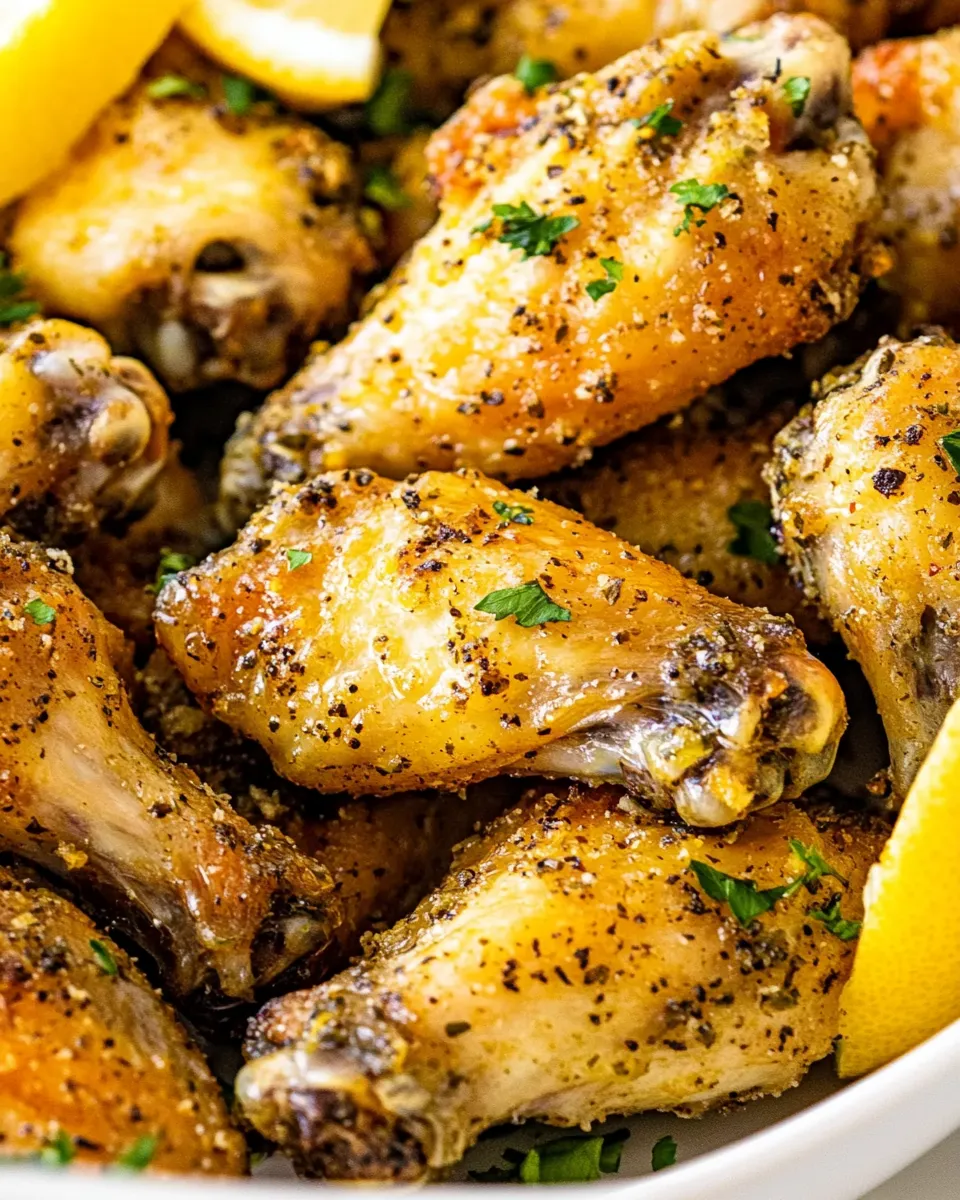
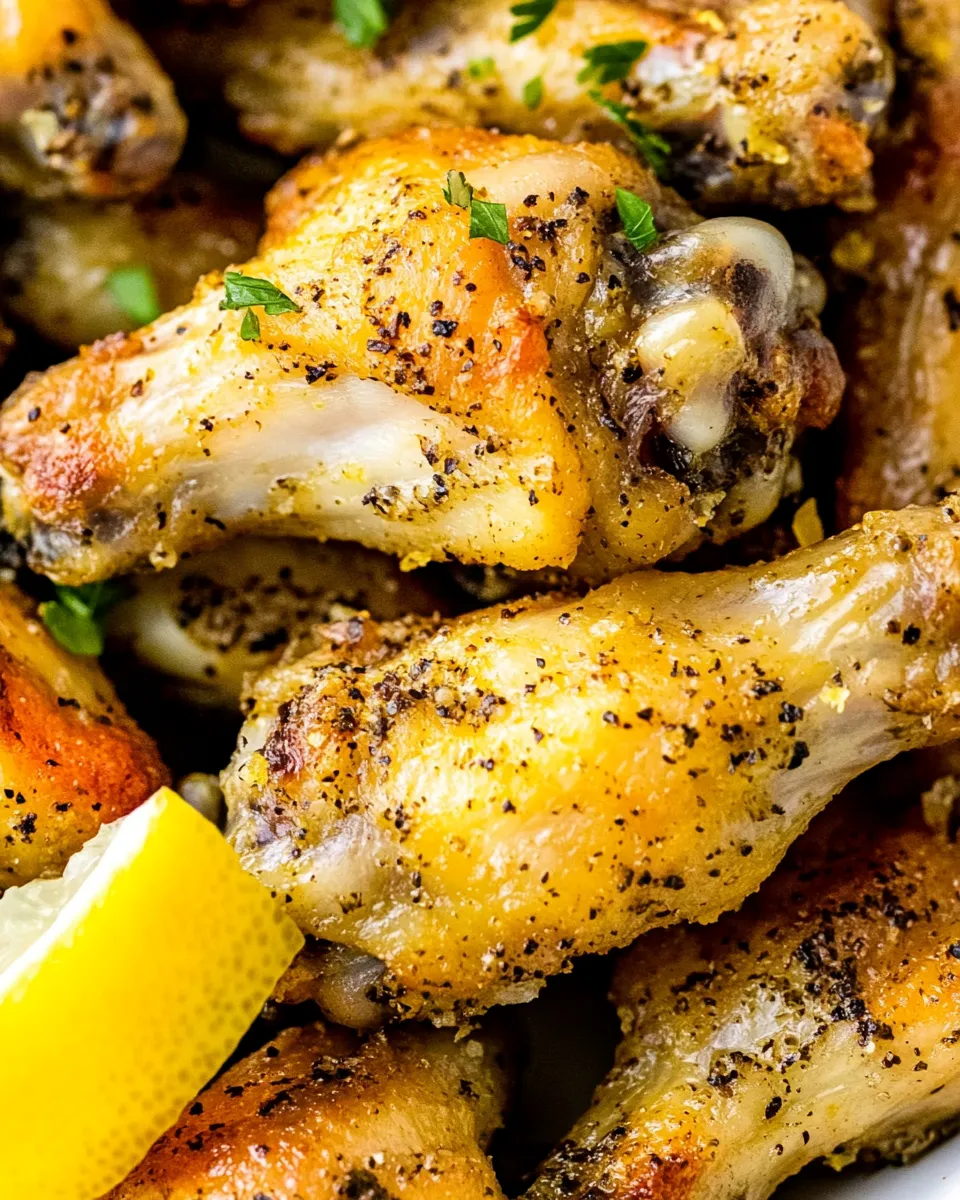
Crispy Baked Lemon Pepper Wings
These wings are my go-to when I want something salty, bright, and reliably crisp without firing up the fryer. They rely on a simple trick—baking powder—to give the skin that crunchy, puckered texture you expect from fried wings. A hit of lemon pepper and butter at the end keeps things zesty and familiar.
The recipe is straightforward and forgiving: a quick toss, a long high-heat bake, and a buttery finish. You can make them for a casual weeknight dinner or a game-day spread. No awkward equipment, no complicated steps—just a few pantry staples and a hot oven.
Below you’ll find an exact ingredient list with notes, a clear step-by-step method, and smart tips for equipment, storage, and troubleshooting. Read through once, then get the oven heating—these take about 45 minutes from oven-on to table.
Ingredient List
- 4 pound chicken wings — whole wings (drumettes + flats); pat dry for best crisping.
- 2 tablespoons baking powder — key crisping agent that draws moisture out of the skin (use aluminum-free if preferred).
- ½ teaspoon salt — seasons the wings; adjust to taste if using salted butter later.
- 6 tablespoon butter (unsalted, melted) — melts into a glossy lemon-pepper coating; use unsalted to control sodium.
- 2 tablespoon lemon pepper seasoning — the main flavor: bright citrus and cracked black pepper. Taste it first to judge salt level.
Crispy Baked Lemon Pepper Wings, Made Easy
1. Preheat and prep: Position a rack in the center of the oven and preheat to 425°F (220°C). Line a baking sheet with parchment paper. The parchment prevents sticking and makes cleanup simple.
2. Dry the wings thoroughly with paper towels; extra surface dryness equals better crisping. Place all 4 pounds of wings into a large bowl.
3. Evenly sprinkle 2 tablespoons baking powder and ½ teaspoon salt over the wings. Toss well so every piece is coated—baking powder should be distributed across the skin, not clumped.
4. Arrange wings skin-side up in a single layer on the prepared baking pan. Space them by a little so hot air can circulate; use two pans if they crowd each other.
5. Bake in the preheated oven for 40 to 45 minutes. Rotate the pan once halfway through if your oven has hot spots. You’re aiming for deep golden color and a firm, crisp skin.
6. While wings bake, combine 6 tablespoons melted unsalted butter with 2 tablespoons lemon pepper seasoning in a small bowl. Stir until uniform.
7. When the wings are done, remove them from the oven and transfer to a large bowl or leave on the pan. Brush the lemon-pepper butter onto each wing or drizzle it over and toss gently to coat.
8. Garnish with lemon wedges and parsley if you like, then serve immediately while the skin is still crisp.
What Sets This Recipe Apart
This uses baking powder (not baking soda) to achieve a fryer-like crisp without added oil. The method is low-fuss and produces consistent results every time. The lemon pepper is applied at the end in melted butter so the seasoning stays bright and aromatic rather than baked flat into the skin.
No-Store Runs Needed
- Chicken wings — commonly frozen or fresh in most households.
- Baking powder — a standard pantry item for baked goods and crisping poultry.
- Salt — ubiquitous; adjust amount to taste.
- Butter — keep a small tub in the fridge for cooking and finishing.
- Lemon pepper seasoning — many pantries have it; if you don’t, mix lemon zest with cracked black pepper and a pinch of salt as a last resort (but stick to store-bought if available).
Equipment Breakdown
- Baking sheet — large enough to hold 4 pounds of wings in a single layer; two sheets if needed.
- Parchment paper — prevents sticking and simplifies cleanup.
- Large mixing bowl — for coating wings with baking powder and salt.
- Small bowl and brush or spoon — to mix and apply melted butter + lemon pepper.
- Tongs — for arranging and turning wings, and for tossing in the finishing butter.
- Instant-read thermometer (optional) — wings are safe at 165°F but texture is king here; visual crispness is the guide.
Problems & Prevention
- Problem: Soggy skin. Prevention: Dry wings thoroughly with paper towels before coating; do not overcrowd the pan.
- Problem: Uneven browning. Prevention: Use a middle oven rack, rotate the pan halfway, and space wings so hot air circulates.
- Problem: Salty finish. Prevention: Taste your lemon pepper seasoning first; use unsalted butter as the recipe specifies.
- Problem: Baking powder aftertaste. Prevention: Use the stated 2 tablespoons and toss well so it blends; aluminum-free baking powder reduces metallic notes.
Nutrition-Minded Tweaks
- Reduce fat: Skip brushing with the full 6 tablespoons of butter. Instead, spray wings lightly with olive oil and sprinkle 1–1½ tablespoons lemon pepper for flavor with less added fat.
- Lower sodium: Reduce added salt to ¼ teaspoon and choose a low-sodium lemon-pepper blend or make your own with fresh lemon zest and reduced salt.
- Extra protein focus: Serve with a green salad or roasted vegetables to balance the plate without changing the wing method.
Cook’s Notes
Timing and doneness
The 40–45 minute bake is based on a hot oven and room-temperature wings. If your wings are straight from the fridge, add about 5 minutes. Look for firm, deeply golden skin; that’s more important than strictly hitting a temperature.
Serving
Serve immediately for the best texture. If you must hold them, keep them on a wire rack in a warm oven (200°F) for up to 15 minutes—avoid covering, which softens the skin.
Freezer-Friendly Notes
- Freeze raw: Arrange wings on a tray in a single layer and flash-freeze, then transfer to a freezer bag for up to 3 months. Thaw in the refrigerator before using the recipe as written.
- Freeze cooked: Cooked wings can be frozen after cooling. Freeze flat on a tray, then bag for up to 2 months. Reheat in a 400°F oven on a wire rack for 8–12 minutes to re-crisp, then toss in fresh lemon pepper butter if desired.
Troubleshooting Q&A
- Q: My wings look golden but aren’t crisp. A: They may still contain surface moisture. Return them to the oven for 5–10 minutes, preferably on a wire rack over the sheet to expose all sides to heat.
- Q: The lemon pepper stuck to some spots but not others. A: Brush or toss wings while still hot so the butter spreads and the seasoning adheres evenly.
- Q: My oven runs hot/cold. A: Use an oven thermometer and adjust temperature or bake time accordingly; rotate the pan mid-bake to reduce hot-spot effects.
Bring It Home
These Crispy Baked Lemon Pepper Wings are an easy crowd-pleaser—crispy skin from a small pantry trick and bright, peppery flavor from the finishing butter. They come together with minimal hands-on time and translate well to big batches. Make them for dinner, parties, or whenever you want wings without the fryer mess. Enjoy with celery, blue cheese or ranch if you like, but they’re perfectly delicious on their own.

Crispy Baked Lemon Pepper Wings
Ingredients
- 4 pound chicken wings
- 2 tablespoons baking powder
- 1/2 teaspoon salt
- 6 tablespoons unsalted butter melted
- 2 tablespoons lemon pepper seasoning
Instructions
- Preheat the oven to 425°F and line a baking sheet with parchment paper.
- Place the wings in a large mixing bowl and pat dry with paper towels to remove excess moisture.
- Sprinkle the baking powder and salt over the wings and toss thoroughly so each wing is evenly coated.
- Arrange the wings in a single layer on the prepared baking sheet, leaving space between pieces for even browning.
- Bake for 40 to 45 minutes, turning once if desired, until the wings are golden brown and crisp.
- While the wings bake, combine the melted butter and lemon pepper seasoning in a small bowl.
- When the wings are done, brush or drizzle the lemon pepper butter over them and toss to coat evenly.
- Garnish as desired with lemon wedges and parsley, then serve immediately.
Equipment
- large mixing bowl
- Baking Sheet
- Parchment Paper
- small bowl
- pastry brush or tongs
Notes
- Use baking powder (not baking soda) for crispier skin.
- Find lemon pepper seasoning in the spice aisle or use your own blend.
- If using whole wings, separate flats and drumettes before baking.
- Pre-cut wings save prep time.
- Patting wings dry helps them crisp in the oven.