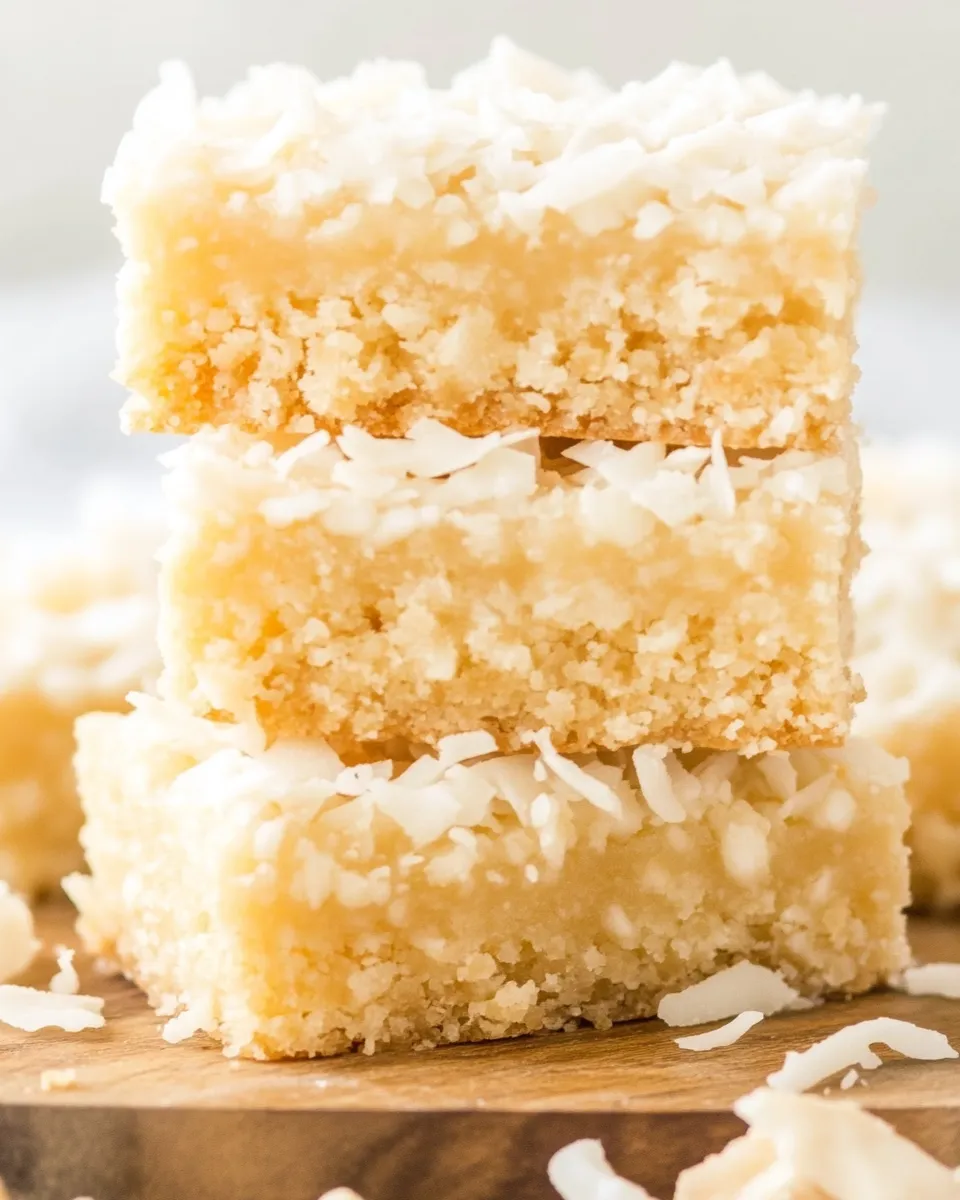
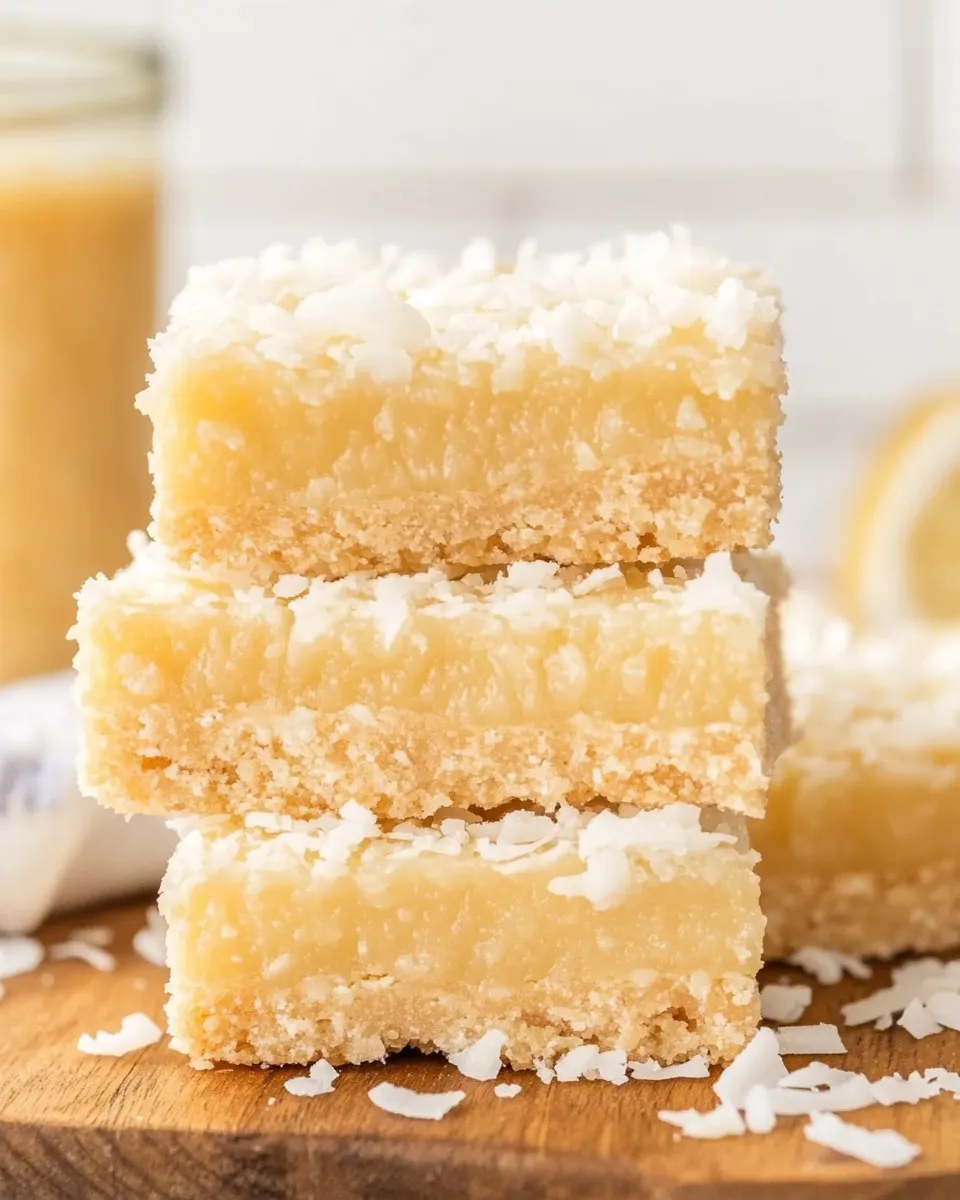
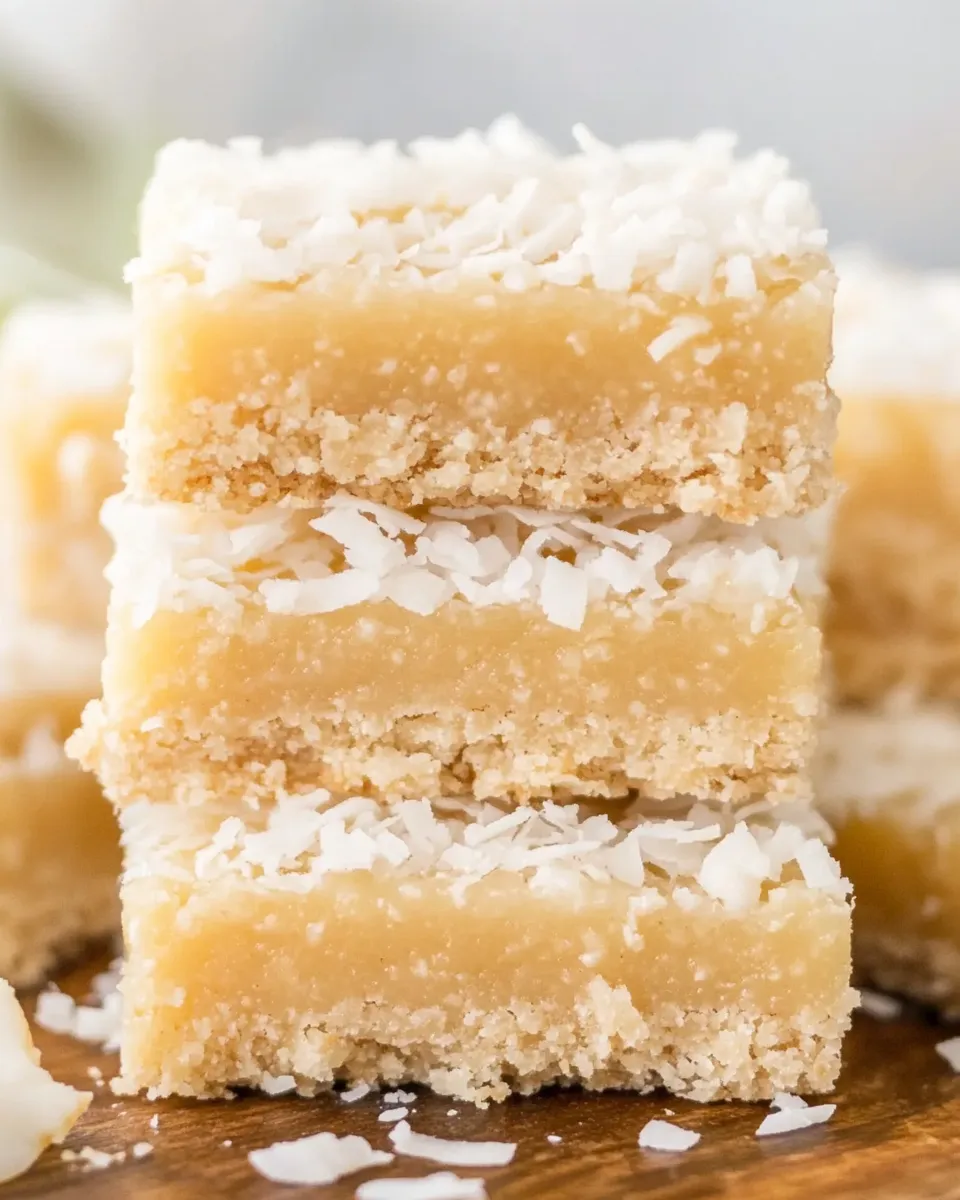
Buttery Coconut Bars
There’s something truly magical about baking with coconut. Its rich flavor and delightful texture elevate any dessert to a tropical paradise. Today, I’m excited to share with you a simple yet irresistible recipe for Buttery Coconut Bars. These bars are soft, chewy, and buttery, with a hint of coconut that makes them downright addictive. Perfect for snacking, parties, or a cozy evening at home, these bars are sure to be a hit with everyone who tries them!
Why This Recipe Is a Must-Try
These Buttery Coconut Bars combine the lusciousness of butter with the sweet, nutty flavor of coconut. The result is a dessert that’s not only easy to make but also incredibly satisfying. With just a handful of ingredients, you can create a treat that’s perfect for any occasion. Whether you’re a seasoned baker or a beginner, these bars will make you feel like a pro in the kitchen!
Ingredients
To make these delicious Buttery Coconut Bars, you will need the following ingredients:
- 1 cup butter, melted
- 1 cup light brown sugar, packed
- 2 cups all-purpose flour
- ½ teaspoon salt
- 1 cup shredded coconut (sweetened or unsweetened, depending on your preference)
How To Make Buttery Coconut Bars
Step 1: Preheat the Oven
Start by preheating your oven to 350°F (175°C). This ensures that your coconut bars will bake evenly and thoroughly.
Step 2: Prepare Your Baking Pan
Line a 9×13 inch baking pan with parchment paper, allowing some overhang for easy removal. This will help you lift the bars out once they are baked and cooled.
Step 3: Mix the Wet Ingredients
In a large mixing bowl, combine the melted butter and light brown sugar. Use a whisk to mix them together until they are smooth and well combined. The mixture should be glossy and syrupy.
Step 4: Add Dry Ingredients
Add the all-purpose flour and salt to the butter-sugar mixture. Stir gently until just combined. Be careful not to overmix, as this can make the bars tough.
Step 5: Fold in the Coconut
Gently fold in the shredded coconut until it is evenly distributed throughout the batter. The coconut will add texture and a beautiful flavor to the bars.
Step 6: Pour the Batter into the Pan
Pour the batter into the prepared baking pan, spreading it out evenly with a spatula or the back of a spoon.
Step 7: Bake the Bars
Place the pan in the preheated oven and bake for about 25-30 minutes, or until the edges are golden brown and a toothpick inserted in the center comes out clean.
Step 8: Cool and Cut
Once the bars are baked, remove them from the oven and allow them to cool in the pan on a wire rack for about 10 minutes. Use the parchment paper to lift the bars out of the pan and let them cool completely on the rack before cutting them into squares.
Expert Tips
- For an extra touch of flavor, consider adding a teaspoon of vanilla extract to the wet ingredients.
- If you prefer a bit of crunch, toast the shredded coconut lightly in a pan before folding it into the batter.
- Be careful not to overbake your bars; they should be slightly soft in the center when you take them out of the oven.
- Allow the bars to cool completely before cutting to ensure clean edges and a neater presentation.
Variations and Customizations
- Add chopped nuts such as pecans or almonds for an added crunch.
- For a chocolate twist, fold in some chocolate chips or swirl chocolate spread on top before baking.
- Incorporate dried fruits, such as cranberries or apricots, for a touch of tartness.
- Drizzle melted chocolate on top once the bars are cooled for a delicious finishing touch.
How to Store Leftovers
To store your Buttery Coconut Bars, place them in an airtight container at room temperature for up to 5 days. If you want to keep them longer, you can refrigerate them for up to a week. For longer storage, consider freezing them. Simply wrap each bar individually in plastic wrap and then place them in a freezer-safe bag. They can be frozen for up to three months. When you’re ready to enjoy them, let them thaw at room temperature.
FAQ
Can I use unsalted butter instead of salted butter?
Yes, you can use unsalted butter. Just add a pinch more salt to the recipe to balance the flavors.
Can I substitute the all-purpose flour with a gluten-free alternative?
Absolutely! You can use a 1:1 gluten-free flour blend to replace all-purpose flour in this recipe.
What type of shredded coconut is best for these bars?
You can use either sweetened or unsweetened shredded coconut. Sweetened coconut will make the bars sweeter, while unsweetened will give a more natural coconut flavor.
How do I know when the bars are done baking?
The bars are done when the edges are golden brown and a toothpick inserted into the center comes out clean or with a few moist crumbs attached.
Conclusion
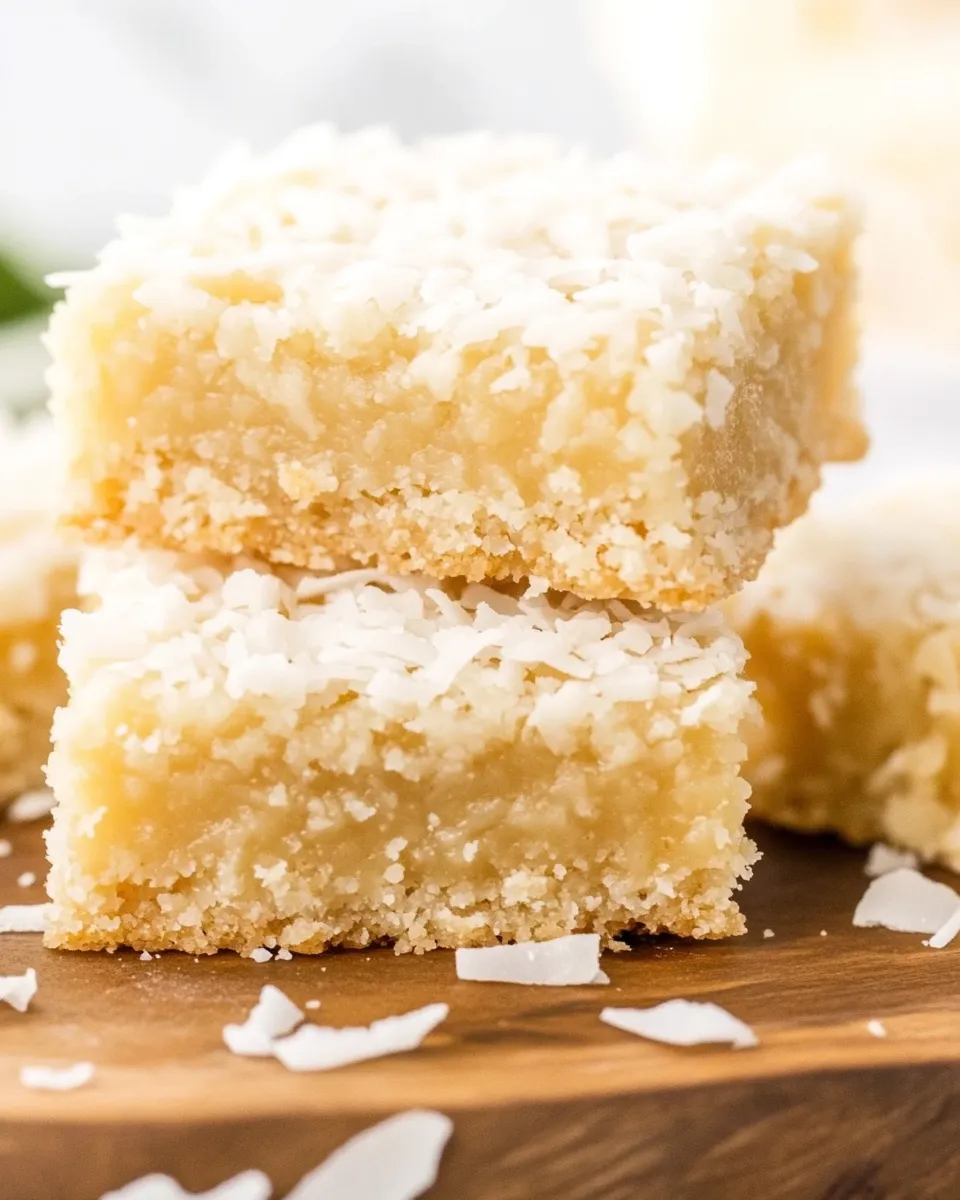
These Buttery Coconut Bars are an absolute delight, combining simplicity with an incredible flavor that’s sure to please any crowd. Whether you’re baking for a special occasion or just a weeknight treat, these bars are sure to become a new favorite in your home. With their buttery goodness and the unmistakable flavor of coconut, every bite will transport you to a sunny paradise. Give this recipe a try, and enjoy the sweet experience of homemade coconut bars! Happy baking!
Buttery Coconut Bars
Ingredients
Wet Ingredients
- 1 cup butter, melted
- 1 cup light brown sugar, packed
Dry Ingredients
- 2 cups all-purpose flour
- ½ teaspoon salt
Add-ins
- 1 cup shredded coconut sweetened or unsweetened, depending on your preference
Instructions
- Step 1: Preheat your oven to 350°F (175°C).
- Step 2: Line a 9×13 inch baking pan with parchment paper.
- Step 3: In a large mixing bowl, combine the melted butter and light brown sugar. Whisk until smooth and glossy.
- Step 4: Add the all-purpose flour and salt to the mixture. Stir gently until just combined.
- Step 5: Fold in the shredded coconut until evenly distributed.
- Step 6: Pour the batter into the prepared baking pan and spread evenly.
- Step 7: Bake for 25-30 minutes until the edges are golden brown and a toothpick comes out clean.
- Step 8: Allow to cool in the pan for 10 minutes, then lift out using parchment paper and cool completely before cutting.
Equipment
- Mixing Bowl
- Baking Pan
- Whisk
- Spatula