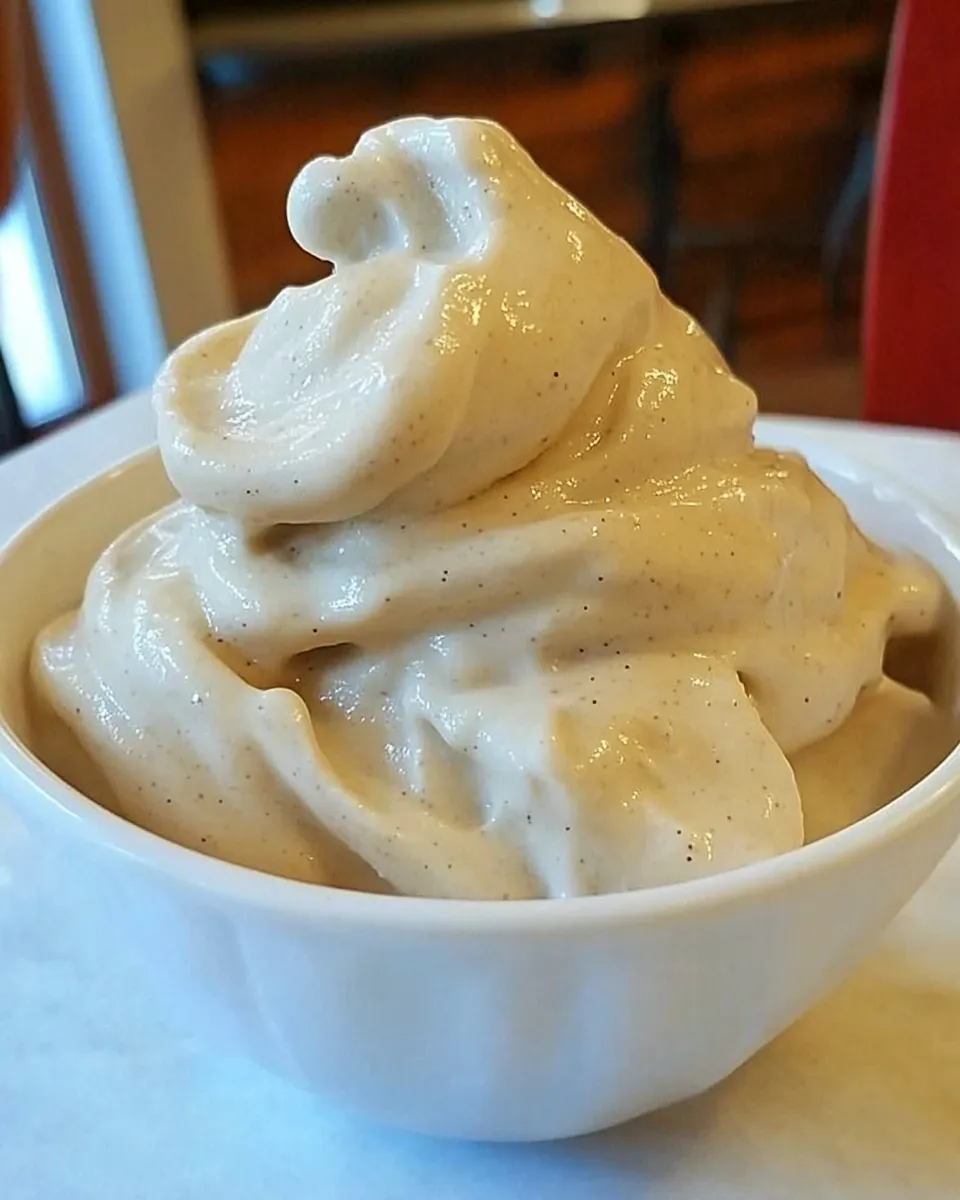
Banana Soft Serve
I reach for this banana soft serve recipe on busy weeknights, lazy weekends, and whenever I want something sweet without fuss. It’s just ripe bananas and a food processor, but the result is creamy, naturally sweet, and so close to ice cream that kids and adults forget what’s missing. No dairy, no added sugar—just frozen fruit turned into dessert.
This post walks through the exact steps I use in my kitchen: how to freeze the bananas so they blend easily, how to process them into that perfect soft-serve texture, and a few practical tips from testing. No fluff—only what you need to get great results every time.
The Ingredient Lineup
- 5 whole bananas — Ripe bananas give sweetness and creaminess; slice before freezing for even freezing and easier blending.
- food processor — The workhorse for smooth, clump-free soft serve; a blender can work but tends to struggle with frozen chunks.
Banana Soft Serve, Made Easy
- Line a baking sheet or plate with parchment paper. This prevents the banana slices from sticking and makes it easy to transfer them later.
- Peel and slice the 5 whole bananas into 1/2-inch rounds. Arrange the slices in a single layer on the parchment, spaced slightly apart so they freeze individually.
- Place the sheet in the freezer. Freeze the banana slices until firm—this usually takes a few hours but you can leave them up to overnight. Try not to keep them frozen more than 24 hours to avoid browning, freezer burn, and flavor loss.
- Once the slices are firm, work quickly: remove them from the baking sheet and put them into a sealing bag (reusable or disposable). I portion into 1-pound bags (about 3 1/2 cups of banana slices) because that amount blends smoothly in my processor and is easy to grab for a dessert-sized batch.
- Weigh each bag as you fill it so you hit roughly 1 pound of banana per bag. Squeeze out excess air, seal, and return the bag to the freezer. (You can skip the sheet and bag method, but freezing the slices spread out first avoids them freezing into a single block that’s hard to process.)
- When you’re ready to make soft serve, fit your food processor with the blade attachment and add the frozen banana pieces (one 1-pound bag at a time works well).
- Pulse the frozen banana a few times to break the large chunks into small crumbles. This helps the blades engage and prevents the machine from bogging down.
- Continue processing. The mixture will clump, stick to the sides, and look uneven at times. Stop periodically, open the bowl, and use a spatula to spread and loosen the banana so it feeds the blade evenly.
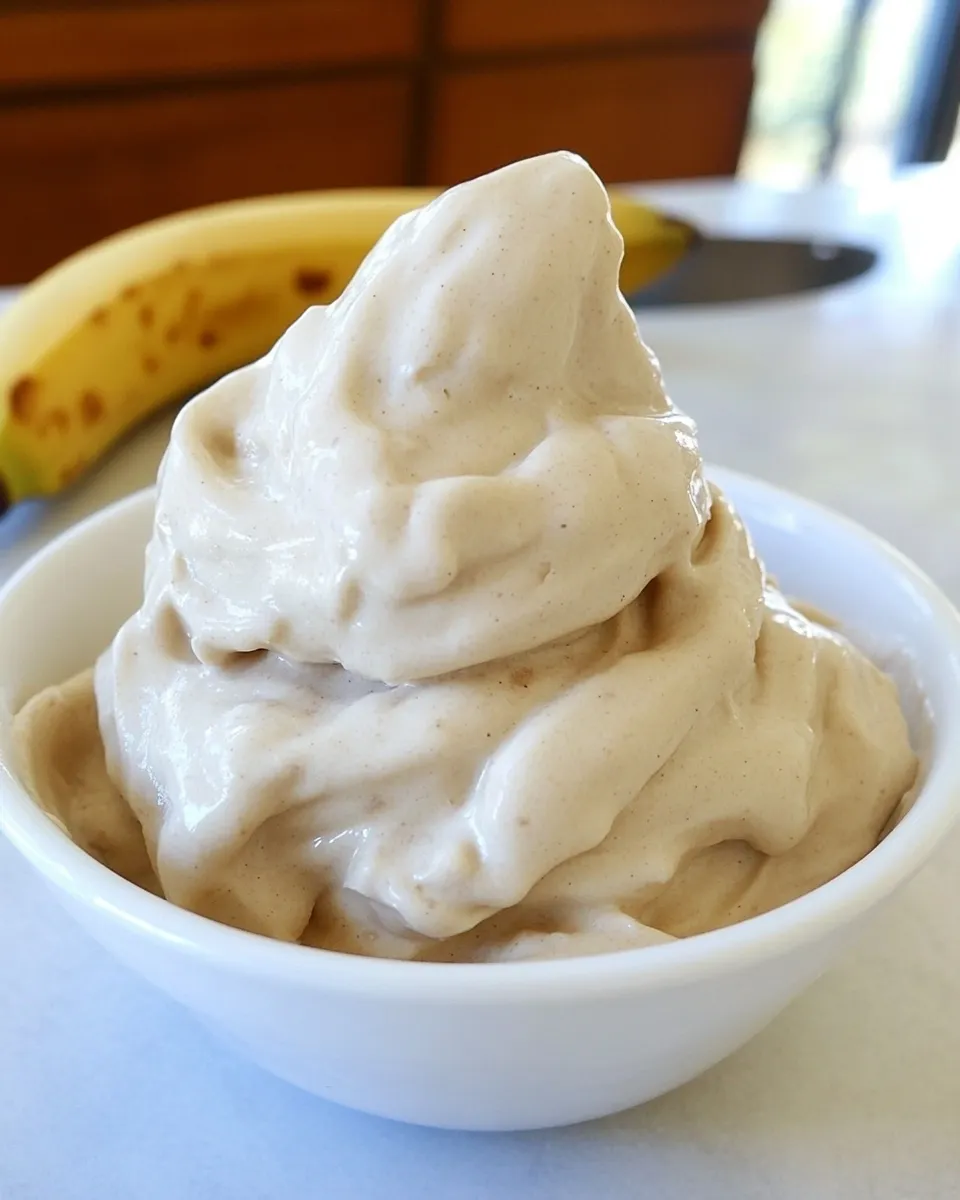
- Keep processing and scraping as needed until the mixture reaches a smooth, soft-serve consistency. This can take a few minutes depending on your processor’s power.
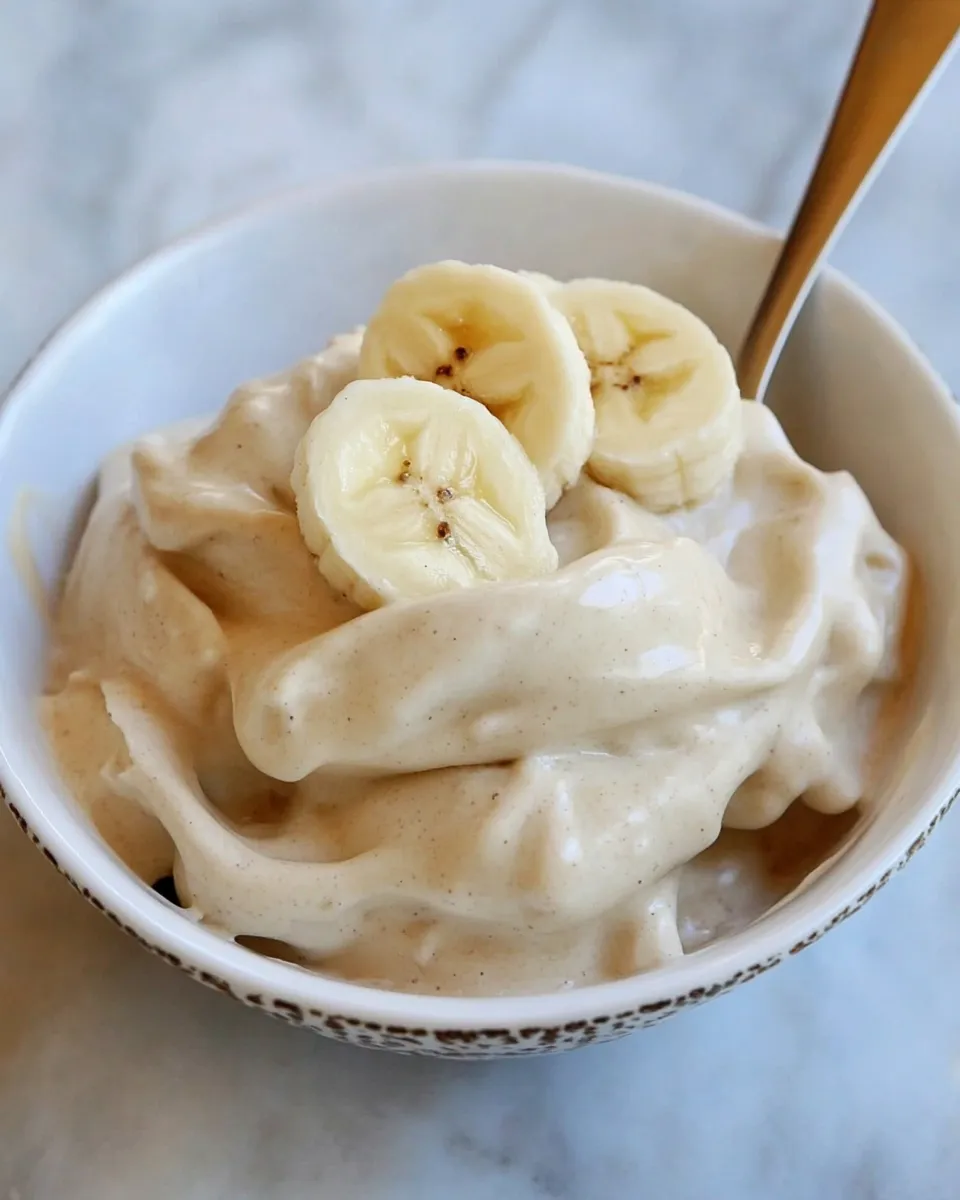
- Scoop the banana soft serve into bowls and serve immediately for the best texture.
Why This Recipe is a Keeper
This is a no-fuss dessert that delivers creaminess with a single ingredient. It’s naturally gluten-free, dairy-free, and nut-free as written, and it satisfies sweet cravings without added sugar. The 1-pound batching system makes ingredient prep predictable—no estimating, just grab a bag and go. And because the base is just banana, it’s a perfect canvas for quick mix-ins or toppings.
Ingredient Flex Options
Flavor add-ins
- cocoa powder — swirl in 1–2 tablespoons while processing for chocolate banana soft serve.
- peanut butter — add 1–2 tablespoons for richness and protein; note this changes allergen status.
- other frozen fruits — fold in berries or mango at the end for color and flavor; may alter texture slightly.
Serving ideas
- Top with chopped nuts, granola, or a drizzle of honey (if not keeping it nut-free or vegan).
- Layer with crushed cookies or fresh fruit for a parfait-style dessert.
Prep & Cook Tools
- Baking sheet or cookie sheet — for single-layer freezing so slices don’t stick together.
- Parchment paper — prevents sticking and speeds transfer.
- Sealable bags — reusable or disposable, portioning into 1-pound bags keeps storage tidy.
- Food processor — recommended for smooth results; a high-powered blender can work but is less forgiving.
- Kitchen scale — helpful for weighing 1-pound bags (about 3 1/2 cups banana slices) so batches blend consistently.
- Spatula — for scraping and spreading during processing.
What Not to Do
- Do not skip spreading slices on a sheet before freezing if you want easy blending; frozen clumps are harder to process.
- Don’t over-freeze more than 24 hours if you want peak flavor and to avoid freezer burn.
- Avoid using a weak blender without pulse control—you’ll get uneven chunks and the motor may overwork.
- Don’t try to overload the processor; work with roughly 1 pound at a time for smooth blending.
Make It Fit Your Plan
- Meal prep: Portion bananas into 1-pound bags and store in the freezer for quick dessert options all week.
- Snack swap: Use this soft serve as a breakfast topping for oatmeal or an afternoon treat instead of sugary snacks.
- Kid-friendly: Let kids pick mix-ins or toppings—this keeps them engaged and makes a healthy treat feel like an indulgence.
Notes from the Test Kitchen
I tested several batch sizes and found that 1 pound of banana yields a sweet spot for blender load and texture. Smaller batches processed quicker but didn’t always circulate well in larger processors. Larger batches tended to clog. Freezing slices first is the key step—skipping that makes the banana stick together into a solid mass that’s hard to break apart without thawing. I also learned to pulse at the start; it’s gentler on the motor and creates a crumb stage that transitions to smooth faster.
Freezer-Friendly Notes
Portion the sliced bananas into 1-pound sealed bags and remove as much air as possible before freezing. These bags thaw quickly, so transfer only what you plan to blend. If you end up storing more than 24 hours, you may notice slight browning and a change in flavor; the soft serve will still be usable but won’t be as bright-tasting. For the best results, use within a week or two.
Troubleshooting Q&A
- Q: My processor is clumping and not smoothing out. A: Stop, open the bowl, and scrape the sides and bottom with a spatula. Spread the pieces out so the blade can reach them and pulse again. Work in short bursts and scrape often.
- Q: The soft serve is too icy or grainy. A: The bananas may have been frozen too long or were not ripe enough. Use ripe bananas and try to freeze no longer than 24 hours for best texture. Also ensure you process long enough to melt into a creamy stage.
- Q: My blender struggles to blend frozen slices. A: Switch to a food processor if possible. If you must use a blender, add a small splash of liquid (milk, plant milk, or even water) and pulse carefully to avoid over-thinning.
- Q: The flavor is flat. A: Slight browning from longer freezing can dull banana flavor. Add a pinch of salt, a squeeze of lemon, or a small splash of vanilla to brighten it (note: these are optional additions that change the base ingredient list).
Final Thoughts
This Banana Soft Serve is one of those recipes that makes life easier—minimal ingredients, minimal equipment, and maximum payoff. With a bit of planning (slice and freeze), you have a quick dessert ready any time. The base is forgiving and invites experimentation, but the simple version is satisfying on its own. Keep a bag of frozen bananas in the freezer and you’re only minutes away from a creamy, naturally sweet treat.
Banana Soft Serve
Ingredients
- 5 whole bananas ripe, sliced into 1/2-inch rounds and frozen
Instructions
- Line a baking sheet or plate with parchment paper.
- Slice bananas into 1/2-inch rounds and arrange them in a single layer on the prepared sheet so pieces are not touching.
- Freeze the banana slices until firm, about a few hours up to overnight (do not freeze longer than 24 hours to avoid browning).
- Remove the frozen slices from the sheet and transfer them to a resealable freezer bag; squeeze out excess air and return to the freezer until ready to use.
- When ready to make soft serve, fit the food processor with the blade and add the frozen banana pieces.
- Pulse a few times to break the pieces into crumbs, then process continuously, stopping occasionally to scrape and redistribute the mixture with a spatula so it processes evenly.
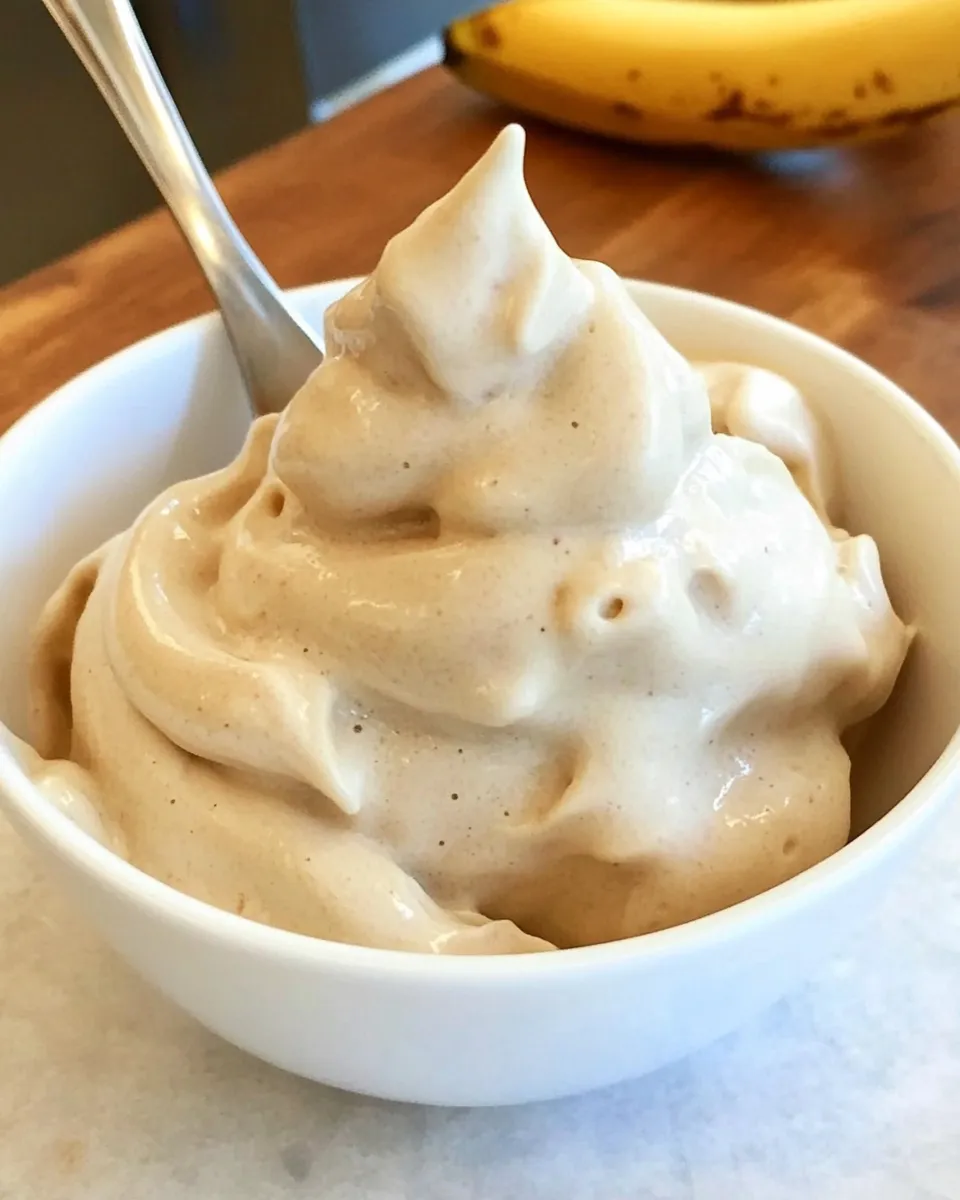
- Continue processing until the bananas become smooth and creamy with the consistency of soft-serve ice cream.
- Scoop the soft serve into bowls and serve immediately, or transfer to a container and freeze briefly if you prefer a firmer texture.
Equipment
- Food Processor
- baking sheet or plate
- Parchment Paper
- resealable freezer bag
Notes
- Slices freeze best in a single layer on a sheet before bagging.
- Use ripe bananas for the sweetest, creamiest texture.
- Process in a food processor for easiest results; blenders may clump.
- Do not freeze slices longer than 24 hours to avoid browning.
- Add mix-ins like cocoa or nut butter when processing if desired.