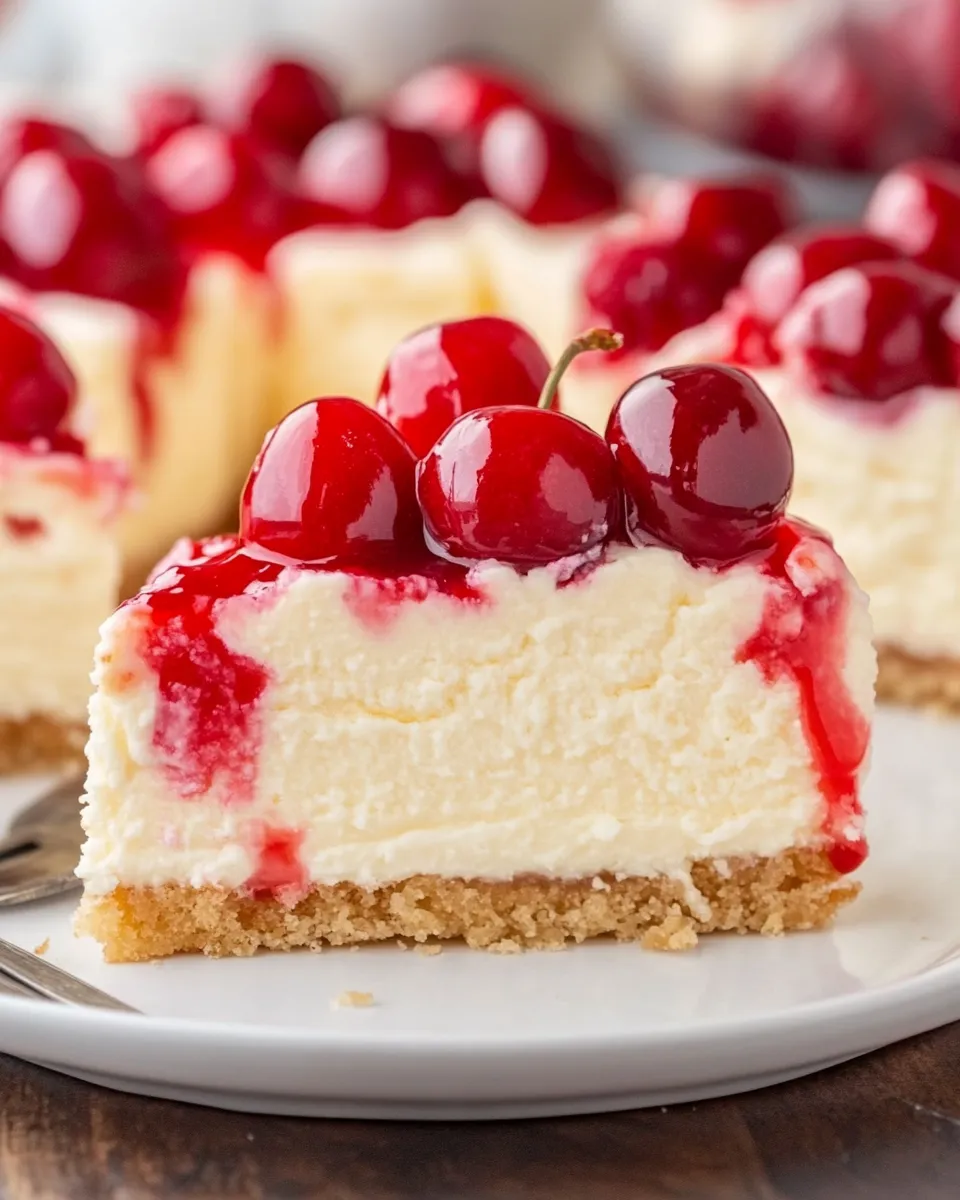
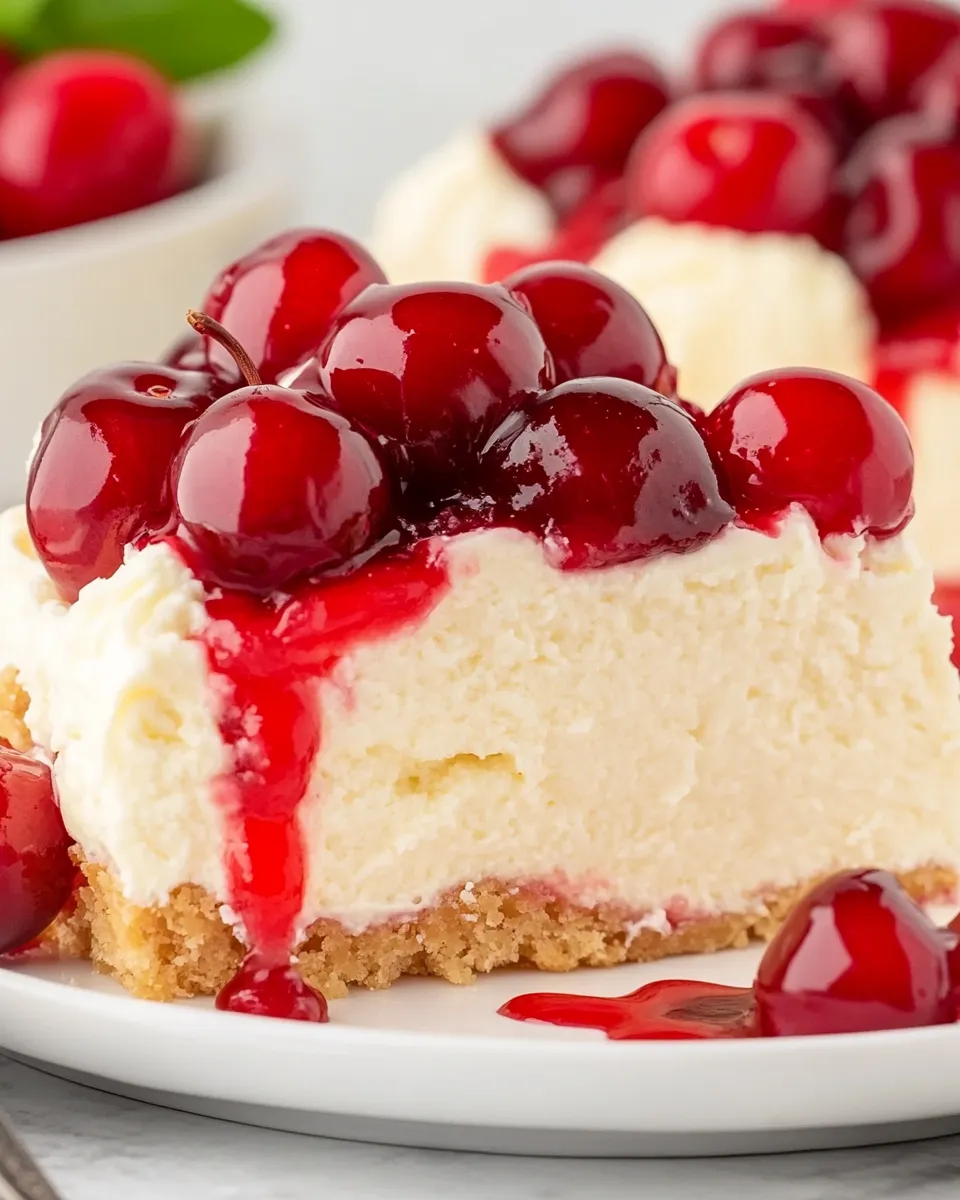
Cake Mix Cherry Cheesecake
If you’re looking for an incredibly easy and delicious dessert that is perfect for any occasion, this Cake Mix Cherry Cheesecake is just what you need! Combining the rich, creamy texture of cheesecake with the delightful sweetness of cherry topping, this recipe perfectly balances flavors and textures. Using yellow cake mix as the base, this cheesecake is not only simple to prepare but also a guaranteed crowd-pleaser. Whether you’re serving it at a family gathering or enjoying a slice at home with your favorite cup of coffee, this cherry cheesecake is sure to impress. Let’s dive right into the details of this scrumptious treat!
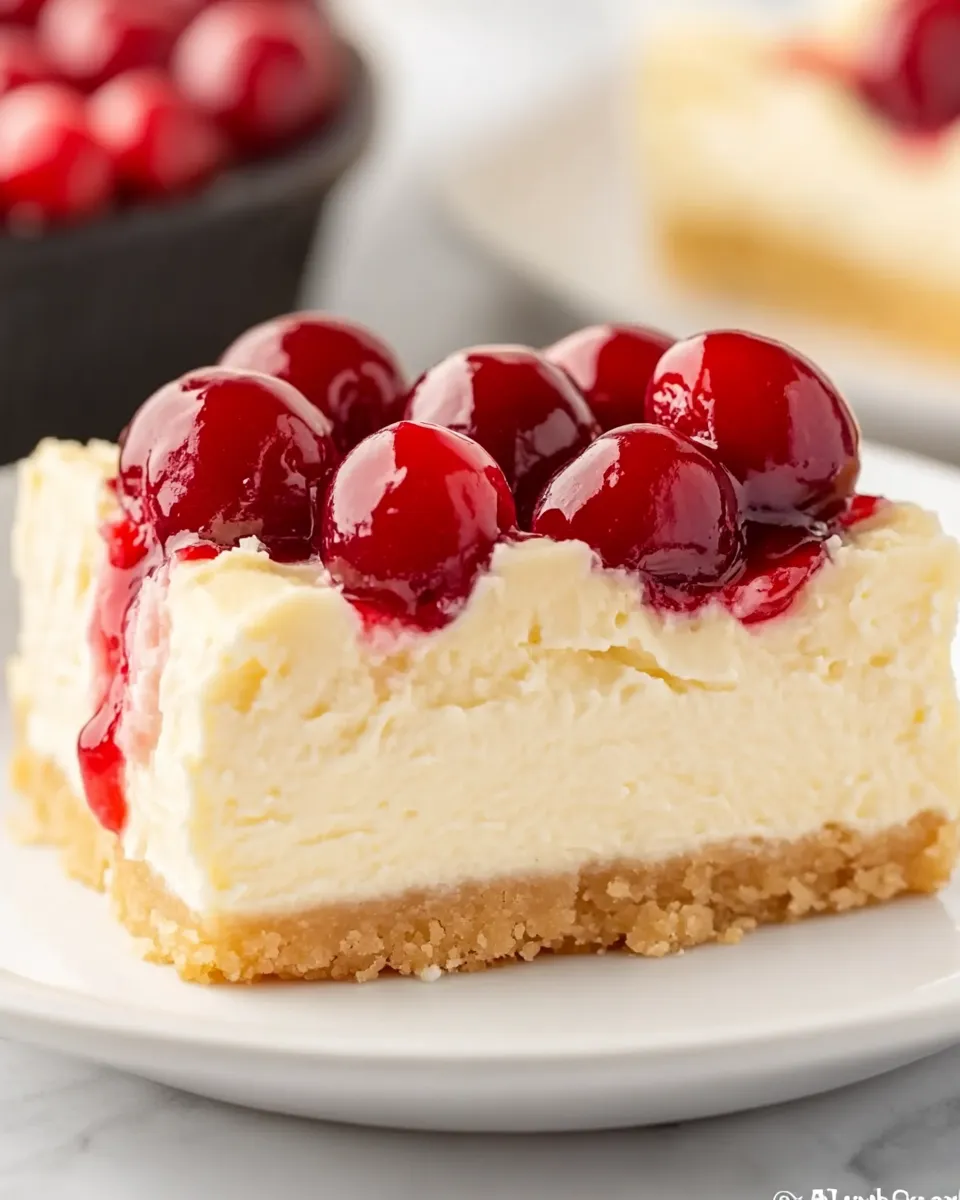
Why This Recipe Is a Must-Try
This Cake Mix Cherry Cheesecake stands out for several reasons. First and foremost, it utilizes a convenient cake mix, making it accessible for bakers of all skill levels. The combination of a tender cake crust and luscious cheesecake filling is nothing short of heavenly. Additionally, the vibrant cherry topping adds a pop of color and a burst of flavor, making this dessert not only delicious but visually appealing. With minimal ingredients and straightforward steps, this recipe is as rewarding as it is easy!
Ingredients
To create this delightful Cake Mix Cherry Cheesecake, you will need the following ingredients:
- 30.5 ounces yellow cake mix (2 boxes)
- 2 large eggs
- 5 tablespoons vegetable oil
- 24 ounces cream cheese, softened
- 1 cup granulated sugar
- 1 teaspoon vanilla extract
- 1 can (21 ounces) cherry pie filling
How To Make Cake Mix Cherry Cheesecake
Step 1: Preheat the Oven
Begin by preheating your oven to 350°F (175°C). This ensures that your cheesecake bakes evenly and achieves that perfect texture.
Step 2: Prepare the Cake Base
In a large mixing bowl, combine the yellow cake mix, 1 egg, and vegetable oil. Mix until all the ingredients are well incorporated, and you have a smooth batter. This mixture will serve as your crust.
Step 3: Grease the Baking Pan
Grease a 9×13-inch baking pan with cooking spray or butter to prevent the cheesecake from sticking. You could also line the bottom with parchment paper for an easier release.
Step 4: Spread the Cake Mixture
Pour the cake batter into the prepared baking pan. Use a spatula to spread the batter evenly across the bottom, creating a smooth base for your cheesecake.
Step 5: Bake the Cake Base
Place the pan in the preheated oven and bake for about 15 minutes, or until the edges are lightly golden. The center will not be fully set—you just want to give it a head start before adding the cheesecake layer.
Step 6: Prepare the Cheesecake Filling
While the cake base is baking, prepare the cheesecake mixture. In a separate mixing bowl, beat the softened cream cheese with an electric mixer until creamy and smooth. Add in the remaining egg, granulated sugar, and vanilla extract, mixing until fully combined.
Step 7: Layer the Cheesecake Filling
Once the cake base is done baking, remove it from the oven and pour the cheesecake mixture over the partially baked cake layer. Spread it evenly with a spatula.
Step 8: Return to the Oven
Place the pan back into the oven and bake for an additional 30-35 minutes, or until the cheesecake is set and lightly golden on the edges. Be careful not to overbake, as this can lead to cracks in your cheesecake.
Step 9: Add the Cherry Topping
Once the cheesecake is done baking, remove it from the oven and allow it to cool at room temperature for about 30 minutes. Then, spread the cherry pie filling evenly over the top. Allow it to cool completely before refrigerating.
Step 10: Chill and Serve
For the best flavor and texture, refrigerate the cheesecake for at least 3 hours, or overnight if possible. Once chilled, slice into squares and serve. Enjoy every delicious bite of this glorious dessert!
Expert Tips
- Make sure your cream cheese is softened to room temperature for easy blending.
- Be careful not to overmix the cheesecake filling to avoid incorporating too much air.
- If you prefer a firmer cheesecake, you can add an additional egg to the filling.
- Consider drizzling some warm chocolate sauce over slices before serving for an extra touch of indulgence.
Variations and Customizations

- Feel free to switch up the fruit topping! Blueberries, strawberries, or raspberries make excellent alternatives to cherries.
- Add a sprinkle of toasted almonds or walnuts on top for some added texture and flavor.
- For a chocolate twist, mix cocoa powder into the cake batter for a chocolate cake base.
- Experiment with different extracts, like almond or lemon, for a unique flavor profile.
How to Store Leftovers
To store any leftover Cake Mix Cherry Cheesecake, cover it tightly with plastic wrap or aluminum foil and keep it in the refrigerator. It will stay fresh for up to 5 days. For longer storage, you can freeze slices. Wrap each slice individually in plastic wrap and place them in an airtight container. When you’re ready to enjoy, simply thaw in the refrigerator overnight.
FAQ
Can I use a different flavor of cake mix?
Absolutely! While yellow cake mix is a classic choice, you can experiment with other flavors such as chocolate or vanilla. Just remember that different cake mixes may adjust the flavor of your cheesecake slightly.
How do I know when my cheesecake is done baking?
Your cheesecake is done when the edges are set and the center is slightly jiggly. It will continue to set as it cools, so be careful not to overbake.
Can I make this cheesecake ahead of time?
Yes, this cheesecake can be made a day in advance. In fact, chilling it overnight enhances the flavors, making it even more delicious.
What can I use instead of cream cheese?
If you are looking for a lower-fat or dairy-free option, you can substitute cream cheese with silken tofu blended until smooth, or use a dairy-free cream cheese alternative. However, the texture and flavor may vary.
Conclusion
This Cake Mix Cherry Cheesecake is a delightful and simple dessert that brings together the best of both worlds: an easy-to-make cake and a rich, creamy cheesecake filling. Perfect for family gatherings, parties, or a cozy evening at home, it is sure to become a favorite in your dessert repertoire. With just a few ingredients and straightforward steps, you’ll be able to whip up this delicious treat in no time. Whether enjoyed with a cup of coffee or shared with loved ones, this dessert truly is a sweet celebration of flavor! So gather your ingredients and treat yourself to a slice of this heavenly cheesecake—you deserve it!
Cake Mix Cherry Cheesecake
Ingredients
Ingredients
- 30.5 ounces yellow cake mix (2 boxes)
- 2 large eggs
- 5 tablespoons vegetable oil
- 24 ounces cream cheese softened
- 1 cup granulated sugar
- 1 teaspoon vanilla extract
- 21 ounces cherry pie filling 1 can
Instructions
- Step 1: Preheat your oven to 350°F (175°C).
- Step 2: In a large mixing bowl, combine the yellow cake mix, 1 egg, and vegetable oil. Mix until smooth.
- Step 3: Grease a 9×13-inch baking pan with cooking spray or butter.
- Step 4: Pour the cake batter into the prepared baking pan and spread evenly.
- Step 5: Bake for about 15 minutes, or until edges are lightly golden.
- Step 6: In a separate bowl, beat the softened cream cheese until creamy. Add the remaining egg, sugar, and vanilla, mixing until combined.
- Step 7: Pour the cheesecake mixture over the partially baked cake layer and spread evenly.
- Step 8: Return to the oven and bake for an additional 30-35 minutes, until set and lightly golden.
- Step 9: Allow to cool for 30 minutes, then spread cherry pie filling over the top.
- Step 10: Refrigerate for at least 3 hours before serving.
Equipment
- Mixing Bowl
- 9x13 inch Baking Pan
- Electric Mixer