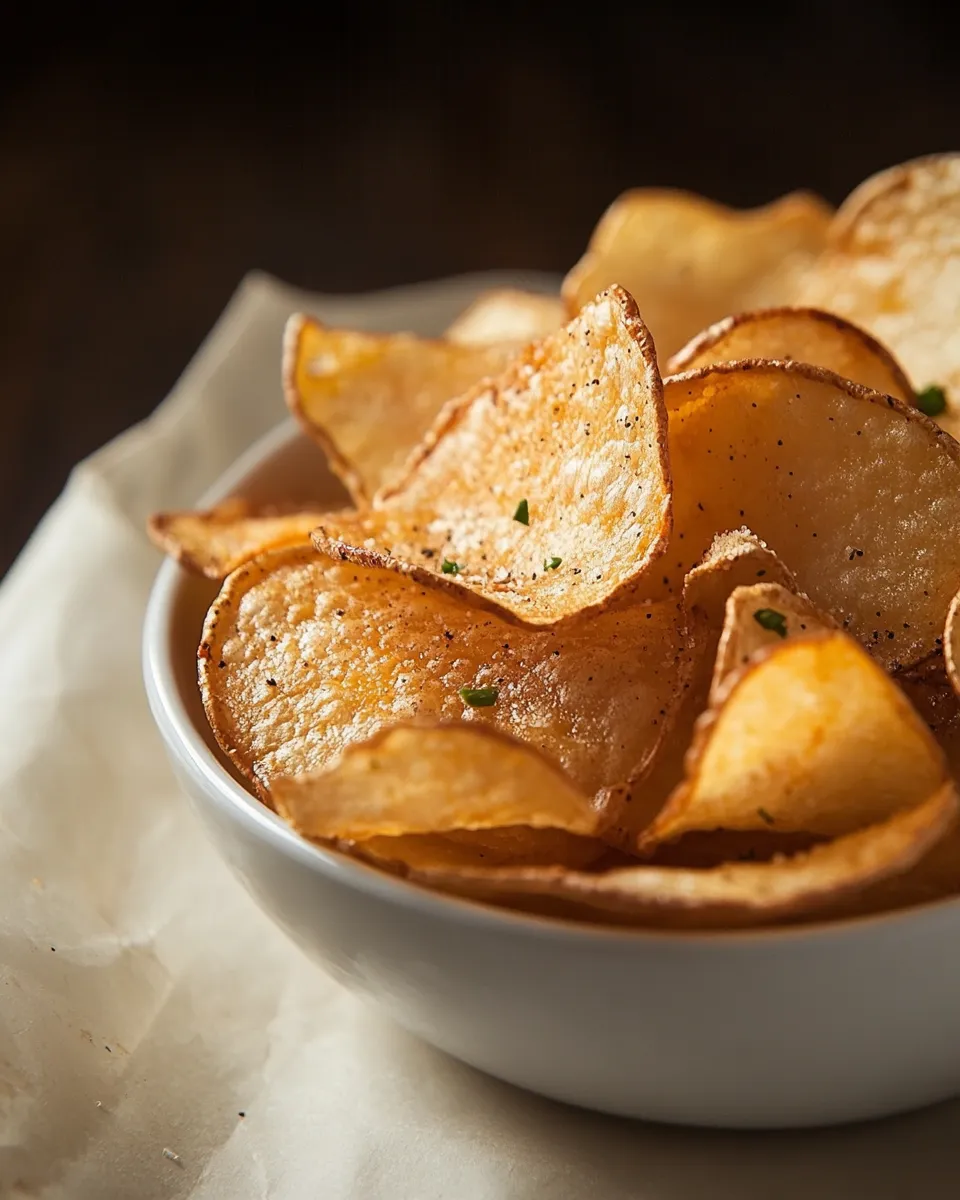
Potato Chips in the Microwave
There are evenings when you want something crunchy, salty, and fast—without hauling out a deep fryer or turning the oven on. These microwave potato chips hit that sweet spot: crisp edges, a whisper of olive oil, and a satisfying snack-ready crunch in minutes. The technique is simple and forgiving, so even if you’re new to homemade chips, you’ll get a much better result than anything in a bag.
This recipe keeps the ingredient list short and the method focused. You only need two medium potatoes, olive oil, and salt. The key is in the preparation—thin, even slices, a rinse and soak to remove surface starch, and drying them thoroughly before the microwave. Follow the timing and power settings below, and you’ll have a batch to share (or hoard).
I like to think of this as the basic template for quick chips. Once you’ve mastered the steps, you can riff on seasonings or try different potatoes. Keep a close eye the first time you microwave a batch; microwaves vary, and a minute can make the difference between perfectly crisp and overly browned. Read through the whole post first, then get your mise en place ready.
Ingredient List
- 2 medium sized potatoes — the star ingredient; choose starchy potatoes like Russets for the best crispness.
- 2 tbsp olive oil — a light brush of oil helps the slices brown and crisp without deep frying.
- salt, to taste — enhances flavor; add while chips are hot so it sticks better.
Potato Chips in the Microwave in Steps
- Rinse and scrub any dirt off the potatoes under cold running water. Pat them dry.
- Slice one end off a potato so it sits flat. Use a peeler to shave 1/8″ thin slices from the potato. Keep the slices as uniform as possible for even cooking.
- Immediately place the peeled slices into a bowl of cold water as you continue peeling the rest. This prevents browning and removes surface starch that can make chips gummy.
- When all slices are peeled, remove them from the water and spread them out to dry. Use a clean kitchen towel or paper towels to pat each slice dry—the drier the slices, the crisper they’ll get.
- Line a microwave-safe plate with fresh paper towels. Lay the potato slices on the paper towels in a single layer, not touching each other, so steam can escape and they cook evenly.
- Brush or lightly coat the top of the slices with the 2 tablespoons of olive oil. Sprinkle with salt to taste.
- Microwave the plate at 50% power for 2 minutes. This low-first stage helps remove moisture without burning.
- Carefully remove the plate (it may be hot), flip each slice over, and arrange them so they’re still in a single layer. Microwave again on HIGH (full power) for an additional 1 minute 30 seconds.
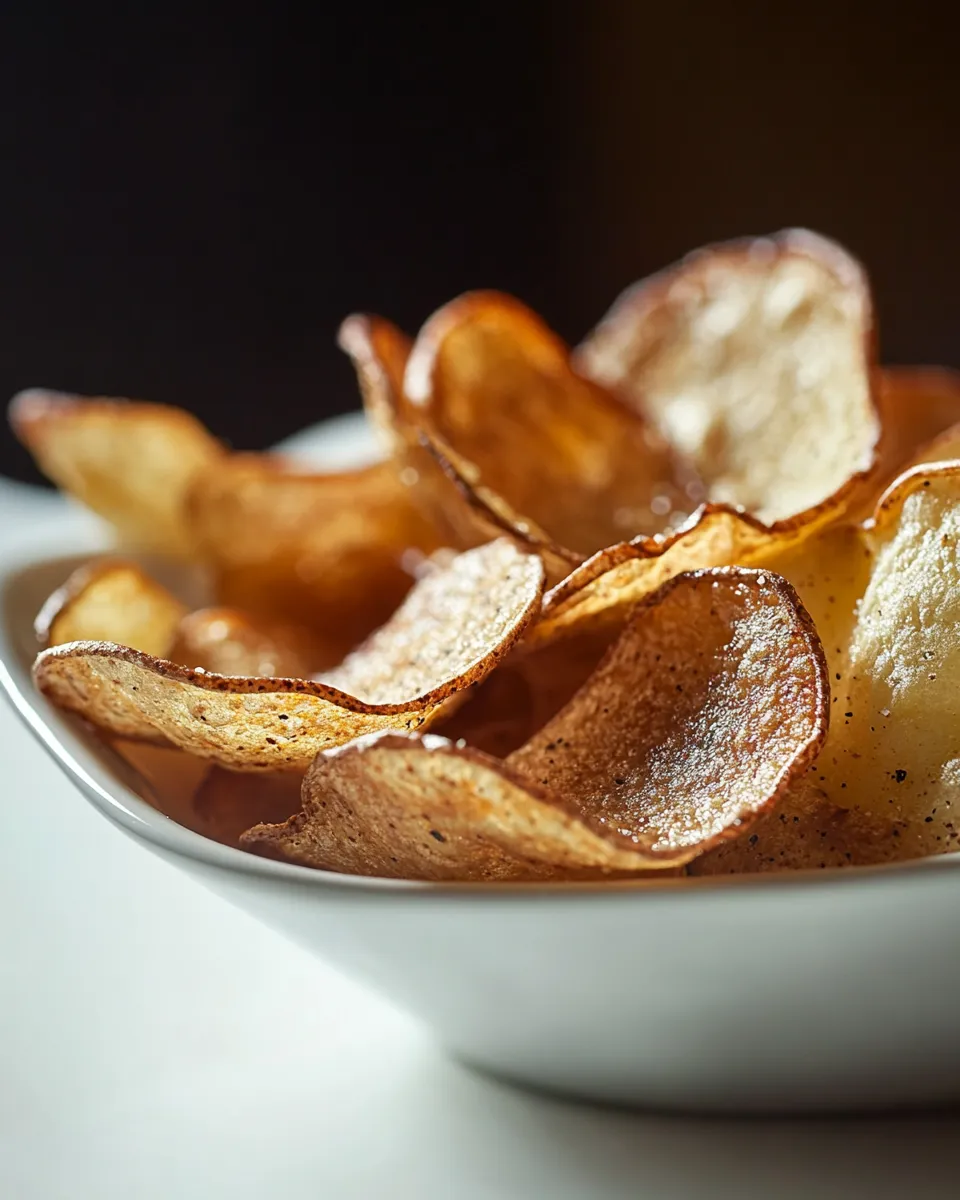
- Let the chips rest for 30–60 seconds after microwaving; they will crisp further as they cool. Taste and add more salt if needed, then enjoy.
Why Potato Chips in the Microwave is Worth Your Time
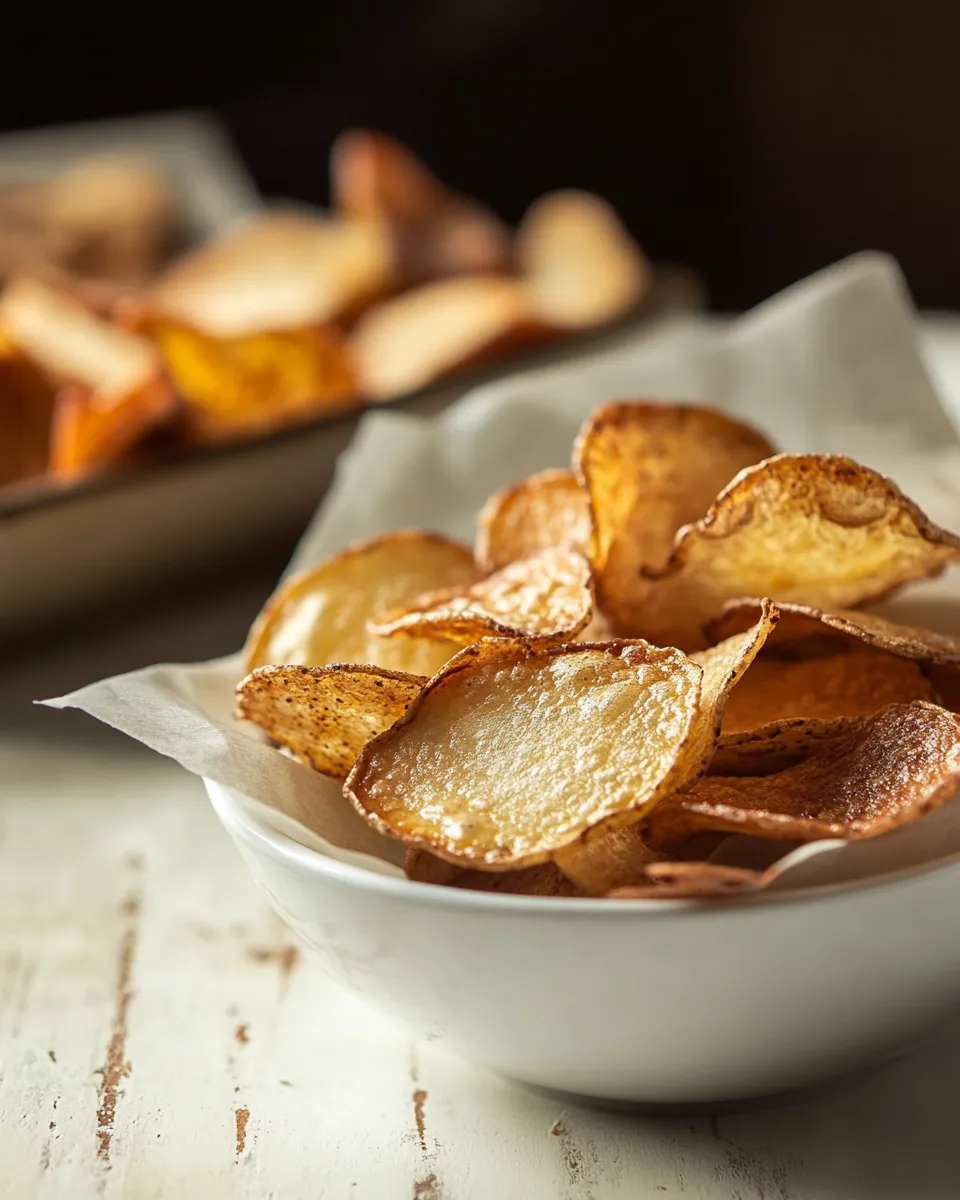
Making chips this way is fast: from scrub to snack in under 15 minutes. You save steps and cleanup compared with frying, and you don’t have to wait for an oven to preheat. For small batches—two medium potatoes—you get fresh, hot chips that taste noticeably better than most store-bought chips.
It’s also flexible. The recipe requires minimal ingredients and equipment, making it ideal for dorm rooms, office kitchens, or any time you want a quick, homemade alternative to packaged snacks. The method emphasizes simple technique—thin slicing, rinsing, and drying—so most of the work is preparation, not babysitting the cooking.
Easy Ingredient Swaps
- Potatoes — If you don’t have Russets, Yukon Gold works fine though they may be slightly less crisp.
- Olive oil — Substitute another neutral oil (canola, vegetable, or avocado oil) if you prefer a lighter taste or higher smoke point.
- Salt — Use flaky sea salt for a finishing crunch, or smoked salt for added depth of flavor.
What’s in the Gear List
- Microwave — required; power and wattage affect timing, so consider yours when first testing the recipe.
- Sharp vegetable peeler — for thin, even slices; a mandoline works too if you have and can use it safely.
- Bowl for water — to soak slices and reduce surface starch.
- Paper towels and a clean kitchen towel — for drying slices thoroughly and lining the plate.
- Microwave-safe plate — large enough to hold a single layer of chips without overlap.
- Pastry brush or spoon — to apply the olive oil evenly.
Don’t Do This
- Don’t skip the cold water soak. It removes excess starch that prevents crisping.
- Don’t leave slices overlapping on the plate. Crowding causes uneven cooking and soggy spots.
- Don’t assume microwave times are universal. If it’s your first time, check a test slice a few seconds before the listed time ends.
- Don’t use wet slices. Any surface moisture creates steam, which keeps chips limp instead of crispy.
In-Season Flavor Ideas
- Spring: sprinkle chopped fresh rosemary and a pinch of lemon zest after cooking for a bright finish.
- Summer: try a dusting of smoked paprika and a light squeeze of lime for a picnic-friendly kick.
- Fall: toss with a little ground cinnamon and fine sugar for a sweet-savory twist, or blend in a pinch of nutmeg with sea salt.
- Winter: finish with grated Parmesan and a touch of cracked black pepper while hot for a savory, cheesy chip.
Chef’s Rationale
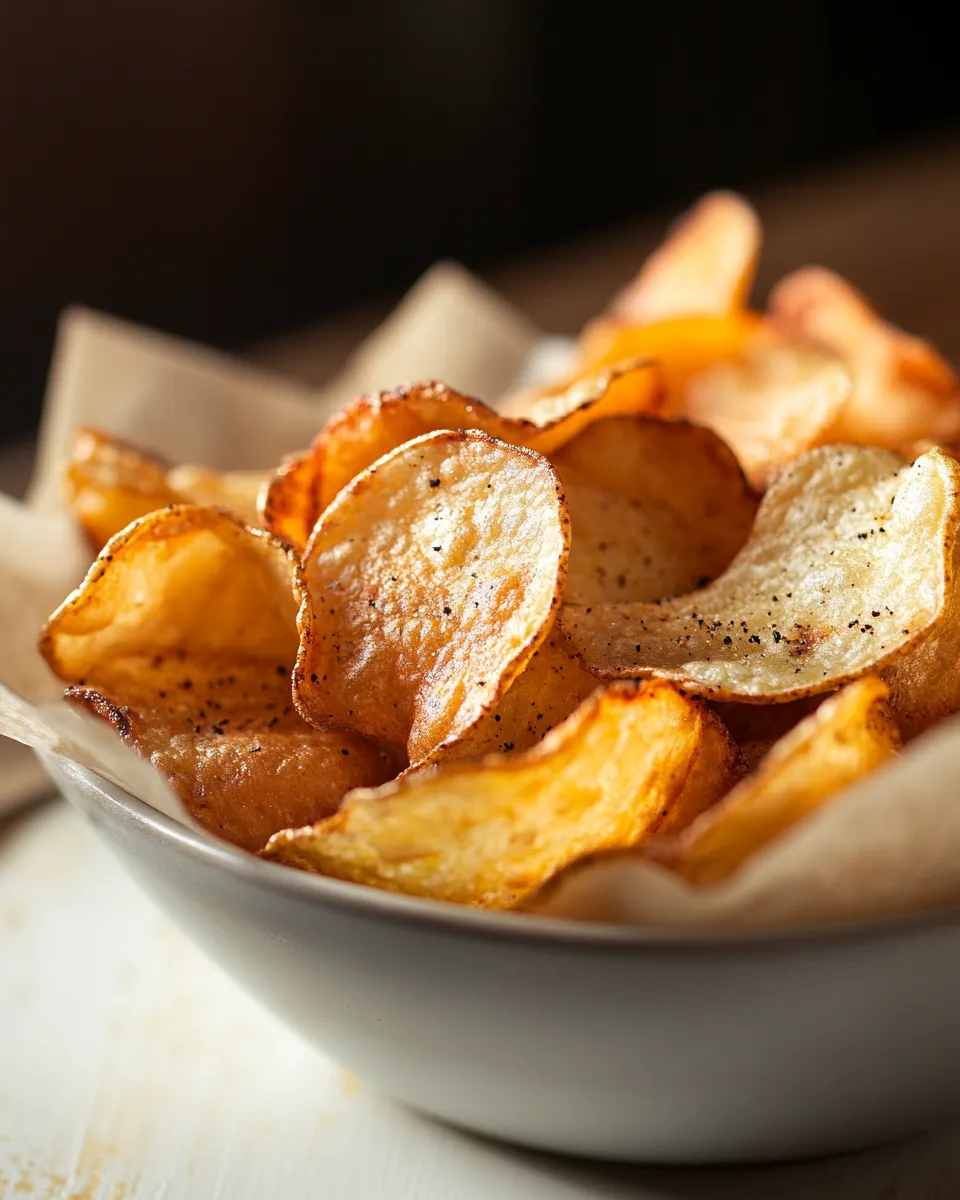
The technique focuses on three key principles: thin, uniform slices; removing surface starch with a cold soak; and controlling heat in two stages. Thin slices increase surface area so the oil and heat can produce a crunchy texture quickly. The cold water soak reduces the starch that otherwise keeps chips chewy. Finally, starting at 50% power allows moisture to escape without immediate browning; finishing at high power crisps and colors the edges without burning.
Two tablespoons of oil is enough to encourage browning and carry salt and seasoning without making the chips greasy. The single-layer arrangement on paper towels prevents steaming and helps absorb residual moisture as the chips cook. These modest choices combine to mimic the crispness of fried chips while keeping the process accessible and lower in oil.
Save for Later: Storage Tips
- Leftover chips will lose crispness quickly. Store fully cooled chips in an airtight container with a paper towel to absorb any residual moisture.
- For best texture, consume within 24 hours. Re-crisp briefly in a toaster oven or regular oven at 300°F (150°C) for 3–5 minutes if needed.
- If chips become soft, avoid microwaving to re-crisp; that adds steam. Use dry heat instead (oven or toaster oven).
FAQ
- My chips were soft. Why? Likely causes: slices were too thick, not dried well, or overlapped on the plate. Make sure slices are 1/8″ thin, patted dry, and not touching.
- Can I use a mandoline? Yes. A mandoline gives very uniform slices—just use the safety guard and work slowly.
- Do I have to brush oil? A light brush or a quick toss works. The goal is a thin coating; too much oil makes chips greasy.
- What if my microwave is lower/higher wattage? Adjust the time: lower wattage may need 15–30 seconds more on each stage; higher wattage may need less. Watch the first batch closely.
- Can I season before microwaving? Basic salt is fine before cooking. Fragile herbs like parsley are better added after cooking to preserve fresh flavor.
Ready, Set, Cook
Gather your potatoes, oil, salt, peeler, bowl, paper towels, and a microwave-safe plate. Rinse and scrub the potatoes, peel and slice thinly to 1/8″, soak the slices in cold water while you finish prepping, then dry them carefully. Lay them single-layered on a paper-towel-lined plate, oil and salt them, and microwave at 50% for 2 minutes. Flip, then microwave on high for 1 minute 30 seconds. Let the chips cool briefly, taste, and adjust salt. Serve immediately and enjoy the crisp, homemade satisfaction.

Potato Chips in the Microwave
Ingredients
- 2 medium potatoes
- 2 tbsp olive oil
- salt to taste
Instructions
- Rinse and scrub the potatoes to remove any dirt.
- Slice off one end, then use a vegetable peeler to make very thin slices (about 1/8 inch) from the potato.
- Place slices immediately into a bowl of cold water as you peel to prevent browning.
- Remove the slices from the water and pat them dry on paper towels until as dry as possible.
- Line a microwave-safe plate with paper towels and arrange slices in a single layer without touching.
- Brush both sides of the slices lightly with olive oil and sprinkle with salt.
- Microwave on 50% power for 2 minutes.
- Remove the plate, flip the slices, then microwave on high for 1 minute 30 seconds more, or until crisp and lightly browned.
- Let cool briefly and enjoy.
Equipment
- microwave-safe plate
- Paper Towels
- Large Bowl
- vegetable peeler
- Knife
- small brush or spoon
Notes
- Use very thin slices for the crispiest chips.
- Drying the slices well prevents sogginess.
- Microwave times vary—watch closely to avoid burning.