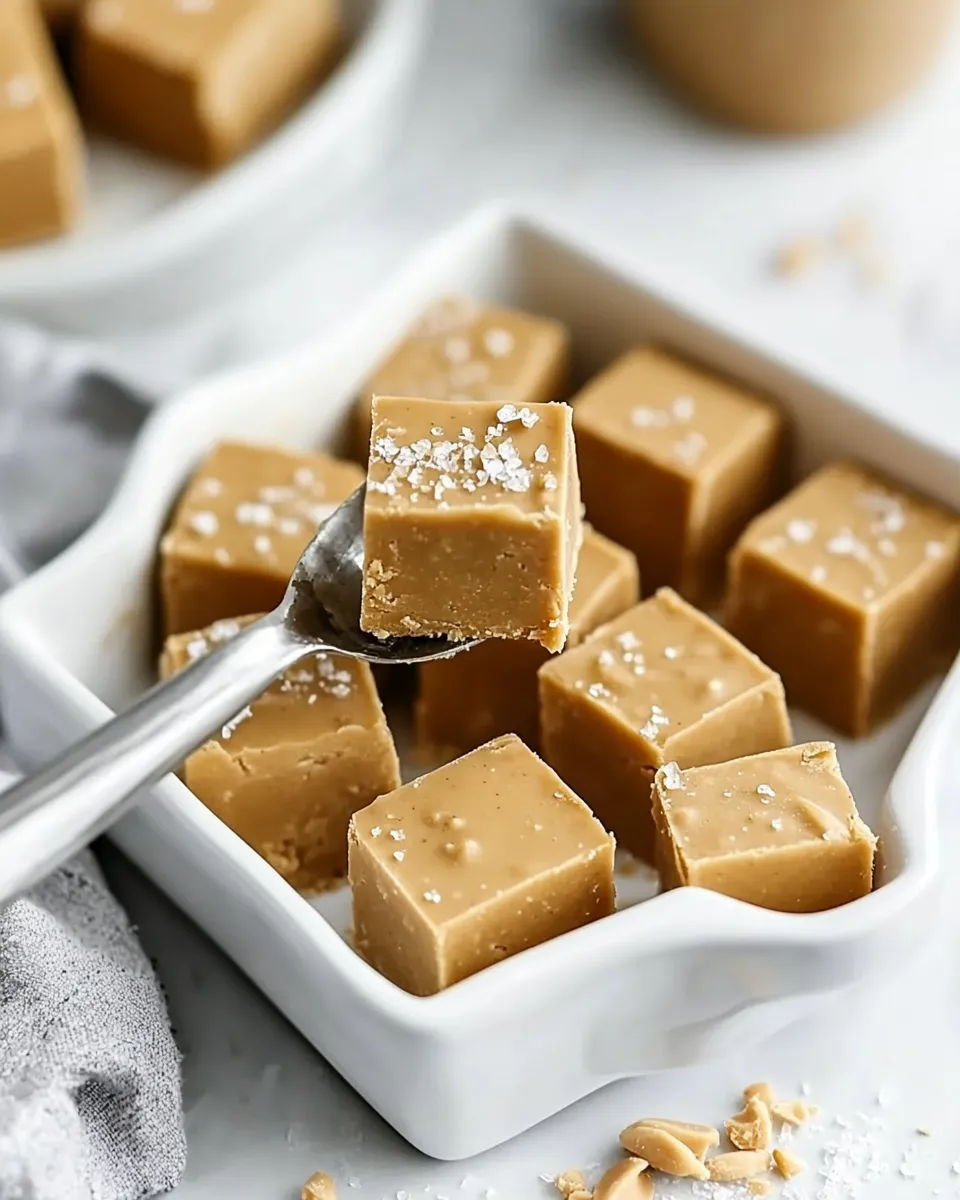
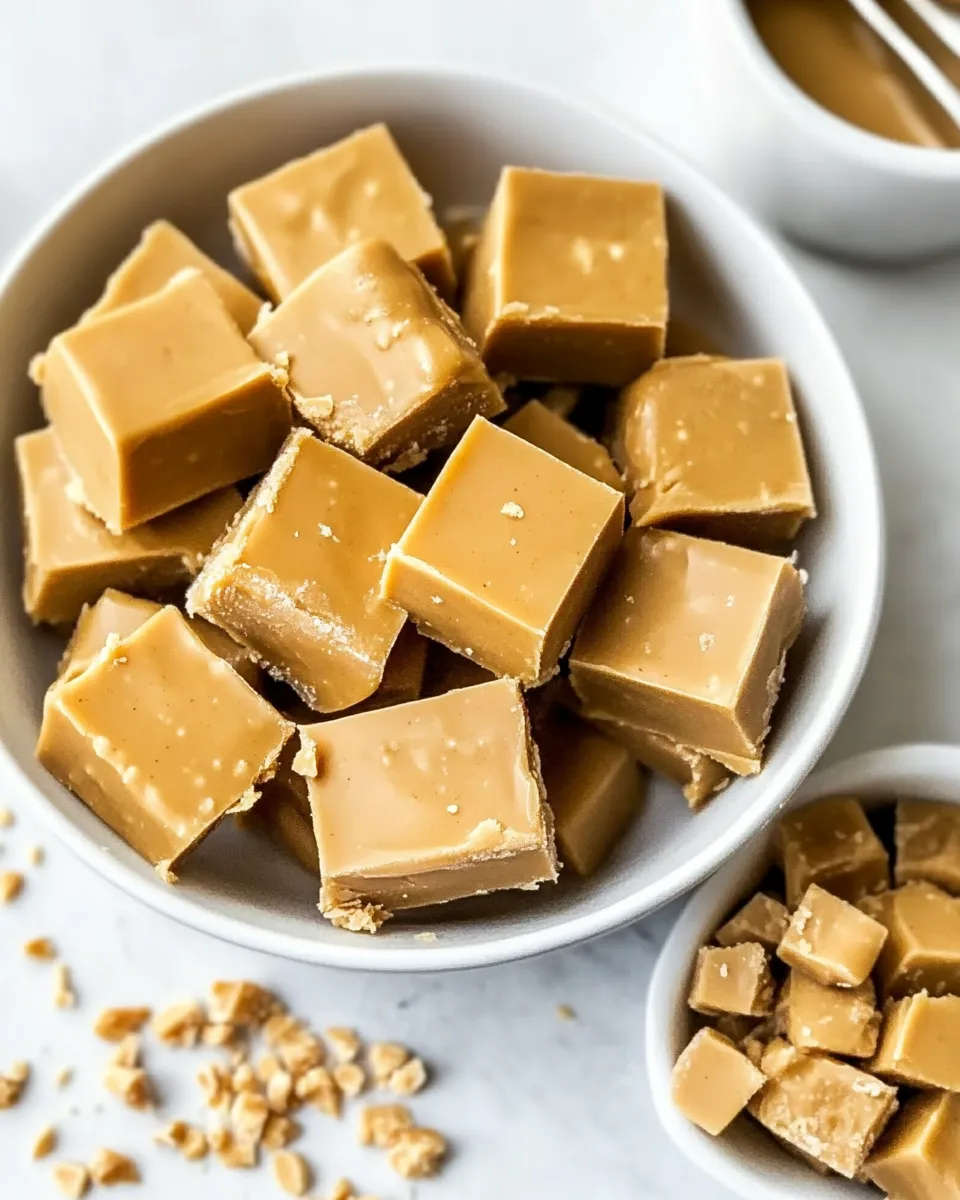
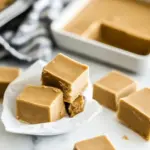
Homemade Peanut Butter Fudge
Making peanut butter fudge at home is one of those small, satisfying wins that tastes far better than it sounds. It’s rich, reliably creamy, and just the right kind of sweet. With a few pantry staples and one straightforward stovetop step, you can have squares ready in under three hours—and most of that is chilling time.
This recipe focuses on smooth texture and clean cutting. A couple of small technique points—sifting the powdered sugar, working the mixture while still warm to abolish lumps, and lining the pan for neat removal—make a big difference. I keep the pieces small; they’re intensely satisfying that way, and easier to serve.
Below I’ll walk you through the exact ingredients, the step-by-step method, why this version works, useful swaps, common mistakes, storage tips, and quick answers to questions I get most often about this fudge.
Ingredient Checklist

- 1 cup unsalted butter — provides fat and a smooth mouthfeel; unsalted lets you control overall saltiness.
- 1 cup creamy peanut butter — I use Skippy; choose a stable commercial brand (not natural) so the texture stays smooth and consistent.
- ½ cup Reese’s peanut butter chips — boosts peanut flavor and helps with structure and sheen.
- 1 tablespoon pure vanilla extract — rounds flavor and lifts the sweetness.
- 3½ cups powdered sugar — measured then sifted; gives body and the classic fudge sweetness and texture (sifting is important).
- ½ teaspoon kosher salt — balances sweetness and enhances the peanut flavor.
- ¼ cup marshmallow creme — adds chewiness and helps create a smooth, slightly glossy finish.
Cooking Homemade Peanut Butter Fudge: The Process
- Line an 8″x8″ pan with parchment paper or foil and set it aside so it’s ready once the mixture is done.
- Set a heavy-bottomed saucepan over medium heat. Add the unsalted butter, 1 cup creamy peanut butter, and ½ cup Reese’s peanut butter chips. Stir constantly to melt them together until the mixture is completely smooth and homogenous.
- Reduce the heat to low and stir in 1 tablespoon pure vanilla extract, mixing it in evenly.
- Keeping the pan on low, add the sifted 3½ cups powdered sugar and ½ teaspoon kosher salt. Use a spatula to incorporate the sugar into the warm mixture until it becomes smooth. If you see lumps or a grainy texture, vigorously whisk and press the mixture against the bottom of the pan to work them out.
- Stir in ¼ cup marshmallow creme until fully incorporated and the batter is consistent in texture.
- Spread the mixture evenly into the prepared 8″x8″ pan with an offset spatula or the back of a spoon.
- Place the pan in the refrigerator and chill for 1½ to 2 hours, until the fudge is firm.
- For neat cutting, gently lift the fudge out of the pan using the parchment paper edges, place it on a cutting board, and cut into small squares. I usually cut an 8×8 pan into 64 pieces (8 cuts each direction) for bite-sized portions.
Why This Recipe Is Reliable
This version relies on stable, non-natural peanut butter and a balance of butter and peanut butter chips to ensure a consistently smooth texture. Sifting powdered sugar eliminates undissolved granules that make fudge gritty. The marshmallow creme helps bind the sugar and fat into a glossy finish and prevents crumbliness. Working over low heat during incorporation prevents overheating, which can separate fats or make the mixture grainy. These small technique choices are what make the final result reliably creamy and easy to cut.
Easy Ingredient Swaps
- Butter — If you must, you can use salted butter but reduce or omit added salt; unsalted keeps flavor control precise.
- Creamy peanut butter — A different commercial brand is fine; avoid “natural” types (oil separates) because they can change texture.
- Reese’s peanut butter chips — You can use vanilla or milk chocolate chips for a peanut-chocolate twist, but that alters flavor and color.
- Powdered sugar — Instant or regular powdered sugar both work; just be sure to sift well for smoothness.
- Marshmallow creme — Not recommended to skip entirely; it contributes to texture. If unavailable, some cooks use a few tablespoons of corn syrup as a binder, but I haven’t tested that with these exact proportions.
Tools of the Trade
- Heavy-bottomed saucepan — Distributes heat evenly to prevent hot spots and burning.
- Rubber spatula — For scraping and folding in the powdered sugar without losing heat.
- Whisk — Useful to break up any lumps while still on low heat.
- 8″x8″ pan — The specified size creates the correct thickness for cutting proportions.
- Parchment paper or foil — For easy removal and clean edges when cutting.
- Offset spatula or back of a spoon — For leveling the fudge evenly in the pan.
- Sharp knife or bench scraper — For clean cuts; chill well before slicing.
Slip-Ups to Skip
- Overheating — Don’t keep the mixture on high heat after adding sugar; too much heat can make the sugar grainy or cause separation.
- Skipping the sift — Unsifted powdered sugar often leaves gritty bits. Sift for a smooth finish.
- Using natural peanut butter — Oil-separating peanut butter changes texture and can make the fudge oily or prone to separation.
- Not lining the pan — Without parchment foil, cutting and removing squares becomes messy and more difficult.
- Cutting too soon — The fudge must chill fully (1½–2 hours) to hold its shape when sliced.
Customize for Your Needs
- Smaller pieces — Cut into 64 squares (8 by 8) for bite-size portions and easier portion control.
- Flavor add-ins — Fold in a tablespoon of chopped peanuts on top after spreading for crunch, or press a few extra peanut butter chips into the surface for a decorative touch.
- Less sweet — Use slightly smaller pieces to reduce the sugar per serving; altering sugar amounts in the recipe itself will affect texture, so don’t reduce the powdered sugar without testing.
- Gift-ready — Line small tins with parchment and layer fudge between sheets of wax paper to keep squares from sticking.
Method to the Madness
- Prep first — Line the 8″x8″ pan before you heat anything so there’s no scrambling at the end.
- Melt gently — Combine butter, peanut butter, and chips over medium, stirring constantly until smooth, then immediately lower the heat. Continuous stirring avoids scorching.
- Integrate sugar carefully — Add sifted powdered sugar on low heat and use forceful stirring or whisking to remove lumps; this is where texture comes together.
- Finish with marshmallow creme — Fold it in last for elasticity and sheen; this helps the squares hold together cleanly.
- Chill fully — Refrigeration firms the fudge and makes cutting neat; patience here rewards you with clean squares.
Meal Prep & Storage Notes
- Refrigerator — Store in an airtight container for up to 2 weeks. Place wax paper between layers to prevent sticking.
- Freezer — Freeze in a single layer on a tray until firm, then stack with parchment between layers in a freezer-safe container for up to 3 months. Thaw in the fridge before serving.
- Room temperature — In cooler homes you can keep fudge at room temperature for a day or two in an airtight container; beyond that, refrigerate to maintain texture.
Common Qs About Homemade Peanut Butter Fudge
- Can I use natural peanut butter? — No. Natural peanut butter separates and will make the texture oily and inconsistent. Stick to a smooth, commercial brand.
- Why sift the powdered sugar? — Sifting removes clumps and aerates the sugar, producing a smoother, less gritty fudge.
- My fudge is grainy—what went wrong? — Usually powdered sugar wasn’t fully incorporated or the mixture overheated. Vigorously whisking and pressing the mix against the pan while warm can help when you’re still making it.
- Can I skip the marshmallow creme? — It’s not recommended. Marshmallow creme helps with texture and binding; omitting it changes the mouthfeel and could make the fudge firmer or crumblier.
- How do I get clean cuts? — Chill completely, lift the block from the pan using the parchment, and use a sharp knife warmed briefly under hot water and dried between cuts for cleaner edges.
Make It Tonight
You can have rich, creamy peanut butter fudge ready to chill in under 20 minutes of hands-on time. Line your pan, melt the butter/peanut butter/chips together, fold in the sifted powdered sugar and marshmallow creme on low heat, chill for 1½–2 hours, and cut into neat little squares. Follow the small technique notes above—sift, keep heat low, and chill—and you’ll end up with reliable, delicious fudge every time. Enjoy a batch for sharing or keep them tucked away for when you need a little sweet comfort.
Homemade Peanut Butter Fudge
Ingredients
- 1 cup unsalted butter
- 1 cup creamy peanut butter use Skippy; do not use a natural peanut butter
- 1/2 cup Reese's peanut butter chips
- 1 tablespoon pure vanilla extract
- 3 1/2 cups powdered sugar measured and sifted well
- 1/2 teaspoon kosher salt
- 1/4 cup marshmallow creme Kraft
Instructions
- Line an 8x8-inch pan with parchment paper or foil and set aside.
- Place a heavy-bottomed saucepan over medium heat and add the butter, 1 cup creamy peanut butter, and 1/2 cup Reese's peanut butter chips; stir constantly until fully melted and smooth.
- Reduce the heat to low, then stir in 1 tablespoon vanilla extract.
- With a spatula, gradually stir in the sifted powdered sugar (3 1/2 cups) and 1/2 teaspoon kosher salt while still over low heat; keep mixing until completely smooth. If lumps remain, vigorously whisk and press the mixture against the pan bottom to smooth.
- Stir in 1/4 cup marshmallow creme until fully incorporated and the mixture is uniform.
- Spread the fudge evenly into the prepared pan using a spatula.
- Chill in the refrigerator for 1 1/2 to 2 hours until firm, then lift the fudge from the pan using the parchment and cut into 64 small squares (8 cuts each direction) on a cutting board.
Equipment
- 8x8-inch pan
- parchment paper or foil
- heavy-bottomed saucepan
- Spatula
- Whisk
- Measuring cups and spoons
- cutting board and knife
Notes
- Store fudge in a covered container in the fridge for up to a week.
- Freeze in a freezer-safe container for up to 3 months.
- Separate layers with parchment paper.