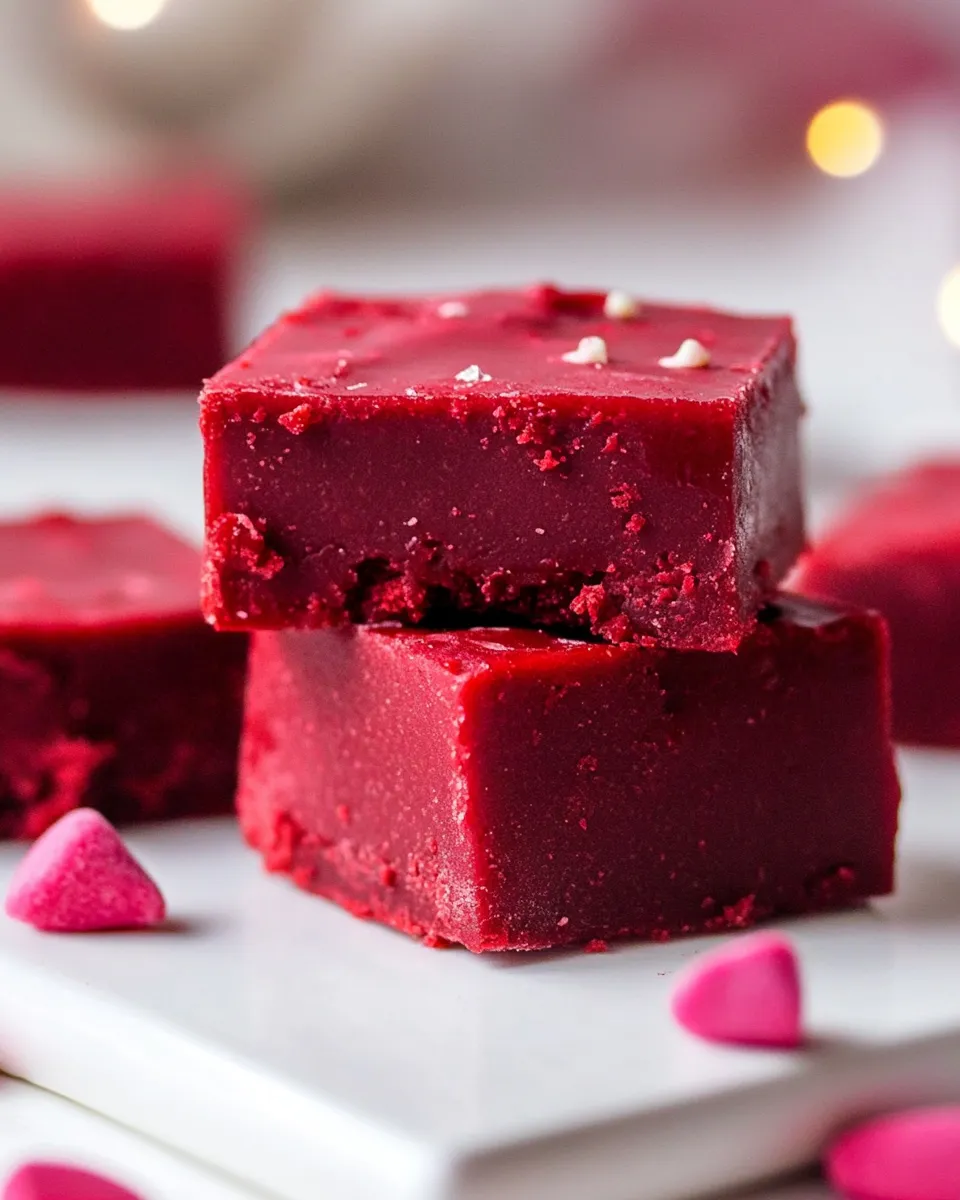
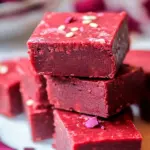
Red Velvet Fudge
I fell for this recipe the first time I tasted it at a holiday potluck: dense, creamy, with that gentle cocoa tang and just enough sweetness to feel indulgent without being cloying. It’s essentially a no-bake fudge built from red velvet cake mix and a handful of pantry staples. Quick to pull together, and it keeps beautifully in the fridge for gift boxes or a treat-yourself moment.
This version leans on convenience—boxed cake mix and white chocolate chips—but there’s real technique in how you bring it together so the texture is smooth and the chips create pretty marble streaks. Follow the steps closely, and you’ll have neat, sliceable fudge that tastes far more special than the ingredient list suggests.
Below I walk you through the ingredients with quick tips, clear step-by-step instructions, troubleshooting notes, and simple swaps for dietary needs. If you’re making this for a party, read the storage and make-ahead section so you can plan slicing and plating without stress.
The Ingredient Lineup
- 2 1/2 cups Red Velvet cake mix — the base: provides the red color, cocoa flavor and structure.
- 2 cups confectioner’s sugar — sweetens and thickens the fudge; sift if lumpy for a smoother finish.
- 1/4 cup milk — brings moisture and helps dissolve the sugar; whole milk gives a richer mouthfeel.
- 1/2 cup salted butter, cut into 8 pieces — fat that creates the fudgy, glossy texture; cut into pieces so it melts evenly.
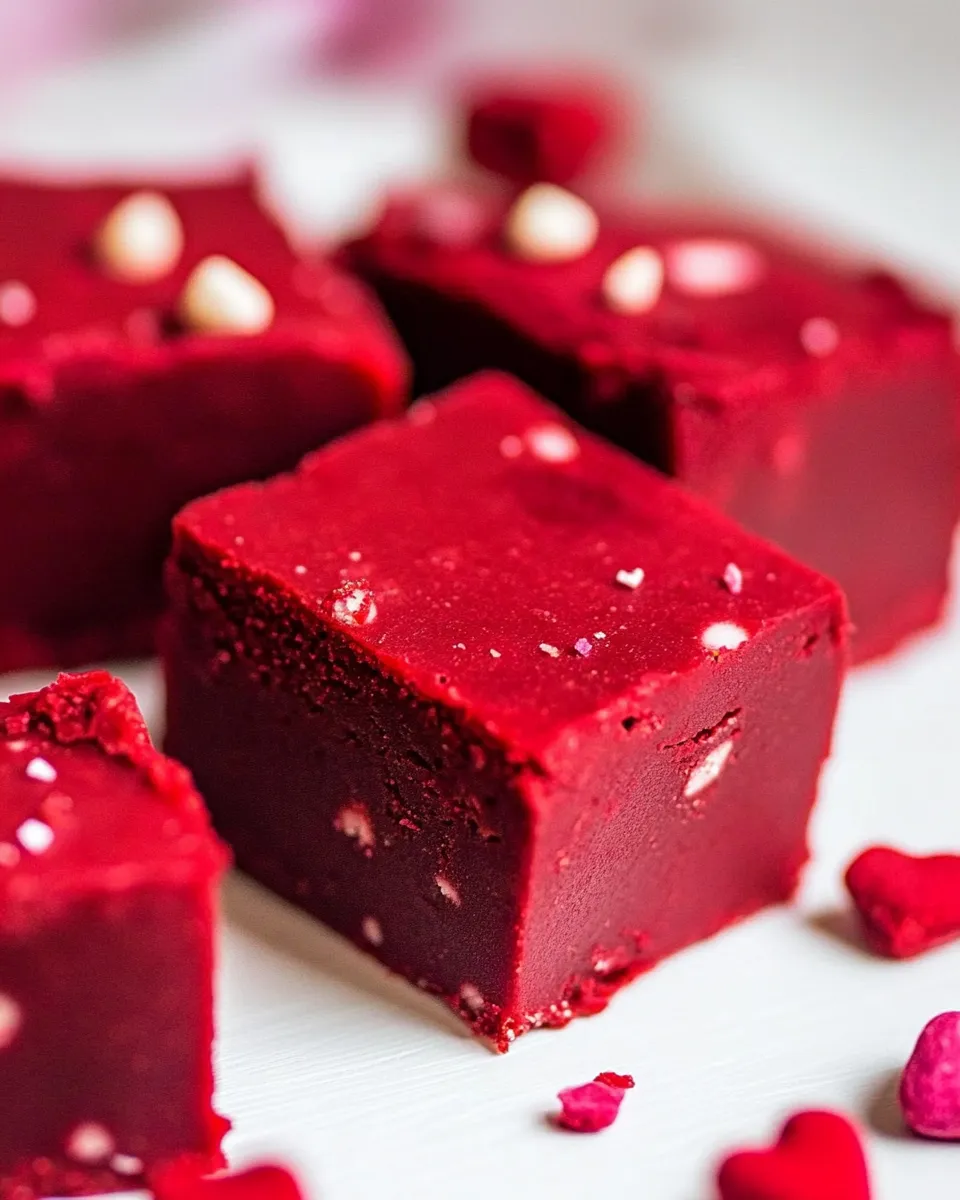
- 2/3 cup white chocolate chips — folded in warm to create melted streaks and a sweet contrast to the cocoa notes.
- 2–3 tbs sprinkles to garnish (optional) — adds color and festive texture; press into the surface right after spreading the fudge.
Cooking Red Velvet Fudge: The Process
- Prepare the pan: Line the bottom and sides of a 9×9-inch square pan with foil, leaving an overhang so you can lift the fudge out later. Set the pan aside.
- Combine dry ingredients and dairy: Into a large microwave-safe bowl add 2 1/2 cups red velvet cake mix, 2 cups confectioner’s sugar, and 1/4 cup milk. Scatter the 1/2 cup salted butter pieces over the top—don’t stir yet.
- Microwave to melt: Place the bowl in the microwave and heat on full power for 2 minutes. This warms the mixture and begins to melt the butter; the instruction to not stir before microwaving helps prevent streaking while the butter heats.
- Stir until smooth: Remove the bowl from the microwave and immediately stir the mixture until all the butter is fully melted and the batter is smooth and uniform. Work quickly so the mixture stays warm.
- Fold in white chocolate chips: While the mixture is still warm, fold in 2/3 cup white chocolate chips. The residual heat will soften them so they partially melt and create a marbled, swirled effect instead of fully melting into one color.
- Transfer to pan and finish: Spoon the fudge mixture into the prepared foil-lined pan and smooth the top into an even layer with a spatula.
- Add sprinkles (optional): If using 2–3 tablespoons of sprinkles, scatter them over the top immediately and press them down lightly so they adhere to the warm surface.
- Chill to set: Cover the pan with plastic wrap and refrigerate for at least 2 hours, until the fudge is firm enough to lift from the pan and slice cleanly.
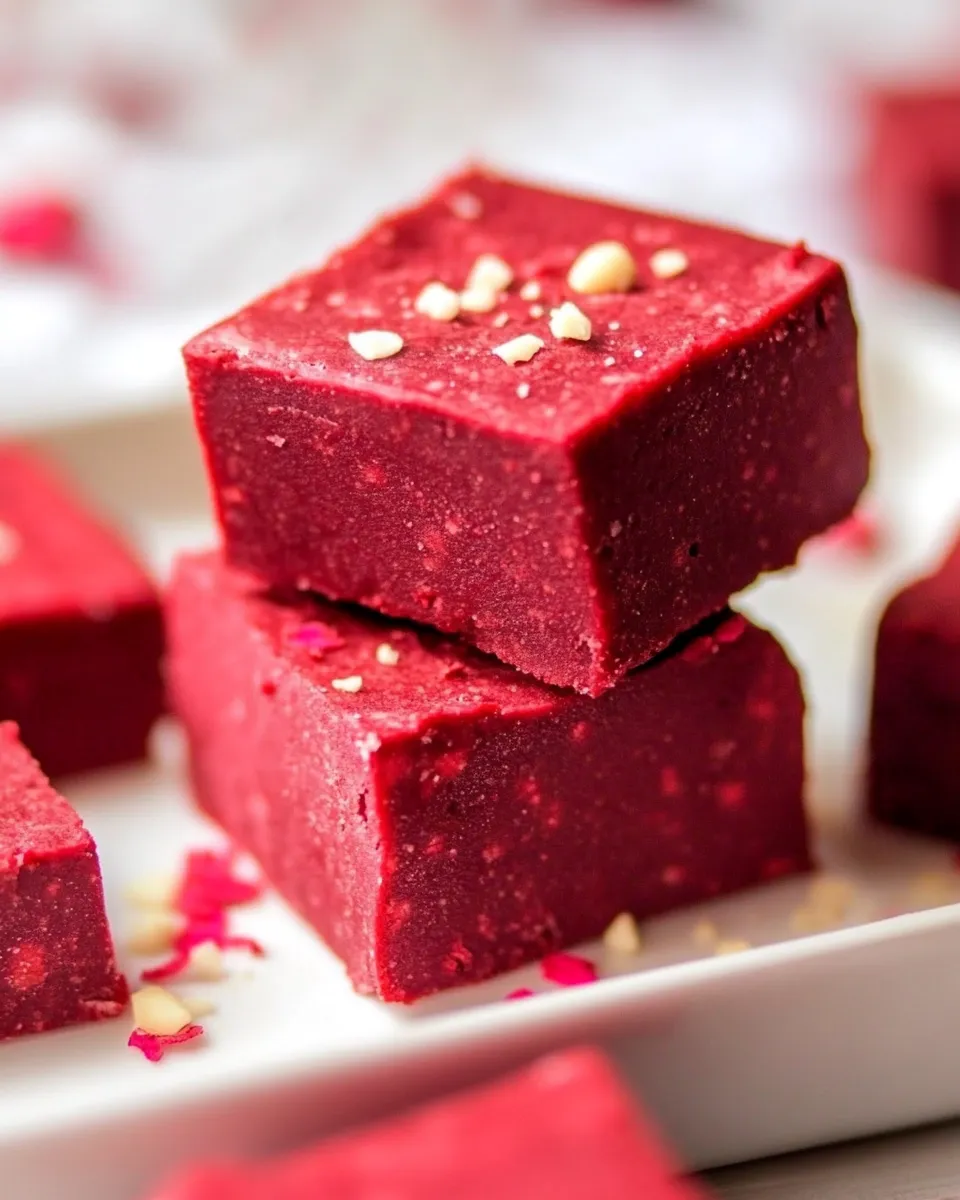
- Slice and serve: Use the foil overhang to lift the fudge from the pan. Cut into squares with a sharp knife; wipe the knife between cuts for neat edges.
What Sets This Recipe Apart
This fudge relies on cake mix rather than condensed milk or cocoa paste, which keeps it approachable and quick. The red velvet mix gives color and a nuanced cocoa flavor without extra steps. Melting butter in the microwave with the dry ingredients produces a dense, spreadable mass that firms into sliceable fudge after chilling. Folding warm white chocolate chips in rather than melting them completely creates pretty marbling and pockets of creaminess that make each bite more interesting.
Quick Replacement Ideas
- White chocolate chips — swap for white chocolate chunks or chopped white chocolate bars for larger pockets of creaminess; avoid dark chocolate unless you want a stronger chocolate contrast.
- Milk — use plant-based milk (almond, oat) as a 1:1 swap for a dairy-free option; texture will be slightly different but still workable.
- Salted butter — use unsalted + a pinch of salt if you prefer more control over seasoning.
- Sprinkles — omit or replace with chopped nuts, crushed peppermint, or freeze-dried raspberries for a different texture and appearance.
Hardware & Gadgets
- Microwave-safe large mixing bowl — roomy enough to whisk without spilling.
- 9×9-inch square baking pan — for shaping the fudge.
- Aluminum foil — to line the pan and create an easy lift.
- Spatula or spoon — for stirring and spreading.
- Sharp knife — for clean slicing; warm under hot water and dry between cuts for smoother edges.
- Plastic wrap — to cover while chilling so the surface doesn’t absorb fridge odors.
Easy-to-Miss Gotchas
- Not cutting butter small enough — large chunks take longer to melt and can leave oily pockets; cut into about 8 pieces as directed.
- Stirring too slowly after microwaving — you need to stir immediately so the butter fully emulsifies into the mixture; waiting lets it pool and makes texture uneven.
- Folding chips when the mix is cold — if the mixture cools before you add the chips, they won’t soften and you’ll miss the marble effect.
- Skipping the foil overhang — without it you’ll struggle to remove the fudge cleanly from the pan.
- Rushing the chill time — cutting before the fudge is fully set leads to smeared edges and an overly soft center.
Adaptations for Special Diets
- Dairy-free: Use dairy-free margarine or plant-based butter and substitute the milk with unsweetened almond or oat milk. Ensure white chocolate chips are dairy-free (many aren’t).
- Lower-sugar: This recipe depends heavily on confectioner’s sugar; reducing it changes texture. Consider using a powdered erythritol blend in place of the confectioners’ sugar, but expect a softer set.
- Nut-free: The base recipe is nut-free, but watch toppings and equipment to avoid cross-contamination if cooking for someone with allergies.
Behind the Recipe
I adapted this from a simple microwave-style fudge concept that trades traditional condensed milk and long cooking for a speedy, pantry-friendly method. The magic is in the proportions: cake mix provides structure and flavor, confectioner’s sugar provides the sweetness and body, and warm butter binds everything into a glossy, sliceable block. Folding warm white chocolate chips instead of fully melting them gives the visual interest and change in texture that elevates a basic sweet to something that feels homemade and special.
Make-Ahead & Storage
Store the fudge in an airtight container in the refrigerator for up to 2 weeks. For gift boxes, wrap squares individually in wax paper or parchment and keep chilled until serving. You can freeze the fudge for up to 3 months — wrap tightly in plastic and then foil; thaw in the refrigerator before unwrapping to avoid condensation making the surface sticky.
FAQ
- Why use cake mix? — It supplies flavor, color, and structure quickly. Red velvet mix gives the cocoa balance and signature color.
- Can I make this without a microwave? — Yes: melt the butter in a saucepan over low heat, remove from heat, then stir in the dry ingredients and milk until smooth. Proceed with the rest of the steps.
- Why do the white chocolate chips partially melt? — The mixture is warm enough to soften them but not fully melt them, creating marble-like streaks and varied texture.
- My fudge is crumbly — what went wrong? — Likely not enough fat or not melted/emulsified fully. Ensure the butter is melted and thoroughly stirred in while still warm.
- Can I double the recipe? — Yes; use a larger pan and increase the chilling time. Keep the same ratios.
Bring It Home
This Red Velvet fudge is the kind of recipe that works for last-minute gifting, a simple holiday offering, or a quick dessert to leave in the office kitchen. It’s fast, forgiving, and reliably pleasing. Make it once, and you’ll find reasons to make it again: swap toppings, change the chips, or portion it into tiny squares for cookie exchanges. The technique stays the same—warm, stir, fold, chill—and the payoff is always worth the effort.
Red Velvet Fudge
Ingredients
- 2 1/2 cups red velvet cake mix
- 2 cups confectioners' sugar
- 1/4 cup milk
- 1/2 cup salted butter cut into 8 pieces
- 2/3 cup white chocolate chips
- 2-3 tbsp sprinkles optional, for garnish
Instructions
- Line the bottom and sides of a 9x9-inch square pan with foil, allowing it to overlap the edges; set aside.
- In a large microwave-safe bowl, combine the red velvet cake mix, confectioners' sugar, milk, and the butter pieces without stirring.
- Microwave the mixture on high for 2 minutes.
- Remove from the microwave and immediately stir until all the butter is fully melted and the mixture is smooth.
- Fold in the white chocolate chips while the mixture is still warm so they soften and create a marbled effect.
- Spoon the fudge into the prepared pan and smooth it into an even layer.
- If using sprinkles, scatter them over the top and press lightly so they stick.
- Cover the pan with plastic wrap and refrigerate for at least 2 hours, or until firm, before lifting out with the foil and cutting into pieces.
Equipment
- 9x9-inch square baking pan
- Aluminum Foil
- large microwave-safe bowl
- spatula or wooden spoon
Notes
- Line the pan with non-stick foil to lift the fudge out easily.
- Store fudge in an airtight container to maintain freshness.
- You can refrigerate to keep it from getting warm and soft.
- To freeze, wrap whole block tightly and place in a resealable container.
- Thaw frozen fudge overnight in the refrigerator before serving.