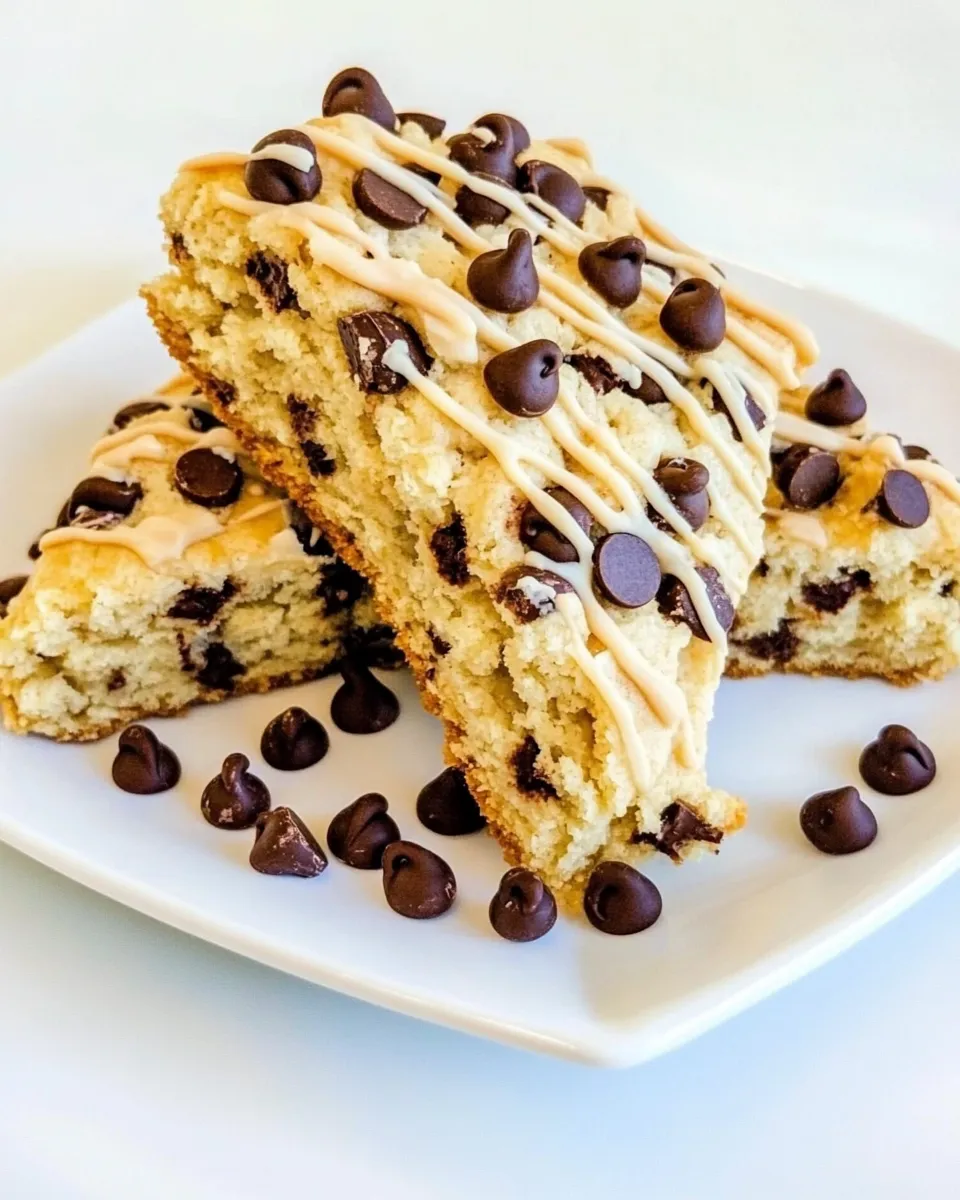
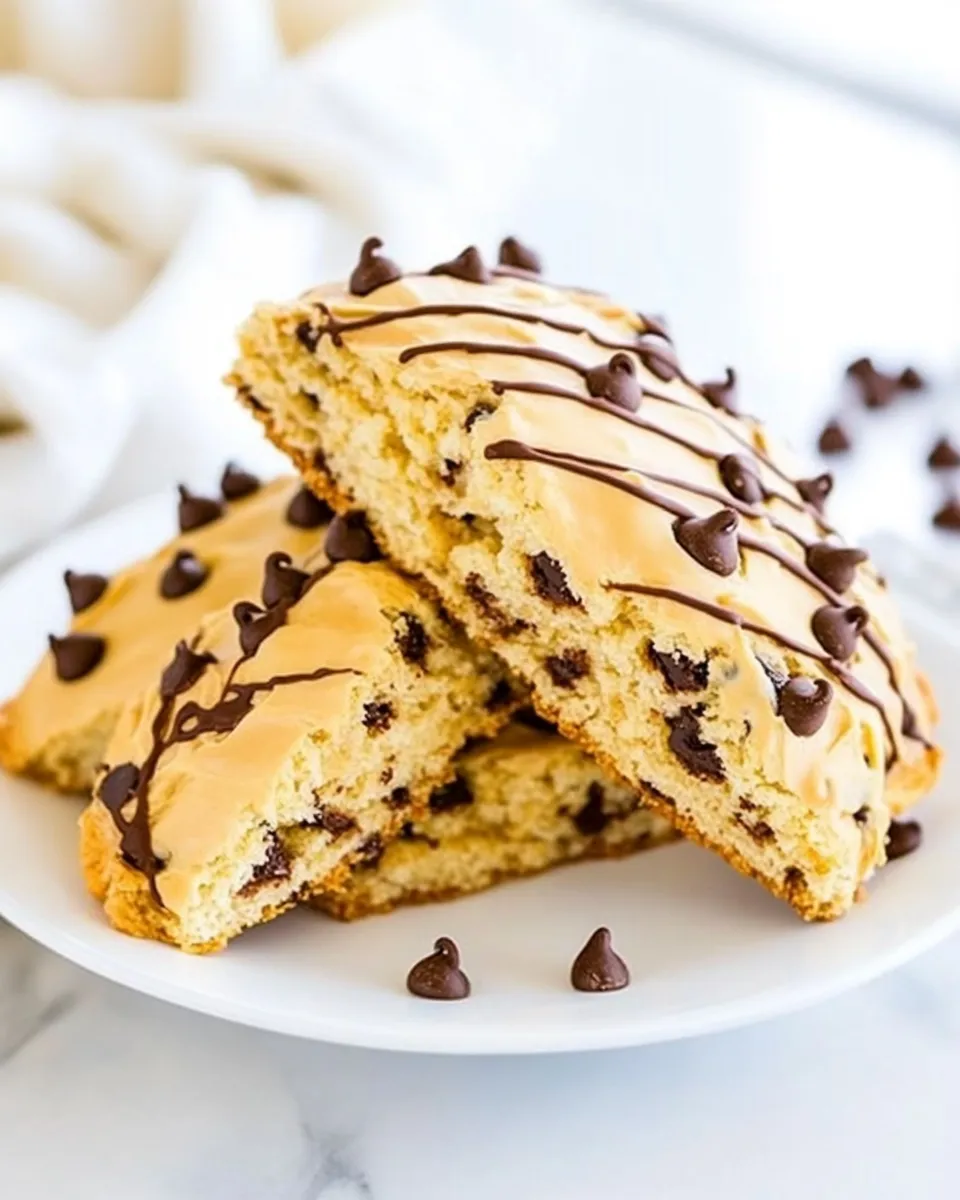
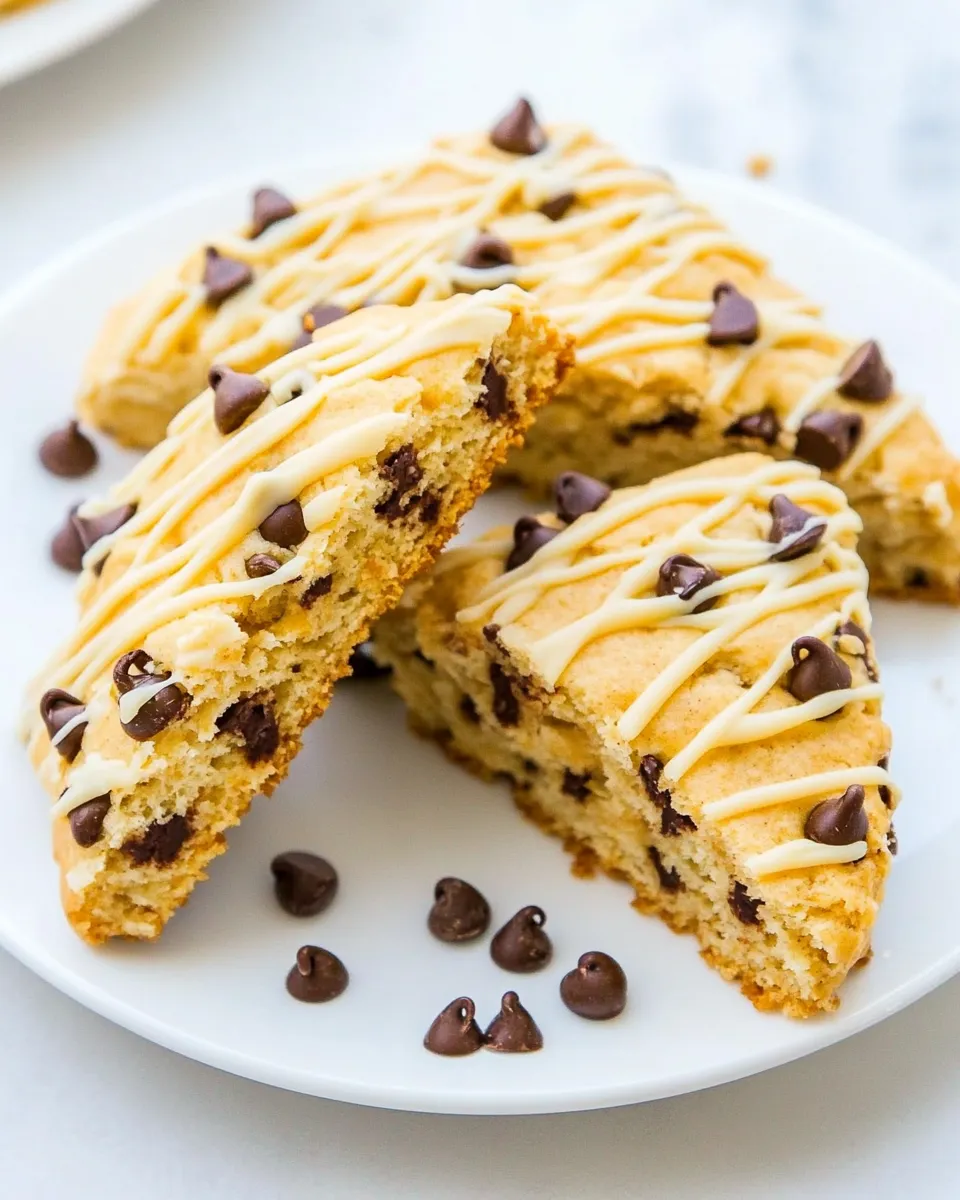
Peanut Butter Chocolate Chip Scones
These scones are the kind I reach for when I want something that feels both familiar and a little indulgent. Peanut butter adds a toasty, nutty backbone while mini chocolate chips give small pockets of melty sweetness. They come together quickly and travel well — perfect for a weekend brunch or a grab-and-go breakfast.
I like these for everyday baking because they’re forgiving. The dough is straightforward: dry ingredients, cold butter cut in, a simple peanut butter-sour cream wet mix, and a quick mix-and-shape step. The glaze is optional but worth it — glossy, peanut-butter-forward, and easy to adjust for thickness.
If you’re short on time, the dough can be shaped and baked in under 30 minutes. If you want to pace it more leisurely, you can chill the dough briefly to firm it up. Read on for the exact ingredient list, clear step-by-step instructions, and practical tips that save time and improve results.
Gather These Ingredients
- 2 cups all-purpose flour — the structure of the scones; measure by spooning into the cup and leveling for accuracy.
- ½ cup granulated sugar — sweetens and helps with browning.
- 1 tablespoon baking powder — the leavening agent that gives scones their lift.
- pinch salt, optional and to taste — enhances flavor; add if your peanut butter is unsalted or to balance sweetness.
- ½ cup unsalted butter, cold (1 stick) — cut into small pieces; cold butter creates flaky pockets.
- 1 large egg — adds richness and helps bind the dough.
- ⅓ cup creamy peanut butter — provides the peanut flavor and moisture; creamy blends best into the wet mix.
- ¼ cup sour cream, lite is okay; Greek yogurt may be substituted — adds moisture and tenderness; substitute only with the same volume if using Greek yogurt.
- 2 teaspoons vanilla extract — rounds and lifts flavors.
- 1 cup semi-sweet mini chocolate chips — small chips distribute evenly through the dough for consistent chocolate in each bite.
- ½ cup creamy peanut butter — for the glaze; warms and thins into a spreadable drizzle or frosting.
- 1 cup confectioners’ sugar — sweetens and thickens the glaze to a glossy finish.
- about 2 to 3 tablespoons milk or cream — adjusts glaze consistency; add a tablespoon at a time.
Peanut Butter Chocolate Chip Scones in Steps
Prep and oven
Preheat the oven to 400°F. Line a baking sheet with parchment paper or a nonstick liner and set it aside so it’s ready when the scones are shaped.
Make the dry mix
In a large bowl, whisk together 2 cups all-purpose flour, ½ cup granulated sugar, 1 tablespoon baking powder, and the pinch of salt if using. Whisking distributes the leavening and sugar evenly for predictable rise and texture.
Cut in the butter
Add ½ cup cold unsalted butter (cut into small pieces) to the dry ingredients. Use a pastry cutter, two forks, or your fingertips to cut the butter in until the mixture resembles coarse, slightly damp sand and the largest butter pieces are about the size of large peas or marbles. Some slightly larger butter bits are fine — they melt while baking and help create tender layers. Set the bowl aside.
Combine the wet mix
In a small bowl, whisk together 1 large egg, ⅓ cup creamy peanut butter, ¼ cup sour cream (or Greek yogurt), and 2 teaspoons vanilla extract until smooth. The mixture will be thick but pourable; the sour cream keeps the scones tender and adds a subtle tang.
Bring dough together
Pour the wet mixture over the dry mixture. Using a soft-tipped spatula, fold gently until the dough just comes together — don’t overmix. If the dough looks very crumbly or won’t hold together, add additional sour cream, 1 tablespoon at a time, only until the dough is moist enough to form a ball. The goal is a cohesive, slightly sticky dough, not a wet batter.
Add the chocolate chips
Fold in 1 cup semi-sweet mini chocolate chips until they are distributed evenly. Mini chips are better here than large chips because they give chocolate in every bite without tearing the dough while shaping.
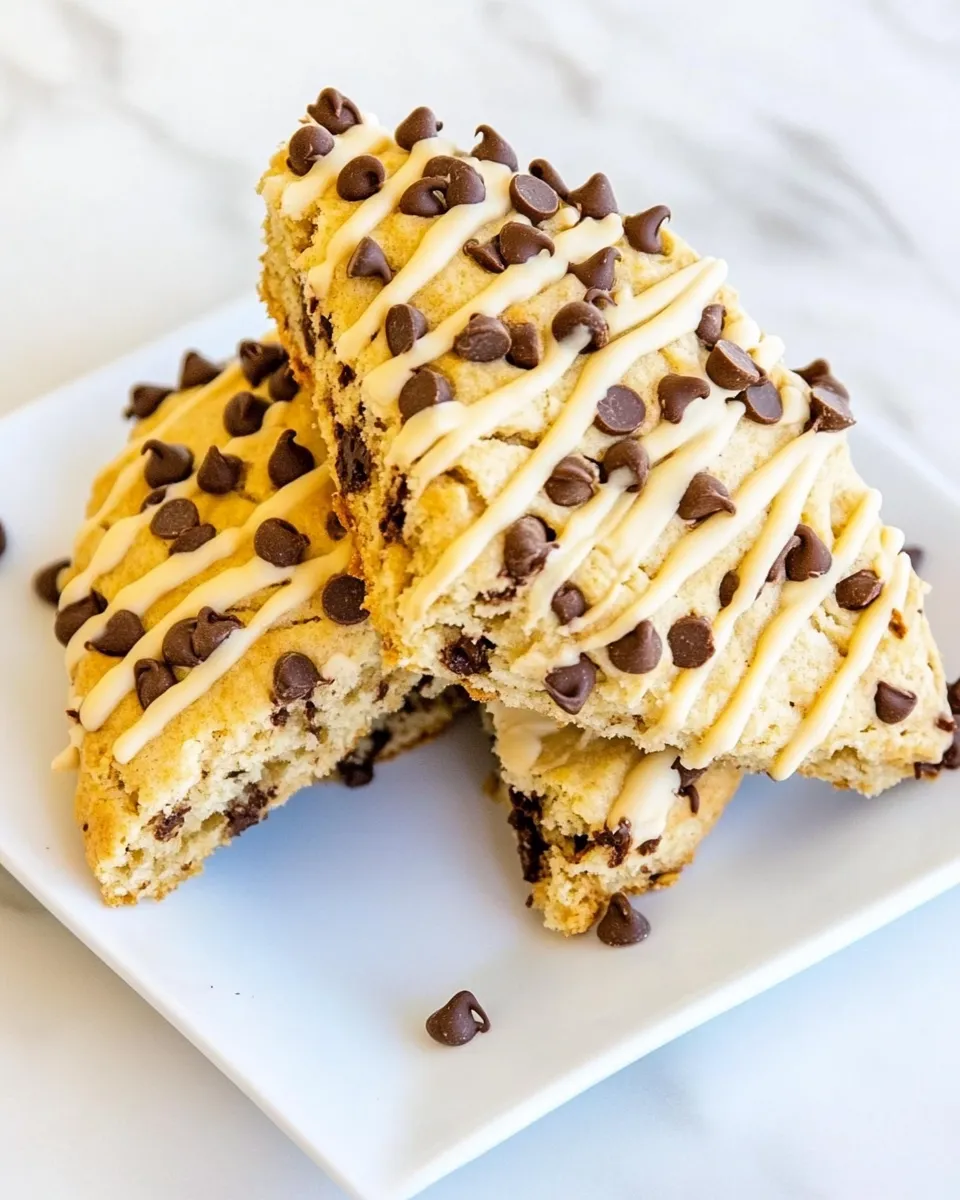
Shape and cut
Turn the dough out onto a clean, lightly floured surface. With lightly floured hands or a spatula, press and pat the dough into an 8-inch round about 2 inches high. Using a large knife, cut the round into 8 equal wedges. Handle the dough as little as possible to keep the butter cold and the texture tender.
Transfer and bake
Using a flat spatula or pie server, transfer the wedges to the prepared baking sheet, spacing them at least 2 inches apart so they have room to puff and spread. Bake in the preheated 400°F oven for about 12 to 15 minutes. Start checking after 11 minutes. You want the scones to be very lightly golden on top and set — a toothpick inserted into the center should come out clean or with a few moist crumbs but no raw batter. Avoid overbaking to prevent dryness; the scones will continue to set as they cool.
Cool and make the glaze
Let the scones cool on the baking sheet for about 5 minutes before transferring them to a wire rack to finish cooling. While they cool, make the glaze: in a medium microwave-safe bowl, heat ½ cup creamy peanut butter for 30 seconds to soften it. Add 1 cup confectioners’ sugar and 2 tablespoons milk or cream, then whisk until smooth. Adjust the consistency by adding more milk (up to 1 additional tablespoon) if you want a thinner drizzle, or a touch more confectioners’ sugar if you want a thicker frosting-like coating.
Finish
Drizzle or frost the cooled scones with the peanut butter glaze. If you drizzle, expect to have extra glaze; it keeps airtight in the refrigerator for up to 1 month and can be warmed briefly in the microwave before reuse. Scones are best fresh but will keep airtight at room temperature for up to 3 days. If you prefer, frost only the scones you’ll eat immediately — chilling glazed scones can make them dry.
Why It’s My Go-To
These scones hit the sweet spot between quick and special. The peanut butter flavor is obvious but not cloying; the sour cream keeps them tender; and mini chips add even chocolate distribution. They’re simple enough for a weekday treat but pretty enough for guests.
I also appreciate the texture: cold butter gives slight flakiness, and the glaze transforms them from good to memorable. The recipe adapts well — a swap to Greek yogurt works, and the glaze thickness is easy to tweak.
Flavor-Forward Alternatives
- Add ½ cup chopped roasted peanuts — for extra crunch and visual appeal.
- Use dark chocolate chips instead of semi-sweet — for a deeper chocolate balance.
- Swap half the peanut butter in the dough for crunchy peanut butter — if you like texture.
- Mix in 1 teaspoon cinnamon or ¼ teaspoon flaky sea salt on top — to highlight the peanut butter.
- Stir in 2 tablespoons cocoa powder to the dry mix and reduce flour by 2 tablespoons — for a chocolate-tinged scone base.
Gear Checklist
- Large mixing bowl — for the dry ingredients and mixing.
- Small bowl — for the wet mix and for warming the glaze base.
- Whisk and spatula — whisk for dry mix and egg blend; spatula for folding.
- Pastry cutter or two forks — to cut cold butter into the flour.
- Baking sheet and parchment paper — for even baking and easy cleanup.
- Flat spatula or pie turner — to transfer wedges without breaking them.
- Wire cooling rack — scones finish cooling here and stay crisper.
- Knife or bench scraper — to cut the round into wedges.
- Microwave-safe bowl — to soften peanut butter for glaze.
Mistakes That Ruin Peanut Butter Chocolate Chip Scones
- Overworking the dough — develops gluten and yields tough scones. Mix until just combined.
- Letting the butter get too warm — results in dense scones. Keep butter cold until baking.
- Overbaking — dries them out. Start checking at 11 minutes and remove when lightly golden and set.
- Adding too much liquid when fixing crumbly dough — makes the dough sticky and heavy. Add sour cream 1 tablespoon at a time.
- Cutting wedges unevenly — leads to uneven baking where some pieces overbake before others are done. Aim for equal wedges.
Spring–Summer–Fall–Winter Ideas
- Spring: Stir in 2 tablespoons chopped fresh basil or a teaspoon of lemon zest for a bright twist before glazing.
- Summer: Add ½ cup chopped strawberries or raspberries (gently fold in) and reduce chocolate chips to ½ cup to keep fruit the star.
- Fall: Fold in ½ teaspoon ground cinnamon and ¼ teaspoon nutmeg; top with a brown butter glaze for warmth.
- Winter: Use dark chocolate chips and a pinch of espresso powder in the dough to intensify flavor; finish with a salted caramel drizzle.
What Could Go Wrong
If scones spread flat: the butter may have been too warm or the dough overworked. Chill the dough for 10–15 minutes next time, handle lightly, and keep butter cold.
If scones are dry: they were likely overbaked. Reduce baking time slightly and check earlier. Also check oven temperature with a thermometer; some ovens run hot.
If centers are gummy while edges are done: oven too hot or wedges were unevenly sized. Reduce oven heat slightly and cut wedges as evenly as possible.
How to Store & Reheat
Room temperature: Store unglazed scones airtight at room temperature for up to 3 days. Glazed scones can sit at room temperature if you’re comfortable with dairy in the glaze; otherwise glaze only before serving.
Refrigerator: I generally avoid refrigerating scones because they dry out, but you can store glazed scones in an airtight container in the fridge for up to 5 days. Bring to room temperature before serving or warm gently.
Freezer: Wrap cooled, unglazed scones individually in plastic wrap and freeze in a zip-top bag for up to 2 months. Reheat from frozen in a 350°F oven for 10–12 minutes or until warmed through. Add glaze after reheating.
Reheating: Microwave for 12–20 seconds for a quick warm-up, or reheat in a 325–350°F oven for 6–8 minutes to restore a bit of crispness. If glazing, warm the glaze briefly before use.
Troubleshooting Q&A
- Q: My dough is crumbly and won’t hold together — what now?
A: Add sour cream 1 tablespoon at a time and fold until it just comes together. Avoid adding too much or the dough will be sticky.
- Q: Can I use natural peanut butter?
A: You can, but natural peanut butter is oilier and runnier; it can alter dough moisture. If using natural, measure after stirring and consider chilling the wet mix briefly to firm it up.
- Q: Can I make these gluten-free?
A: This recipe uses all-purpose flour as written. If you substitute a gluten-free flour blend, choose one labeled “1:1 for baking” and expect slight texture changes; you may need a binder like xanthan gum depending on the blend.
- Q: How do I get higher rise?
A: Ensure baking powder is fresh and the butter is cold. Do not overwork the dough and bake immediately after shaping for best rise.
Ready, Set, Cook
Preheat your oven and gather the ingredients. Work quickly with cold butter, mix wet and dry components with care, and bake until the scones are just set. Make the simple peanut butter glaze while they cool and either drizzle or frost for a glossy finish. These Peanut Butter Chocolate Chip Scones are approachable, comforting, and versatile — perfect for sharing or keeping to yourself.

Peanut Butter Chocolate Chip Scones
Ingredients
- 2 cups all-purpose flour
- 1/2 cup granulated sugar
- 1 tablespoon baking powder
- salt pinch, optional and to taste
- 1/2 cup unsalted butter cold (1 stick)
- 1 large egg
- 1/3 cup creamy peanut butter for dough
- 1/4 cup sour cream lite okay; Greek yogurt may be substituted
- 2 teaspoons vanilla extract
- 1 cup semi-sweet mini chocolate chips
- 1/2 cup creamy peanut butter for glaze
- 1 cup confectioners' sugar
- 2 to 3 tablespoons milk or cream about, for glaze
Instructions
- Preheat the oven to 400°F (200°C). Line a baking sheet with parchment paper and set aside.
- In a large bowl whisk together the flour, granulated sugar, baking powder, and a pinch of salt (if using).
- Cut the cold butter into the dry ingredients using a pastry cutter, two forks, or your fingers until the mixture resembles coarse sand with some pea-sized butter pieces remaining.
- In a small bowl whisk the egg, 1/3 cup peanut butter, sour cream, and vanilla until smooth.
- Pour the wet mixture into the dry ingredients and fold gently with a spatula until just combined; add extra sour cream 1 tablespoon at a time only if the dough is too crumbly to hold together.
- Fold in the mini chocolate chips until evenly distributed.
- Turn the dough onto a lightly floured surface and pat into an 8-inch round about 2 inches high.
- Using a large knife, cut the round into 8 equal wedges and transfer the wedges to the prepared baking sheet, spacing them about 2 inches apart.
- Bake for 12–15 minutes, or until the scones are very lightly golden and a toothpick inserted comes out clean or with a few moist crumbs; avoid overbaking.
- Cool the scones on the baking sheet for about 5 minutes, then transfer to a wire rack to finish cooling while you prepare the glaze.
- For the glaze, warm 1/2 cup peanut butter in a microwave-safe bowl for 30 seconds to soften, then whisk in the confectioners' sugar and 2 tablespoons milk or cream until smooth; add more milk or sugar to reach desired consistency.
- Drizzle or spread the glaze over cooled scones and allow it to set before serving.
Equipment
- large baking sheet
- Mixing Bowl
- Small mixing bowl
- Wire Rack
- pastry cutter (or forks)
- rubber spatula
- Knife
- Microwave-safe Bowl
Notes
- Leftovers keep fresh in an airtight container at room temperature for up to 3 days.