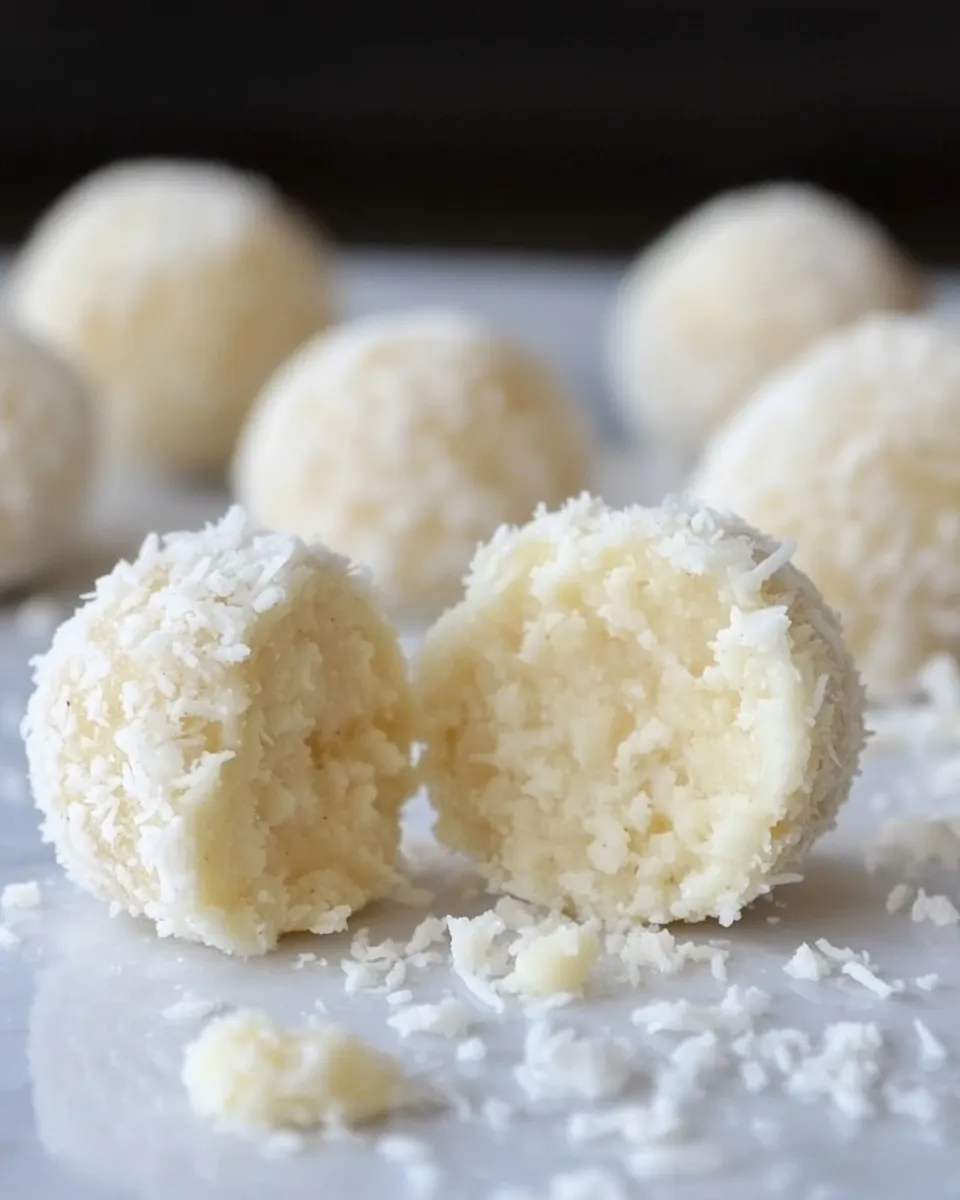
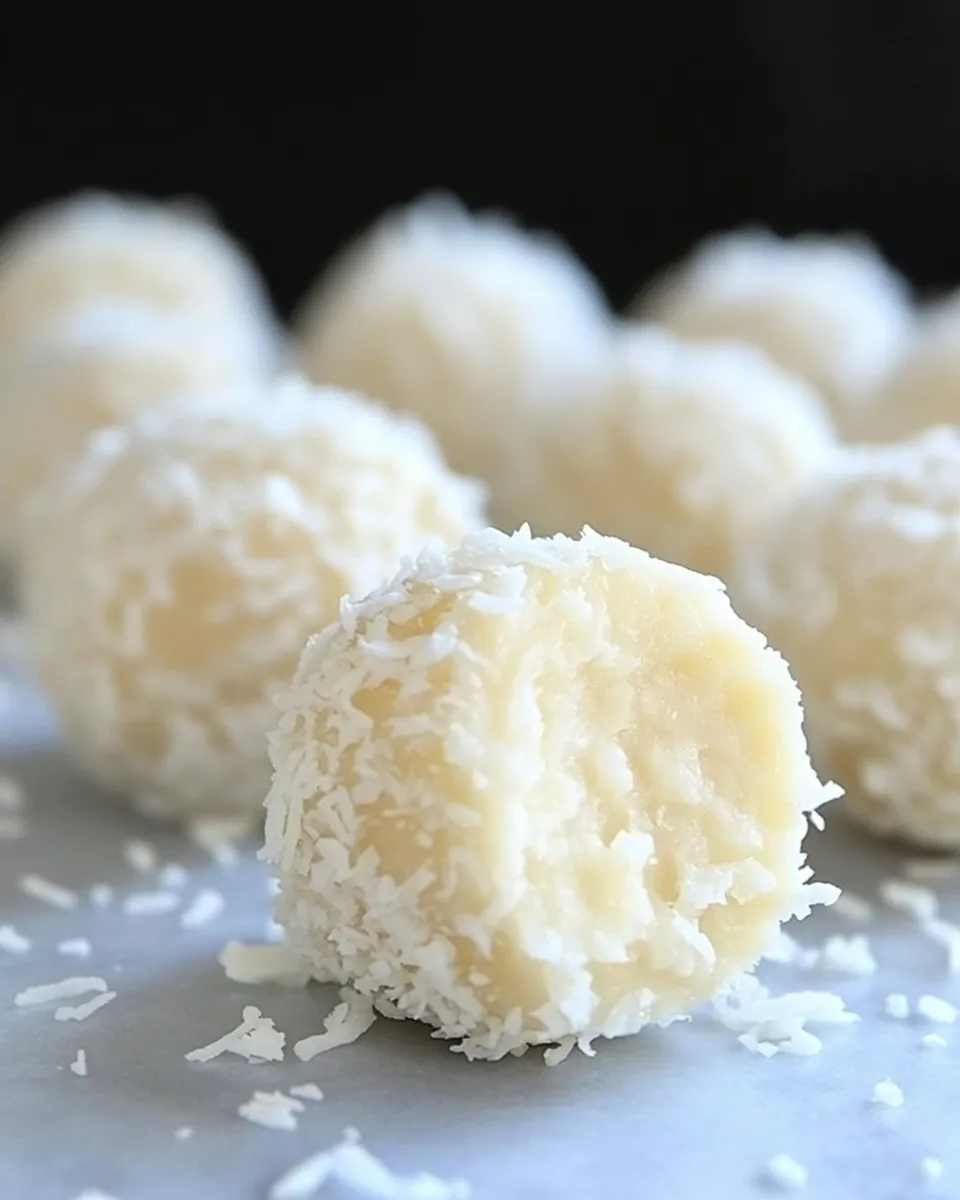
Coconut Truffles
These coconut truffles are a small, elegant treat that comes together quickly with just a handful of ingredients. They’re creamy, mildly sweet, and have a satisfying crunch when you bite into the hazelnut center. I love keeping a batch in the fridge for last-minute guests or afternoon tea.
The method is simple: melt white chocolate, fold in coconut and almond, chill briefly, then form, stuff, and roll. No tempering, no fancy tools—just basic technique and a bit of patience while they set. Below you’ll find the ingredient notes, a clear step-by-step method, and practical tips to get consistent results.
What You’ll Need
- 6 oz white chocolate — the base for the truffle shell and flavor; use good-quality chocolate for best taste.
- ½ cup coconut milk cream — adds richness and moisture; scrape the thick cream from a chilled can of coconut milk.
- 1 teaspoon vanilla extract — lifts and rounds the sweetness of the white chocolate.
- ½ cup almond flour — stabilizes the mixture and adds a soft, nutty texture.
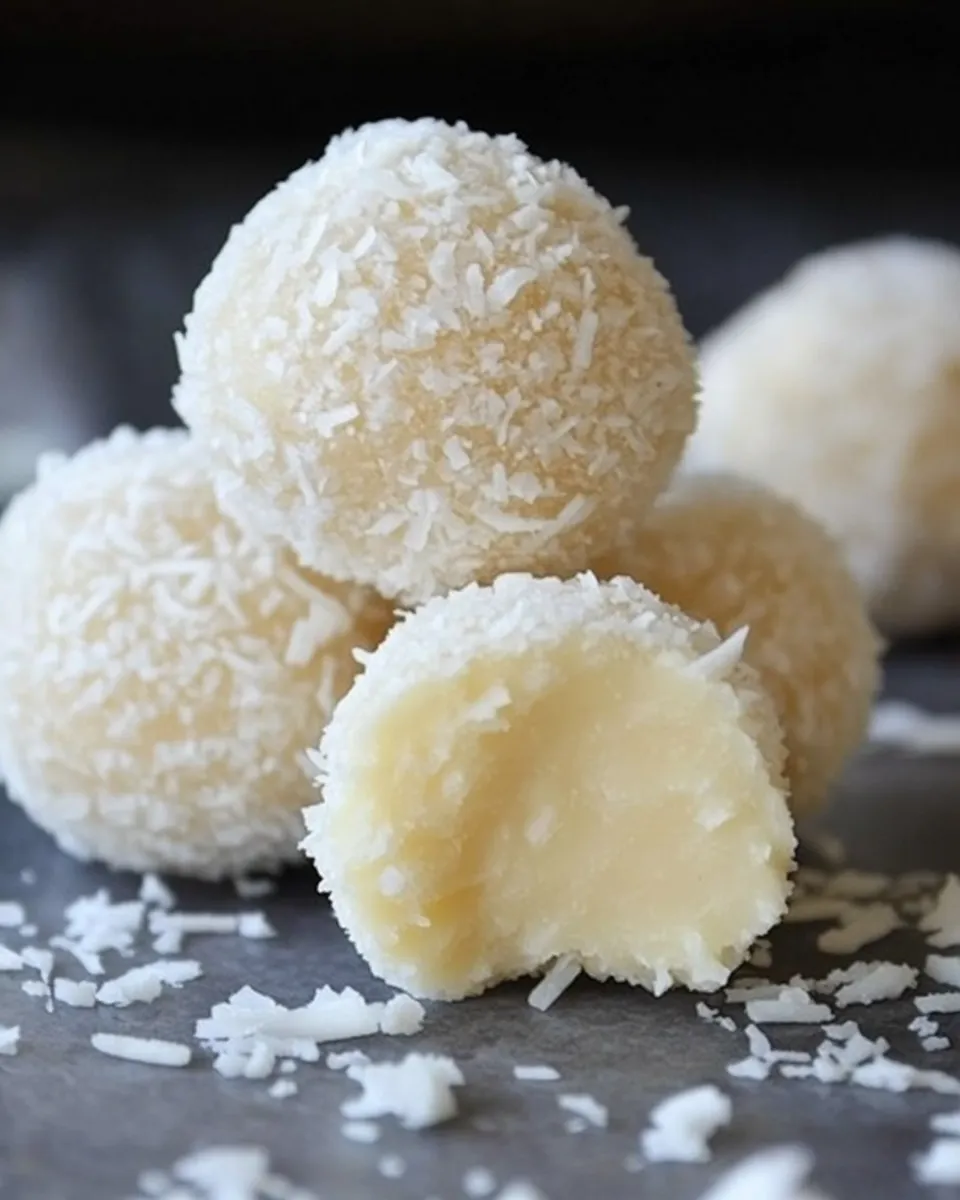
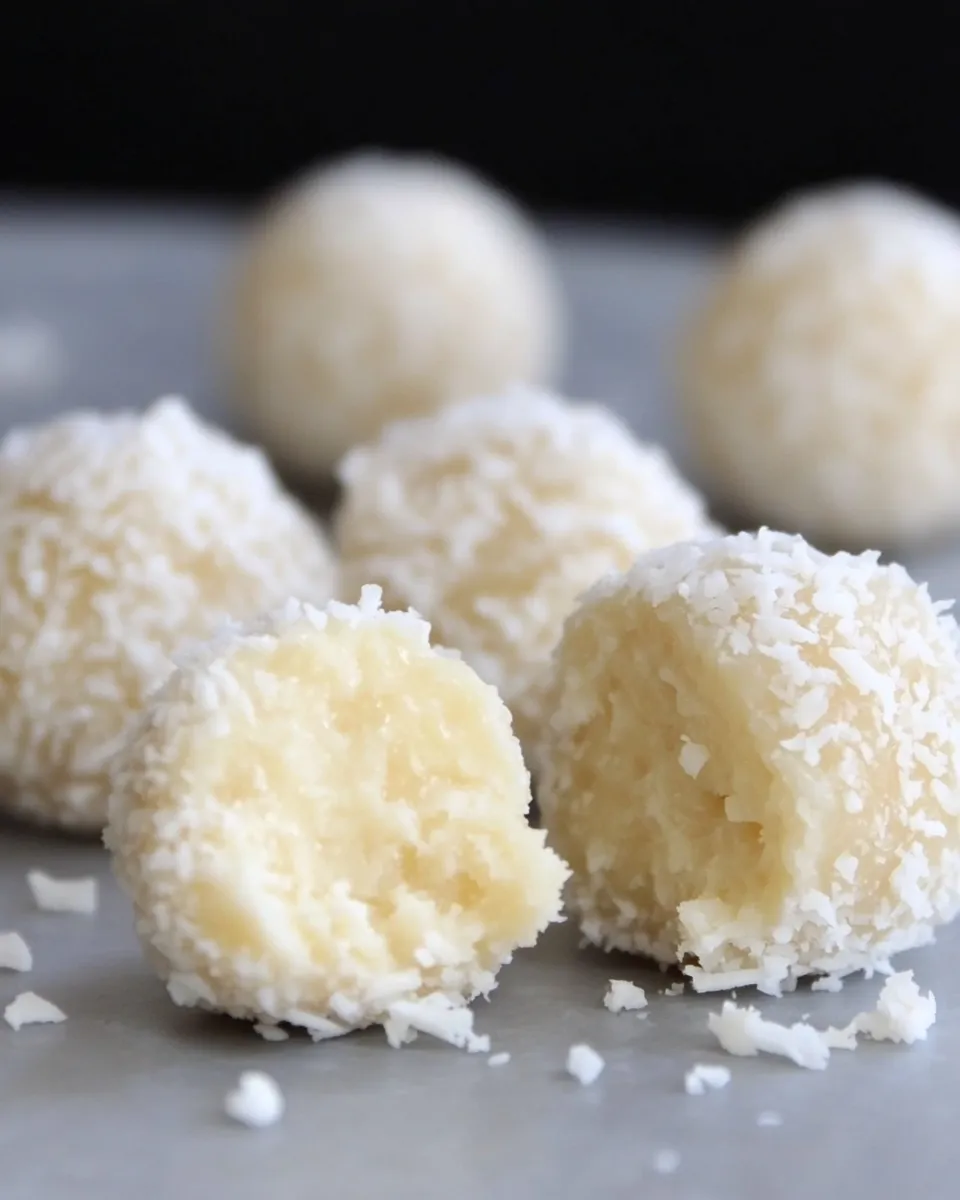
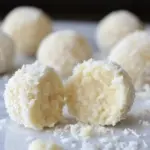
- 1½ cups coconut flakes — provides coconut flavor and texture; reserve a small portion to coat the outside.
- 1 cup roasted whole peeled hazelnuts — one hazelnut per truffle for a crunchy center; use fresh-roasted for best aroma.
Coconut Truffles: How It’s Done
- Prepare a bain-marie: bring a small pot of water to a low simmer and set a heatproof bowl over it so the bottom of the bowl doesn’t touch the water.
- Place the 6 oz white chocolate in the bowl and stir constantly over very low heat. Remove from the heat once the chocolate is almost fully melted; residual heat will finish it without overheating.
- Transfer the melted chocolate to a mixing bowl and immediately add ½ cup coconut milk cream, 1 teaspoon vanilla extract, ½ cup almond flour, and ½ cup of the 1½ cups coconut flakes. Stir until everything is homogenous.
- If the mixture seems too loose, gradually add more of the coconut flakes (from the remaining 1½ cups) a tablespoon at a time until it reaches a medium-set, scoopable consistency.
- Cover the bowl and place it in the freezer for 10 minutes to firm the mixture slightly; you want it pliable but not rock hard.
- Shape the truffles: divide the chilled mixture into even portions and flatten each portion in your palm. Press one roasted hazelnut into the center, then roll the chocolate mixture around it to form a smooth ball.
- Pour the remaining coconut flakes onto a plate. Roll each truffle in the flakes until evenly coated.
- Arrange the coated truffles on a tray and refrigerate until fully set, about 1 hour.
- Store the finished truffles in the fridge until ready to serve. Enjoy!
The Upside of Coconut Truffles
- Make-ahead friendly — they keep well in the fridge and can be chilled overnight.
- Simple ingredient list — easy pantry staples with no tempering required.
- Textural contrast — creamy interior with a crunchy hazelnut center and coconut coating.
- Elegant presentation — they look like boutique chocolates but take little effort.
International Equivalents
- Similar to European white chocolate truffles, but with coconut flavor like some Caribbean sweets that use coconut cream and flakes.
- In parts of Southeast Asia, coconut-based sweets often use coconut cream for richness; these truffles echo that texture in a bite-sized form.
- Consider them a cross between classic chocolate truffles and coconut confections such as coconut ladoo (texture adjusted with almond flour rather than condensed milk).
What’s in the Gear List
- Bain-marie setup — a small pot and a heatproof bowl to gently melt the chocolate.
- Mixing bowl and spatula — for combining the melted chocolate and other ingredients.
- Spoons or a small cookie scoop — to portion even truffle sizes.
- Baking tray or plate and parchment — to chill the truffles without sticking.
- Refrigerator and freezer — brief chilling in the freezer and final setting in the fridge.
Avoid These Traps
- Overheating chocolate — keep heat very low and remove when mostly melted to avoid grainy or burnt chocolate.
- Too-wet mixture — if you add too much coconut milk cream or don’t add enough coconut flakes, the mixture can be too loose; add flakes gradually to reach a medium-set texture.
- Skipping the chill — if you try to form balls while the mixture is warm, they’ll be sticky and soft; a short freeze helps significantly.
- Using stale coconut flakes — fresh flakes provide better texture and flavor; toasted flakes will shift the taste.
Adaptations for Special Diets
- Dairy-free: This recipe is already dairy-free if your white chocolate is dairy-free; check labels or use a vegan white chocolate alternative.
- Nut-free: Replace almond flour with sunflower seed flour and omit the hazelnut center, or use a safe seed like a roasted pumpkin seed for crunch if tolerated.
- Lower-sugar: Choose a lower-sugar white chocolate or a white chocolate alternative sweetened with an alternative sweetener, but flavor and texture will shift.
Behind the Recipe
I developed this version after testing several balances of white chocolate, coconut, and nut flour to get a truffle that’s rich but not cloying. The coconut milk cream adds a silky mouthfeel that contrasts nicely with almond flour’s subtle nuttiness. A brief freeze is the trick: it firms the mix just enough to roll without becoming hard, so the center remains creamy after chilling.
The hazelnut inside is optional but highly recommended. It gives a clean, crunchy surprise and cuts the sweetness. Roasting the hazelnuts yourself for 8–10 minutes until fragrant makes a notable difference.
Keep It Fresh: Storage Guide
- Refrigerator: Store truffles in an airtight container for up to 2 weeks. Keep layers separated with parchment to prevent sticking.
- Freezer: Freeze in a single layer on a tray until firm, then transfer to a sealed freezer-safe container for up to 2 months. Thaw in the fridge before serving.
- Room temperature: Not recommended for more than an hour; white chocolate and coconut cream soften quickly at warm temperatures.
Quick Questions
- Can I use shredded coconut instead of flakes? — Yes, but shredded coconut can be finer in texture; adjust quantity to maintain a medium-set mixture.
- Do I have to use hazelnuts? — No. You can omit them or substitute toasted almonds or a whole raisin for a different texture.
- Why did my truffles get grainy? — Likely overheated white chocolate; melt slowly and remove from heat while still slightly unmelted to finish off-residual heat.
Make It Tonight
Timing: 15 minutes active + chilling. Serve: chilled, with coffee or tea.
Set out all ingredients and equipment before you start. Melt the chocolate gently, fold in the coconut milk cream, vanilla, almond flour, and ½ cup coconut flakes. Adjust texture with the remaining coconut flakes, chill 10 minutes, then form around a roasted hazelnut. Roll in coconut, chill 1 hour, and enjoy. These truffles feel fancy but require very little time—perfect for a last-minute homemade gift or a simple dessert.
Coconut Truffles
Ingredients
- 6 oz white chocolate
- 1/2 cup coconut milk cream
- 1 teaspoon vanilla extract
- 1/2 cup almond flour
- 1 1/2 cups coconut flakes
- 1 cup roasted whole peeled hazelnuts
Instructions
- Set up a bain-marie (or a heatproof bowl over a saucepan of barely simmering water). Place the white chocolate in the bowl and melt gently over low heat, stirring continuously until almost fully melted.
- Remove the bowl from the heat and transfer the melted chocolate to a mixing bowl; add 1/2 cup coconut flakes, the coconut milk cream, vanilla extract and almond flour.
- Stir the mixture until well combined; if it seems too runny, fold in a little more coconut flakes until you have a medium-set, scoopable mixture.
- Place the bowl in the freezer for 10 minutes to firm up slightly.
- Divide the chilled mixture into small portions. Press one roasted hazelnut into the center of each portion and roll into a smooth ball.
- Spread the remaining coconut flakes on a plate and roll each truffle in the coconut to coat evenly.
- Refrigerate the truffles until fully set, about 1 hour, then serve.
Equipment
- bain-marie or heatproof bowl and saucepan
- Mixing Bowl
- spoon or spatula
- freezer-safe tray or plate
- Measuring cups and spoons
- Refrigerator
Notes
- Use full-fat coconut cream for best texture.
- If mixture is too soft, chill longer before rolling.
- Roll truffles gently to avoid cracking the hazelnut center.
- Keep truffles refrigerated until serving.