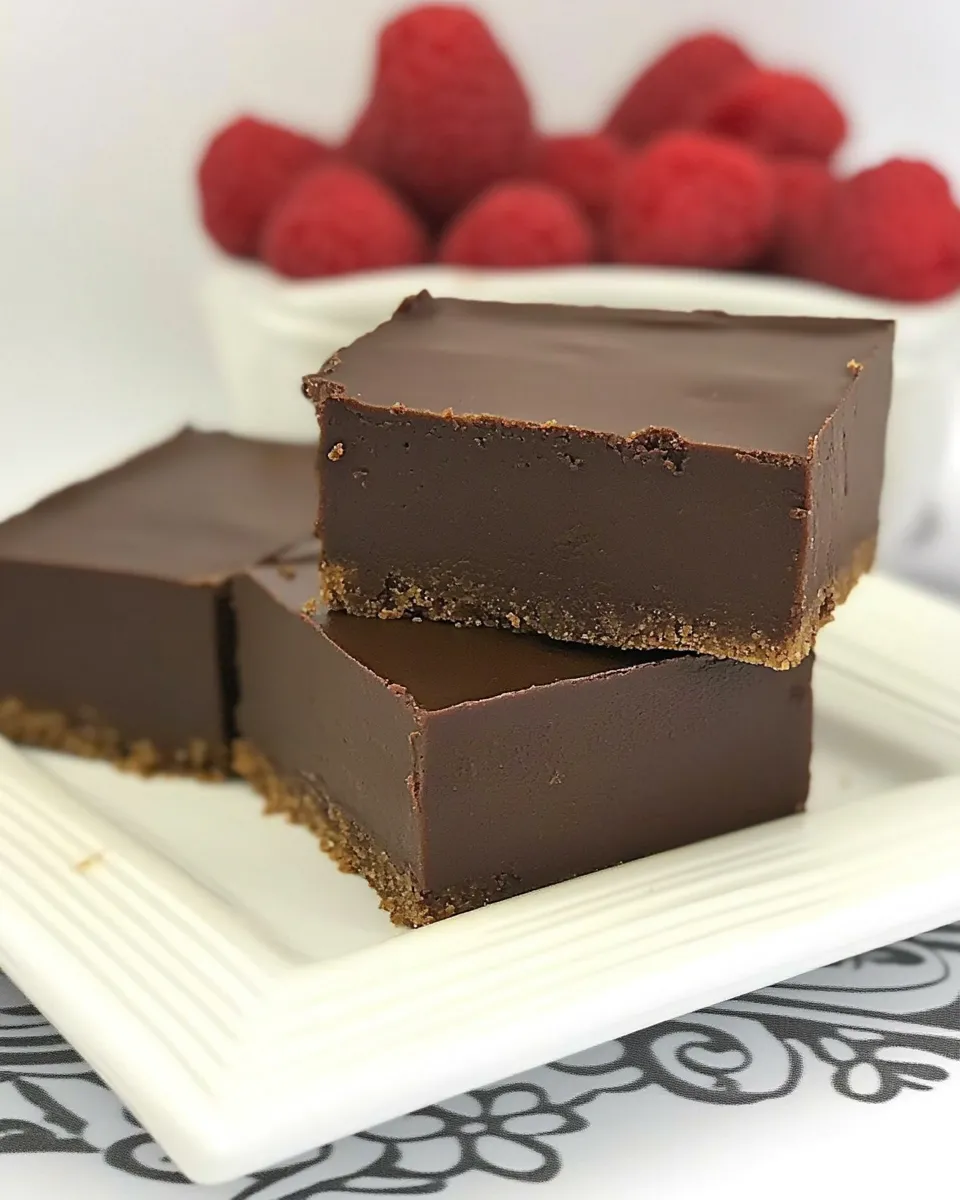
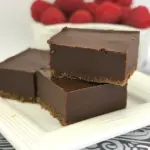
Chocolate Truffle Brownies
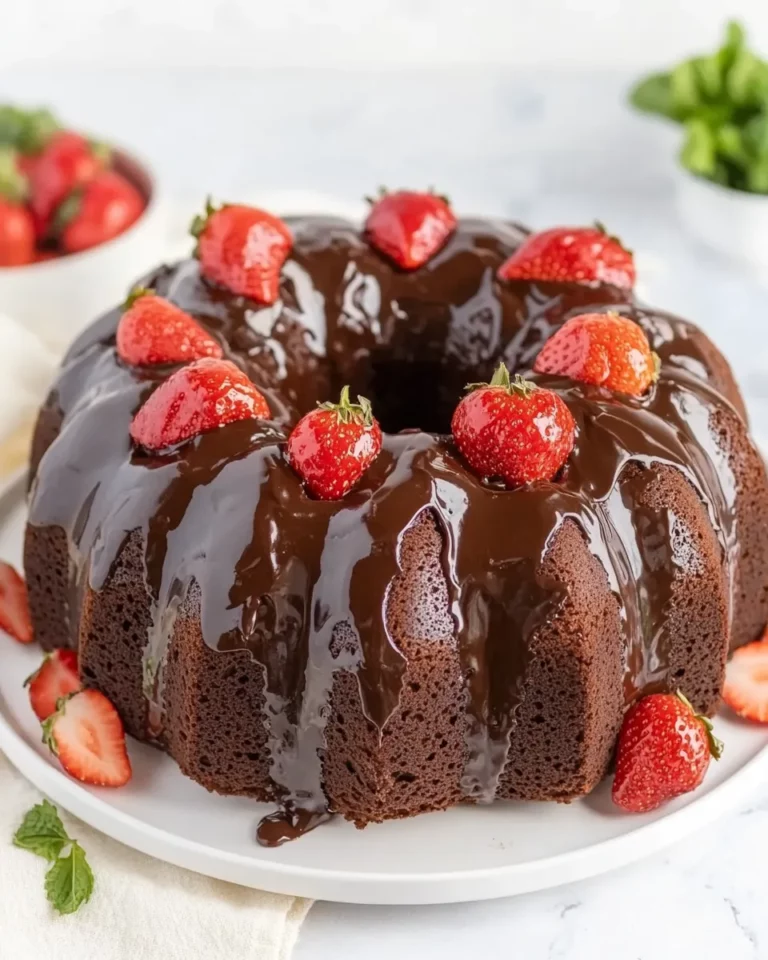
These Chocolate Truffle Brownies are the kind of thing I make when I want serious chocolate without fuss. They have a tender crust, a dense truffle-like middle, and a glossy chocolate glaze that sets firm when chilled. The method is straightforward and mostly hands-on; you won’t need any fancy ingredients or complicated techniques.
The recipe yields bars that are rich and a little bit decadent—perfect for an after-dinner treat, packed lunches, or a potluck where you want to impress without sweating it. The fridge step is important: chilling after baking helps the bars cut cleanly and lets the glaze set up into a neat, shiny finish.
Below you’ll find a shopping checklist, clear step-by-step instructions, troubleshooting tips, and storage guidance. Read through once, get your mise en place ready, and you’ll have Chocolate Truffle Brownies on the table in under an hour of active time.
What to Buy
- ⅔ cup brown sugar — gives moisture and molasses depth; use packed brown sugar for consistent results.
- ⅔ cup butter, at room temperature — provides richness and structure; soften to room temp (not melted) so it creams smoothly with sugar.
- 1 ⅓ cup flour — all-purpose flour is implied; measures spooned into the cup then leveled for accuracy.
Chocolate Truffle Brownies: From Prep to Plate
- Preheat your oven to 350ºF (175ºC). Grease a 9 x 13-inch pan thoroughly and set it aside.
- In a mixing bowl, cream ⅔ cup brown sugar and ⅔ cup room-temperature butter together until the mixture is light and fluffy. This takes about 2–3 minutes with a hand mixer or 4–5 minutes by hand. Proper creaming incorporates air and helps create the thin crust.
- Slowly add 1 ⅓ cup flour to the creamed mixture and mix until just blended. Don’t overwork the batter—stop as soon as the flour disappears. Press this mixture evenly into the bottom of the prepared 9 x 13-inch pan to form the crust. Set the pan aside while you make the truffle layer.
- Gently melt chocolate and ⅔ cup butter together. The source directions mention espresso as optional—don’t add anything that’s not listed in the ingredient list. Microwave in short bursts (15–20 seconds), stirring between bursts, until melted and smooth. If the mixture is hot, let it cool slightly before proceeding.
- After the chocolate-butter mixture has cooled a bit, stir in sugar and vanilla according to the source directions—note: the ingredient list contains only the three items, so use the same amounts already listed and rely on the batter’s richness. Mix in eggs, one at a time, stirring until each is fully incorporated.
- Stir in flour and a pinch of salt until just combined—follow the ingredient list amounts (1 ⅓ cup flour total). Pour or spread this chocolate batter evenly over the prepared crust.
- Bake the pan on the middle rack of the preheated oven for about 25–27 minutes. You want the top set but still slightly soft in the center; a toothpick inserted near the center should come out with a few moist crumbs, not wet batter.
- Immediately after removing the pan from the oven, place it in the refrigerator to cool. Chilling right away helps the bars firm up and prevents the glaze from melting when applied.
- Make the glaze by gently heating chocolate, cream, and butter together until the chocolate and butter have just melted. Use short microwave bursts and stir frequently until completely smooth. Allow the glaze to cool about 10 minutes so it thickens slightly but remains pourable.
- Spread the cooled glaze evenly over the chilled brownies. Return the pan to the refrigerator to let the glaze set and the bars chill completely.
- When fully chilled and the glaze is firm, lift the slabs from the pan (use parchment overhang if you lined the pan) or cut directly in the pan into bars. Serve cold or at cool room temperature for clean slices and a true truffle texture.
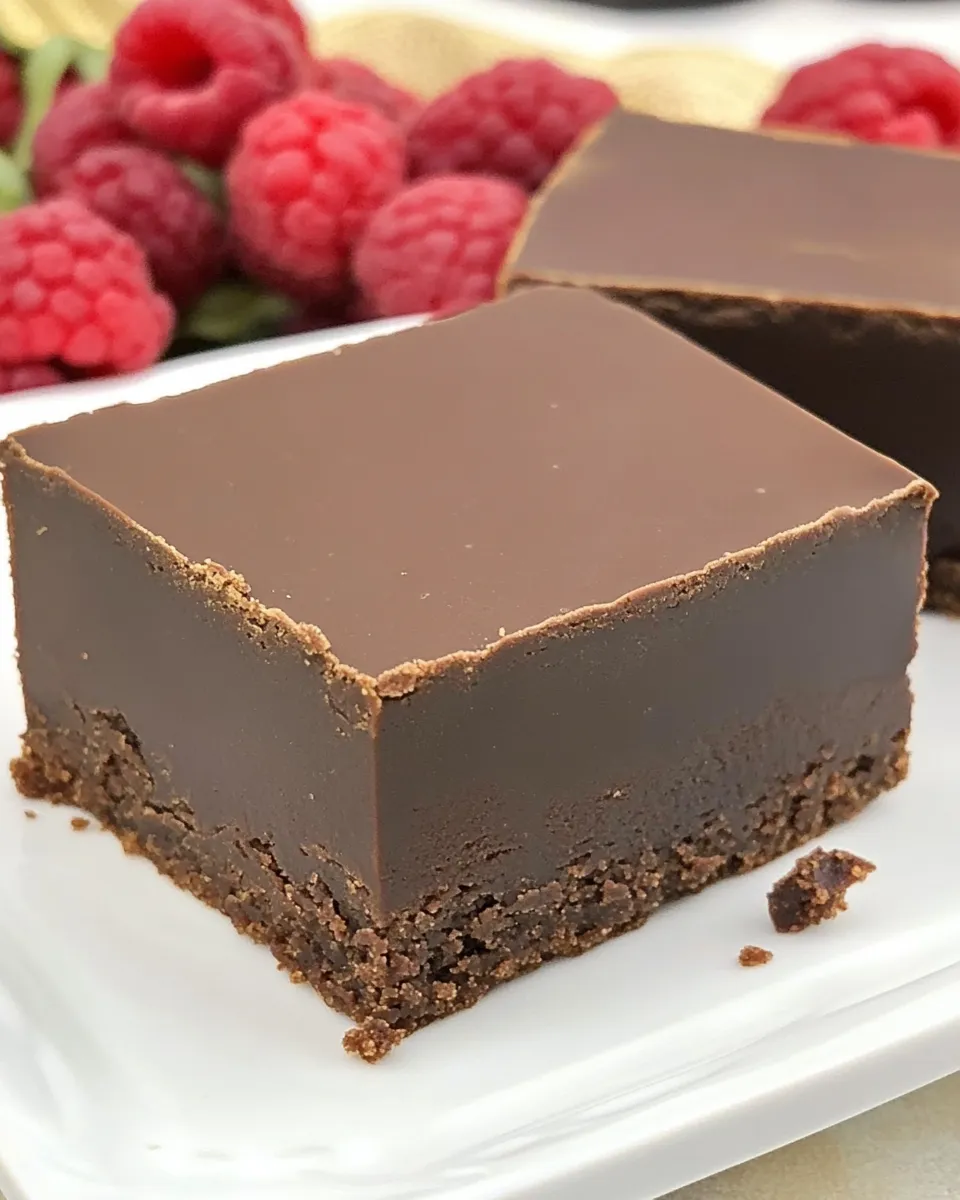
Why Cooks Rave About It
These bars balance a crisp, caramelized crust with a dense, chocolatey interior that tastes almost like a ganache. The simple ingredient list keeps the focus on texture and technique rather than exotic components. People love them because they’re reliably rich without being cakey, and the chilled glaze gives a polished finish that looks fancier than the effort required.
No-Store Runs Needed
If you already have butter, flour, and brown sugar in your pantry, you’re good to go. The recipe intentionally uses basic staples so you can pull it together at a moment’s notice. The only other common items you might typically have are chocolate and cream for the glaze; if you’re missing those, a quick substitute (melted chocolate only) will work, but expect a slightly different finish.
Equipment at a Glance
- 9 x 13-inch baking pan — for correct thickness and bake time.
- Mixing bowls — one for creaming, one for the chocolate-butter melt.
- Hand mixer or sturdy spoon — hand mixer speeds creaming; wooden spoon works fine.
- Spatula — for pressing crust and smoothing the batter and glaze.
- Microwave-safe bowl or double boiler — to melt chocolate and butter safely.
- Refrigerator — required to chill brownies and set the glaze.
Avoid These Traps
- Overmixing the crust or batter — stops when flour is incorporated; overmixing creates a tougher texture.
- Melting chocolate at too-high temperature — heat gently and stir to prevent seizing.
- Skipping the chill step — glazing warm brownies will make the glaze sink in and lose shine; chill immediately after baking.
- Relying on visual cues alone for doneness — use the 25–27 minute window and check for a slightly soft center with moist crumbs on a toothpick.
Holiday & Seasonal Touches
Additions can be small but effective: sprinkle flaky sea salt over the glaze for a salted-chocolate contrast, or press toasted nuts into the glaze before it fully sets for crunch. For holidays, top with a dusting of powdered sugar, edible gold flakes, or a few crushed peppermint candies. Keep the basic method the same—these are finishing touches, not recipe replacements.
Insider Tips
- Let chocolate mixture cool slightly before adding eggs—too hot and eggs will scramble; too cool and the batter can be stiff. Aim for warm, not hot.
- Line the pan with parchment, leaving an overhang on two sides. It makes removal and clean slicing much easier after chilling.
- Chill the pan immediately after baking. The thermal shock helps the bars firm up quickly and locks in structure for cleaner cuts.
- When cutting, use a sharp knife warmed under hot water and wiped dry between cuts for glossy, clean slices.
Shelf Life & Storage
Store chilled brownies in an airtight container in the refrigerator for up to 5 days. For longer storage, freeze tightly wrapped bars for up to 2 months; thaw in the refrigerator overnight before serving. If you prefer softer texture, let chilled brownies sit at room temperature 15–20 minutes before eating.
FAQ
- Can I skip refrigeration? The chilling step is important for texture and for the glaze to set. Skipping it will make cutting messy and the glaze less stable.
- My glaze is too runny—what went wrong? Let it cool longer before spreading; chilling the brownies first helps prevent the glaze from pooling. If glaze is still too thin, return it to gentle heat to thicken a bit, then cool before using.
- Can I use white or milk chocolate? Yes, but the sweetness and setting behavior differ. Adjust expectations: milk and white chocolate glazes will be sweeter and sometimes softer when chilled.
- Why did my crust become hard? Overworking the flour or pressing too firmly can produce a dense, hard crust. Press evenly and stop as soon as the crust holds together.
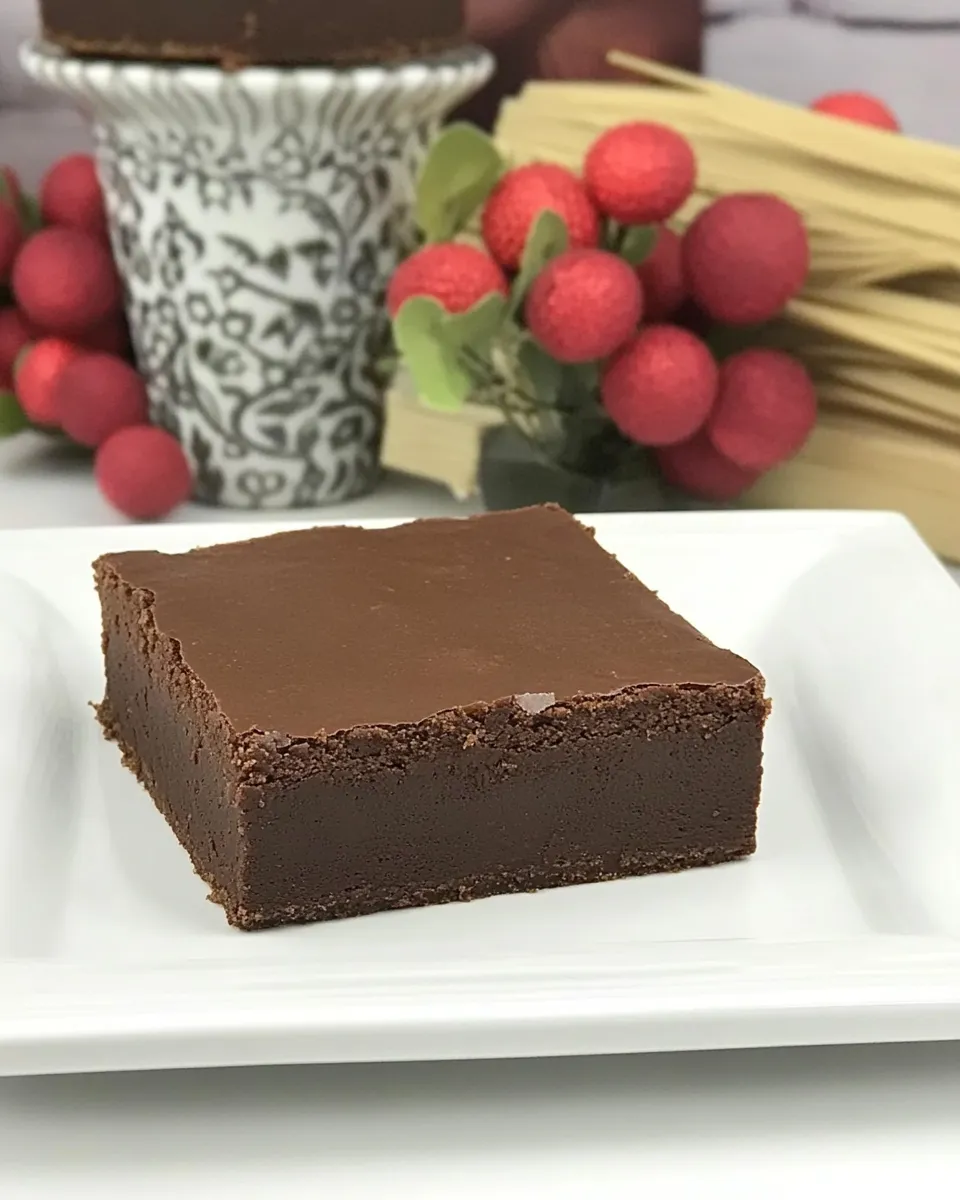
Wrap-Up
Chocolate Truffle Brownies are a practical, crowd-pleasing dessert that relies on simple ingredients and a few purposeful steps. Follow the prep and chilling sequences and you’ll end up with tidy, indulgent bars that taste far fancier than the effort you put in. Keep the pantry basics stocked and this will become one of your go-to impressive-but-easy treats.
Chocolate Truffle Brownies
Ingredients
- 2/3 cup brown sugar
- 2/3 cup butter at room temperature
- 1 1/3 cup all-purpose flour
- semisweet or dark chocolate for truffle layer and glaze (amount not specified in source)
- espresso (optional) optional, if using add when melting chocolate
- granulated sugar amount not specified in source; added to truffle layer
- vanilla extract amount not specified in source
- eggs added one at a time; quantity not specified in source
- salt amount not specified in source
- heavy cream for glaze; amount not specified in source
Instructions
- Preheat the oven to 350°F (175°C) and grease a 9 x 13-inch baking pan.
- In a mixing bowl, cream together the brown sugar and room-temperature butter until light and fluffy.
- Gradually add the flour to the creamed mixture and mix until just blended. Press the dough evenly into the bottom of the prepared pan to form the crust.
- Gently melt the chocolate and additional butter in a microwave-safe bowl in short bursts, stirring between intervals until smooth; stir in espresso if using.
- Allow the melted chocolate mixture to cool slightly, then stir in the granulated sugar and vanilla extract.
- Add the eggs one at a time, mixing until each is incorporated, then stir in the flour (if additional is called for) and a pinch of salt until just combined.
- Pour the chocolate filling over the prepared crust and spread into an even layer.
- Bake on the middle rack for about 25–27 minutes or until set; remove from the oven and immediately place the pan in the refrigerator to chill.
- To make the glaze, gently heat chocolate, cream, and butter together (microwave in short bursts or use a double boiler) until the chocolate and butter are melted, then stir until smooth.
- Cool the glaze for about 10 minutes, then spread it evenly over the chilled brownies and return the pan to the refrigerator to set.
- When the brownies are fully chilled and the glaze is set, cut into bars and serve.
Equipment
- 9 x 13-inch baking pan
- Mixing bowls
- electric mixer or whisk
- Measuring cups and spoons
- Microwave-safe bowl or double boiler
- Spatula
- Refrigerator
Notes
- Chill brownies immediately after baking to help the truffle layer set.
- Use room-temperature butter for easier creaming.
- Melt chocolate gently to avoid burning.
- Add espresso only if you want a deeper chocolate flavor.