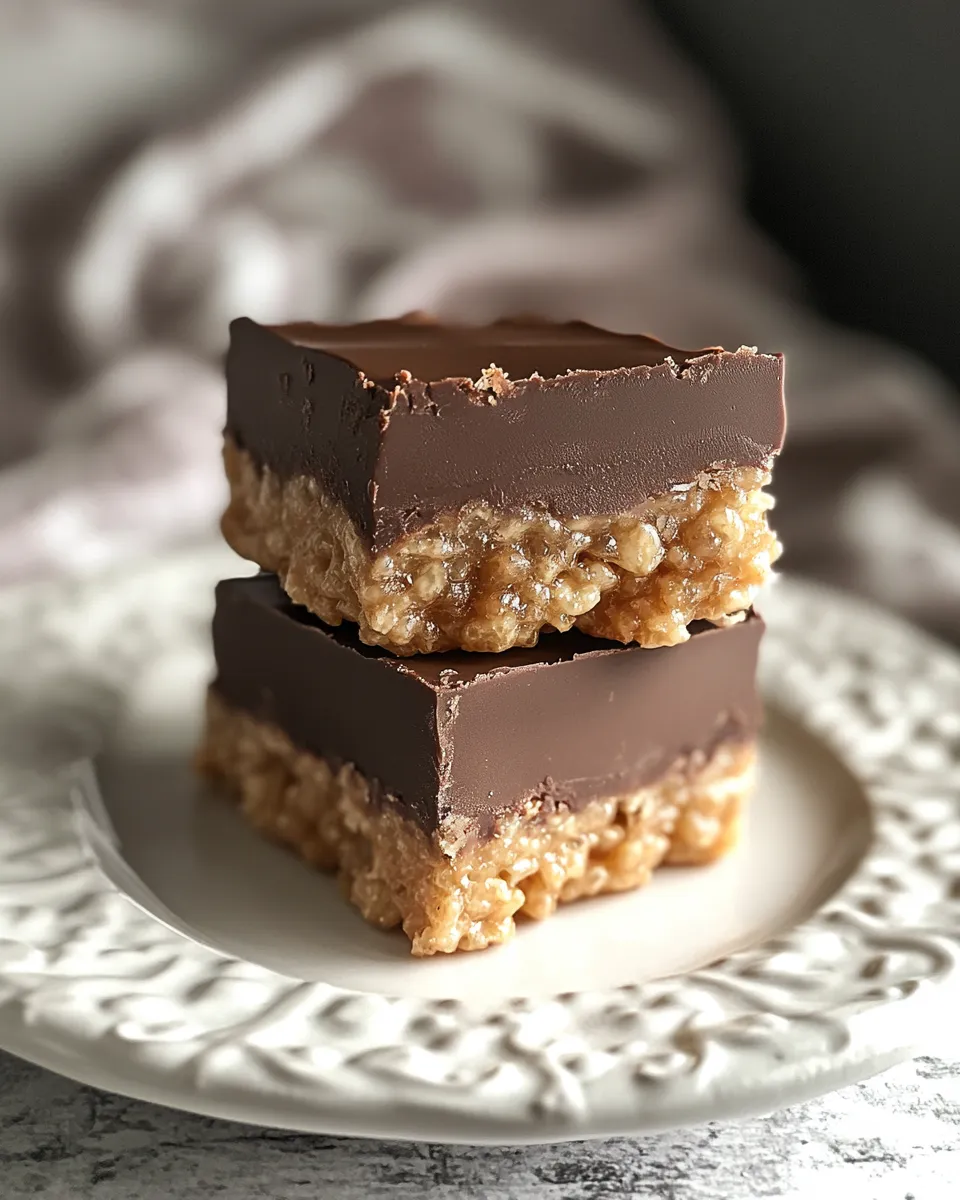
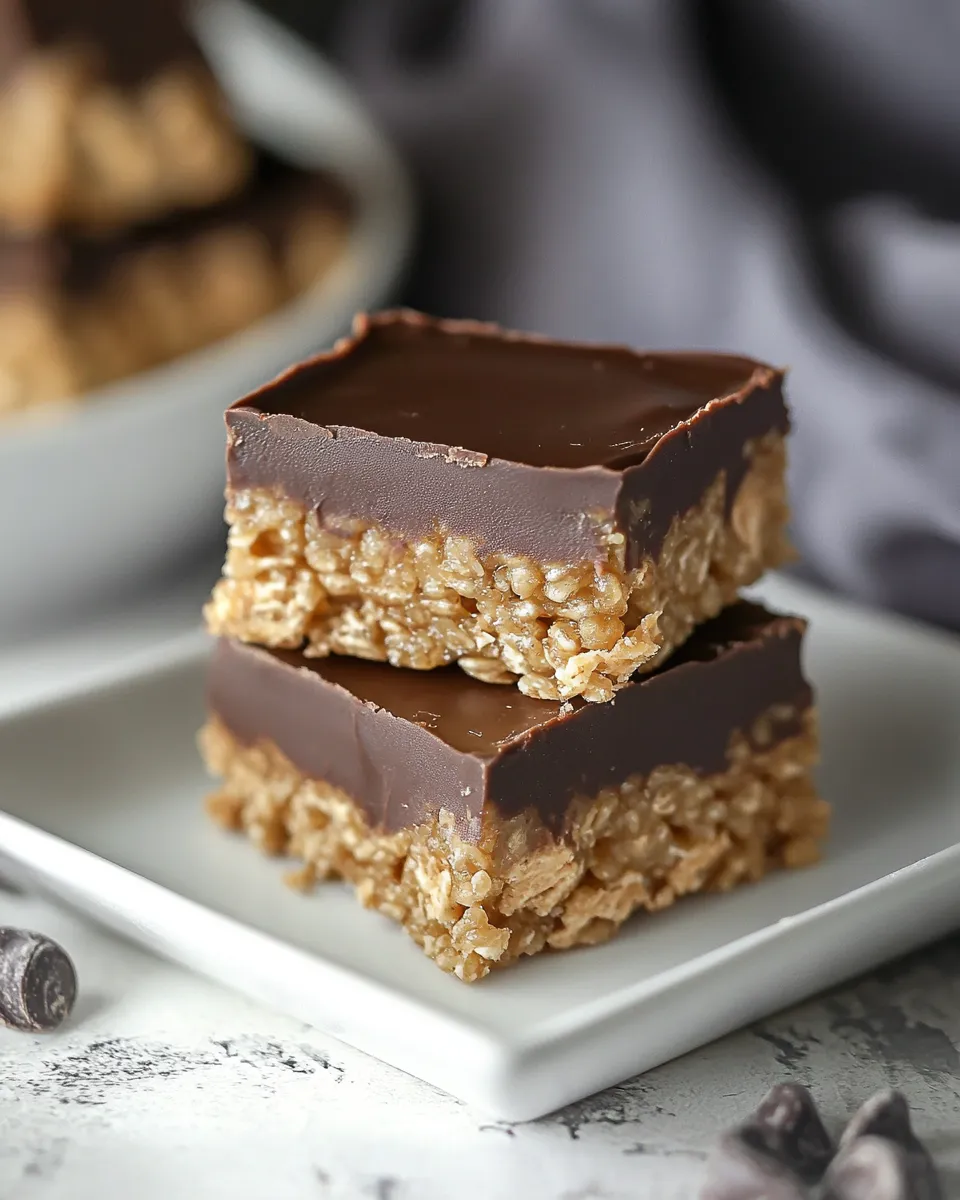
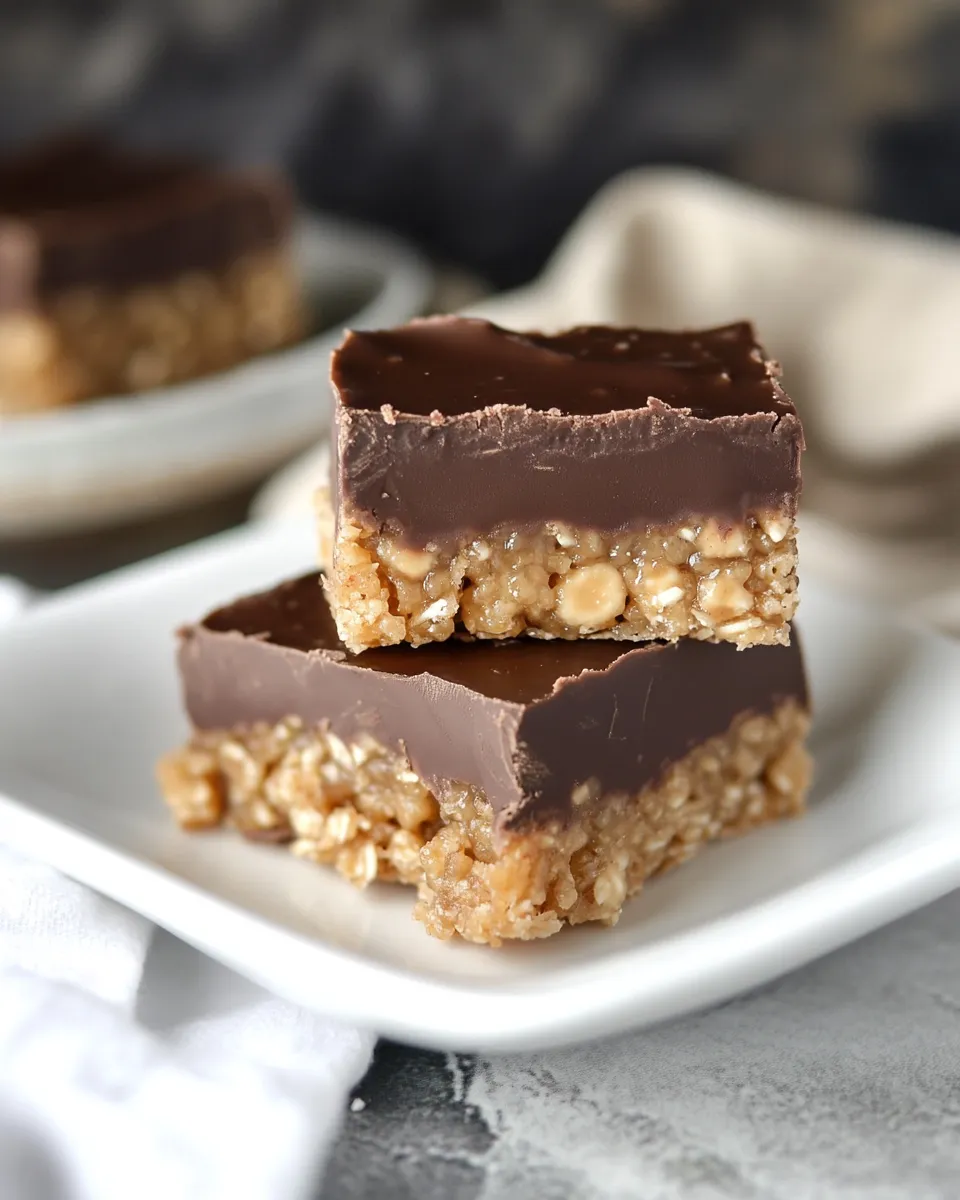
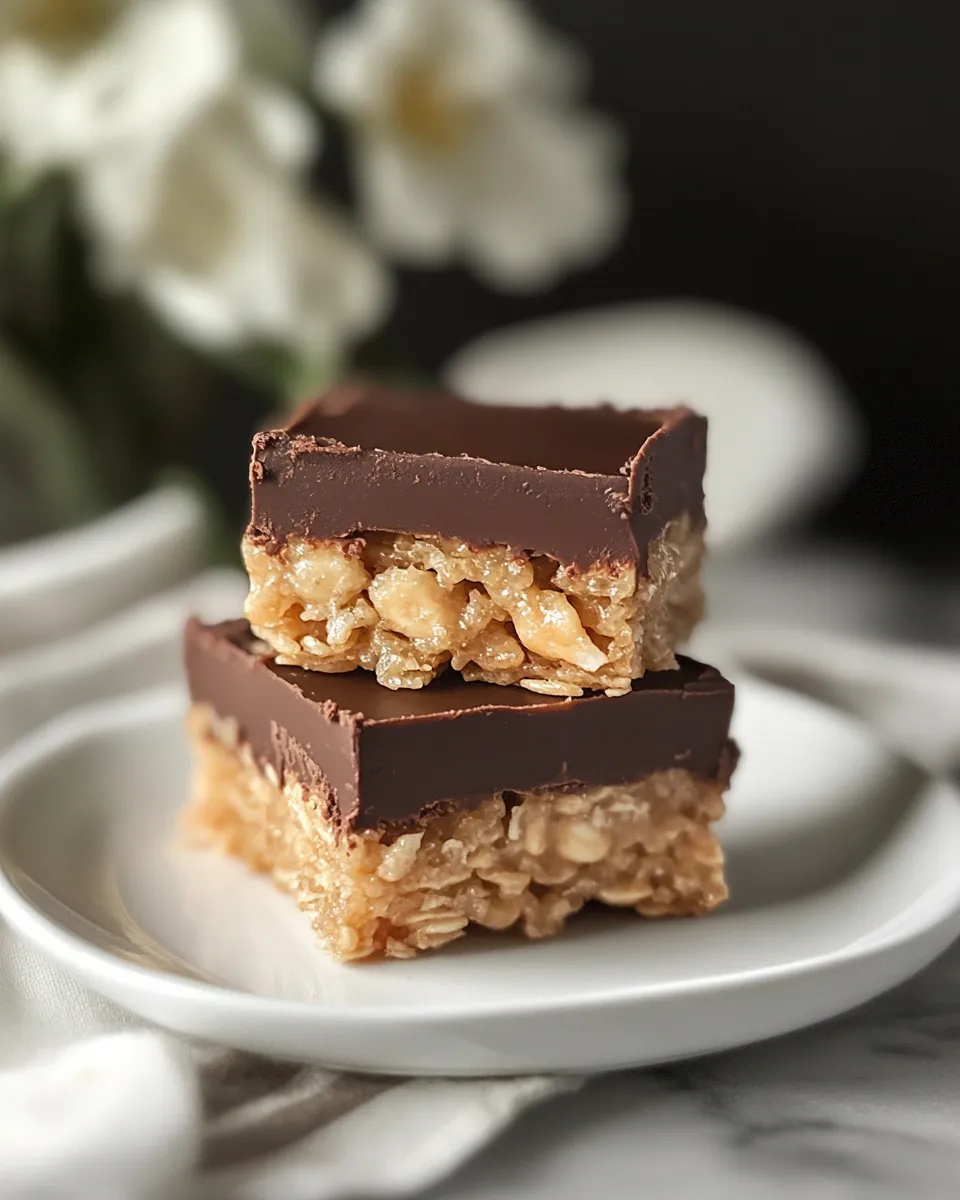
Chocolate Peanut Butter Krispie Bars
These Chocolate Peanut Butter Krispie Bars are the kind of no-fuss treat that always disappears fast. Crisp Rice Krispies form a sturdy, lightly sweet base that’s bound together with a glossy sugar syrup, then layered with a melty peanut butter–chocolate filling and finished with a shiny dark chocolate icing. The result is chewy, crunchy, nutty, and perfectly chocolatey.
I keep this recipe in the rotation for parties, lunchbox treats, or an afternoon pick-me-up. It uses familiar pantry ingredients, a single baking pan, and straightforward technique—you don’t need any special equipment beyond a candy thermometer and a couple of microwave-safe bowls.
Below you’ll find a clear ingredient rundown, step-by-step directions that match the ingredient list exactly, troubleshooting tips, and handy adaptations. Read once, and you’ll know exactly what to do the next time a chocolate-and-peanut-butter craving hits.
Ingredient Rundown
- 1 ¾ cups Rice Krispies cereal — the crunchy, airy base; measure gently so the bars stay crisp but light.
- ¼ cup water — used to dissolve the sugar for the syrup; room temperature is fine.
- ¼ cup sugar — creates the structure in the crust when cooked to the soft-ball stage.
- 3 tablespoons light corn syrup — prevents crystallization and keeps the syrup glossy and pliable.
- 3 tablespoons melted butter — added to the syrup and also used later for the icing; adds richness and helps set the crust.
Chocolate Peanut Butter Krispie Bars in Steps
Follow these steps exactly as listed. The ingredient amounts above are the source of truth; I only clarify technique and timing here.
- Prepare the pan. Line an 8 x 8-inch pan with non-stick foil or spray regular foil with cooking spray. Set the pan nearby so you can press the cereal mixture in while it’s still warm.
- Make the sugar syrup. Pour ¼ cup water into a small saucepan. Carefully add ¼ cup sugar and 3 tablespoons light corn syrup into the center of the water—try to avoid pouring them down the sides of the pan so that sugar crystals don’t form.
- Start stirring and heat. Stir the mixture gently with a wooden spoon or silicone spatula to combine, then put a candy thermometer in the saucepan. Cook the mixture over medium-high heat and bring it to a boil.
- Cook to soft-ball stage. Continue cooking until the sugar mixture reaches the soft-ball stage, 235ºF (113ºC) on your candy thermometer. Keep an eye on it; temperatures can climb quickly.
- Finish the syrup and combine with cereal. Remove the pan from the heat and stir in 3 tablespoons melted butter until fully incorporated. Immediately pour the hot syrup over 1 ¾ cups Rice Krispies cereal in a heatproof bowl.
- Mix and press the crust. Quickly stir the cereal and syrup together until every piece is thoroughly coated. Use a silicone spatula to press the mixture evenly into the lined 8 x 8-inch pan. Press firmly so the crust holds together, then let it cool to room temperature.
- Make the chocolate-peanut butter layer. In a large microwave-safe bowl, combine your peanut butter and chocolate (use the amounts you prefer—see notes below). Heat gently in short bursts (15–20 seconds), stirring between bursts, until melted and smooth. Stir until well combined.
- Assemble the middle layer. Pour the peanut butter–chocolate mixture evenly over the cooled Krispies crust. Smooth the top with a spatula as needed. Chill the pan for one hour so this layer firms up before the final icing.
- Make the dark chocolate icing. In another microwave-safe bowl, combine your dark chocolate, 3 tablespoons light corn syrup, and 3 tablespoons melted butter. Heat gently in short bursts, stirring often, until everything is melted and the mixture is smooth.
- Finish the bars. Pour the warm icing over the chilled peanut butter layer and spread it evenly. Chill for an hour or until the top layer hardens.
- Portion and store. Lift the foil from the pan, set on a cutting board, and cut into nine squares. Store the bars in the refrigerator to keep the layers firm.
Why This Recipe Belongs in Your Rotation
This recipe hits several useful notes: it’s fast, uses pantry staples, and scales up or down easily. The candy-stage syrup gives the base a sturdy chew that survives handling and transport better than marshmallow-bound Krispie treats. The layered approach is forgiving—chill between layers and you’ll get clean slices.
It’s also crowd-pleasing. Peanut butter and chocolate are a proven duo, and the crispy cereal keeps the richness from feeling heavy. Make a batch for potlucks, bake sales, or to keep on hand when you need dessert without fuss.
No-Store Runs Needed
Most of the ingredients are pantry regulars: cereal, sugar, corn syrup, butter. If you don’t have commercial corn syrup, the texture and gloss will be slightly different, but the crust will still hold together if you’re careful with cooking and pressing. Peanut butter and chocolate are usually on-hand items, too—choose the type you prefer for the middle layer.
Equipment at a Glance
- 8 x 8-inch baking pan lined with non-stick foil or foil sprayed with cooking spray.
- Small saucepan for the syrup.
- Candy thermometer to reach the 235ºF soft-ball stage reliably.
- Large microwave-safe bowl for the peanut butter–chocolate layer.
- Another microwave-safe bowl for the dark chocolate icing.
- Silicone spatula or wooden spoon for stirring and pressing.
Watch Outs & How to Fix
Crust too soft or crumbly
Cause: Syrup didn’t reach the soft-ball stage or you didn’t press firmly.
Fix: Reheat the syrup carefully to bring it to 235ºF, toss with the cereal quickly, and press firmly into the pan while still warm. If it’s already set, you can press any loose crumbs back into the pan and chill to help them adhere.
Grainy or crystallized syrup
Cause: Sugar crystals on the pan sides or stirring aggressively at the wrong time.
Fix: Next time, avoid scraping the sides of the pan and add corn syrup (which reduces crystallization). If crystallization happens mid-cook, you can add a splash of water and gently heat to dissolve crystals, but this is delicate—prevention is easier.
Middle layer separates or is runny
Cause: Not chilled enough before adding the icing.
Fix: Chill the peanut butter–chocolate layer longer until firm to the touch before pouring the icing. If the icing has already sunk or mixed in, refrigerate to set and serve smaller pieces.
Adaptations for Special Diets
- Nut-free: Replace peanut butter with a seed butter (sunflower seed butter) and ensure all ingredients are processed in a nut-free facility.
- Dairy-free: Use dairy-free margarine or coconut oil in place of the melted butter and choose dairy-free chocolate.
- Lower-sugar: This recipe relies on sugar for structure in the crust, so reductions will change texture. For a slightly lower-sugar option, use a natural peanut butter with no added sugar and a dark chocolate with higher cocoa percentage; avoid altering the syrup amounts if you want the crust to set properly.
Author’s Commentary
I like to press the crust with a dry piece of parchment paper or the bottom of a measuring cup to get a smooth, even base without sticking. When I make these for a crowd, I double the recipe in a 9 x 13-inch pan and bake times/timings for chilling stay the same, though you’ll need a bit more patience when pressing the larger surface.
Also: if you prefer a chunkier texture, fold in a handful of chopped peanuts into the middle layer for crunch. Personally, I keep them classic and smooth so the layers slice cleanly.
Save It for Later
These bars keep well in the refrigerator for up to a week in an airtight container. For longer storage, wrap individual squares tightly and freeze up to 3 months. Thaw in the fridge before serving to keep the layers intact.
Common Qs About Chocolate Peanut Butter Krispie Bars
- Can I skip the candy thermometer? — It’s possible if you’ve made candy before, but the thermometer makes the soft-ball stage reliable. Without it, you risk under- or overcooking the syrup.
- Can I use crunchy peanut butter? — Yes. Crunchy will add texture to the middle layer. Measure the same amount and melt gently as instructed.
- Why chill between layers? — Chilling firms each layer so the next layer doesn’t sink in, resulting in cleaner slices and better presentation.
- Can I double the recipe? — Yes. Use a larger pan (9 x 13-inch) and follow the same steps; chilling might take a bit longer for thicker layers.
Before You Go
These Chocolate Peanut Butter Krispie Bars are straightforward, fast, and reliably delicious. Keep the candy thermometer handy, chill between layers, and press the crust firmly—those three small habits make a big difference. If you make a batch, take a picture and stash one in the fridge for a rainy afternoon: it’s everything you want in a quick sweet treat.

Chocolate Peanut Butter Krispie Bars
Ingredients
- 1 3/4 cups Rice Krispies cereal
- 1/4 cup water
- 1/4 cup sugar
- 3 tablespoons light corn syrup
- 3 tablespoons butter, melted
- 1/2 cup peanut butter estimate based on typical layer (use smooth peanut butter)
- 1/2 cup chocolate, chopped or chips for peanut butter layer
- 1/2 cup dark chocolate, chopped or chips for icing
- 1 tablespoon corn syrup for icing
- 1 tablespoon butter for icing
Instructions
- Line an 8 x 8-inch pan with nonstick foil or spray foil with cooking spray; set aside.
- In a small saucepan, combine the water, sugar, and 3 tablespoons light corn syrup, stirring gently to bring the sugar into the liquid without letting it stick to the pan sides.
- Clip in a candy thermometer and heat over medium-high until the syrup reaches the soft-ball stage (about 235°F / 118°C), stirring occasionally to dissolve sugar.
- Remove from heat, stir in the 3 tablespoons melted butter, then immediately pour the hot syrup over the Rice Krispies and stir quickly until the cereal is evenly coated.
- Press the coated cereal firmly and evenly into the prepared pan using a silicone spatula; let the crust cool to room temperature.
- For the peanut butter–chocolate layer, place the peanut butter and 1/2 cup chocolate in a large microwave-safe bowl and heat in short bursts, stirring until melted and smooth.
- Spread the peanut butter–chocolate mixture evenly over the cooled cereal crust and chill for about 1 hour to set.
- For the dark chocolate icing, heat 1/2 cup dark chocolate, 1 tablespoon corn syrup, and 1 tablespoon butter in a microwave-safe bowl in short bursts, stirring until smooth.
- Pour the melted dark chocolate icing over the peanut butter layer and spread evenly, then chill until the top is firm, about 1 hour.
- Remove the bars from the pan using the foil, cut into 9 squares, and store in the refrigerator.
Equipment
- 8 x 8-inch baking pan
- non-stick foil or foil + cooking spray
- Small Saucepan
- candy thermometer
- wooden spoon or silicone spatula
- Microwave-safe Bowl
- rubber/silicone spatula
Notes
- Press the cereal mixture firmly to ensure bars hold together.
- Use smooth peanut butter for an even layer.
- Heat chocolate in short bursts to avoid burning.
- Chill until layers are set before cutting.