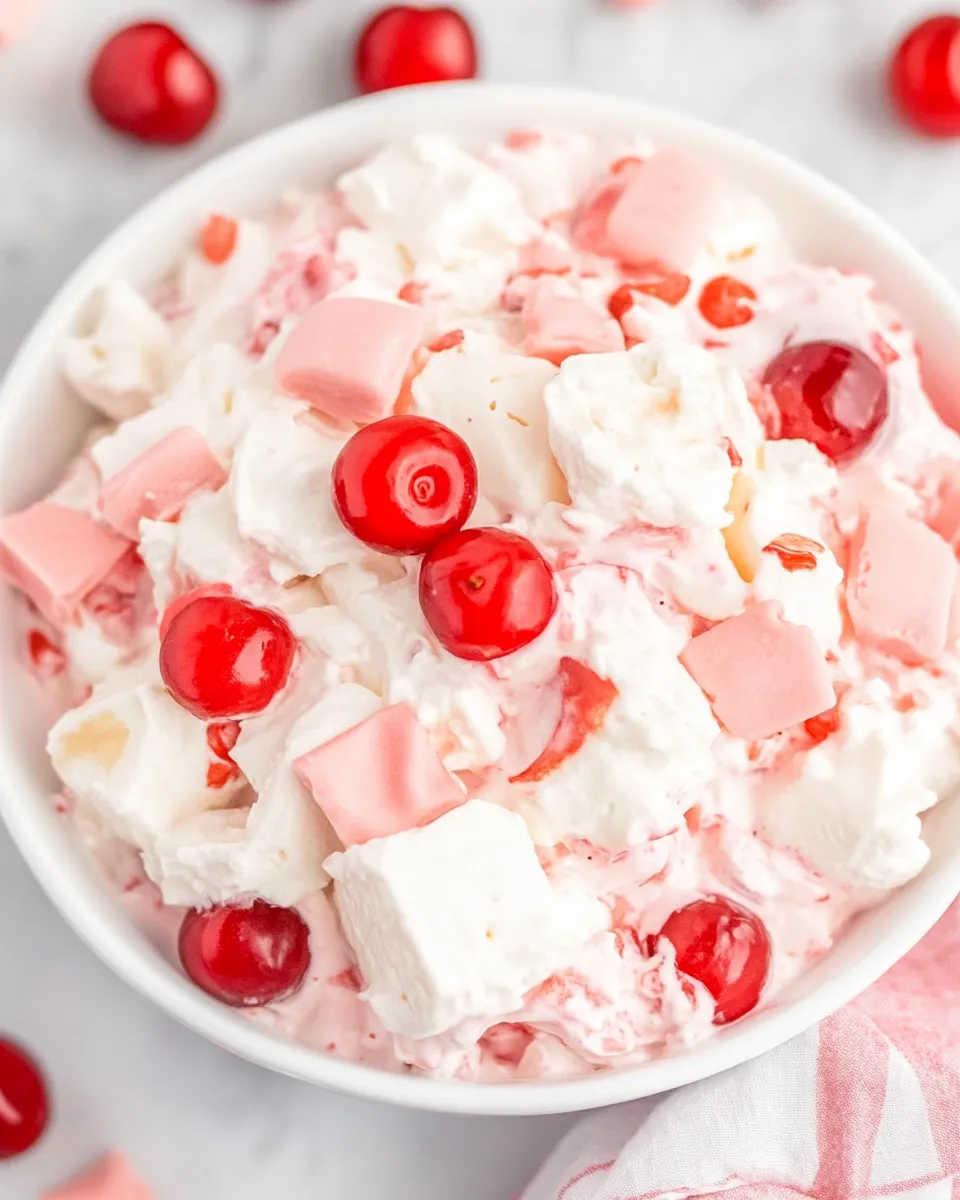
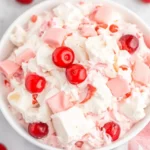
Cherry Cheesecake Salad
If you’re craving a deliciously sweet and creamy treat that brings out the flavors of your favorite dessert without the fuss of baking, then Cherry Cheesecake Salad is the perfect recipe for you! This delightful dish combines the richness of cream cheese with the lightness of Cool Whip, and it’s all studded with fluffy mini marshmallows and topped with luscious cherry pie filling. Perfect for summer barbecues, potlucks, or even just a fun dessert at home, this salad is not only easy to make but irresistible to eat. Let’s dive right into how you can whip up this delightful dessert that will have everyone asking for seconds!
Why This Recipe Is a Must-Try

Cherry Cheesecake Salad is a showstopper when it comes to easy desserts. With its light and fluffy texture and sweet cherry topping, it captures the essence of a classic cheesecake in a fun and unique way. It’s a hit with both children and adults alike, making it a versatile option for gatherings. Plus, it requires no baking, so you can whip it up in no time! The combination of flavors and textures makes each bite a heavenly experience that’s sure to please your taste buds.
Ingredients
- 8 ounces cream cheese, at room temperature
- 8 ounces Cool Whip, thawed (1 tub)
- 4 cups mini marshmallows
- 42 ounces cherry pie filling (2 cans)
How To Make Cherry Cheesecake Salad
Step 1: Prepare the Cream Cheese Mixture
Start by taking your cream cheese out of the refrigerator and allowing it to come to room temperature. This will help it blend smoothly with the other ingredients. In a large mixing bowl, beat the cream cheese with an electric mixer until it becomes creamy and smooth.
Step 2: Fold in the Cool Whip
Once your cream cheese is nice and smooth, add the thawed Cool Whip to the bowl. Gently fold the Cool Whip into the cream cheese using a spatula. This mixture should be light and fluffy, so take your time and ensure it’s well combined without deflating the Cool Whip.
Step 3: Add the Mini Marshmallows
Next, gently fold in the mini marshmallows. They add a wonderful chewy texture that complements the creaminess of the mixture. Make sure to distribute them evenly throughout the cream cheese and Cool Whip mixture.
Step 4: Incorporate the Cherry Pie Filling
Now it’s time to add the star of the show! Pour in the cherry pie filling. Again, carefully fold the cherry filling into the mixture, ensuring that it’s well combined. Be cautious not to overmix, as you want those beautiful red cherries to remain intact and visible.
Step 5: Chill Before Serving
Transfer the Cherry Cheesecake Salad into a serving dish or individual cups. Cover it with plastic wrap and chill in the refrigerator for at least 2 hours before serving. This allows the flavors to meld and the salad to firm up slightly, making it even more delicious!
Expert Tips
- Make sure your cream cheese is at room temperature for the smoothest mixture.
- You can use sugar-free Cool Whip and sugar-free cherry pie filling for a lighter version of this salad.
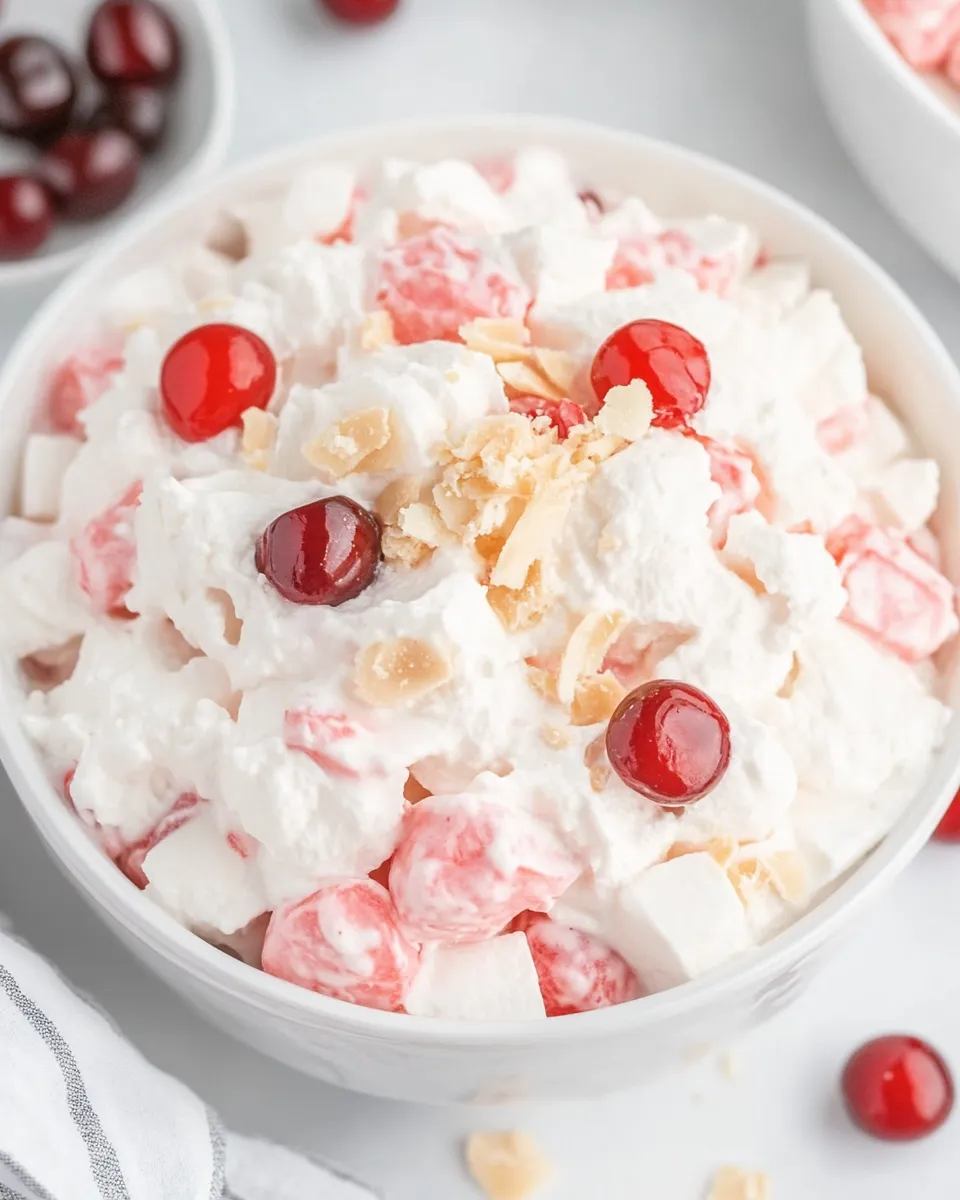
- For an extra crunchy texture, consider adding crushed graham crackers on top before serving.
- Keep the salad covered to prevent it from absorbing any odors from the refrigerator.
Variations and Customizations
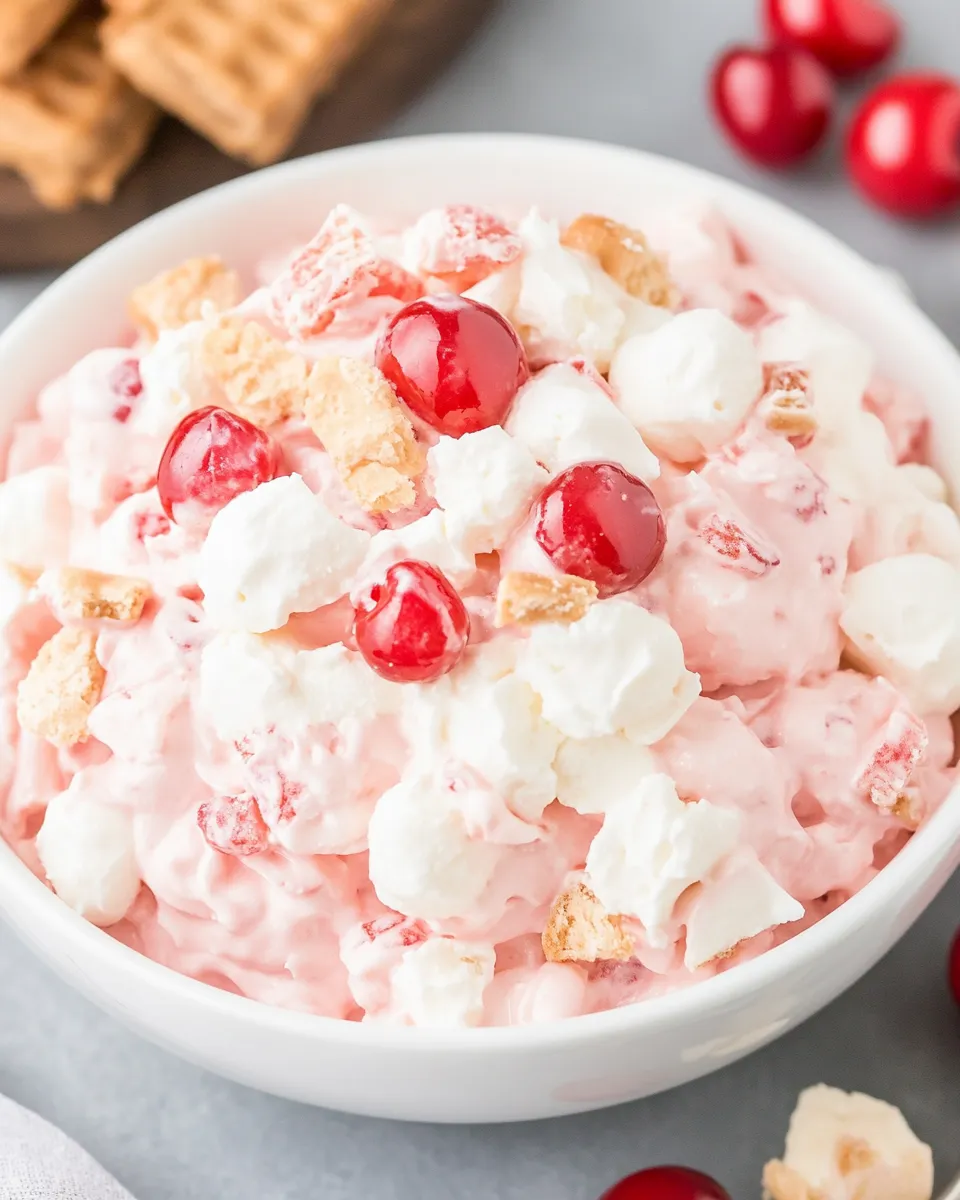
- Swap out the cherry pie filling for blueberry, strawberry, or even peach for a delicious twist!
- Add chopped nuts, like pecans or walnuts, for a nutty crunch.
- Mix in some shredded coconut for a tropical flavor.
- For a little zest, add the juice of half a lemon to the cream cheese mixture for a refreshing tang.
How to Store Leftovers
Cherry Cheesecake Salad can be stored in an airtight container in the refrigerator for up to 3 days. The flavors actually improve as they sit, making this a fantastic make-ahead dessert. However, we recommend consuming it within the first couple of days for the best texture and flavor. If you added any toppings like crushed nuts or graham crackers, store them separately to keep them crunchy.
FAQ
Can I make Cherry Cheesecake Salad ahead of time?
Absolutely! In fact, making it a day ahead allows the flavors to meld beautifully. Just be sure to keep it refrigerated until you are ready to serve.
Can I use homemade whipped cream instead of Cool Whip?
Yes, you can use homemade whipped cream! Just ensure it’s stabilized to keep its shape. This will add an even fresher taste to your salad.
Is this recipe suitable for freezing?
While the salad can technically be frozen, it may change texture when thawed. It’s best enjoyed fresh or refrigerated rather than frozen.
How many servings does this recipe make?
This recipe makes approximately 8-10 servings, depending on how generous you are with each portion!
Conclusion
Cherry Cheesecake Salad is the perfect blend of sweet and creamy, bringing all the joys of cheesecake into a simple, no-bake dish that everyone will love. Its light texture makes it an ideal dessert for any gathering, and the vibrant cherry topping adds a lovely pop of color. Whether you stick to the classic recipe or decide to add your twist with different fruit fillings or toppings, this salad is sure to be a hit! So grab your ingredients, invite some friends over, and enjoy a delightful dessert that will have everyone talking long after the last bite!
Cherry Cheesecake Salad
Ingredients
Ingredients
- 8 ounces Cream Cheese at room temperature
- 8 ounces Cool Whip thawed (1 tub)
- 4 cups Mini Marshmallows
- 42 ounces Cherry Pie Filling (2 cans)
Instructions
- Step 1: Start by taking your cream cheese out of the refrigerator and allowing it to come to room temperature. In a large mixing bowl, beat the cream cheese with an electric mixer until it becomes creamy and smooth.
- Step 2: Add the thawed Cool Whip to the bowl. Gently fold the Cool Whip into the cream cheese using a spatula until well combined.
- Step 3: Gently fold in the mini marshmallows, ensuring they are evenly distributed throughout the mixture.
- Step 4: Pour in the cherry pie filling and carefully fold it into the mixture, being cautious not to overmix.
- Step 5: Transfer the mixture into a serving dish or individual cups. Cover with plastic wrap and chill in the refrigerator for at least 2 hours before serving.
Equipment
- Mixing Bowl
- Electric Mixer
- Spatula
- Serving Dish