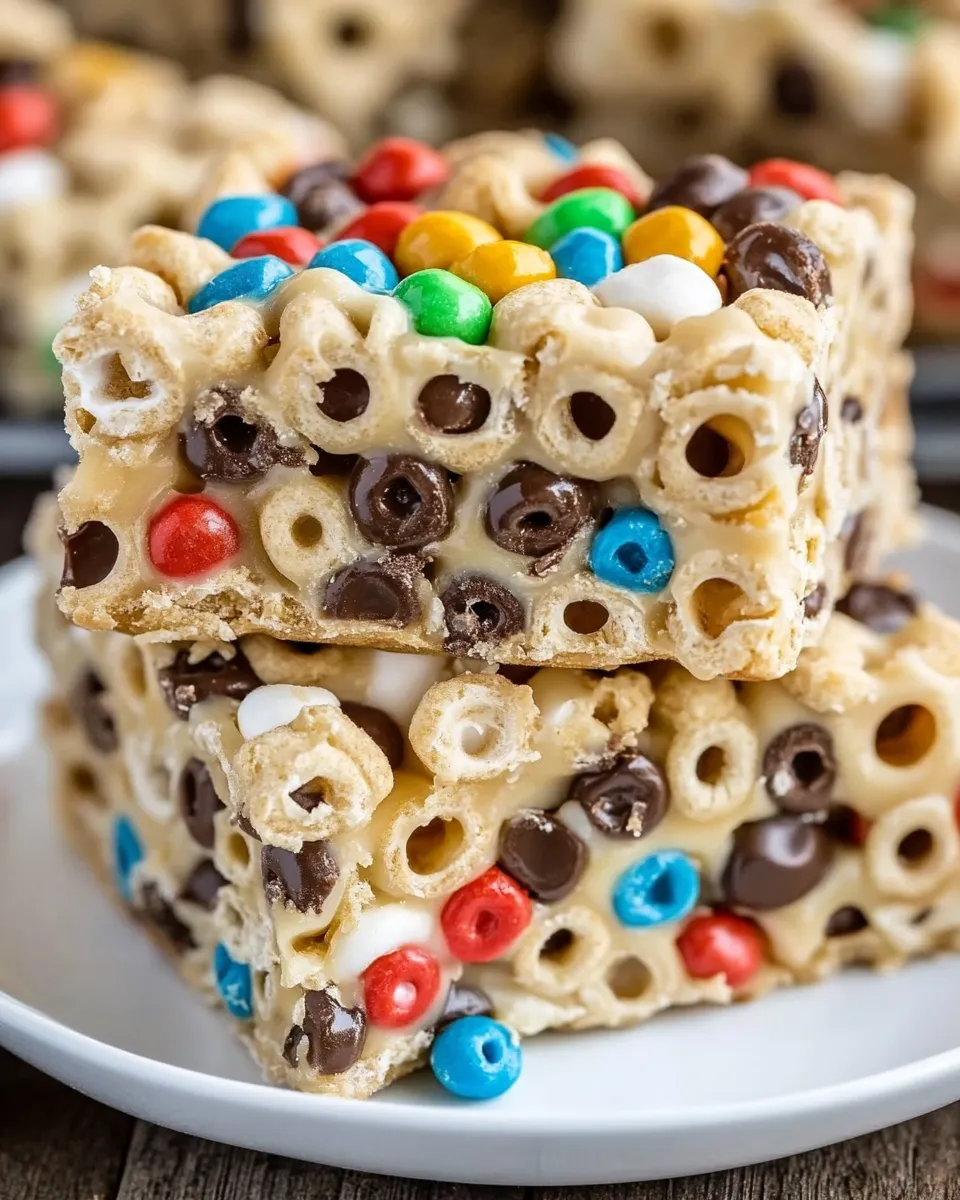
Cheerio Cereal Bars
Looking for a quick and delightful treat that will satisfy both kids and adults alike? These Cheerio Cereal Bars are the perfect solution. They are chewy, sweet, and packed with a delightful combination of flavors and textures. With gooey mini marshmallows, crunchy Honey Nut Cheerios, and added sweetness from chocolate and candy, these bars are an irresistible snack or dessert that comes together in no time. Best of all, they are incredibly versatile, allowing you to customize them to your taste. Let’s dive into this amazing recipe!
Why This Recipe Is a Must-Try
These Cheerio Cereal Bars are not only tasty but also incredibly easy to make. In less than 30 minutes, you can whip up a batch that’s perfect for school lunches, after-school snacks, or even a sweet treat for weekend gatherings. The combination of chewy marshmallows and crunchy cereal makes every bite exciting. Plus, they make use of simple ingredients that you probably already have in your pantry, which means you can make these bars whenever the craving strikes!
Ingredients
- 10 ounces mini marshmallows
- 3 tablespoons butter
- 5 cups Honey Nut Cheerios (about 6 ounces)
- ½ cup chocolate chips
- ½ cup candies (M&Ms, Heath bars, or your favorite candy pieces)
- ½ cup white chocolate melting wafers
How To Make Cheerio Cereal Bars
Step 1: Prepare the Pan
Start by greasing a 9×13 inch baking dish with cooking spray or line it with parchment paper for easy removal later. This ensures that your Cheerio bars will come out cleanly and easily when it’s time to serve.
Step 2: Melt the Butter and Marshmallows
In a large saucepan over medium heat, melt the 3 tablespoons of butter. Once melted, add the 10 ounces of mini marshmallows. Stir constantly until the marshmallows are completely melted and the mixture is smooth and creamy. Be careful not to let it burn!
Step 3: Mix in the Cereal
Once the marshmallows are melted, remove the saucepan from heat. Quickly add the 5 cups of Honey Nut Cheerios to the marshmallow mixture. Stir well to combine, ensuring that all the cereal is coated with the marshmallow mixture.
Step 4: Add the Mix-Ins
Stir in the ½ cup of chocolate chips and ½ cup of candies. This step adds a fun pop of color and additional flavor to your cereal bars. Mix gently to combine, so the chocolate and candies are evenly distributed throughout the cereal.
Step 5: Spread into the Pan
Transfer the mixture into the prepared baking dish. Using a spatula or your hands (greased with a little butter to prevent sticking), press the mixture evenly into the pan. Make sure it’s packed down well, so your bars hold together after they cool.
Step 6: Melt the White Chocolate
In a separate bowl, melt the ½ cup of white chocolate melting wafers according to package instructions. Drizzle the melted white chocolate over the top of the pressed cereal mixture. Use a spatula to spread it evenly if desired.
Step 7: Cool and Cut
Allow the bars to cool completely at room temperature for about 1 to 2 hours. Once chilled and set, use a sharp knife to cut into squares or rectangles. Enjoy your delicious Cheerio Cereal Bars!
Expert Tips
- For easier mixing, you can lightly spray your spatula or hands with non-stick cooking spray.
- Avoid overcooking the marshmallows to keep them from becoming too hard once cooled.
- For a fun twist, try adding in some dried fruit or nuts along with the chocolate chips and candies.
- Store any leftovers in an airtight container to keep them fresh for longer.
Variations and Customizations

- Use different types of cereal such as Cocoa Puffs or Fruity Pebbles for a unique flavor profile.
- Consider substituting peanut butter for some of the butter for a nutty flavor.
- Add in some shredded coconut for a tropical twist.
- Change up the candies based on the season, using themed candies for holidays.
How to Store Leftovers
Once your Cheerio Cereal Bars are cut and ready, store any leftovers in an airtight container at room temperature. They will stay fresh for about 3 to 5 days. If you want to extend their shelf life, wrap them individually in plastic wrap and then place them in an airtight container, which also makes them easy to grab on the go!
FAQ
Can I use regular Cheerios instead of Honey Nut Cheerios?
Absolutely! While Honey Nut Cheerios add sweetness and flavor, regular Cheerios will work perfectly fine. You may want to add a little more chocolate or candies for additional sweetness.
How do I make these bars vegan?
You can make these bars vegan by using vegan butter and dairy-free chocolate chips. Check the labels to ensure that all ingredients meet your dietary needs.
Can I freeze these Cheerio bars?
Yes, you can freeze Cheerio Cereal Bars! Completely cool the bars, then wrap them tightly in plastic wrap and store in an airtight container or freezer bag. They will keep for up to 2 months in the freezer.
What is the best way to cut these bars?
To get clean cuts without sticking, use a sharp knife and spray it lightly with cooking spray. You can also run the knife under hot water, wipe it dry, and then cut the bars for an even cleaner cut.
Conclusion
These Cheerio Cereal Bars are a delightful treat that combines simplicity with deliciousness. Perfect for any occasion, they can be easily customized and are guaranteed to please everyone from kids to adults. With their chewy, sweet texture and exciting mix-ins, they are sure to become a staple in your snack rotation. So gather your ingredients and get ready to enjoy a homemade treat that will bring smiles all around!
Cheerio Cereal Bars
Ingredients
Ingredients
- 10 ounces mini marshmallows
- 3 tablespoons butter
- 5 cups Honey Nut Cheerios (about 6 ounces)
- ½ cup chocolate chips
- ½ cup candies (M&Ms, Heath bars, or your favorite candy pieces)
- ½ cup white chocolate melting wafers
Instructions
- Step 1: Prepare the Pan - Grease a 9×13 inch baking dish with cooking spray or line it with parchment paper.
- Step 2: Melt the Butter and Marshmallows - In a large saucepan over medium heat, melt the butter and add mini marshmallows. Stir until smooth.
- Step 3: Mix in the Cereal - Remove from heat and add Honey Nut Cheerios, stirring to coat.
- Step 4: Add the Mix-Ins - Stir in chocolate chips and candies until evenly distributed.
- Step 5: Spread into the Pan - Transfer the mixture into the prepared baking dish and press down evenly.
- Step 6: Melt the White Chocolate - Melt white chocolate melting wafers and drizzle over the pressed mixture.
- Step 7: Cool and Cut - Allow to cool completely, then cut into squares or rectangles.
Equipment
- Saucepan
- Baking Dish
- Spatula